RG Epyon and Tamotu Pro
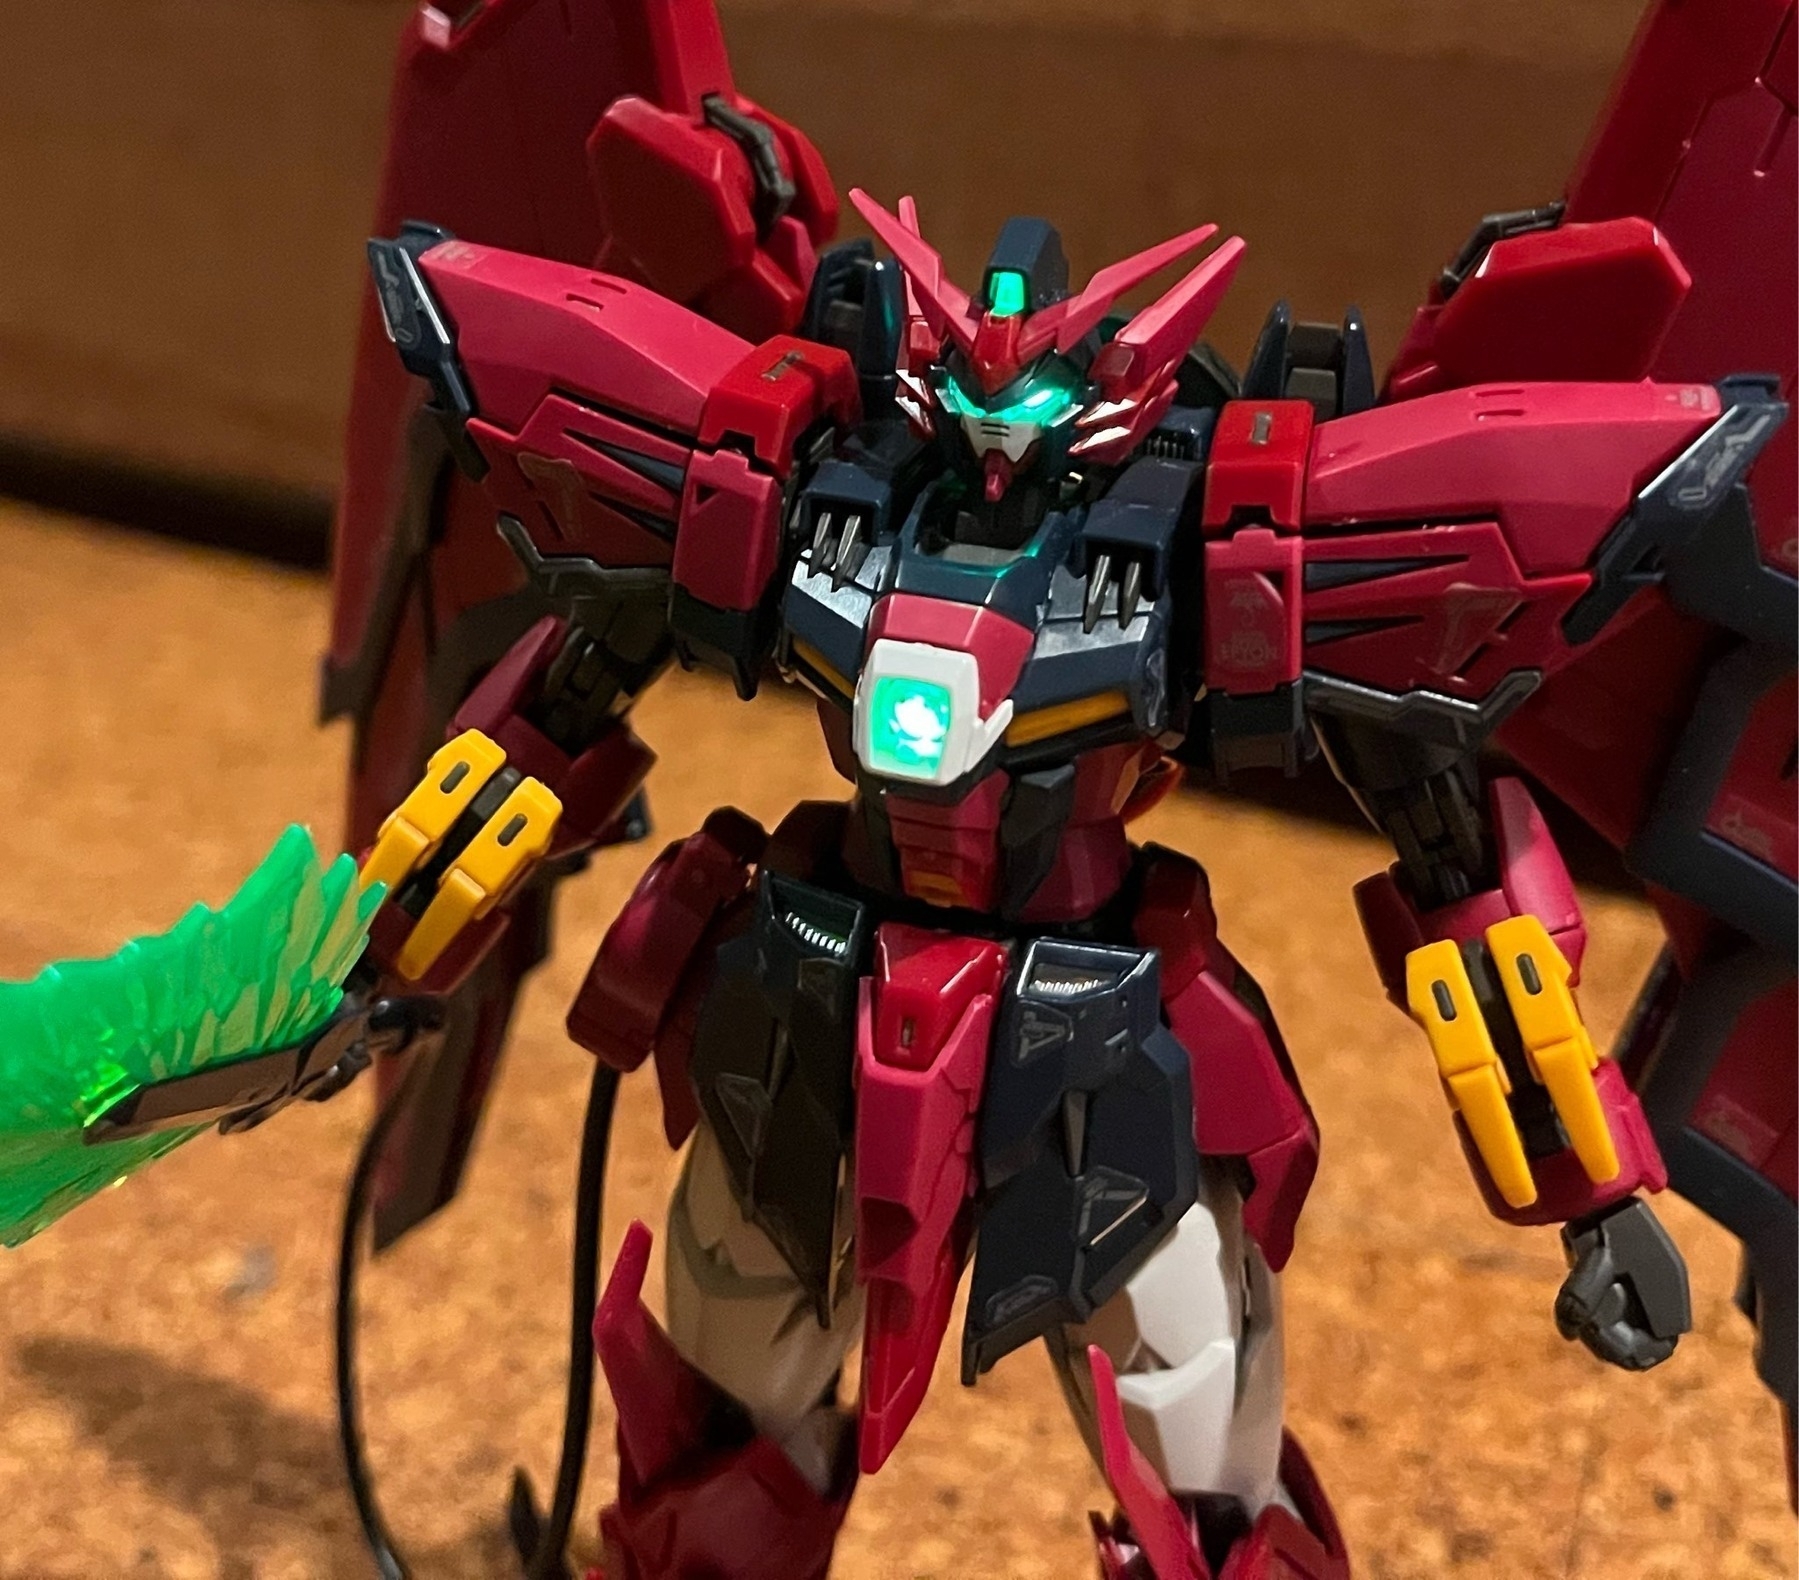
Hello internet! I received the Real Grade Epyon kit from a relative and did something I’ve been wanting to try for a while: adding LED lighting to a small-scale kit. The Epyon is the latest kit in the RG line, and as such has been highly anticipated by the gunpla builder community. Its articulation surpasses its Master Grade counterpart, while the redesigned proportions allow for a sleeker and more realistic look. The plastic quality is on par with Bandai’s recent releases, although extra care is needed for the dark colored armor. Its Advanced MS Joint runner consists of the eyepiece and its whip, which features rotation and flexion on each segment.
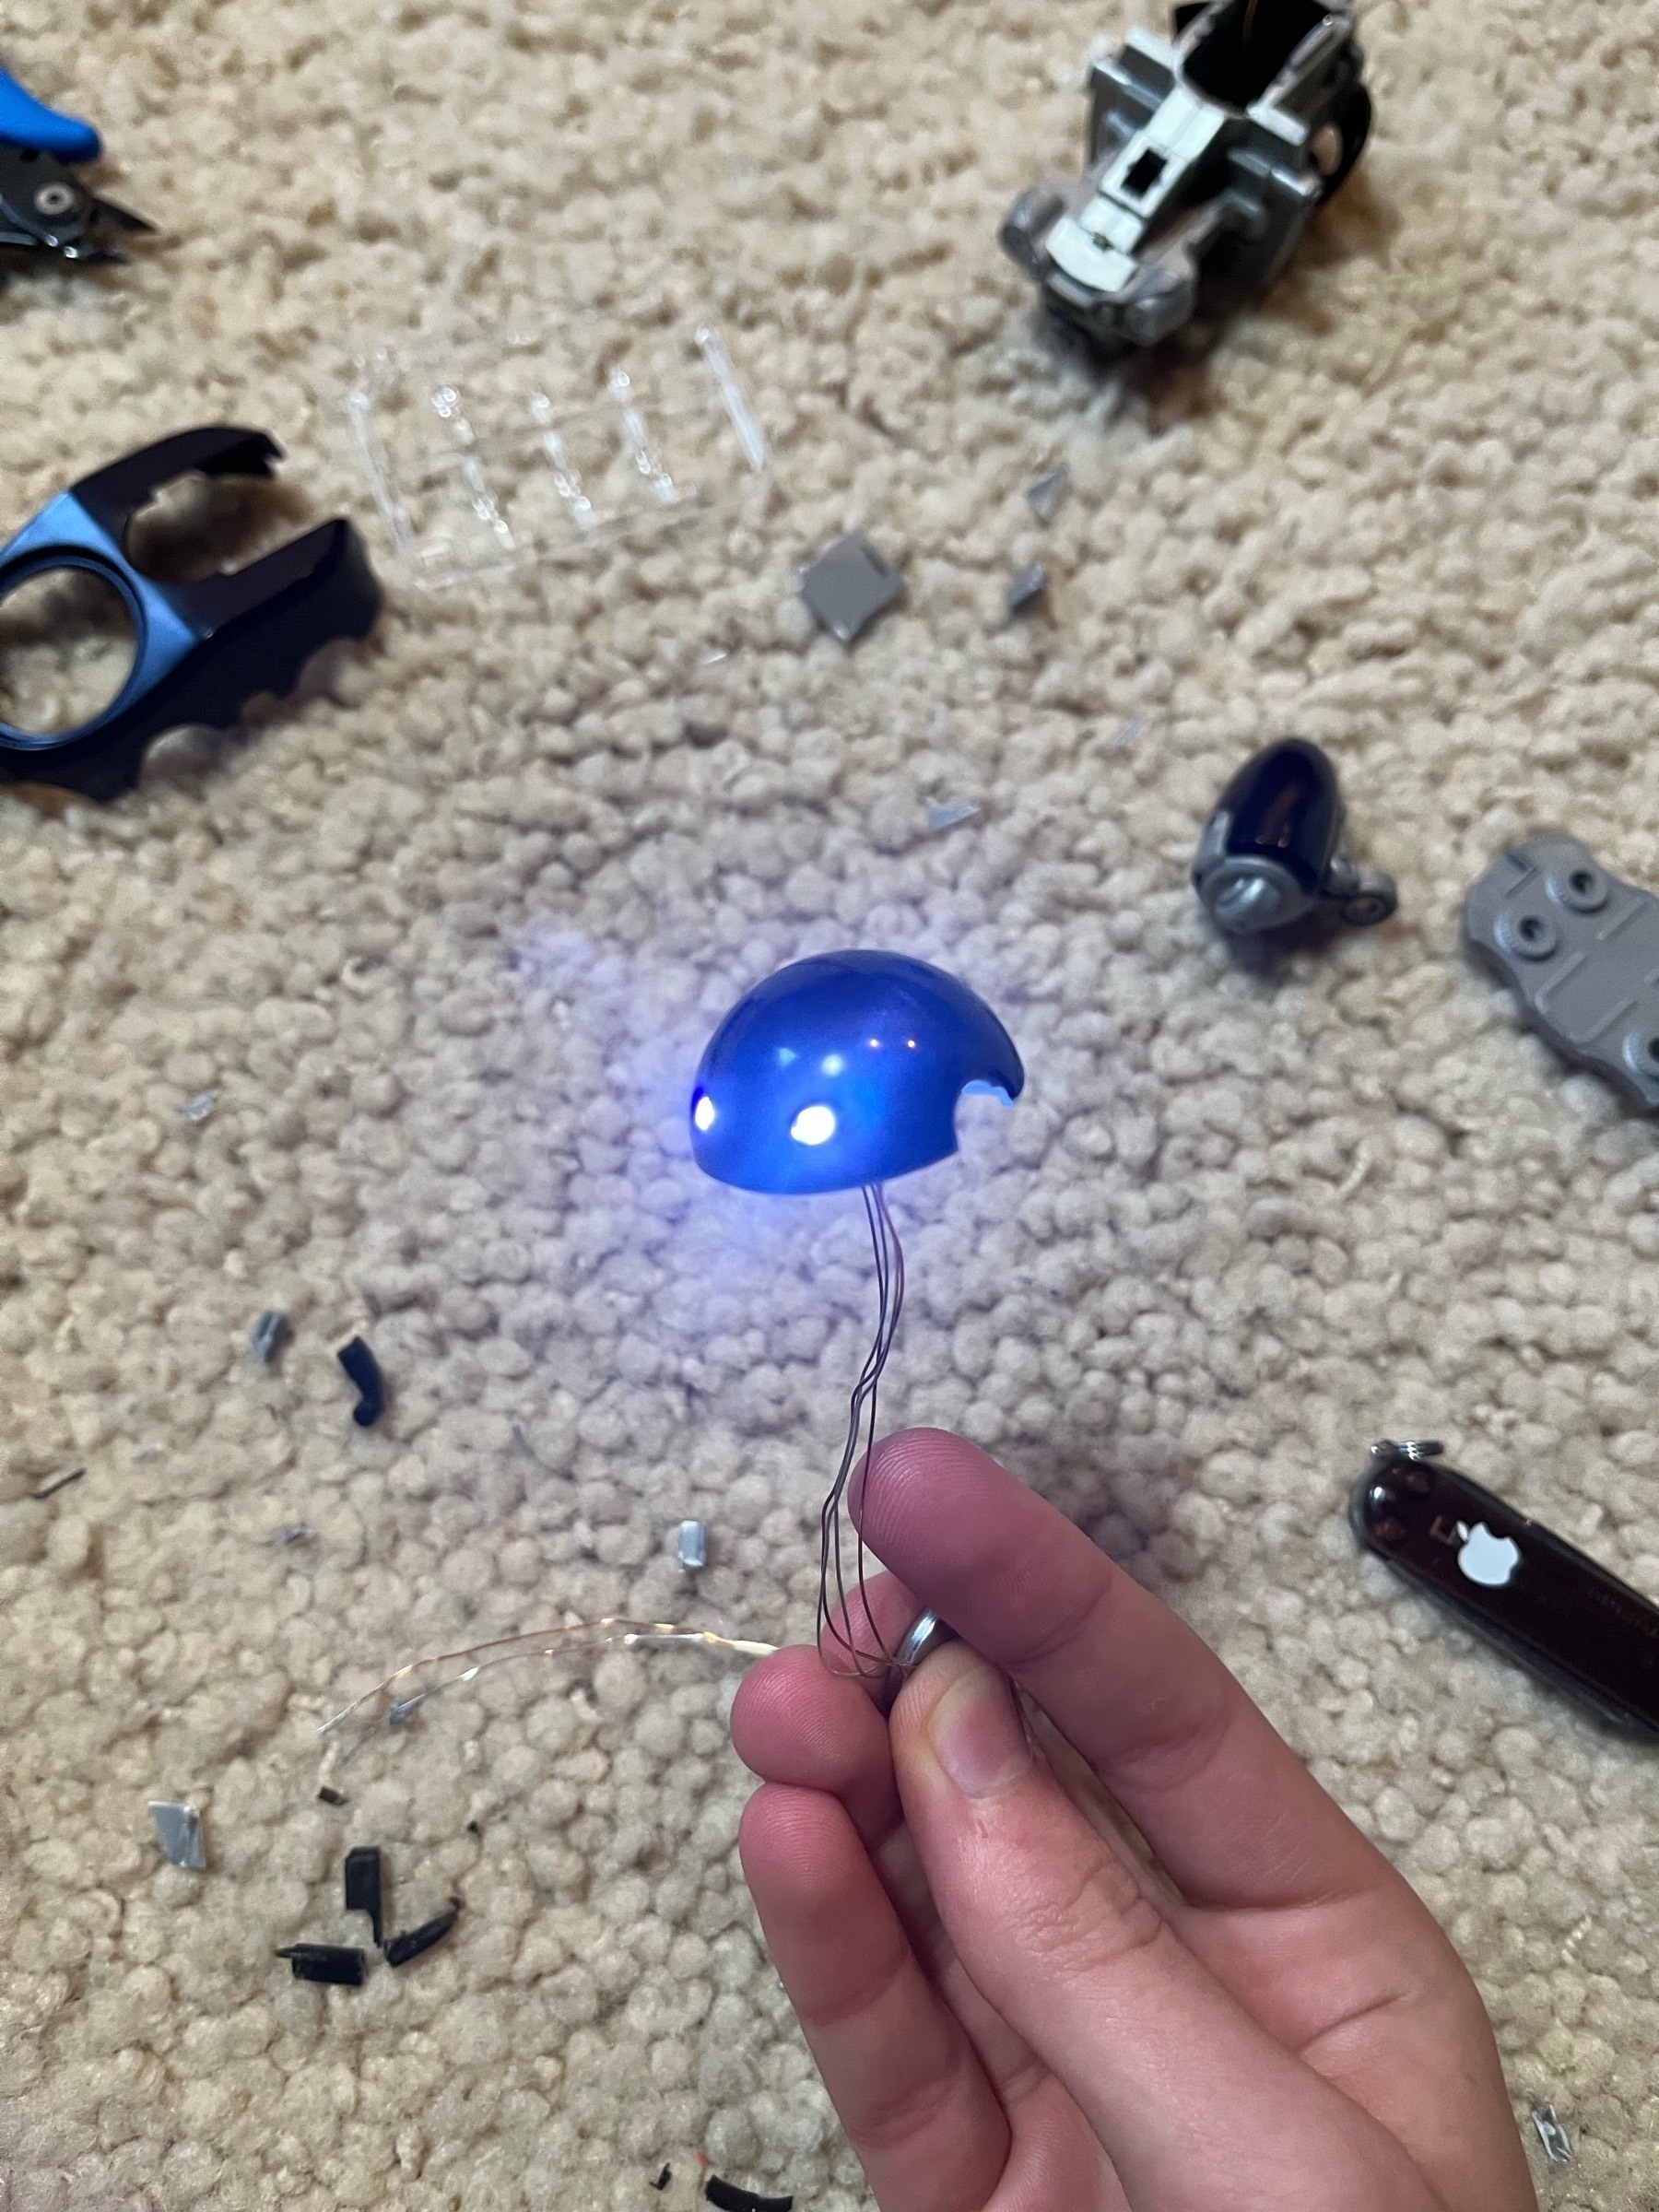
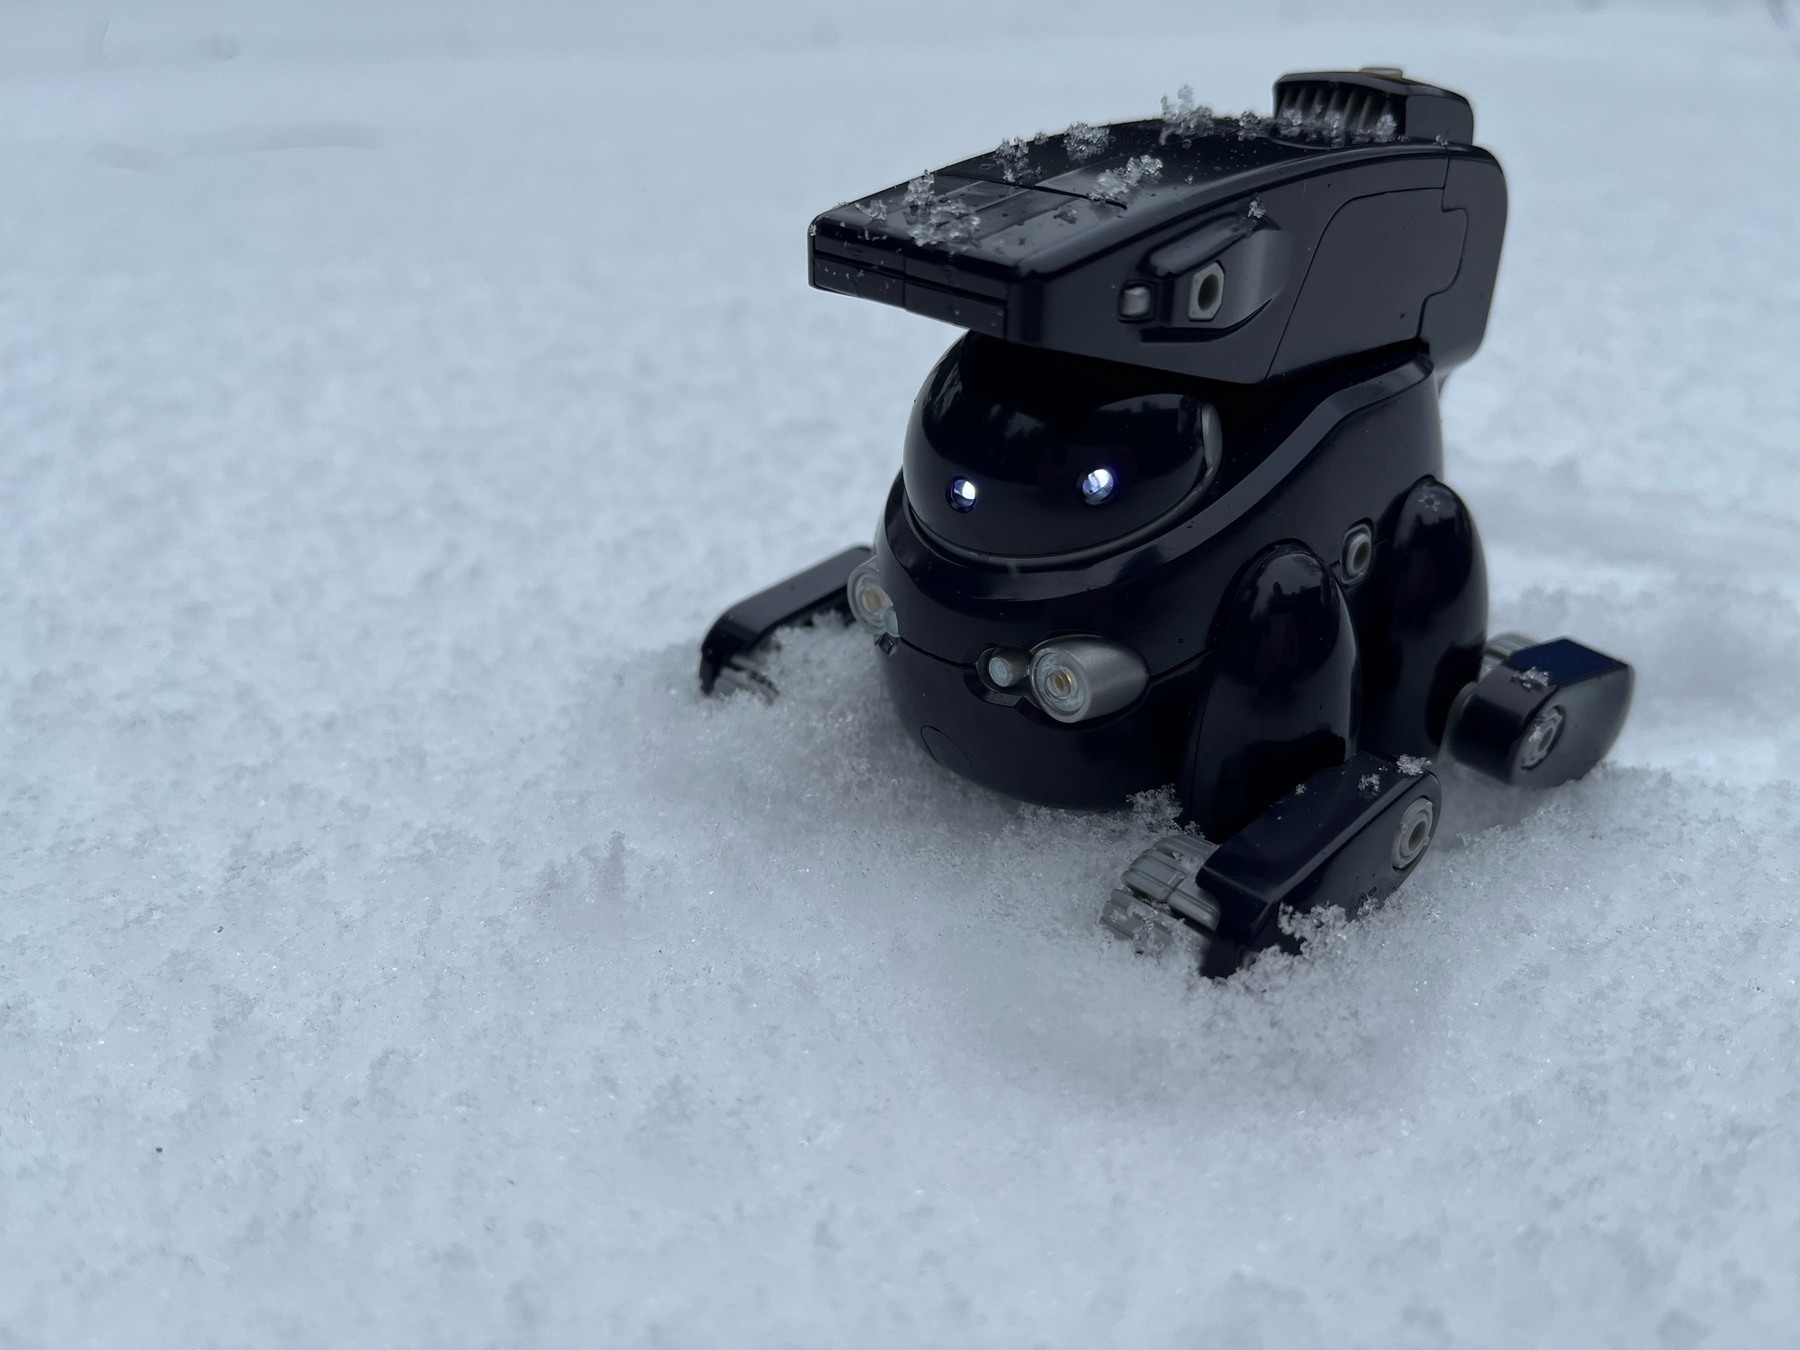
I also added custom lighting to my second Maruttoys kit: the Tamotu Pro (Midnight Blue Ver.) The base Tamotu was simpler than the Noseru I worked on previously, but the Pro add-on parts were similar in density and complexity to the yellow scooter-like robot. It’s a bit disappointing that the original Tamotu doesn’t feature rolling wheels, but the Pro remedies this with some extra leg parts, along with a bulkier backpack which adds two extendable, highly flexible arms atop the robot.
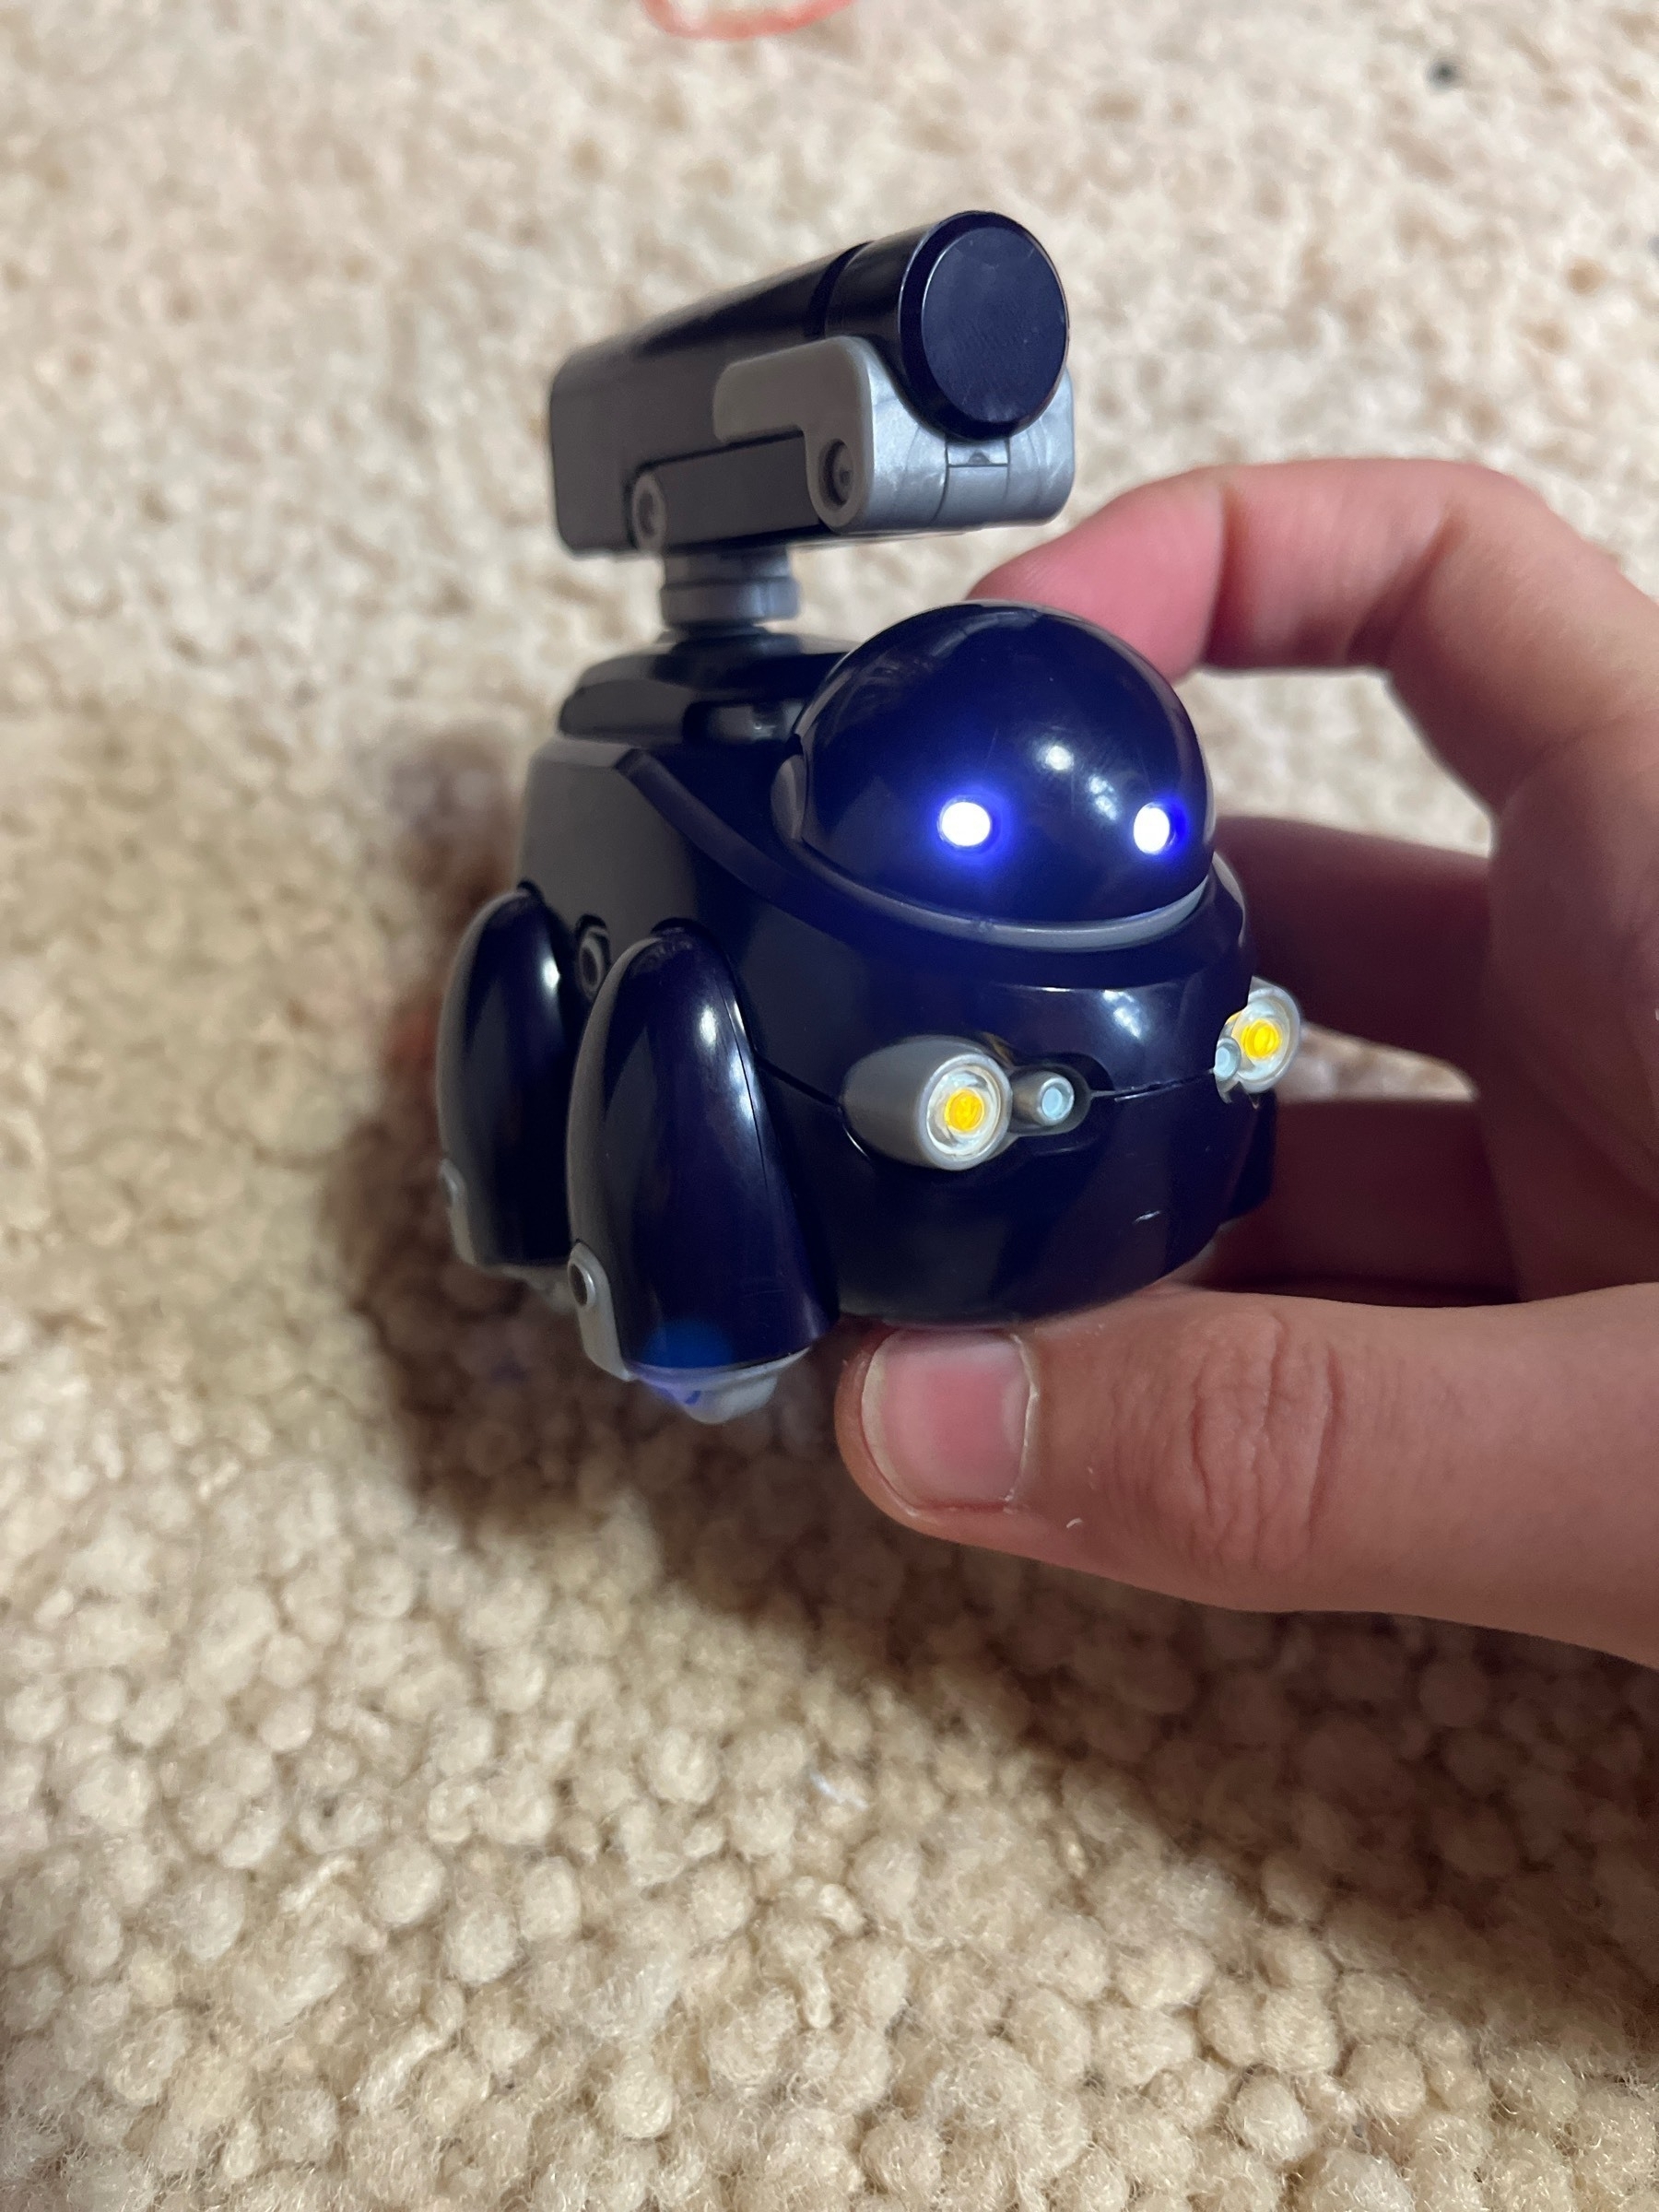
I got some tiny LEDs in different colors as well as some wired cases for button batteries. The cases are unfortunately very large for average 1/144 scale models, but I was able to hide one behind the Epyon’s wings. As for the tamotu, I snipped out several internal walls on the frame and was eventually able to fit all the wires inside its body. For both models, I needed to drill and cut multiple parts, but it worked out in the end.
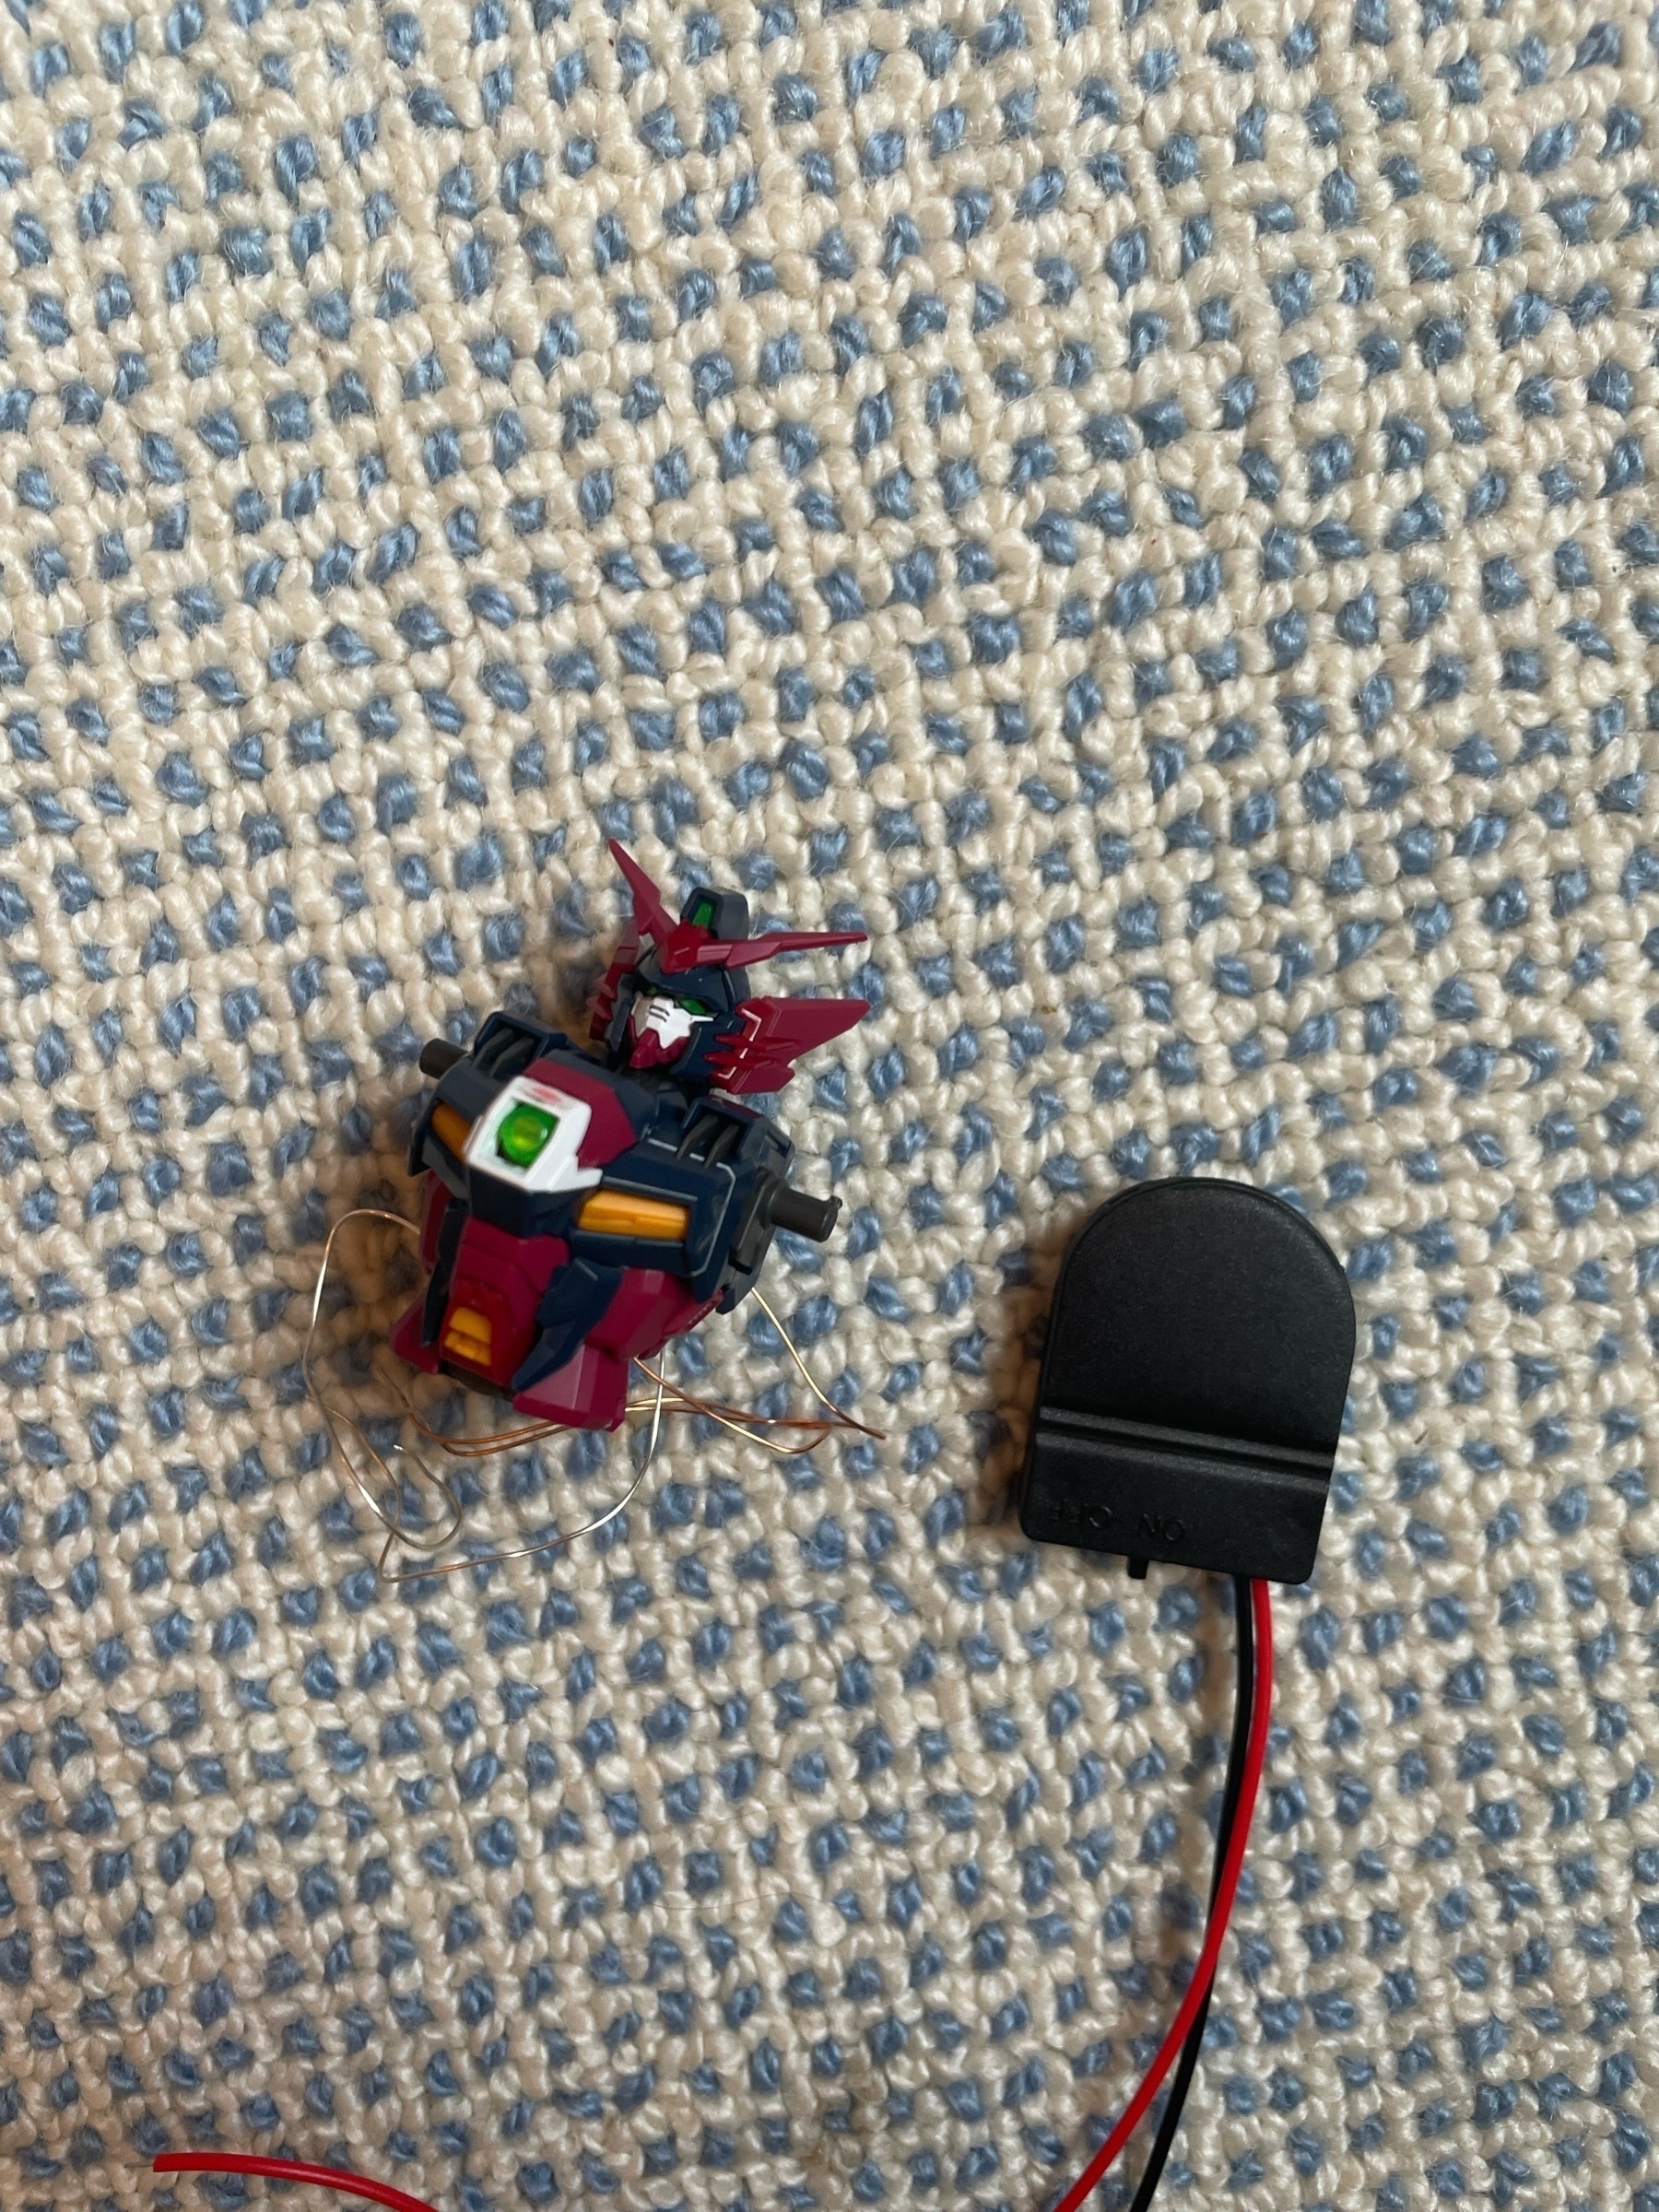
Mini-Tutorial 3: How to add LEDs
Choose the location. It’s easier to fit small LEDs behind clear parts, but it can work to have them exposed if you want a brighter glow. It’s also important to plan where you’ll fit a battery to power your lights.
Drill your holes. I used an actual drill with a small drill bit, but it’s likely easier to use a dremel or something similar to be more precise. Make sure there is enough room for the LED’s wires.
Install your LEDs. If you planned the locations well. They should slide right into your drill holes. You may need to sand or cut more parts to avoid damage to the kit or the lights. Then, use a soldering iron to weld the wires together. Good luck!
