Full Mechanics Aerial

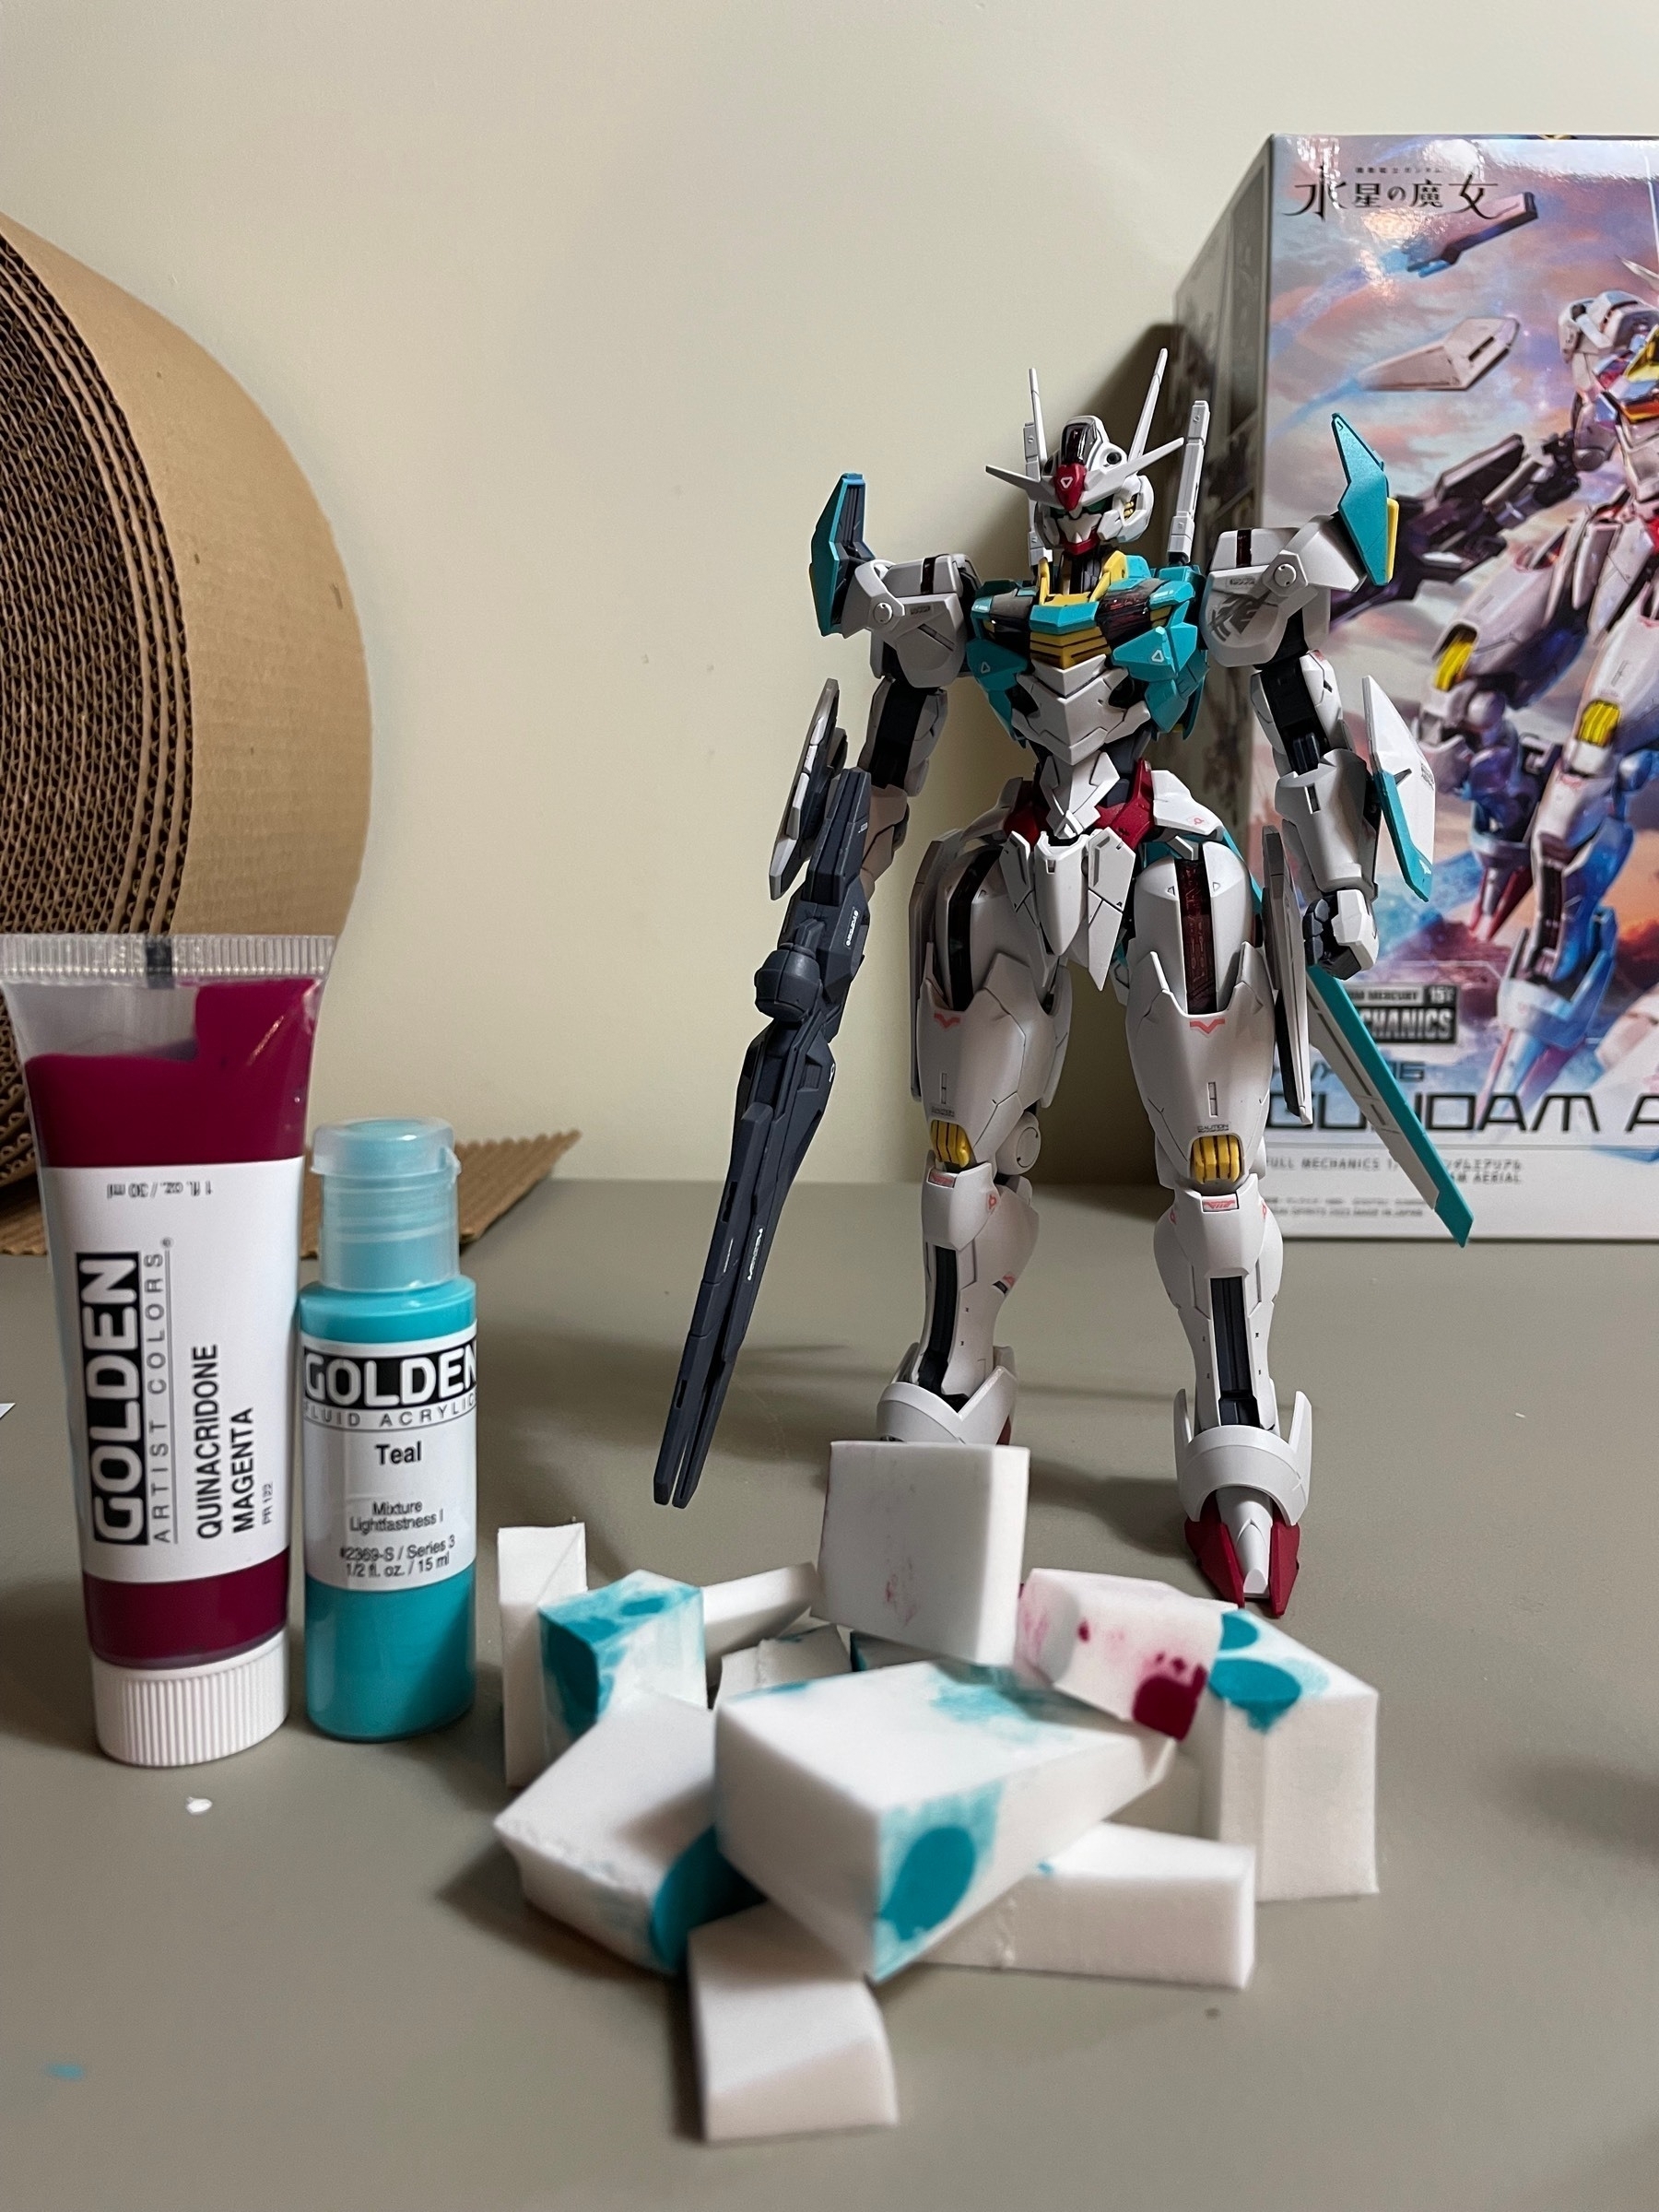
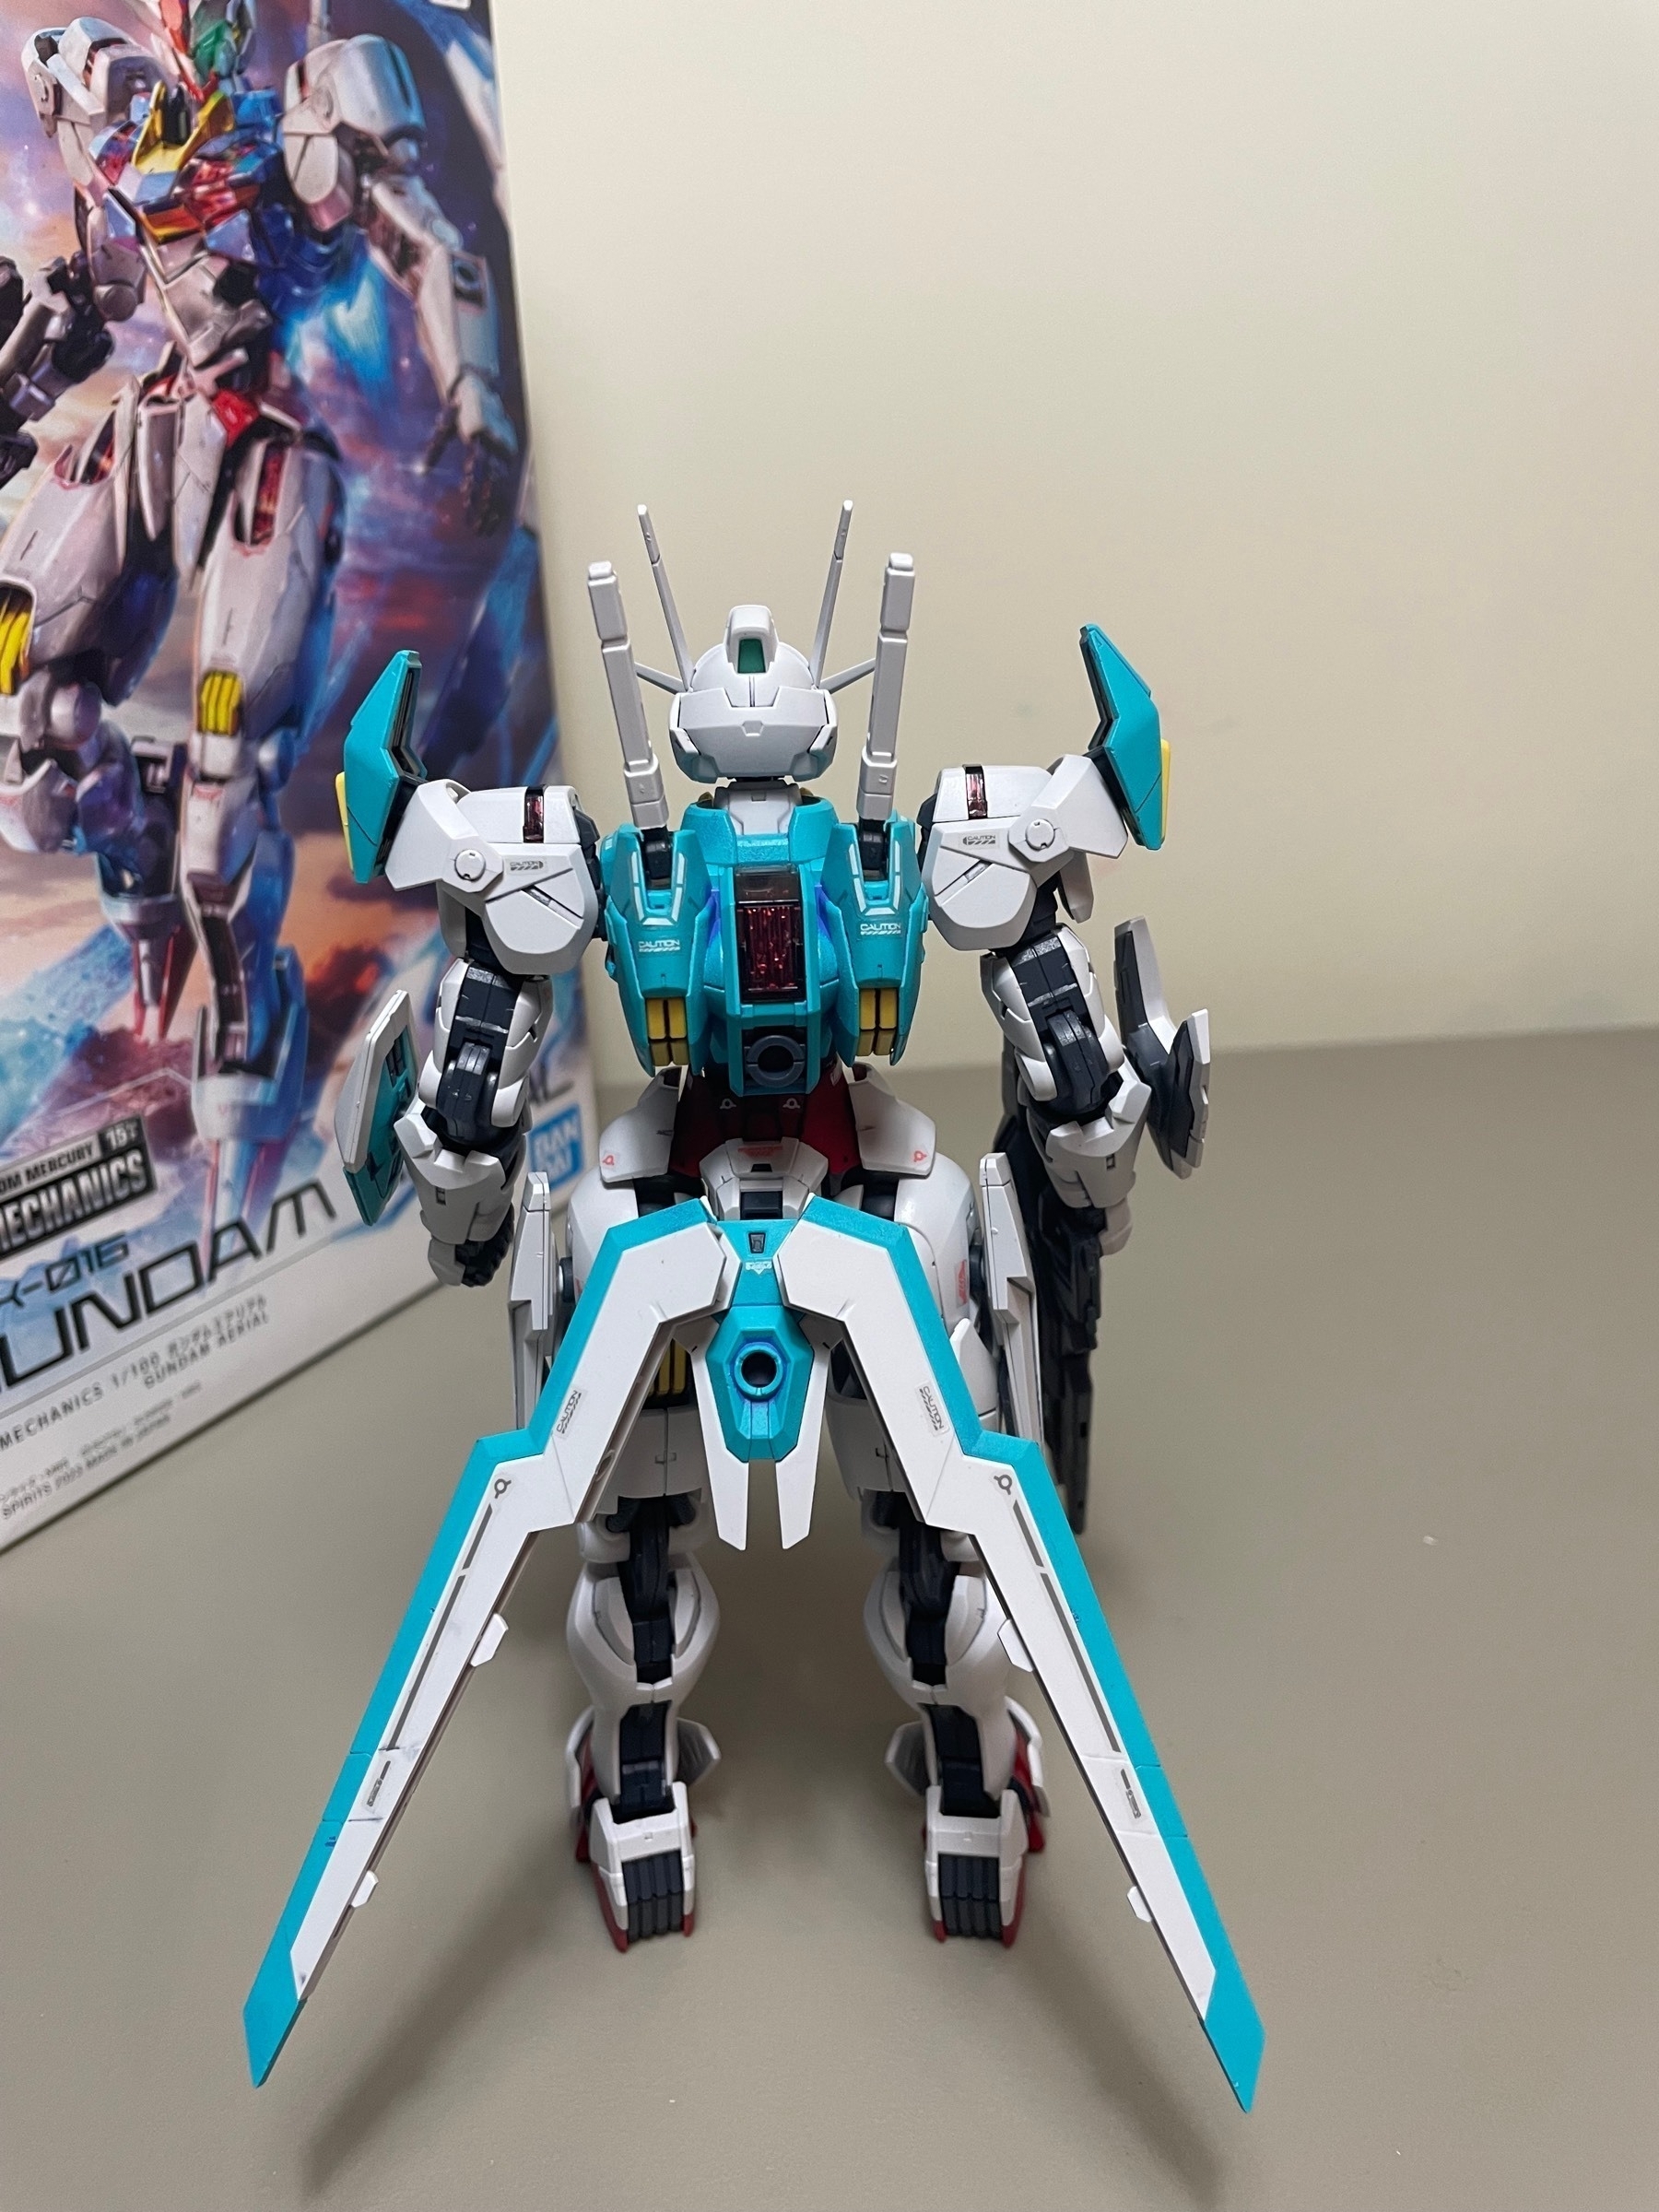
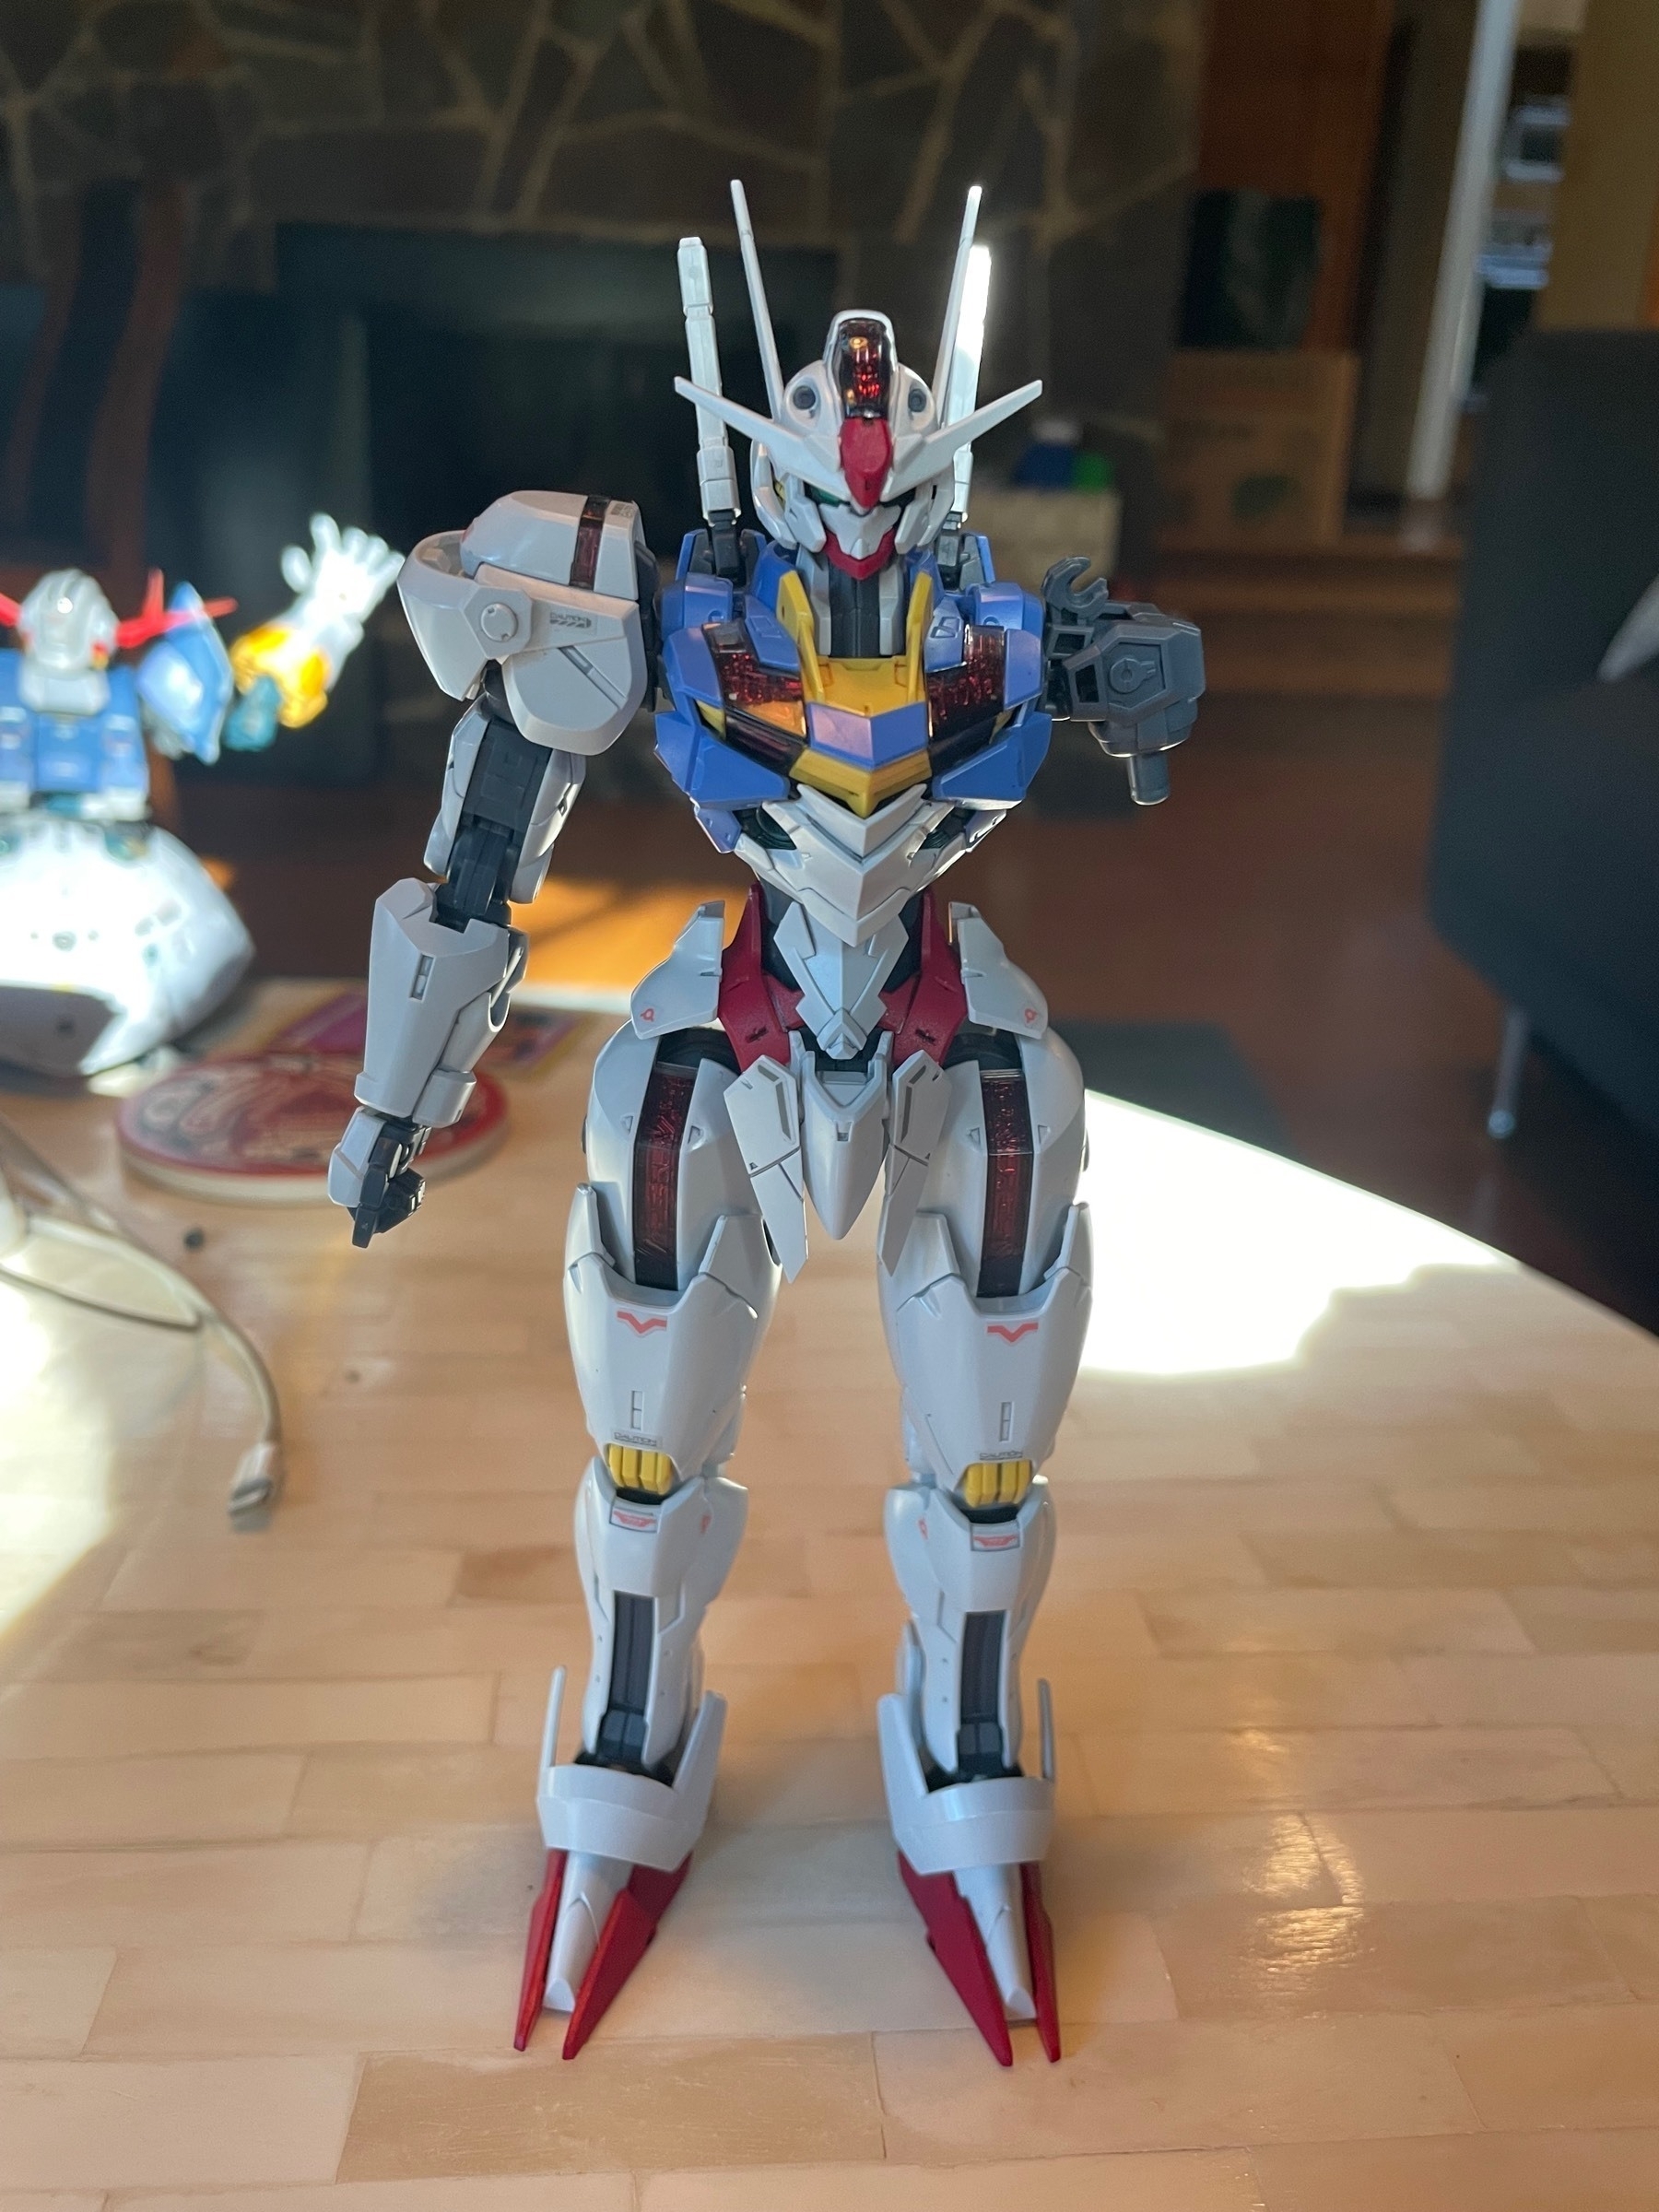
Hello internet! These past few weeks, I have been building, painting, and detailing Bandai’s Full Mechanics Gundam Aerial. Aerial is a much larger kit than the Noseru I took a look at last time, and, at around twice the price of that kit, encompasses a much longer build time too. As opposed to the High Grade Aerial’s in-molded chest piece and stickers for the permet score parts, this 1/100 version of the suit includes chromed-out red pieces for under the smokey clear parts to replicate the bright red, almost glowing, color seen in the anime. Other than that, the colors on the model are fairly standard Gundam red, yellow, blue, and white, and while it is a nice color scheme, I wanted to try something different for this kit.

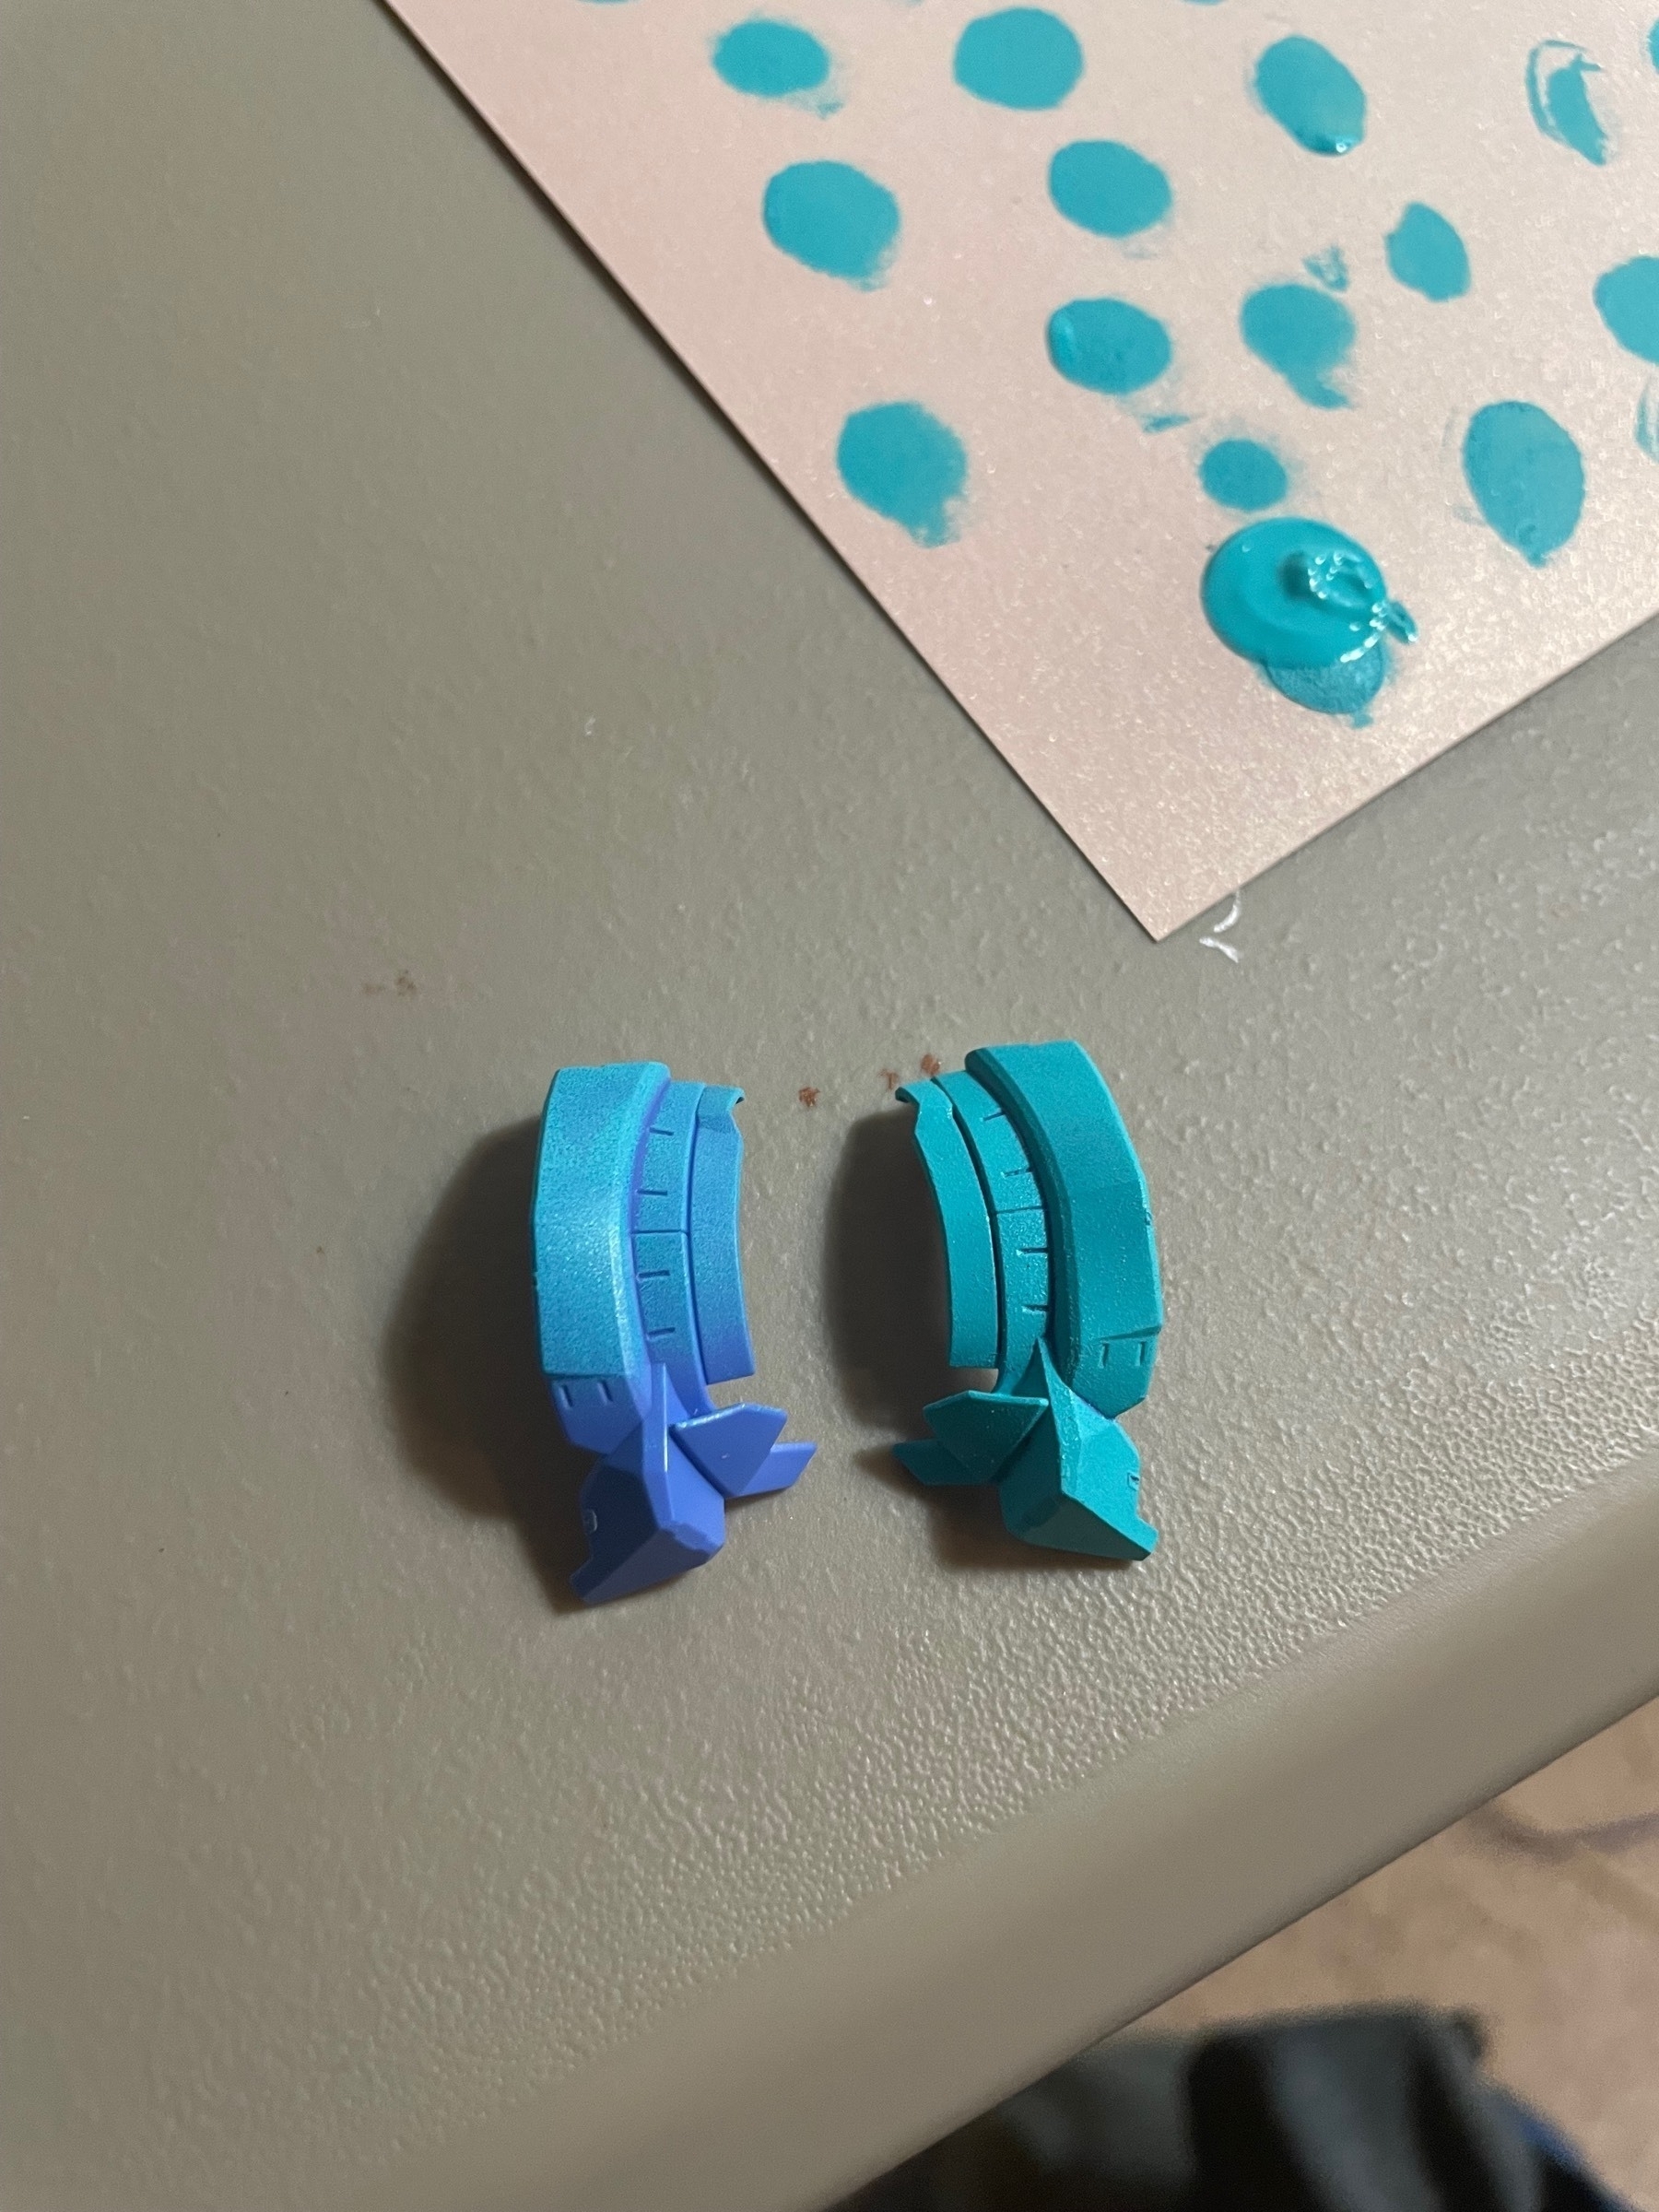
I used a simple sponge painting technique to change the original red and blue to a darker red and a teal. Sponge painting is more commonly used to paint walls and ceilings, but it can also be applied at a smaller scale to paint plastic models. Makeup sponges are used to get a clean, newly painted finish, but coarser sponges can also be used to get a more chipped and weathered look. Although I matte topcoated the main body, I ran out part way through spraying the shield and had to switch to a satin (semi-matte) topcoat.

Mini-Tutorial 2: How to sponge paint
Gather your supplies. You will need some sort of fine-pored sponge, preferably a makeup sponge. You will also need your desired paint, some scrap paper, and a hobby knife.
Similar to drybrushing, dip your sponge in the paint and dab it on a piece of scrap paper until a thin, even coat starts to show.
Sponge the individual parts of the model kit. The first coat might not cover the entire piece, but you should give at least three coats to the part for a clean finish.
