-
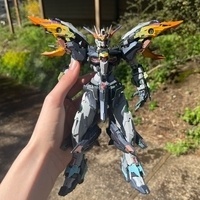
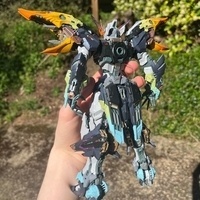
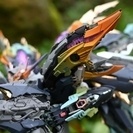
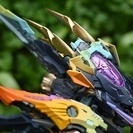
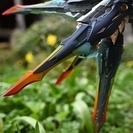
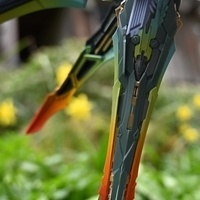
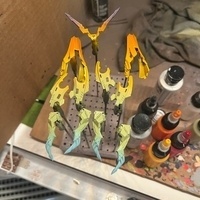
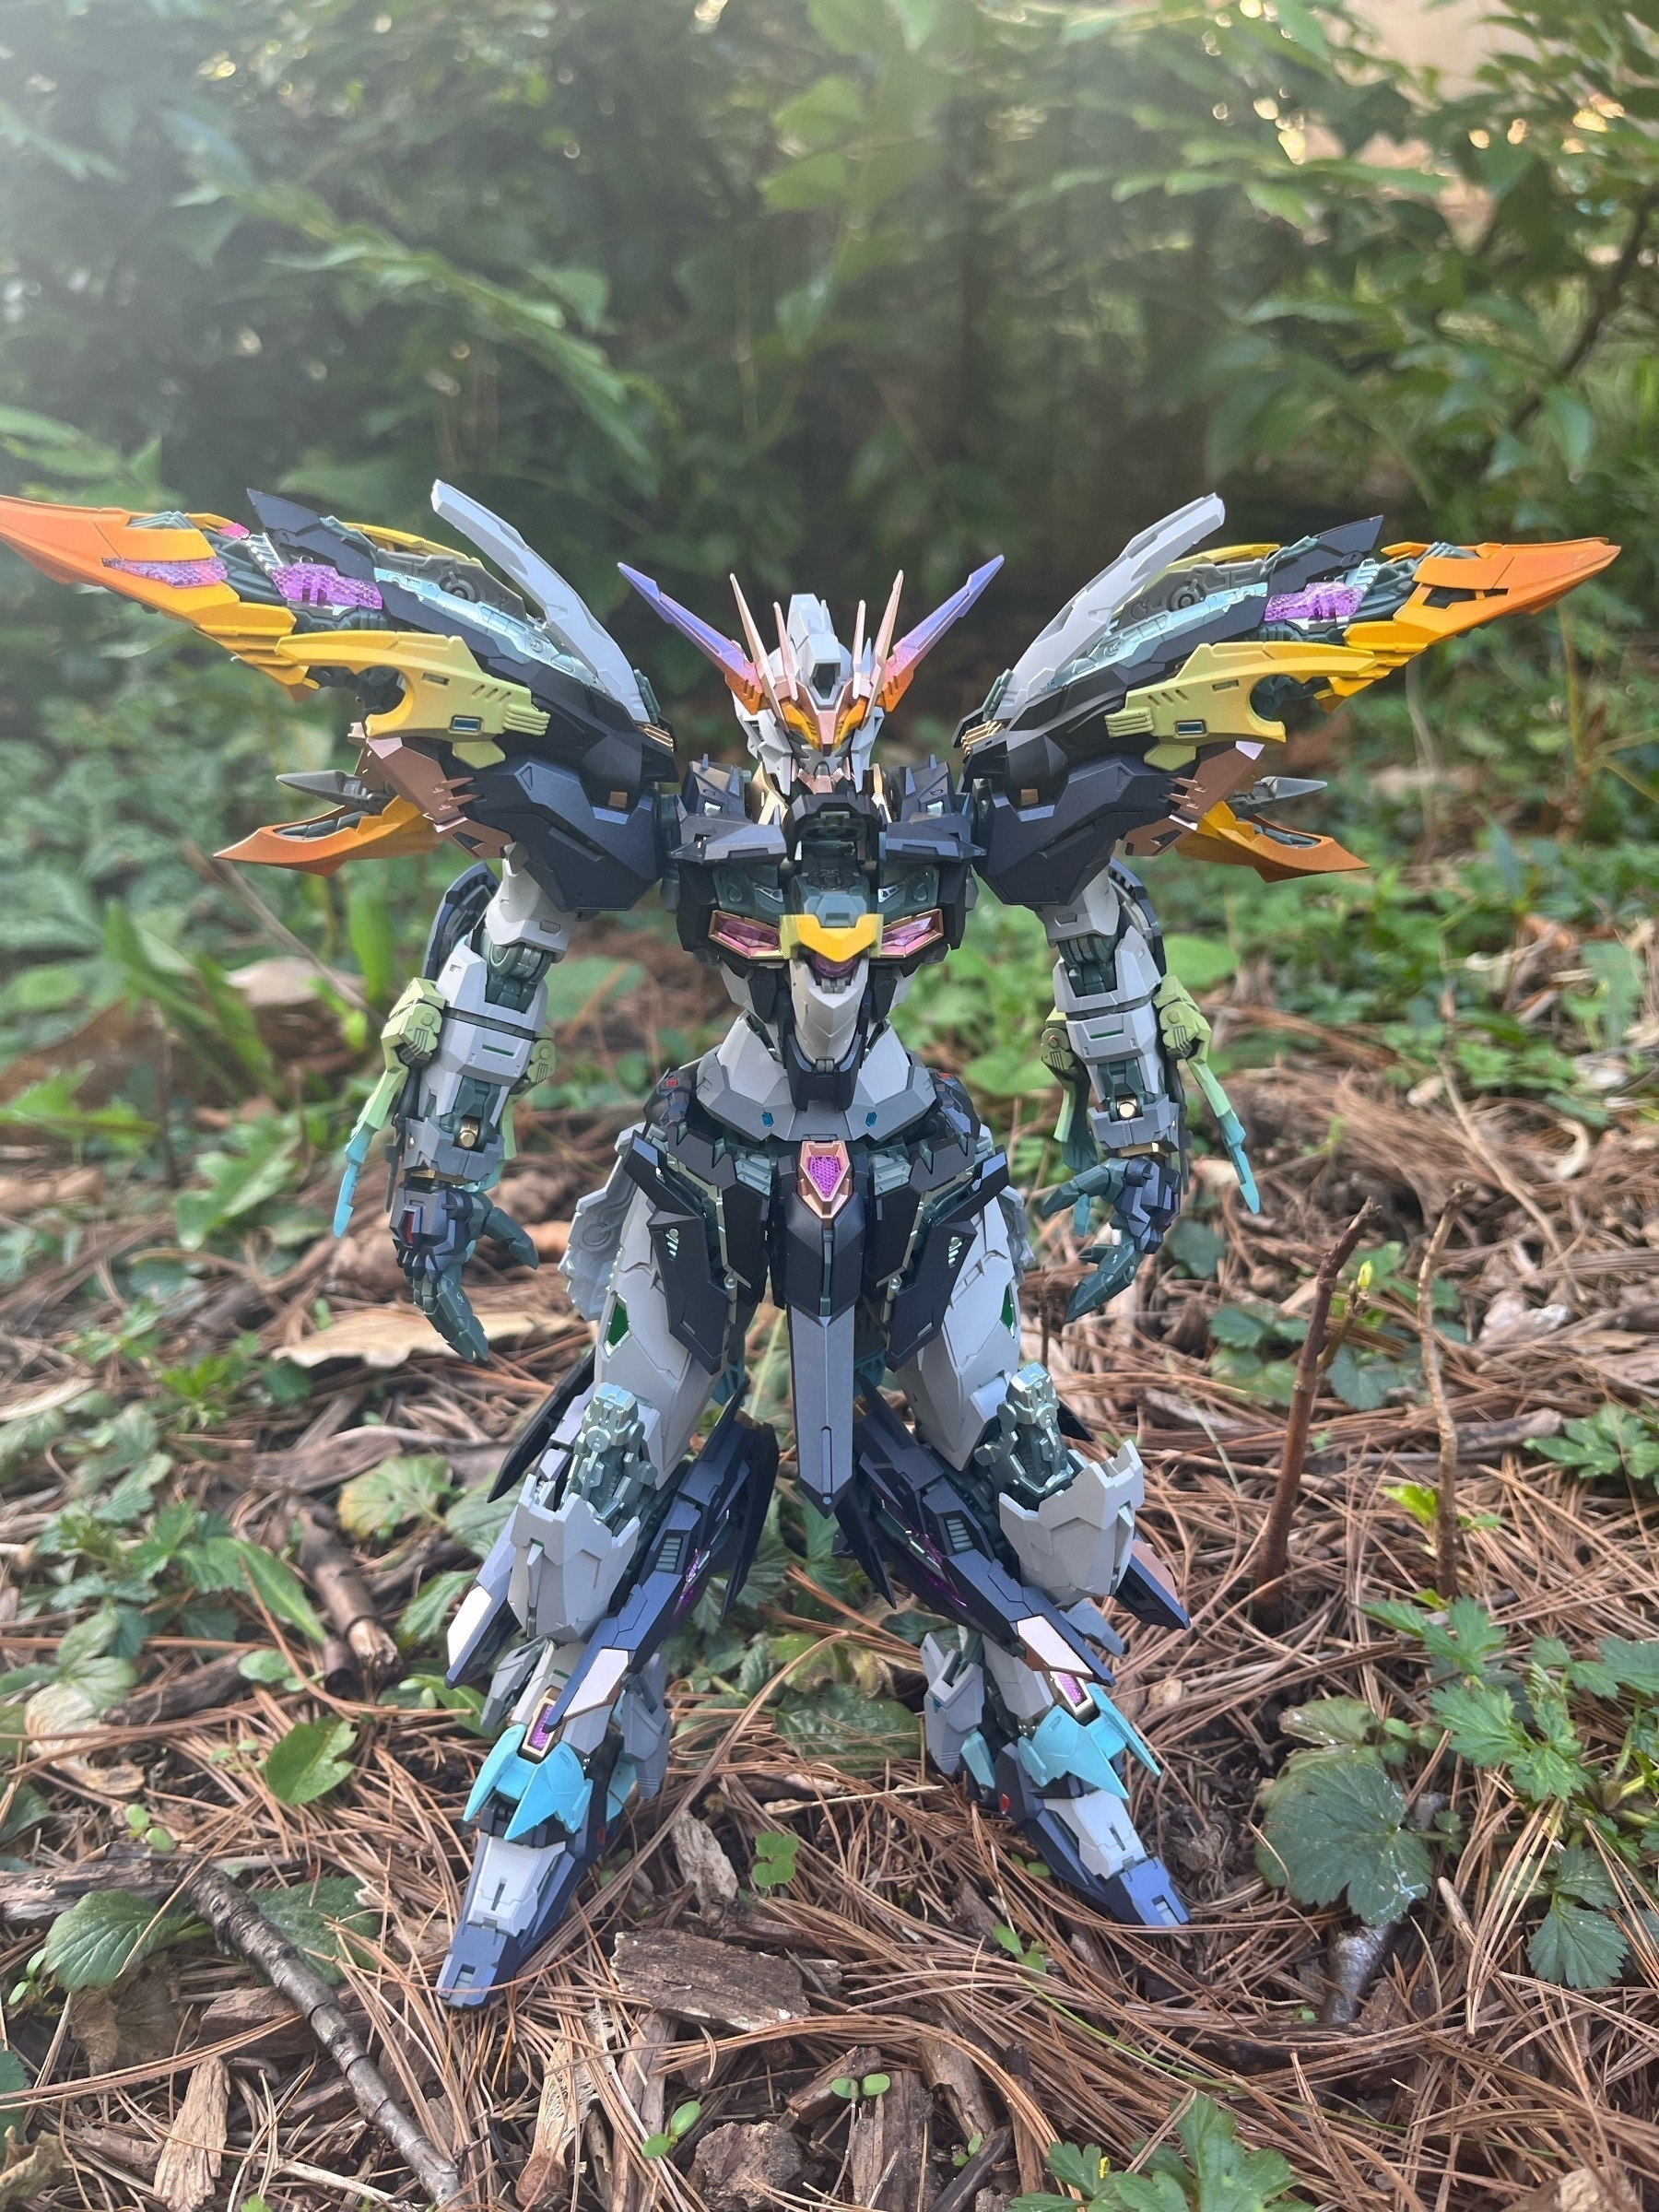
Nemesis Papillon
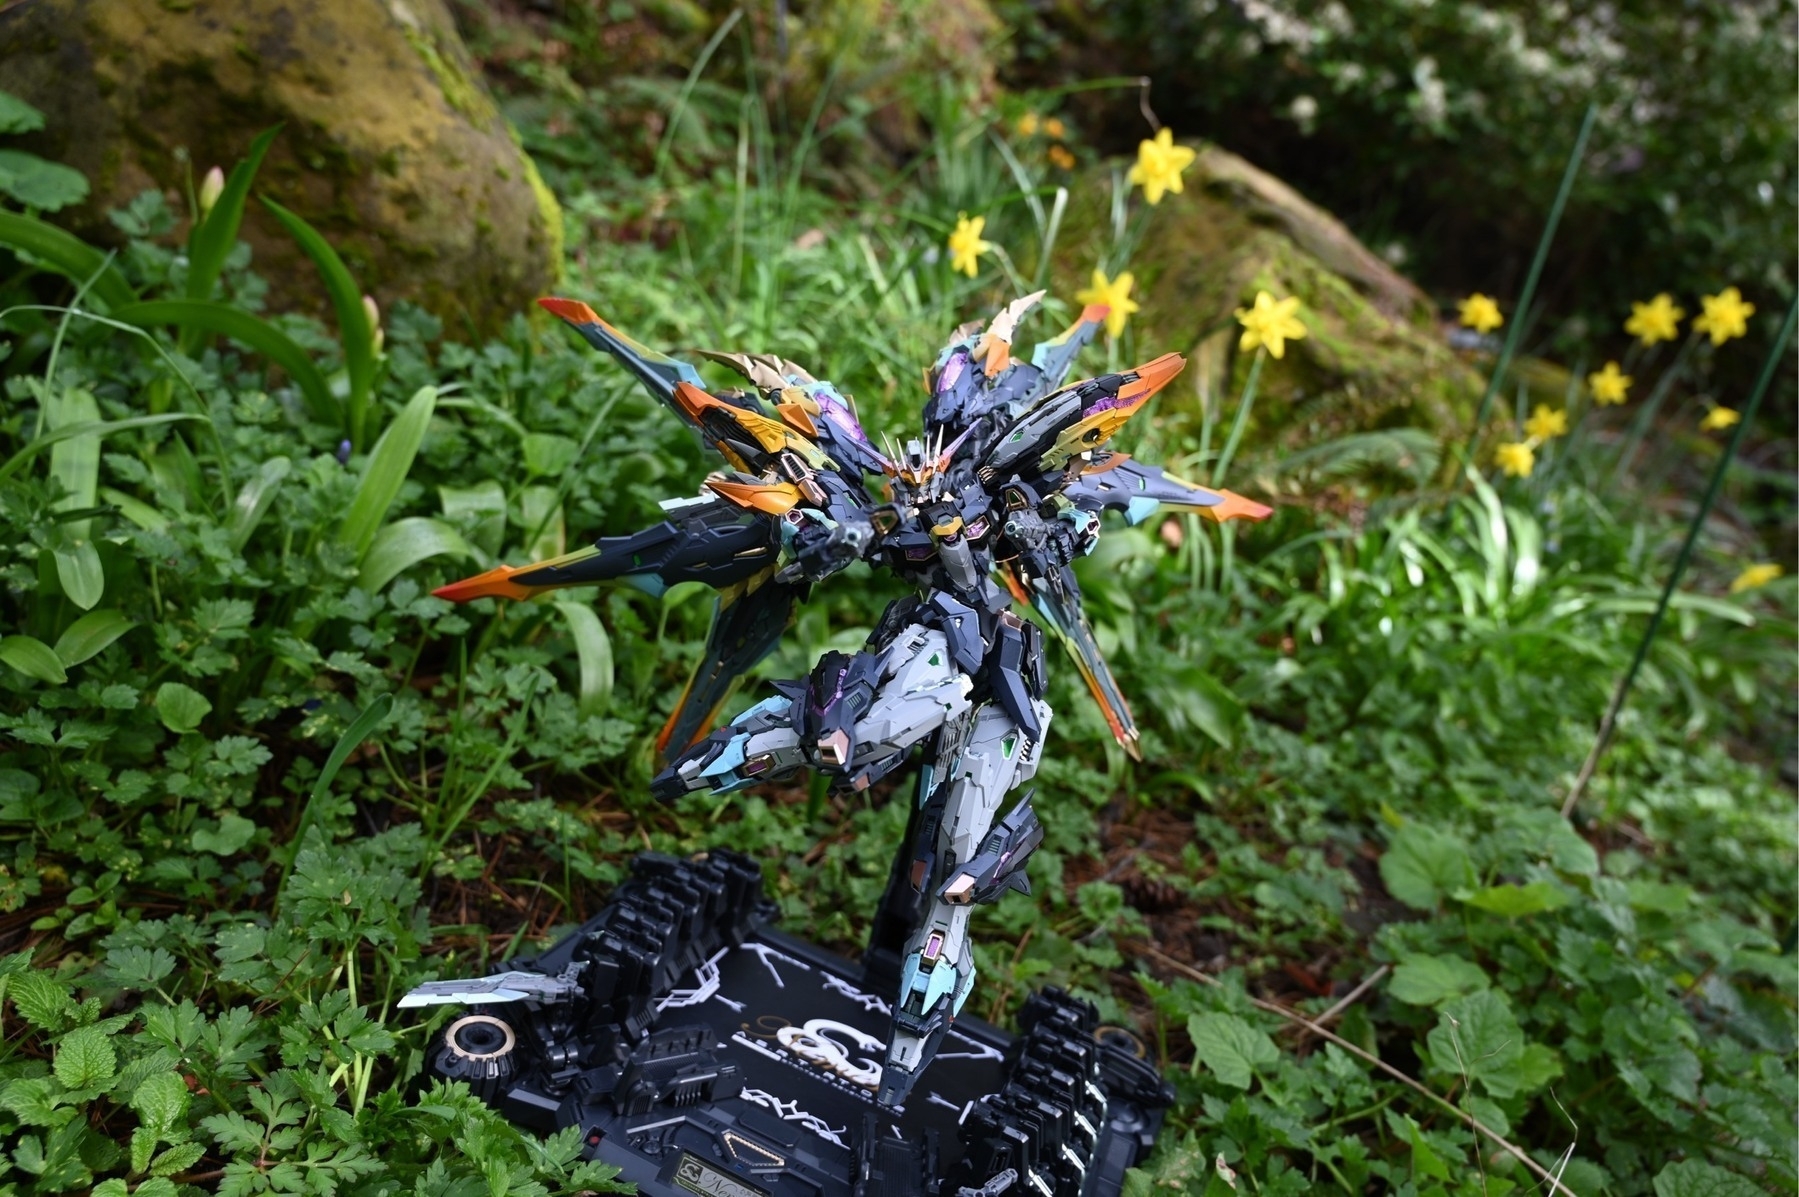
Main body front and back view
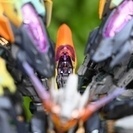
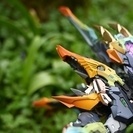
Detail closeups
Gradient WIP pictures- took a solid few hours to paint, but was definitely worth the extra time and effort.
The 1/100 Nemesis Goddess itself is a great kit- color separation, detail, and articulation are fantastic. No bad fittings aside from some very tight parts in the knee joints I would recommend sanding.
-
Pumpkin Princess Hazel ii
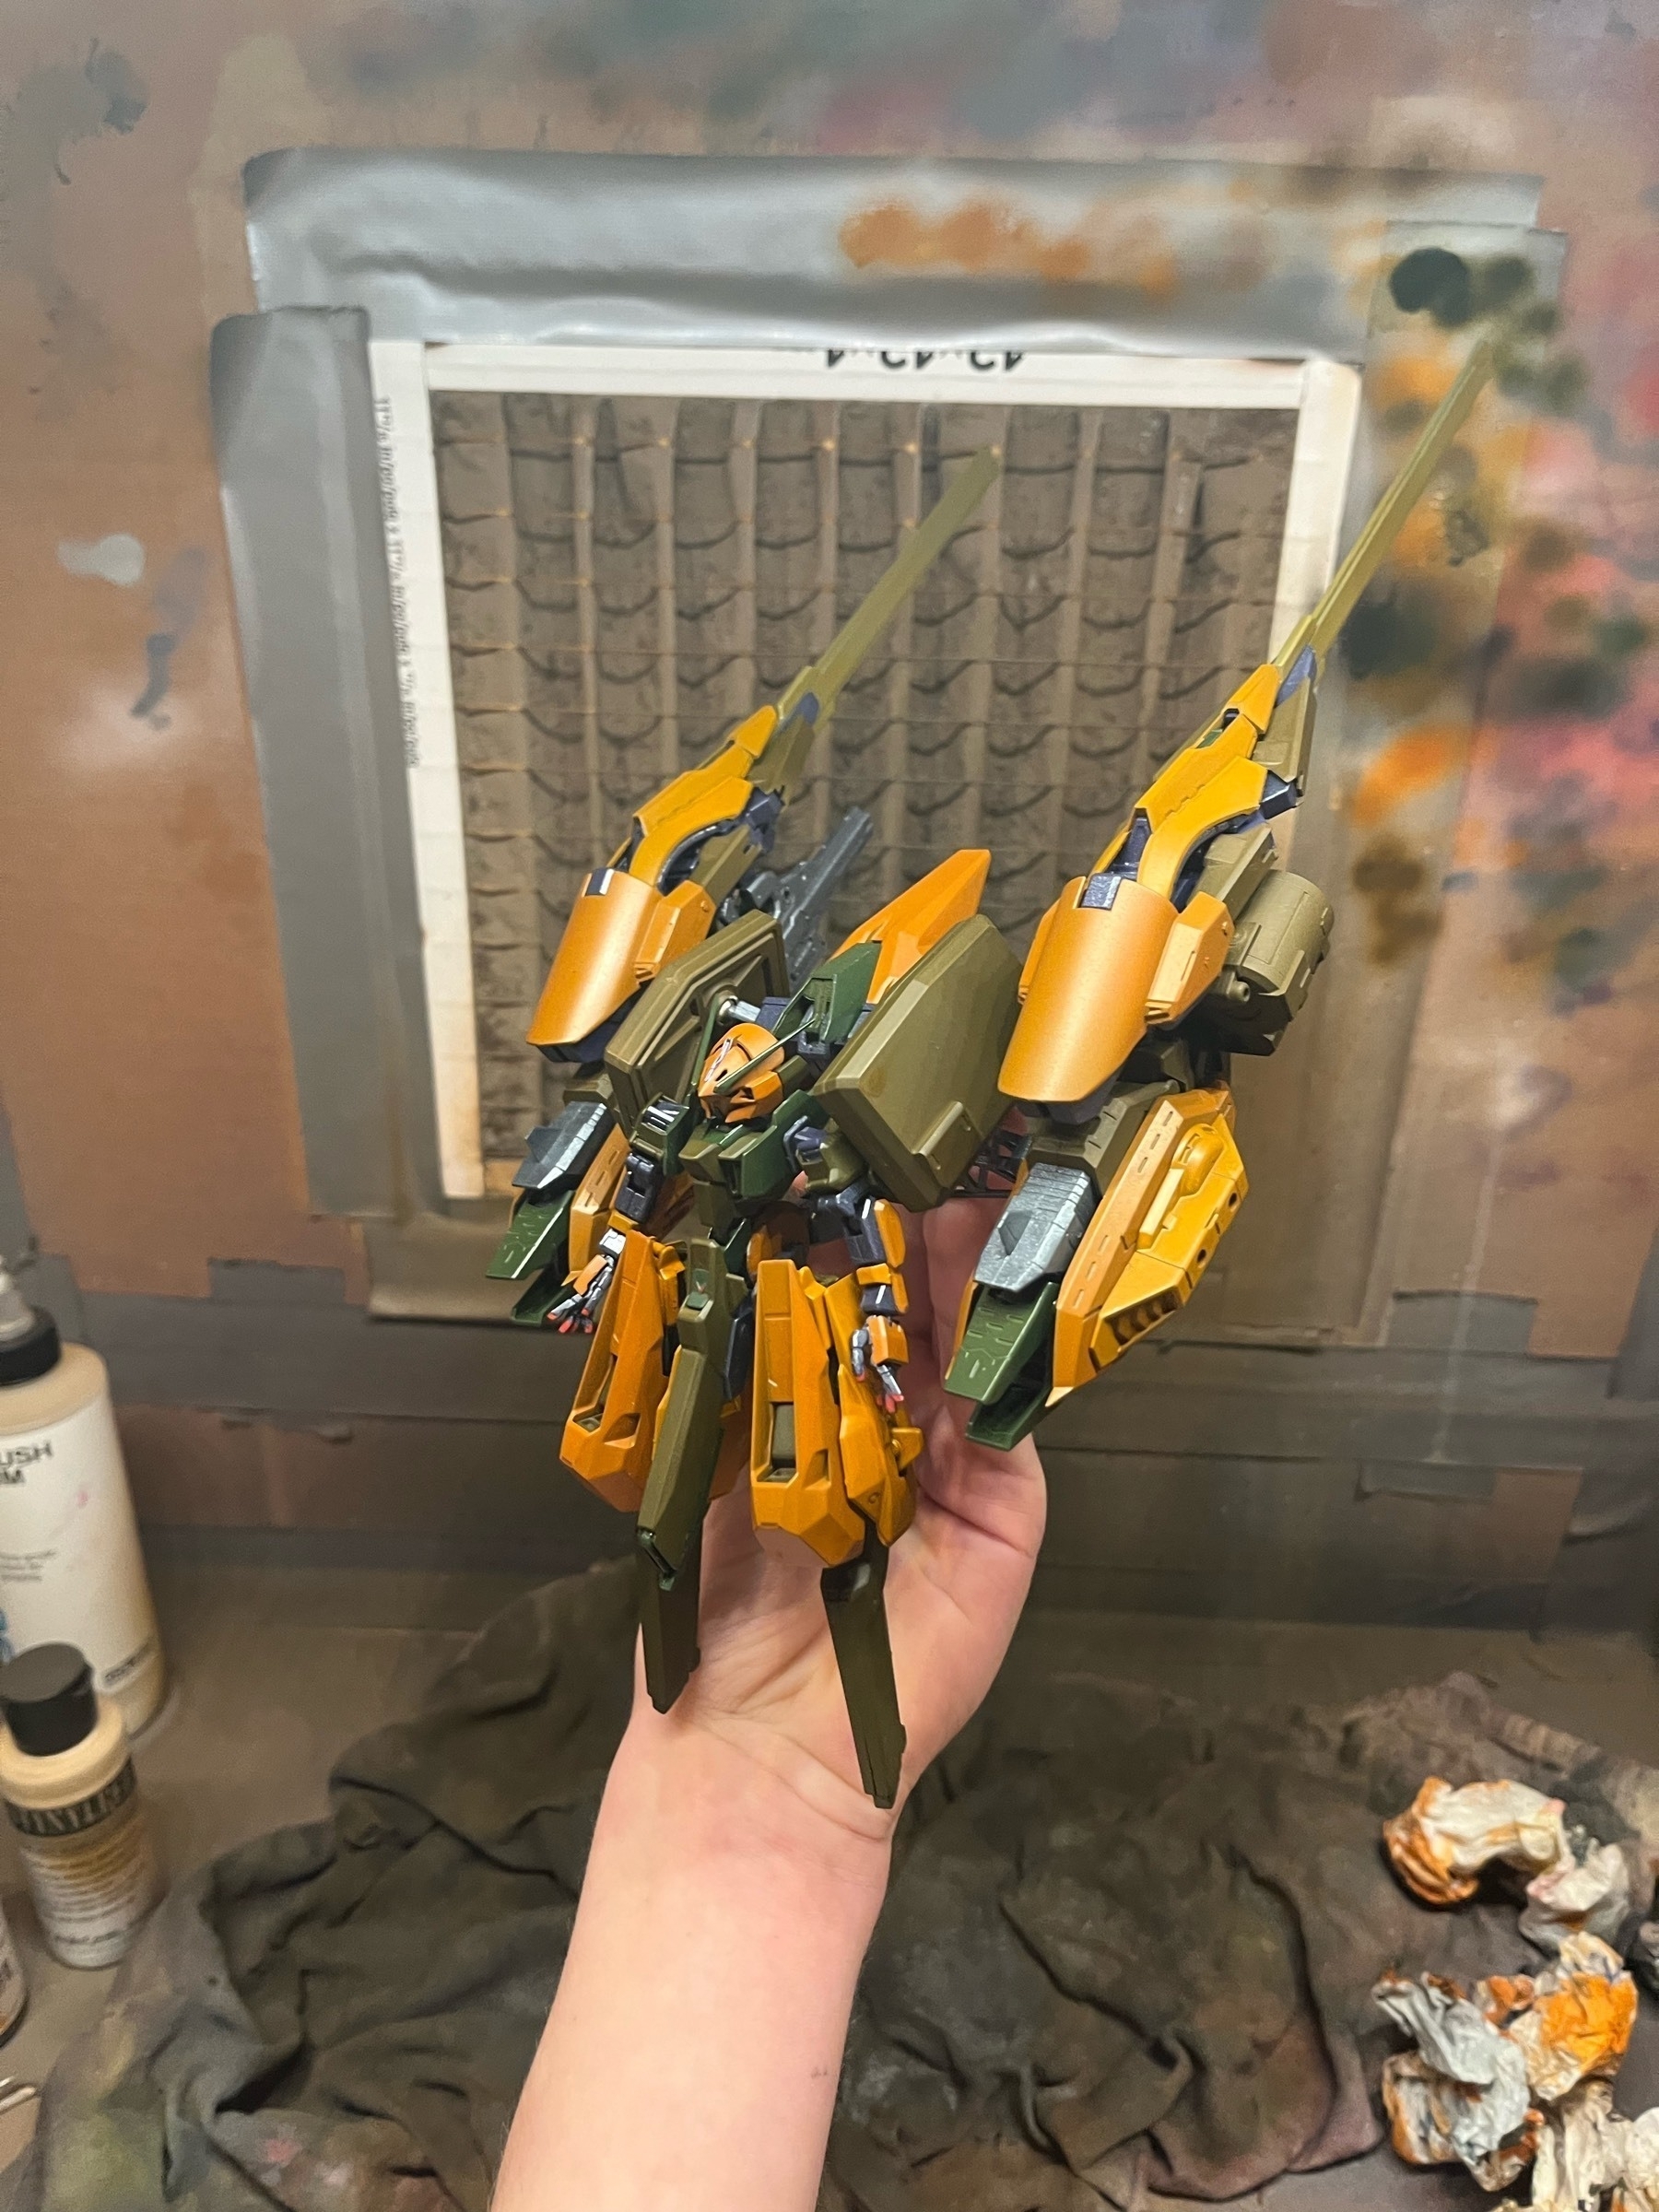
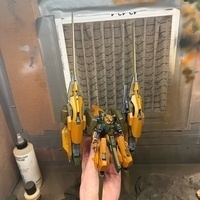
In my first order from GundamCentralShop (great, reliable website by the way), I decided to pick up a bootleg HG Hazel ii, as I had been eyeing the Woundwort-lineage suits from Advance Of Zeta for a while. Since almost all AOZ kits are P-Bandai, the only three options for finding them are paying outrageous scalper prices, waiting for a reprint, or finding a good-quality bootleg. I went for the last option, and the kit’s quality was fine. My only complaints were some joints were a bit too tight/loose and there were some mold lines over the plastic, but neither of those really mattered since I knew I would be painting the model.
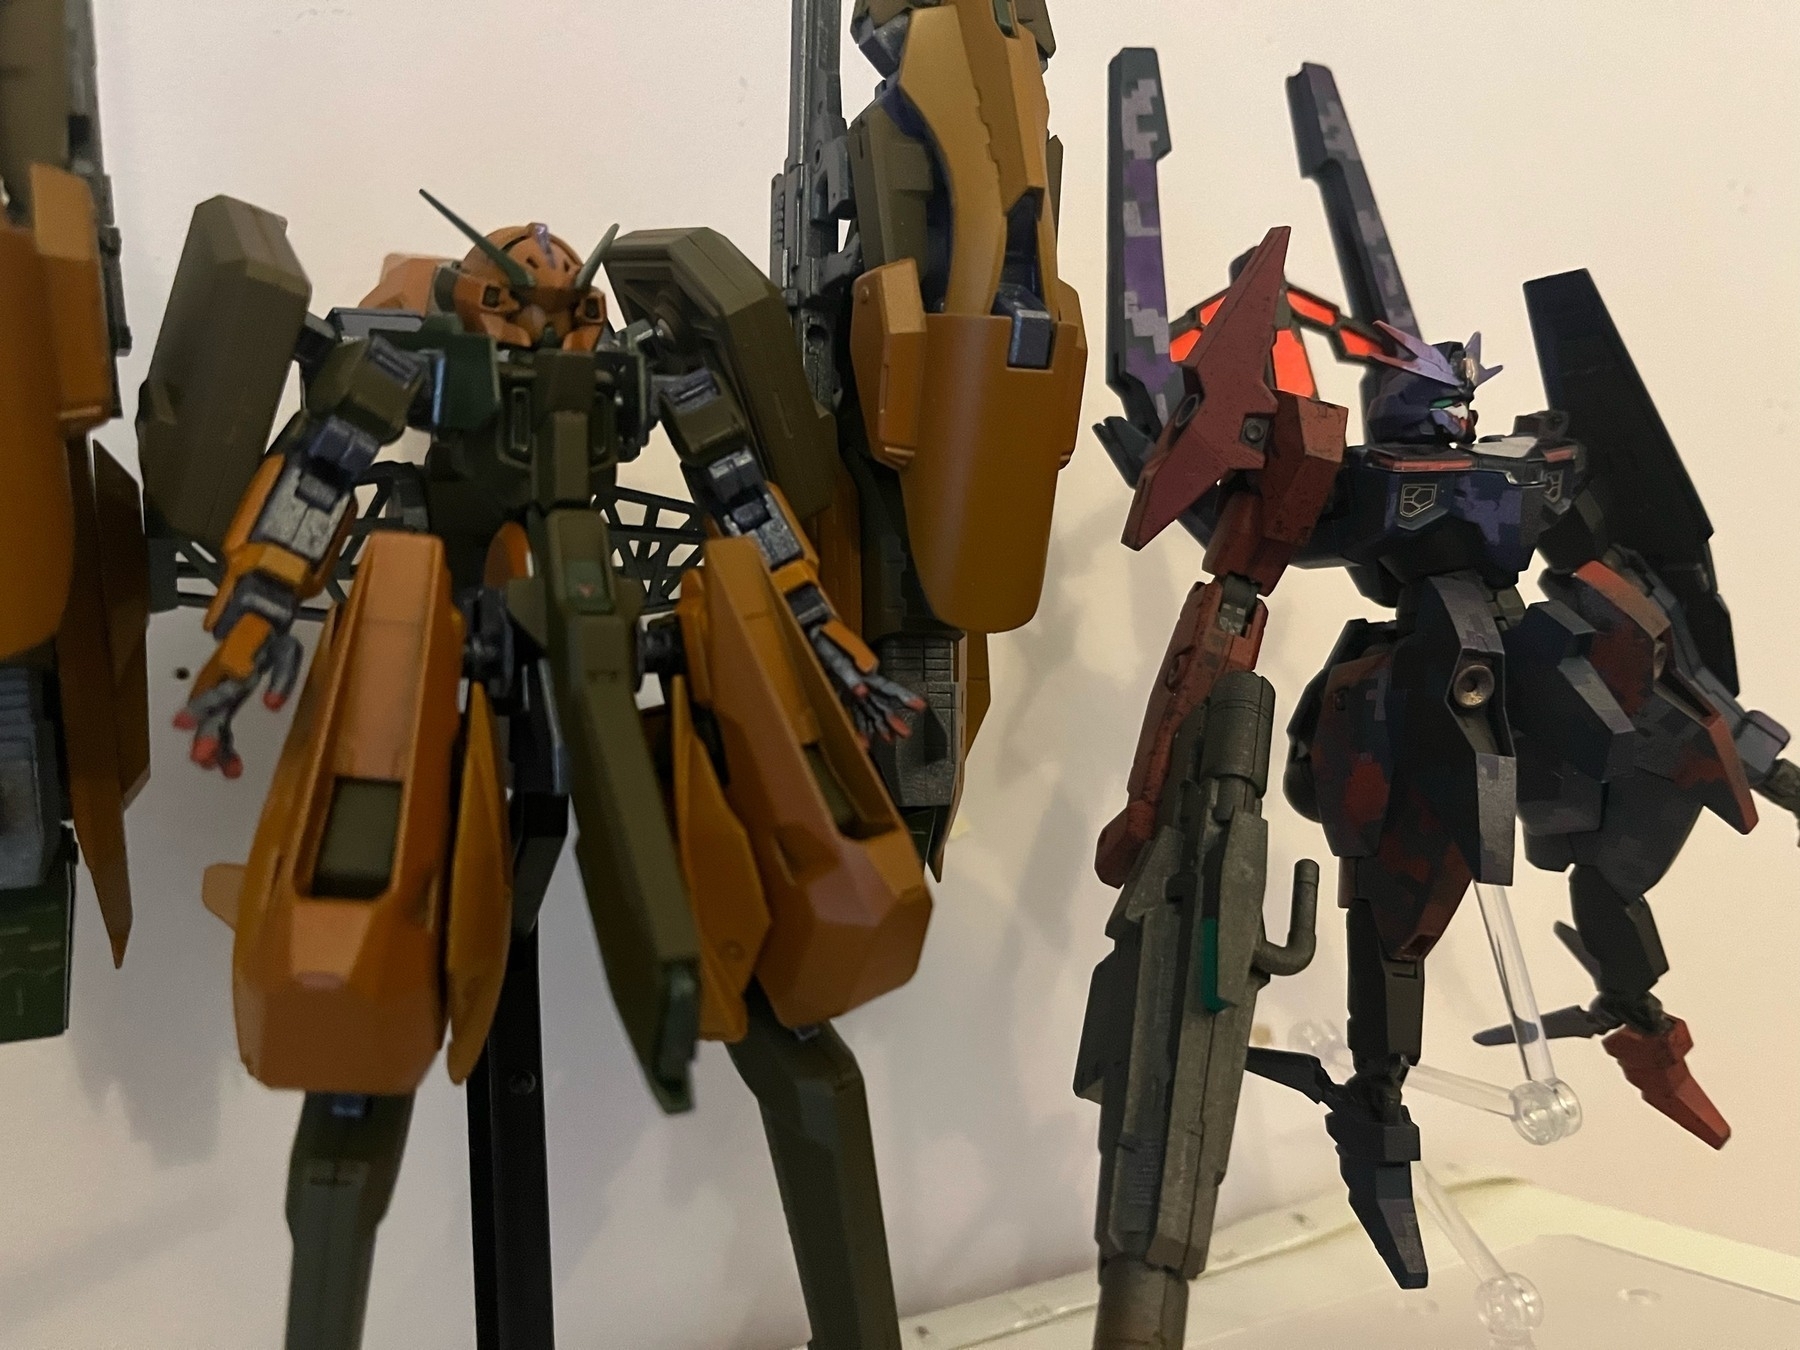
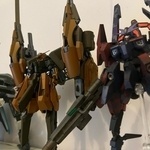
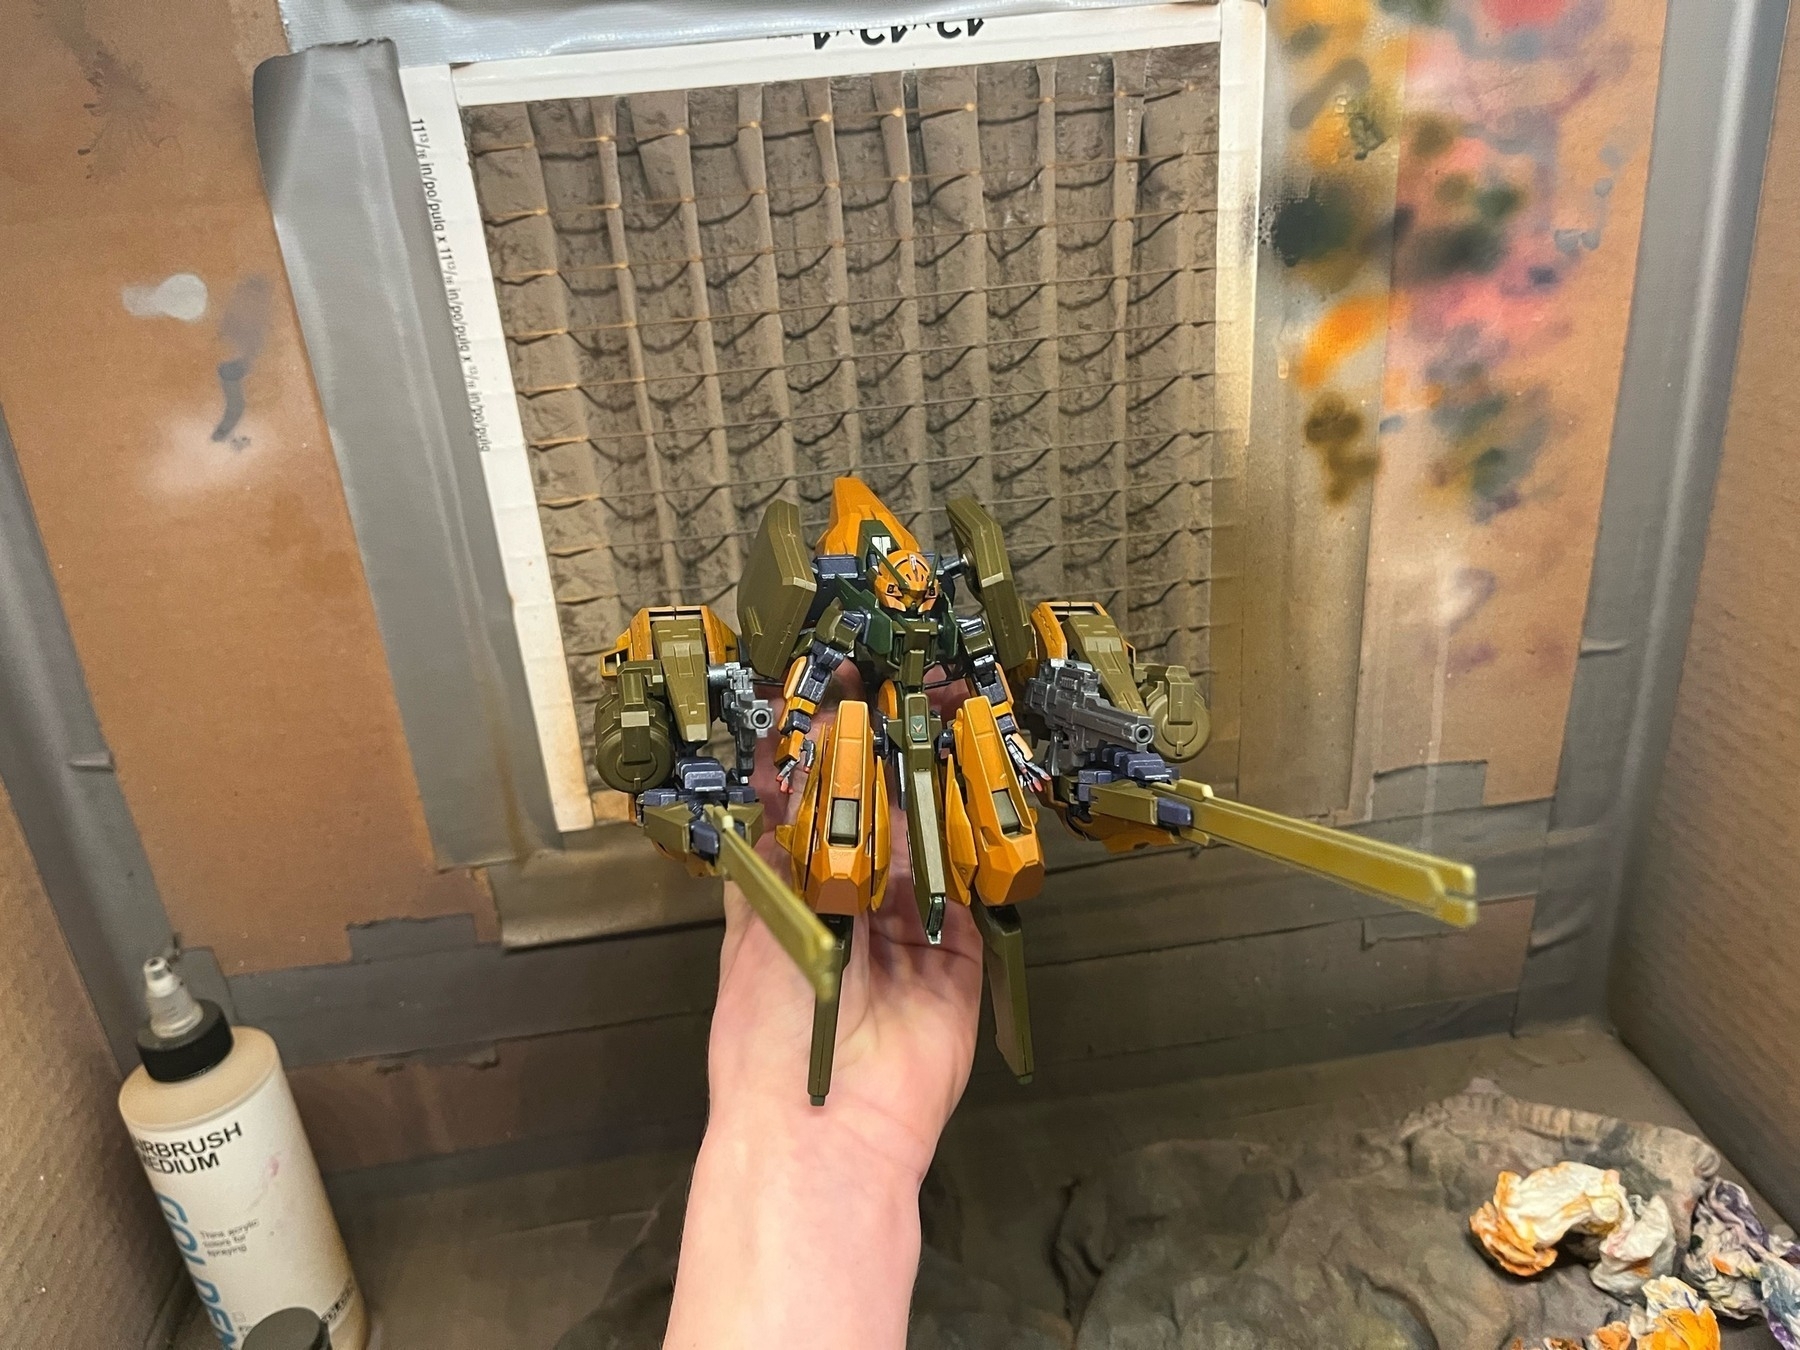
I knew I wanted to do something seasonal, so I had to decide between something specifically halloween-ey or a more generic autumnal scheme. I ultimately went with pumpkin patch colors, using two tones of orange, dark greenish-brown, a metallic gunmetal that turned out purple for the frame, and a glossy dark green for some accents. As usual, I touched some parts before they were all the way dry, but I was able to wipe off the paint after an alcohol bath while still keeping the base primer coat. After I finished the main unit, I had the accessories left over, most important of which are the two massive rear-mounted cannons. I decided to use a Kotobukiya MSG Raging Booster I had leftover from a previous project to add even more bulk to the rear unit, and I think the overall build turned out nicely. The colors work well with my previous weird-proportioned painted suit, the Lfrith Thorn, so I’ve been displaying those two together.
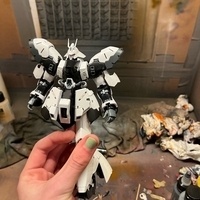
I have a mostly-finished RG Sazabi on the backburner until the humidity improves or I change my airbrush setup, so I’ll try to post about that soon in addition to some more Pokemon content. See you then!
-
WIP: Lfrith Pre-Production Type
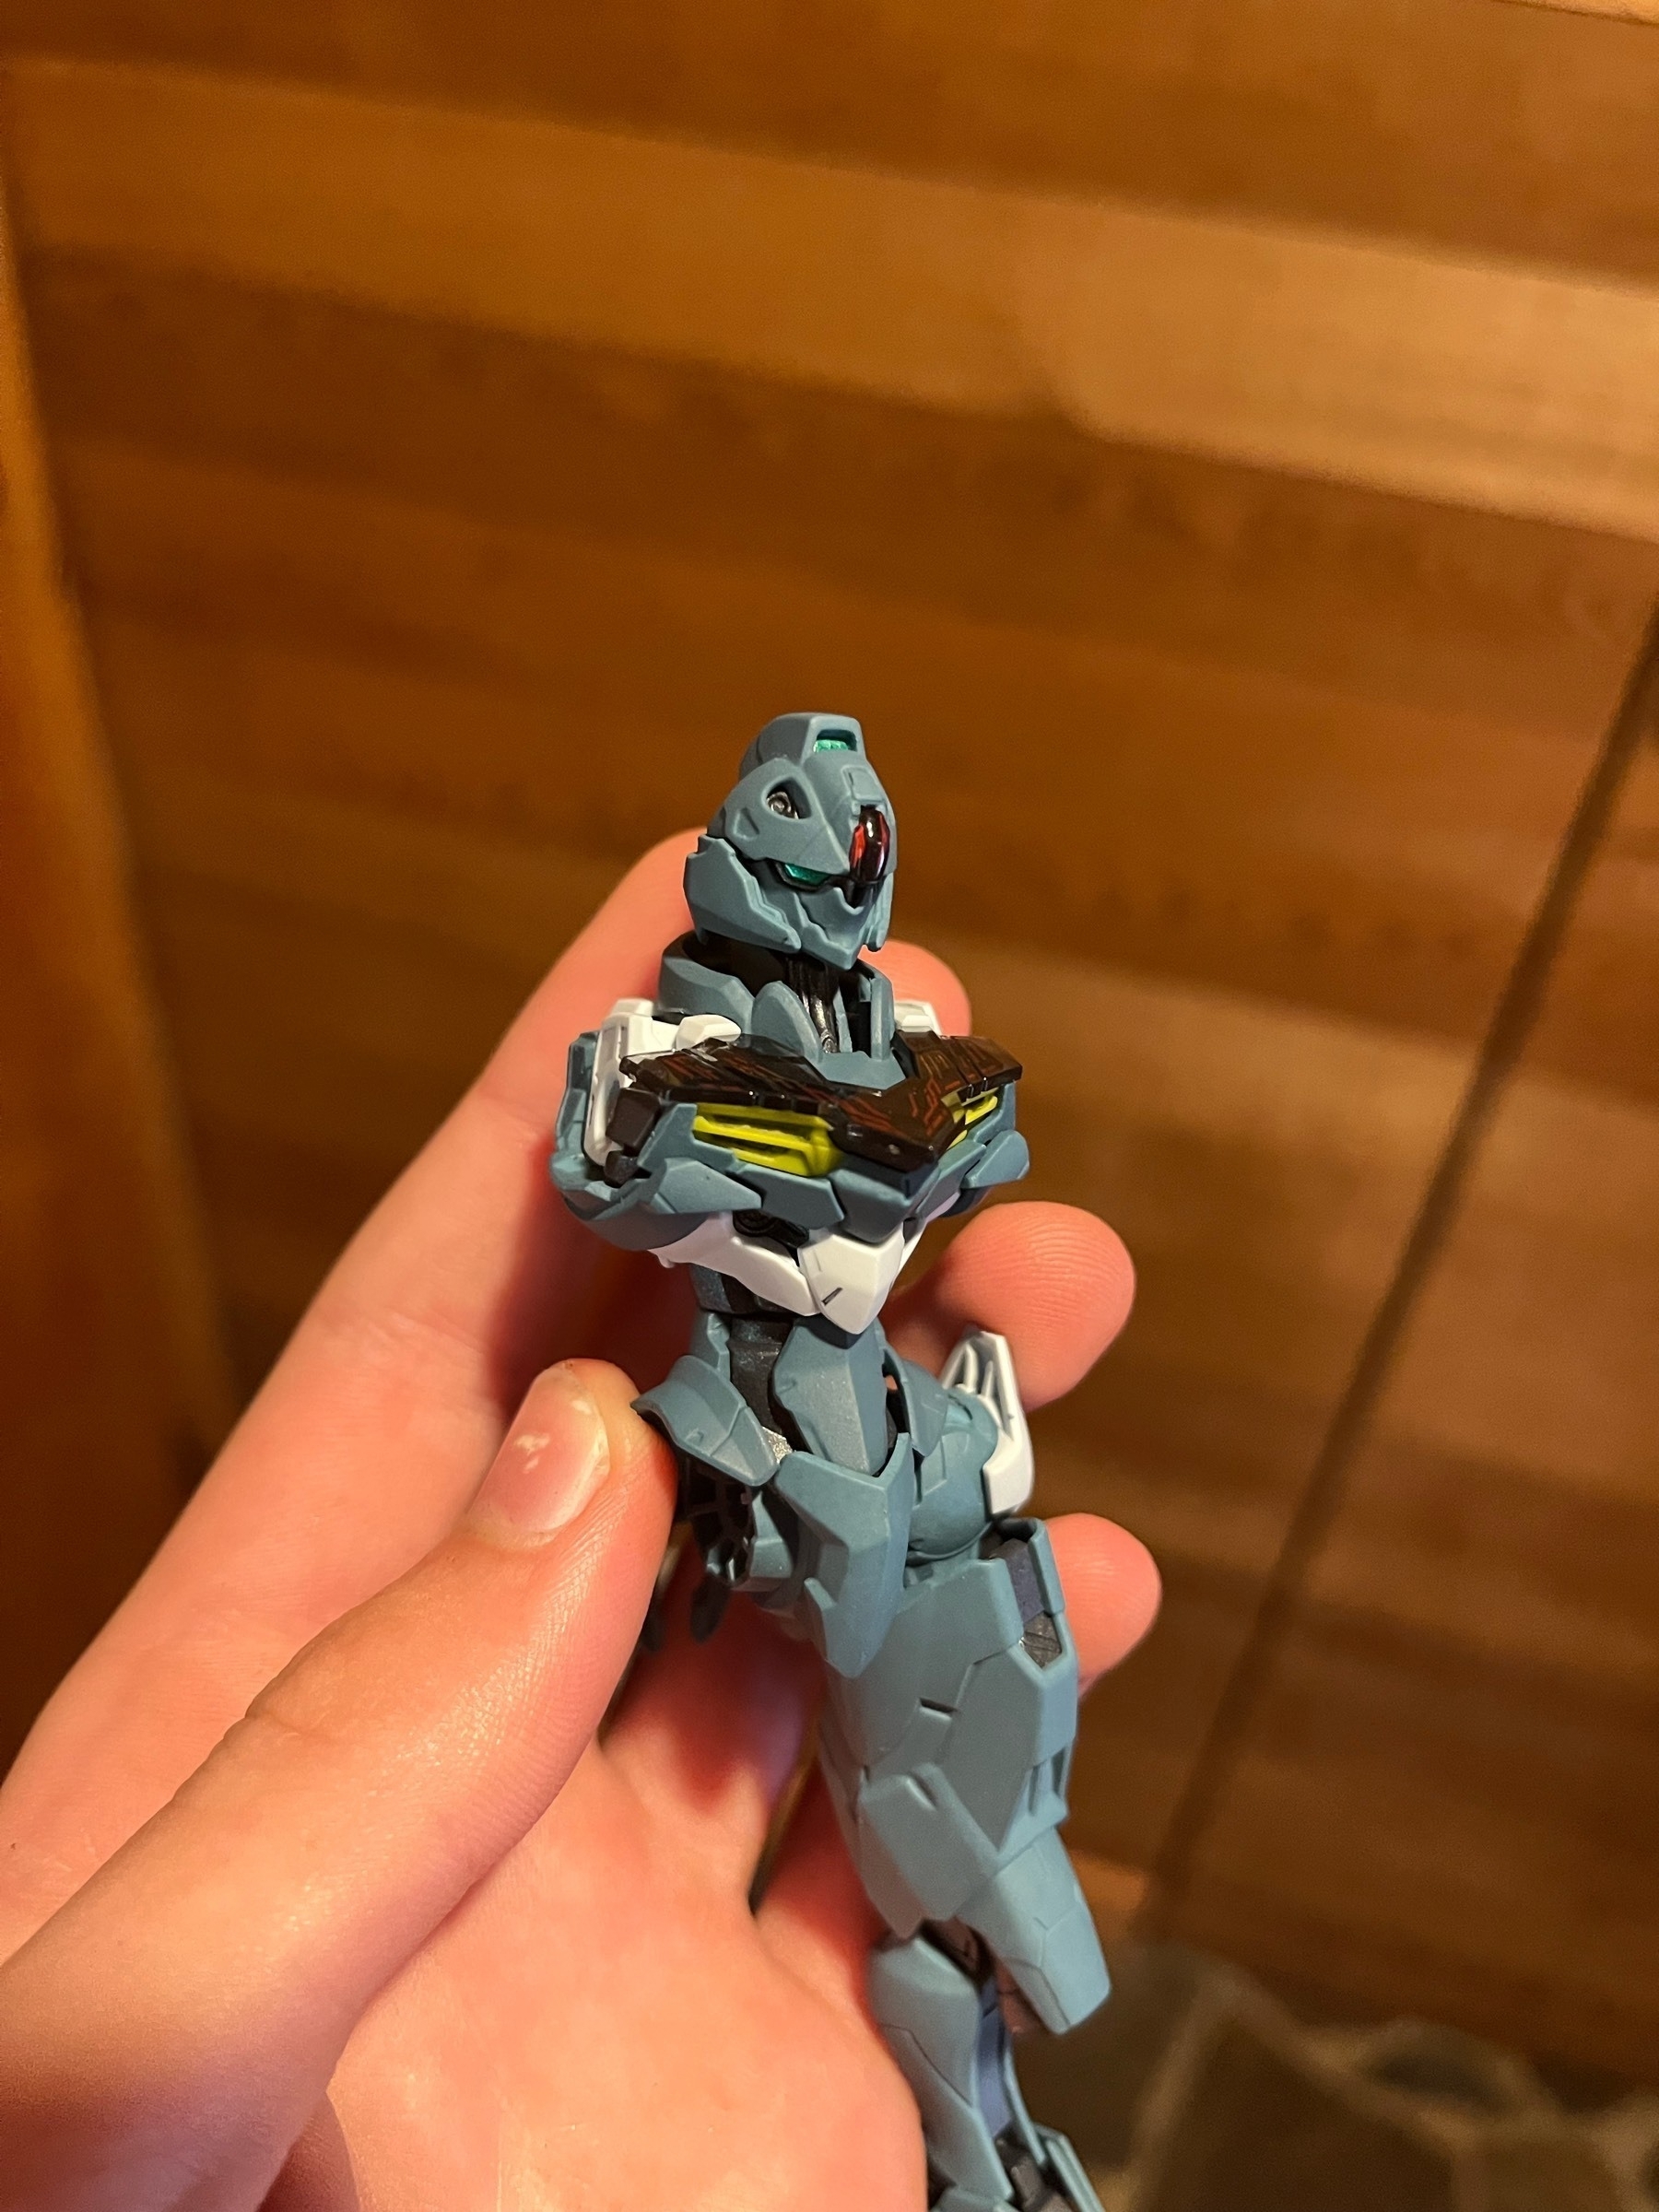
I wanted to do something a bit special for my first Premium Bandai kit, so I am working on a repaint, keeping the original colors of the kit but sprucing it up a bit. I used a metallic gunmetal for the frame and a custom mix for the blue, and so far it’s turning out quite nicely!
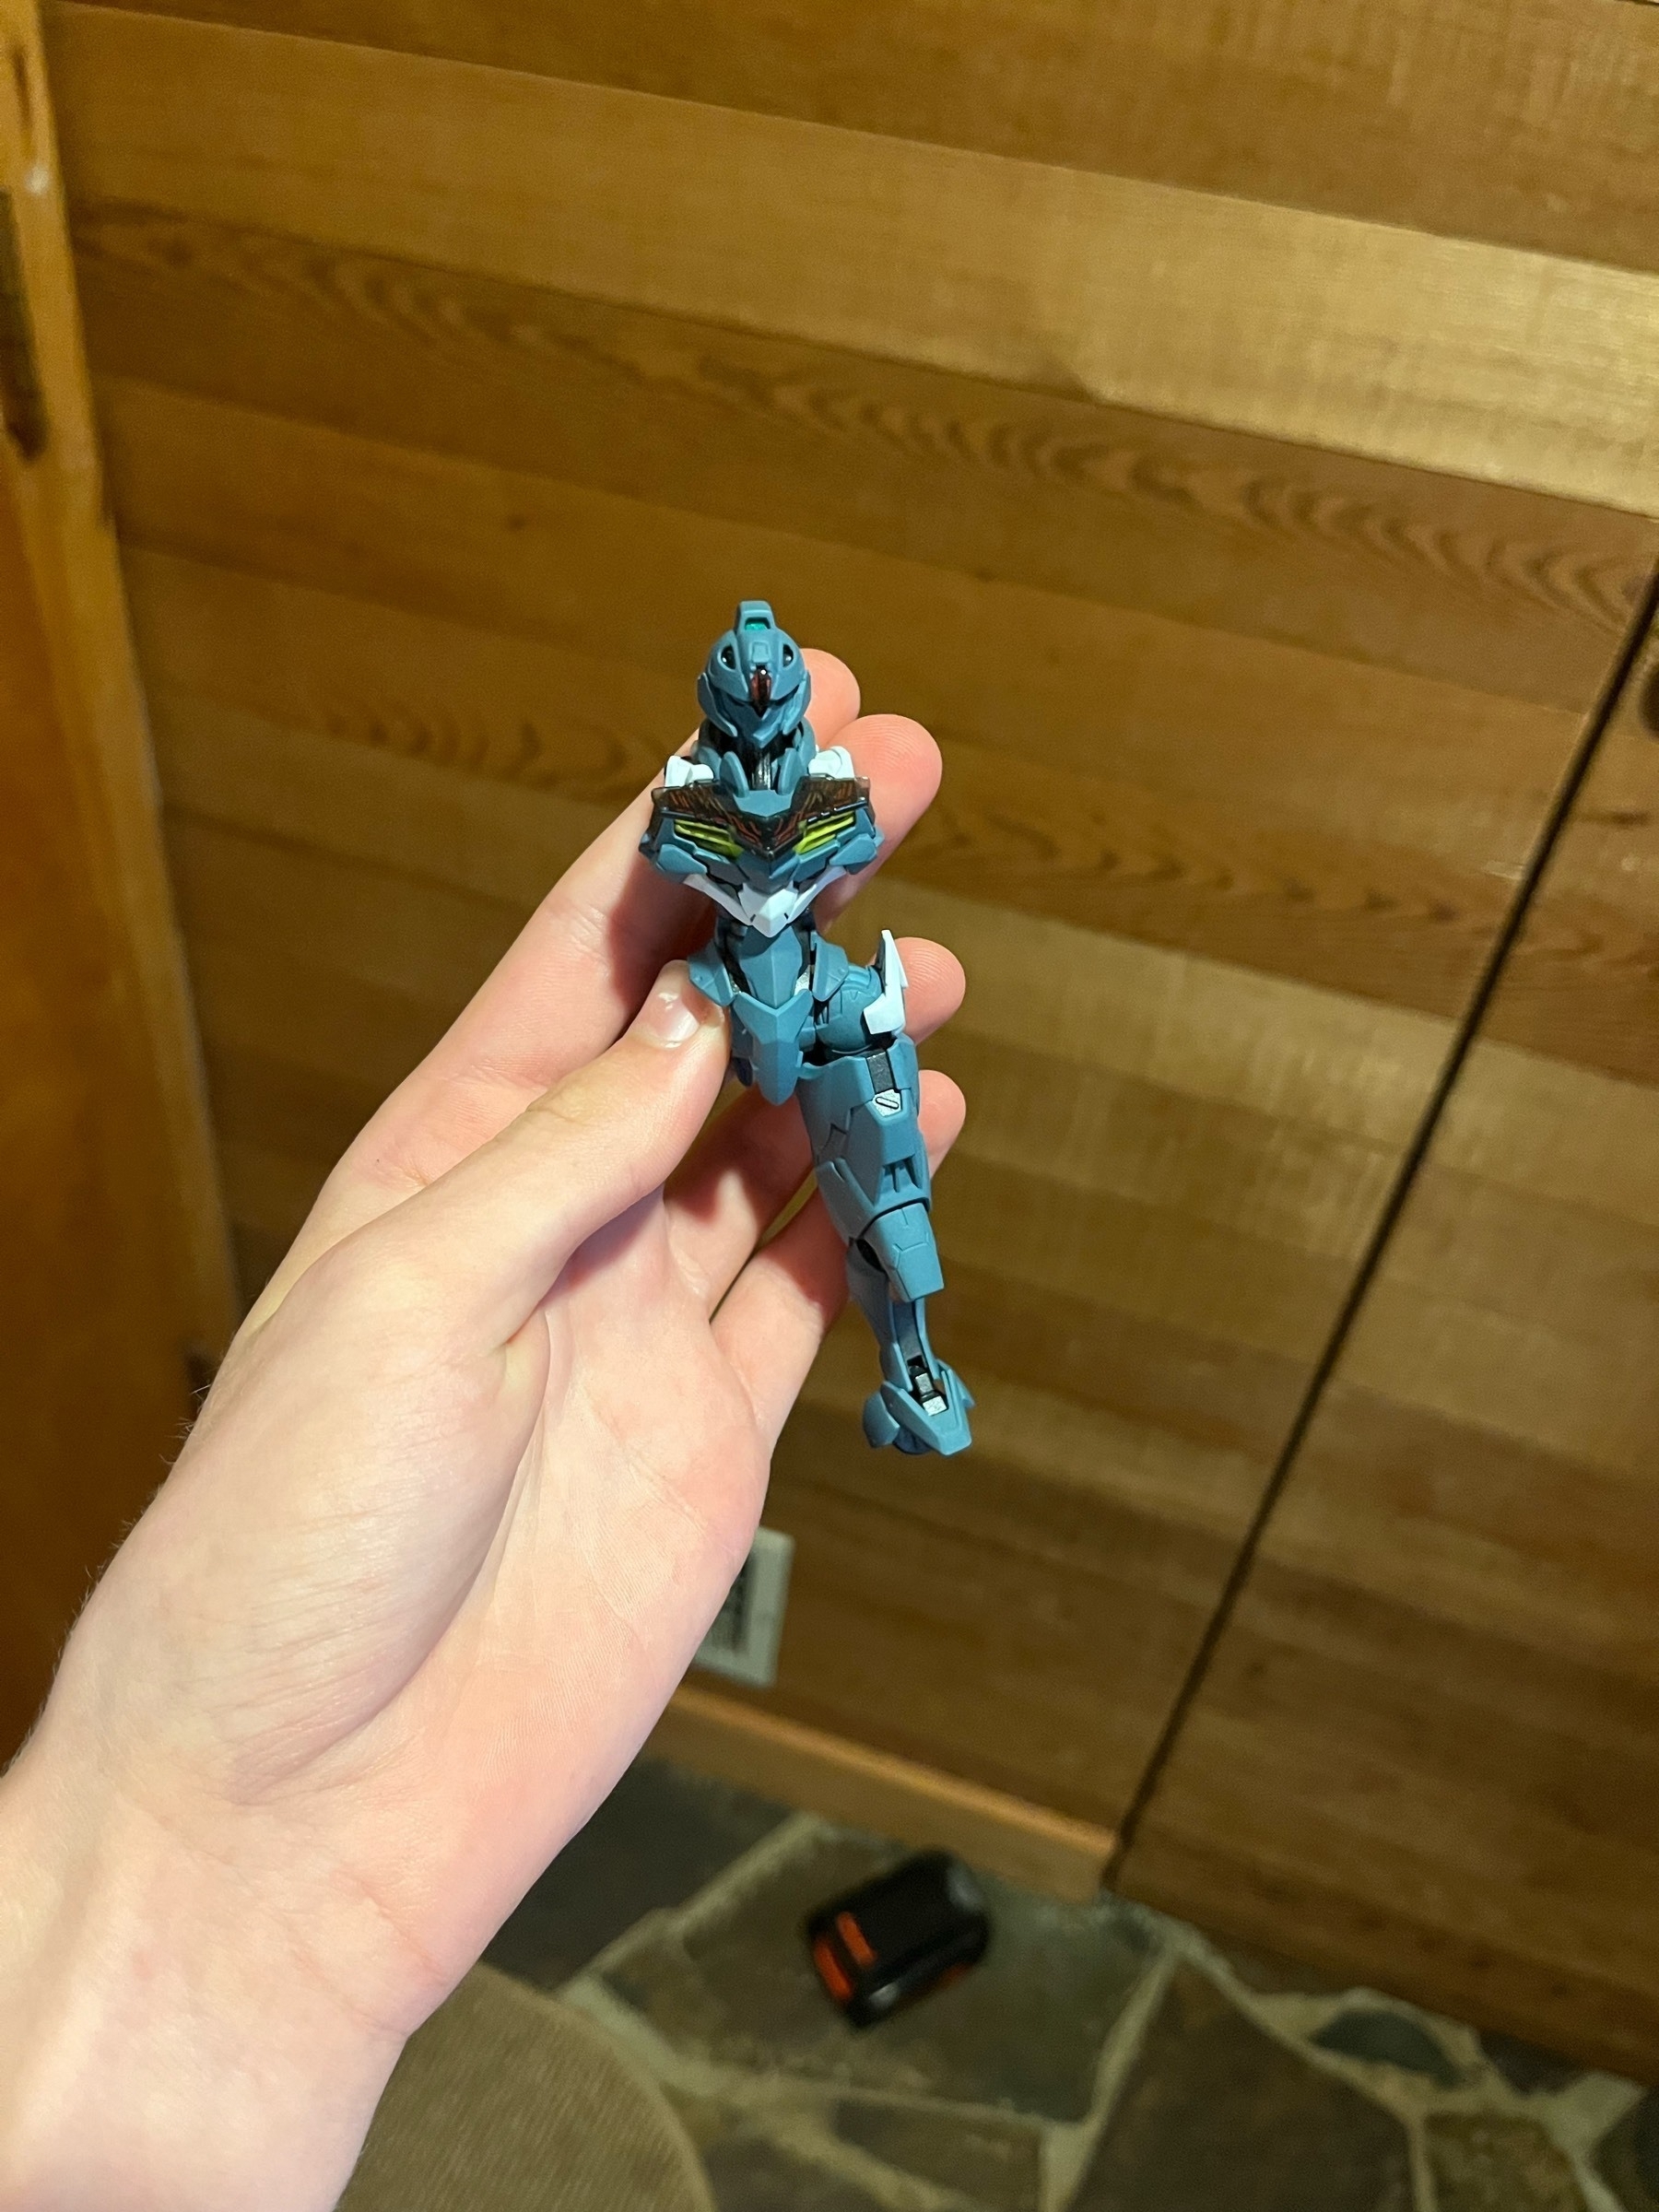
As usual, the HGWFM line continues to impress, with an almost full inner frame packed into this kit’s 7 runners.
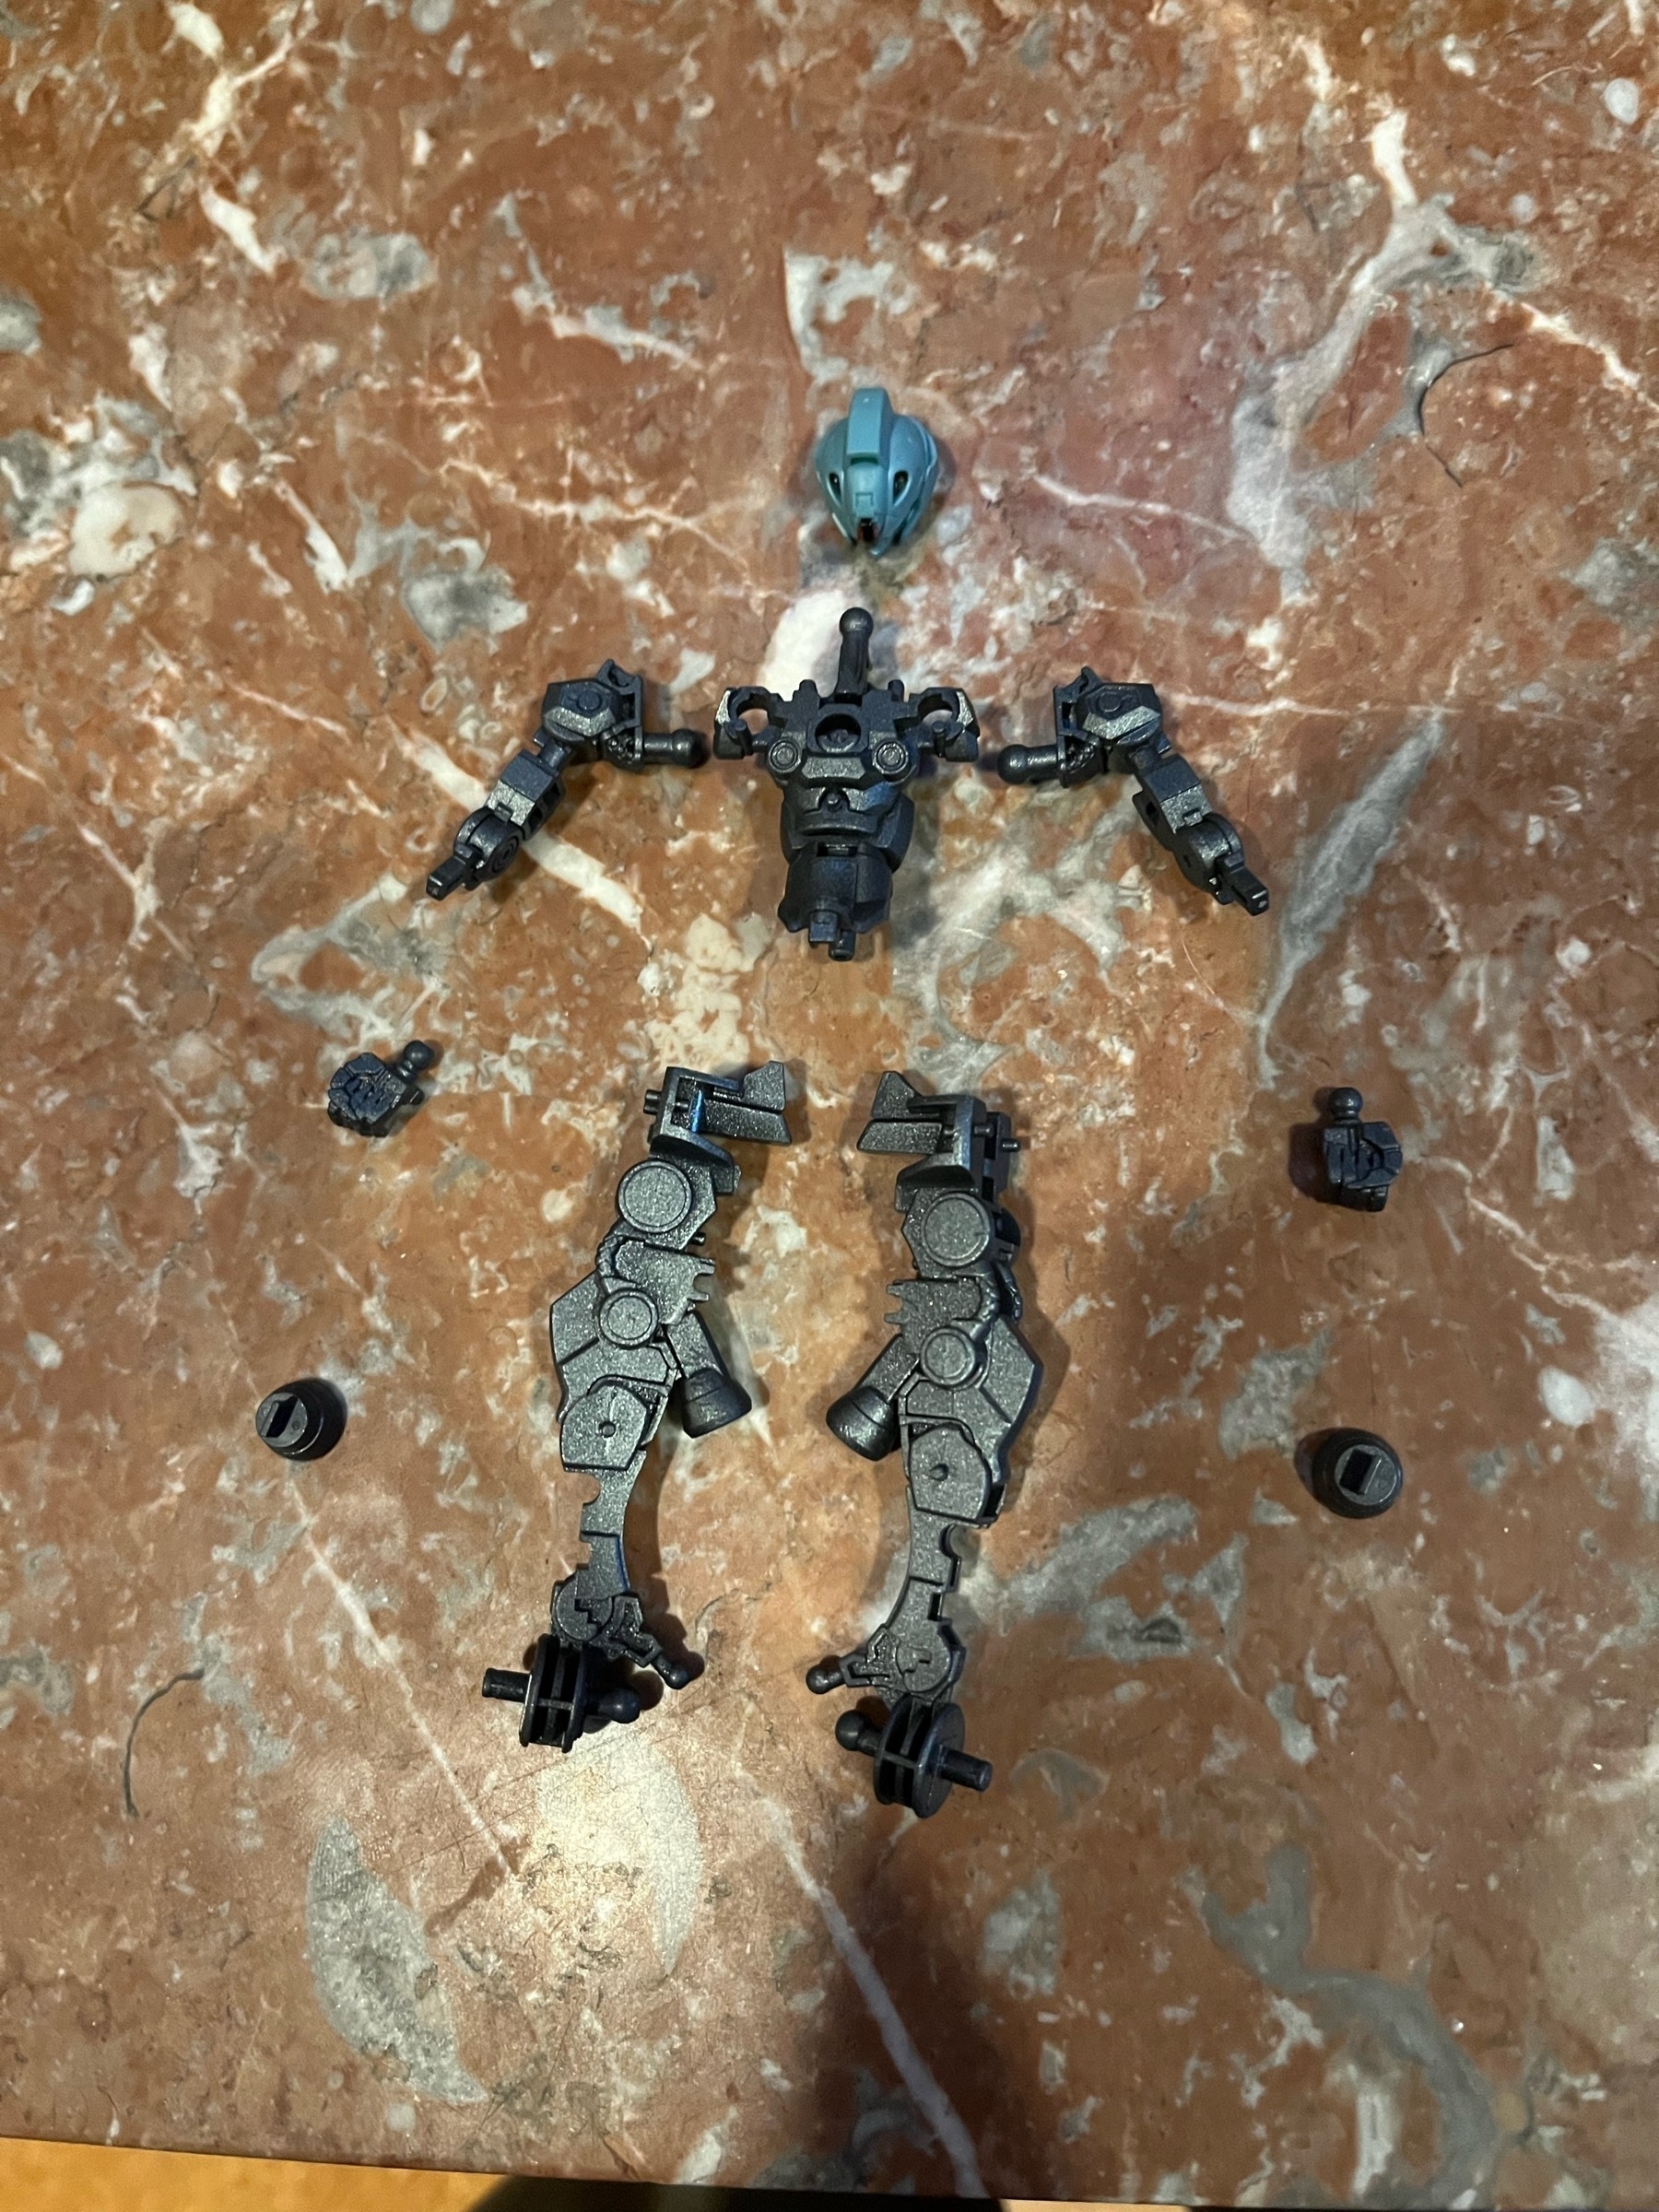
Main body snap-built without paint:
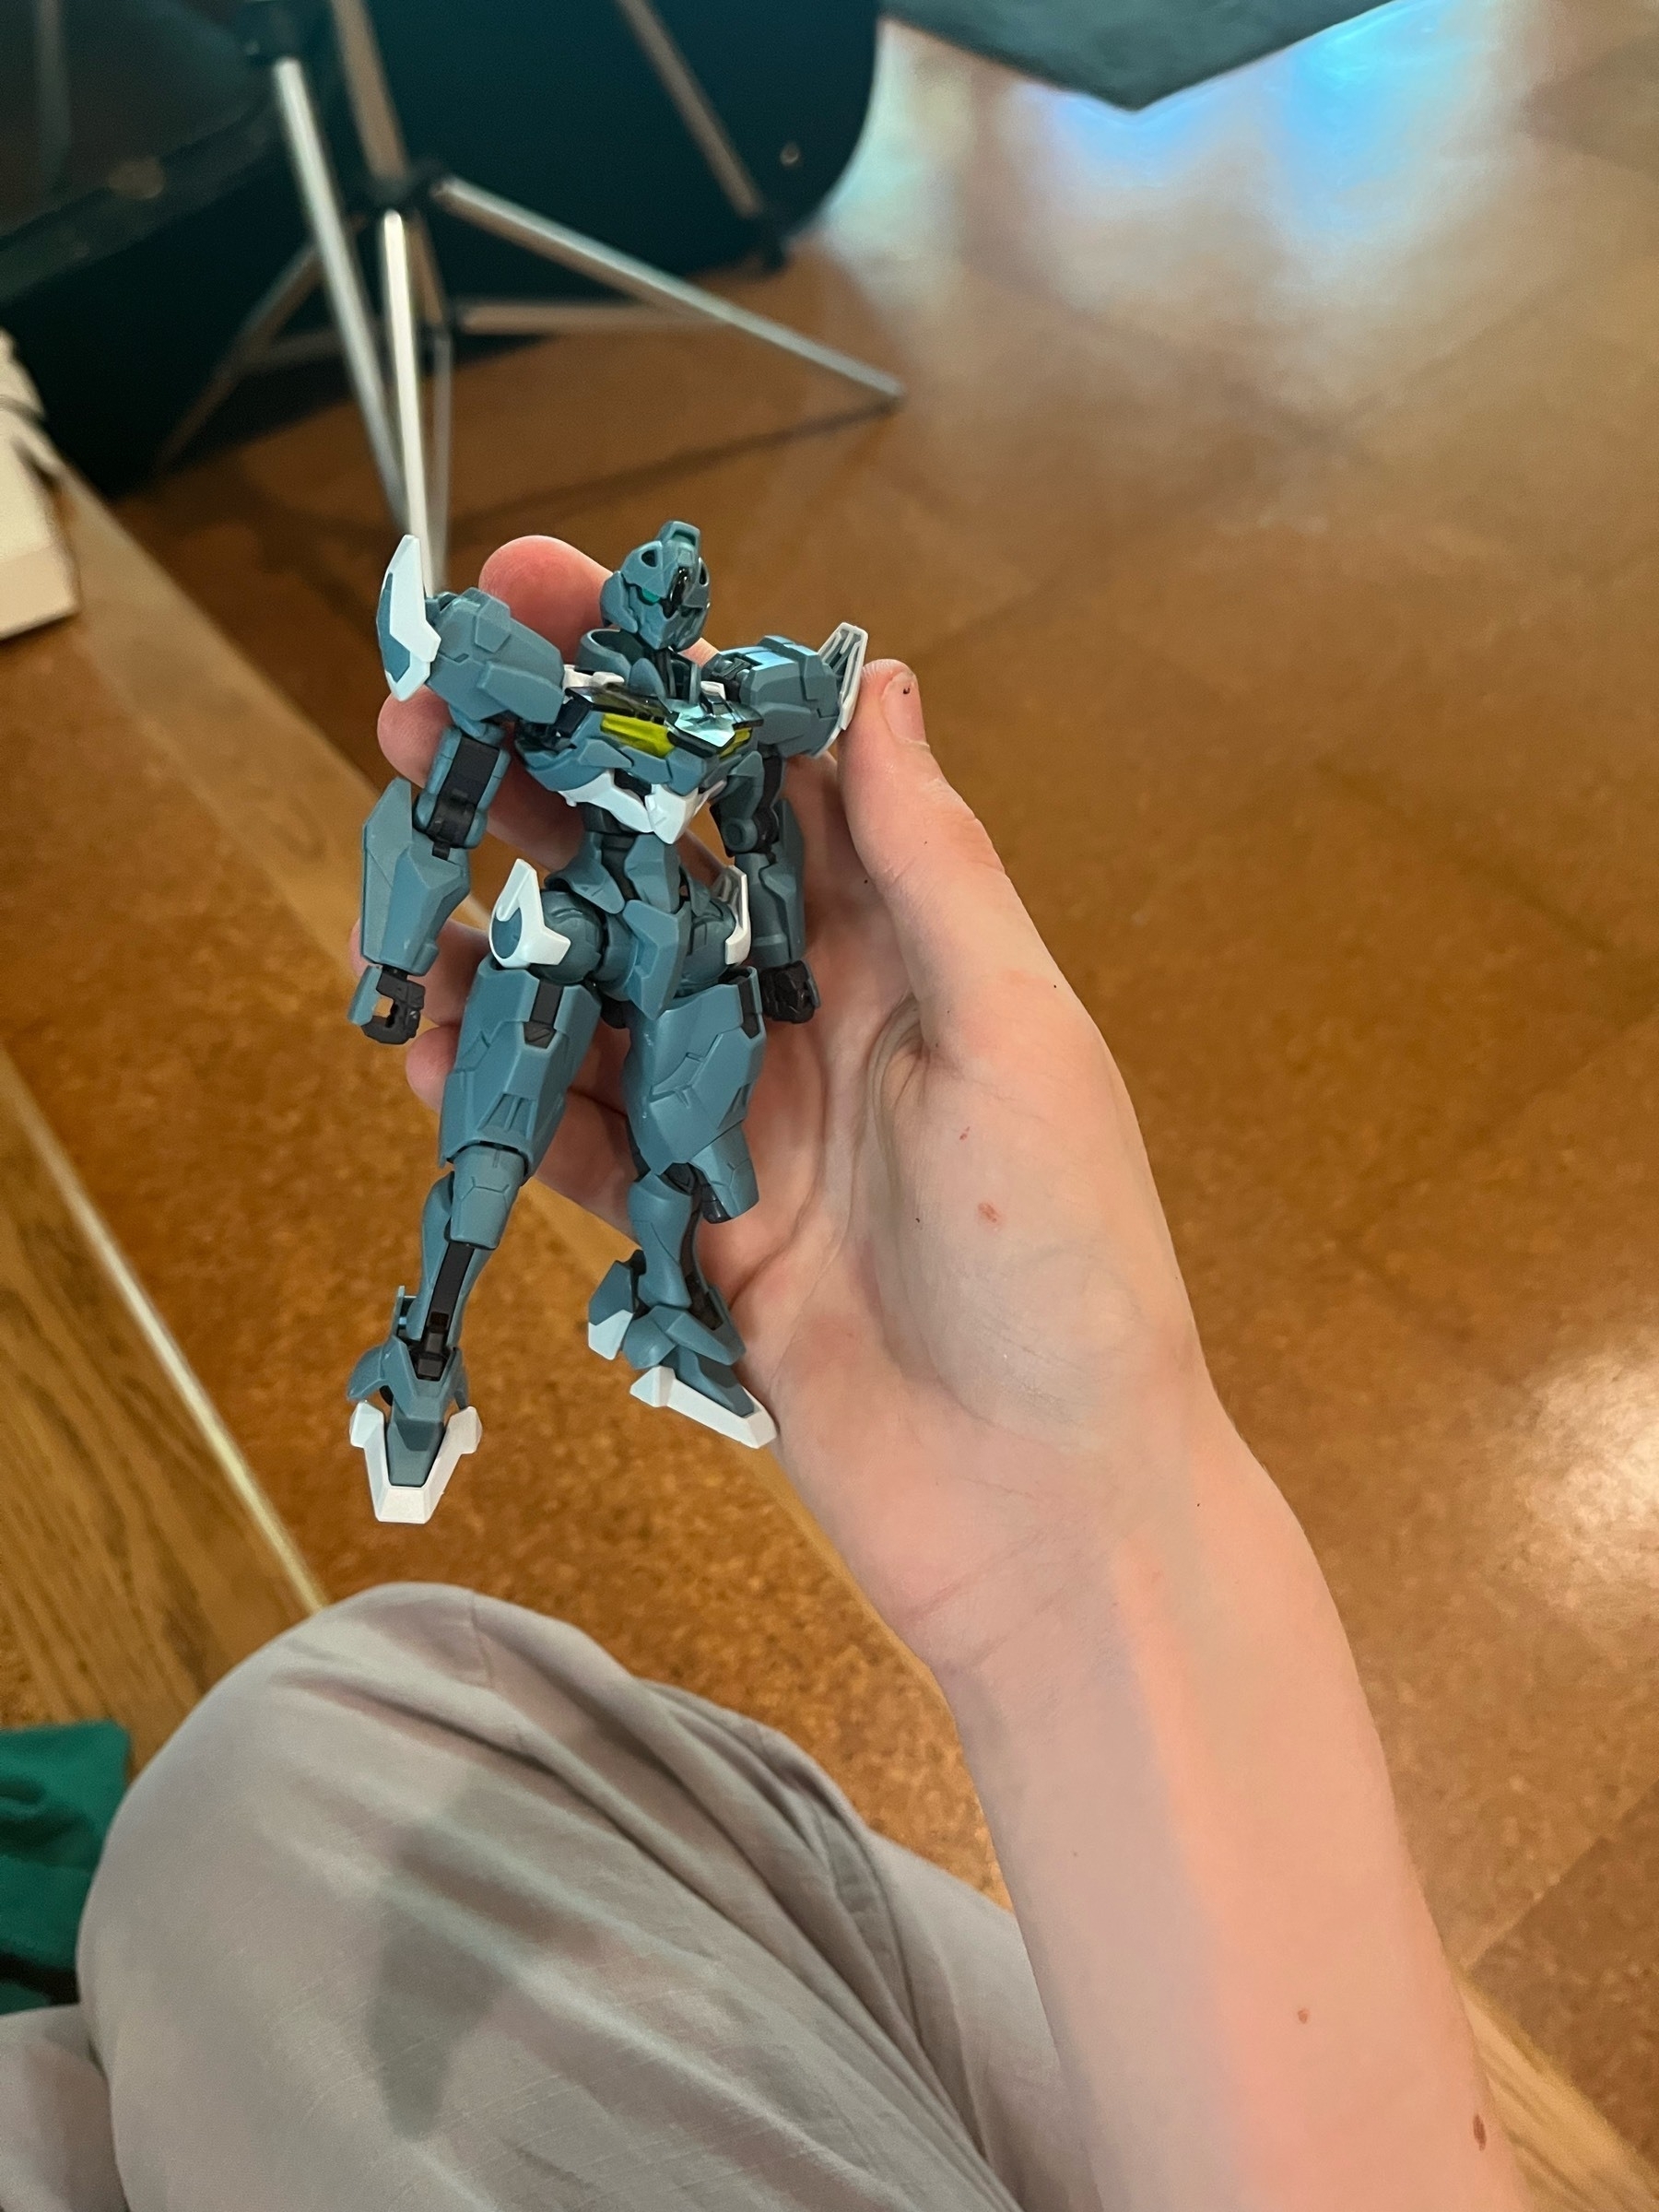
-
Lurantis Rework
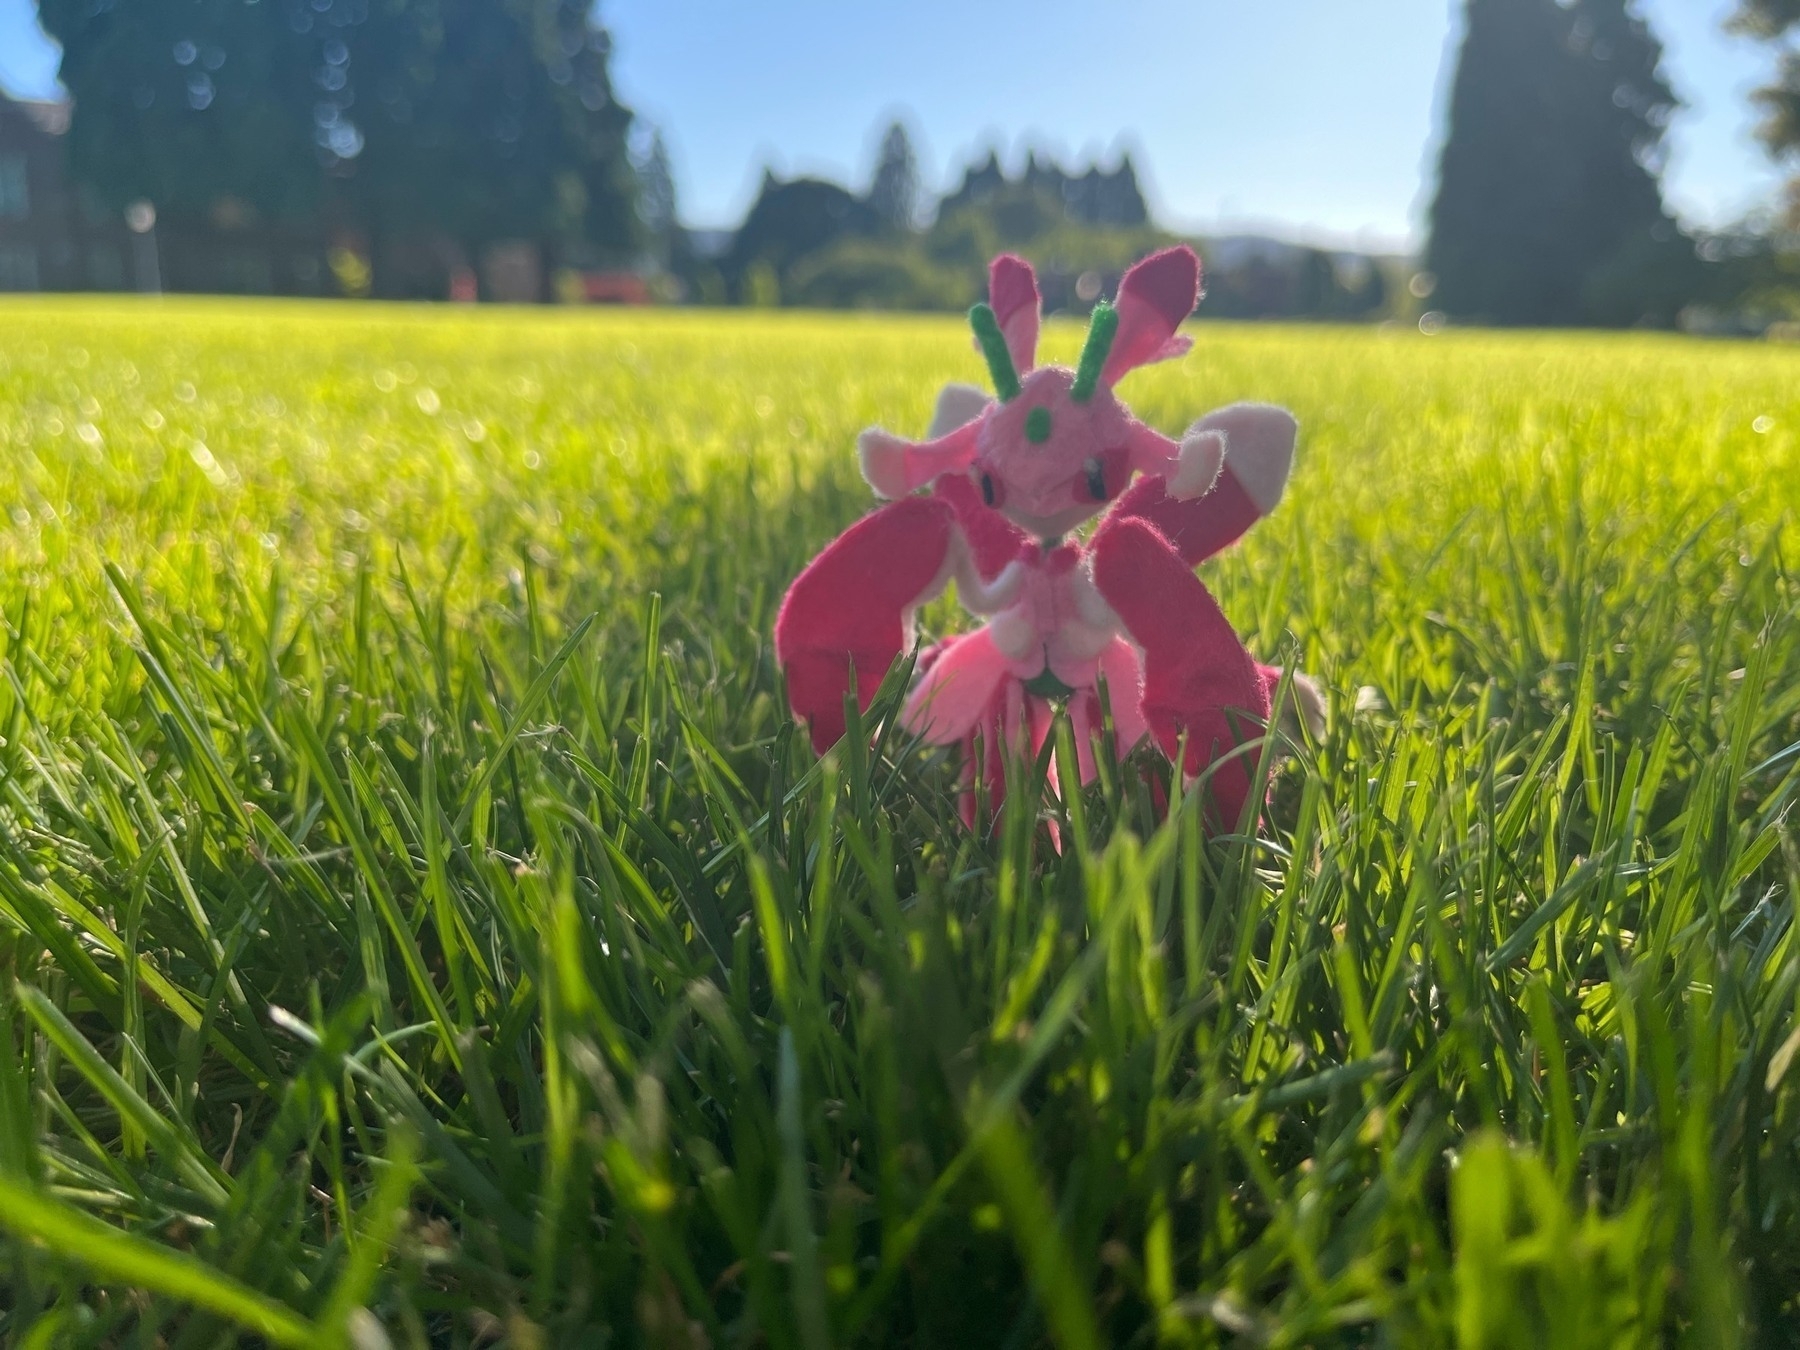
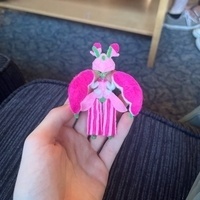
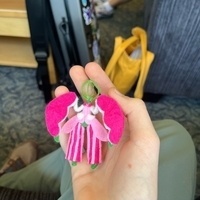
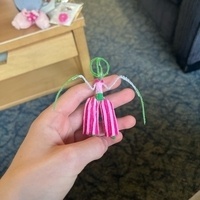
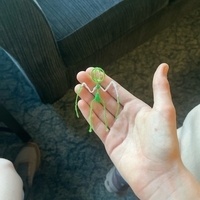
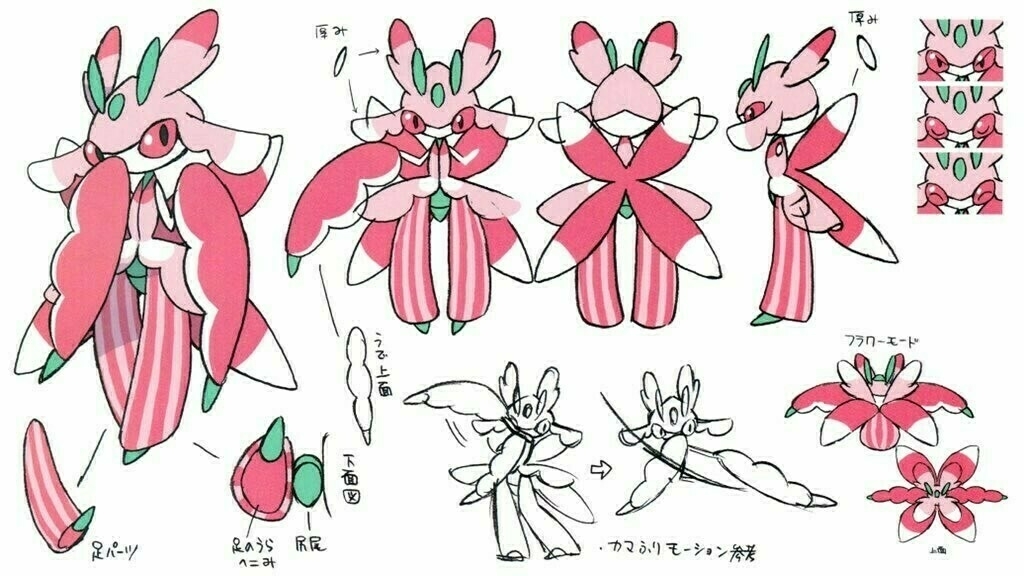
Hello internet! Although I haven’t been writing here lately, rest assured I have still been busy with various Pokémon and plastic model projects. Most recently, I did a complete redo of Lurantis, one of my favorite Pokémon. I last made it around two years ago, and although it was one of my best works back then, it really shows its age now. Armed with higher-quality felt, better shaping knowledge, and, well, the same tools I used last time, albeit using a completely pipe-cleaner structure instead of the flimsy wires I used for the arms last time, I think it turned out a whole lot nicer!
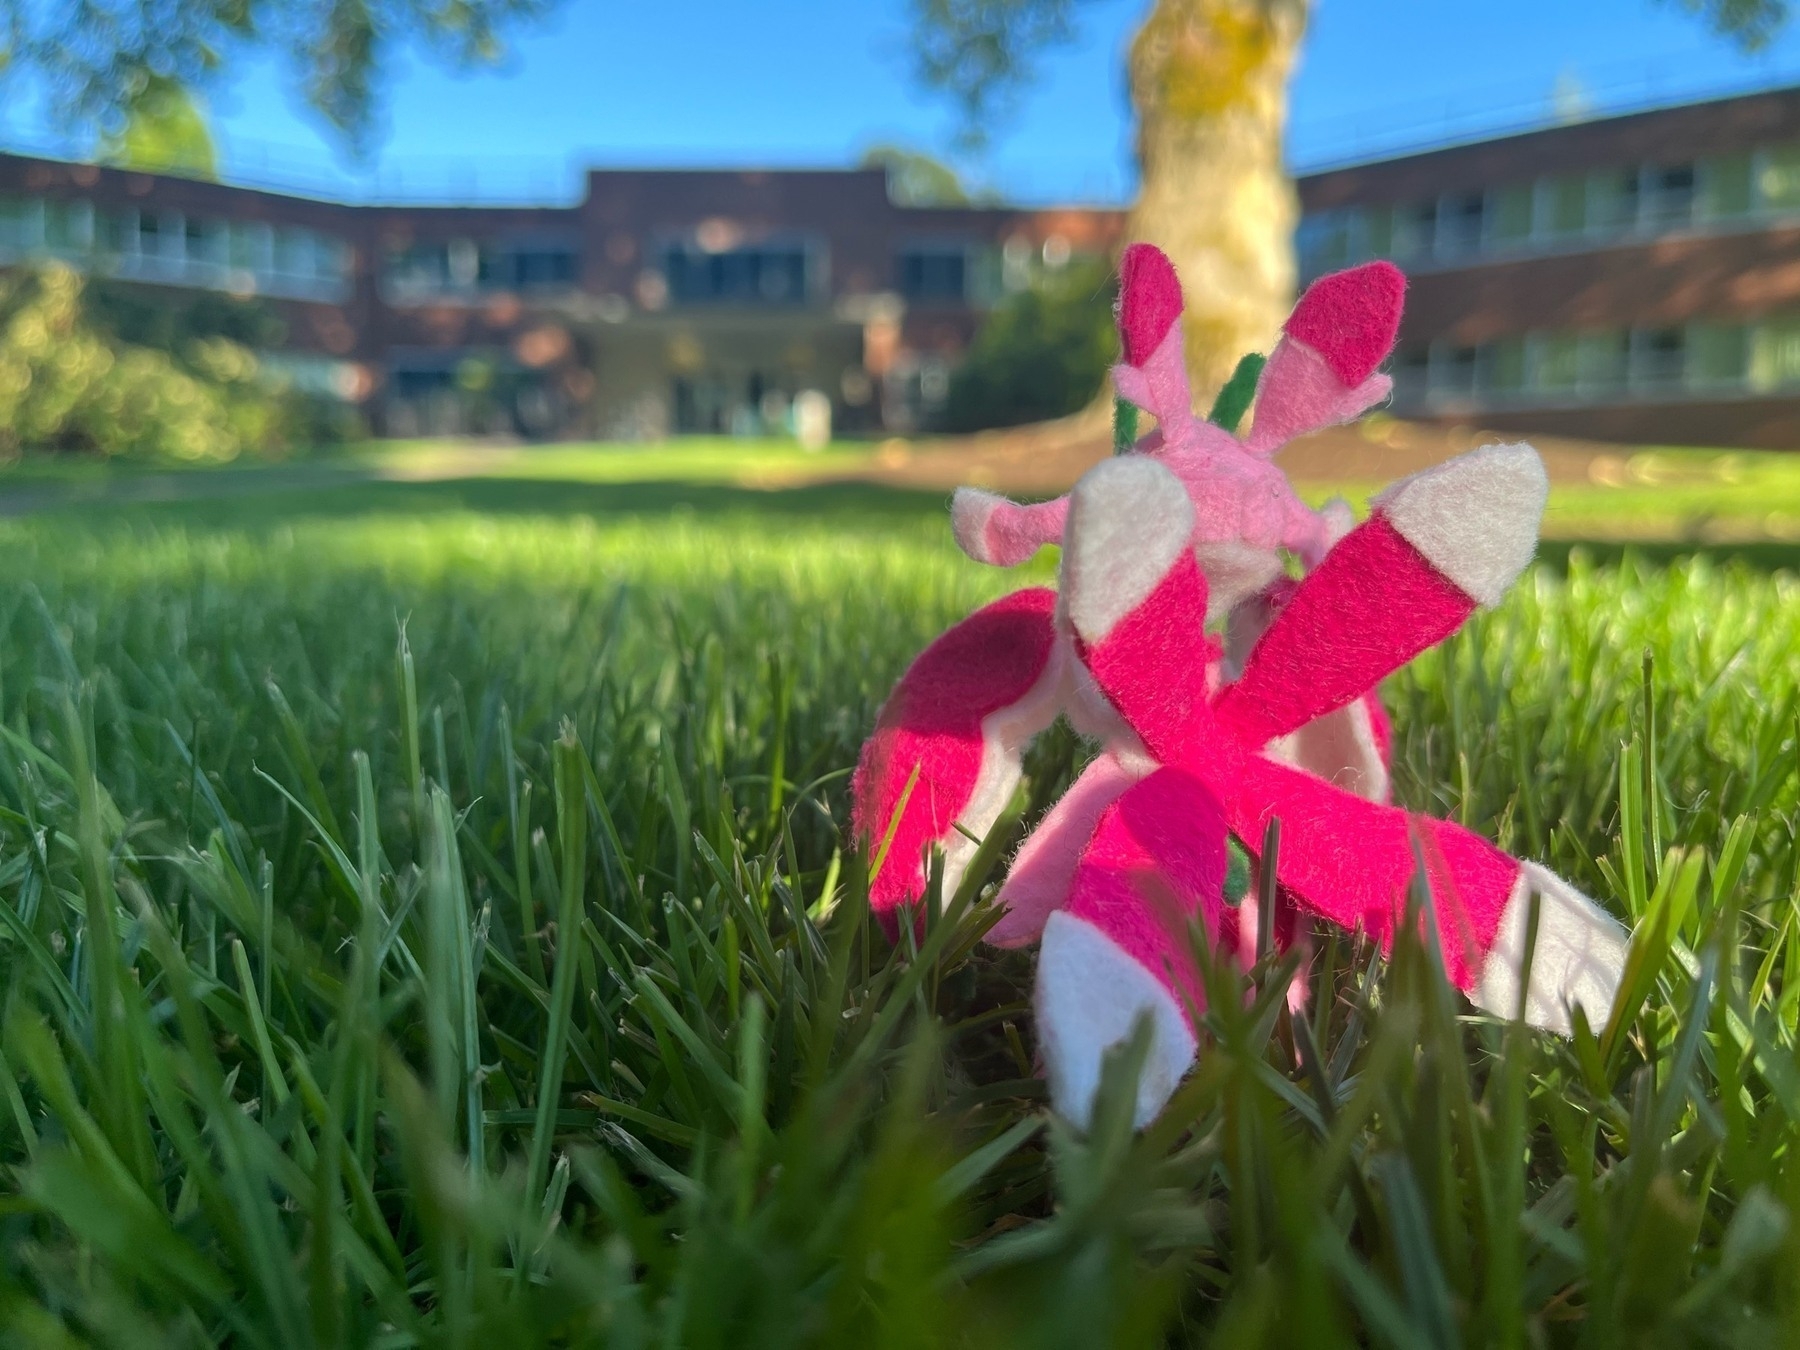
Some work in progress pictures:
Lurantis is a gen 7 (sun and moon) Pokémon, and as such has a rather tropical design. Rather than a bug type as you might expect, it is instead a pure grass type, the design concept being a reverse orchid mantis (look them up, they’re really neat). I love the pajama pants and kimono its design incorporates! Hopefully I’ll be writing more, see you all next time!
-
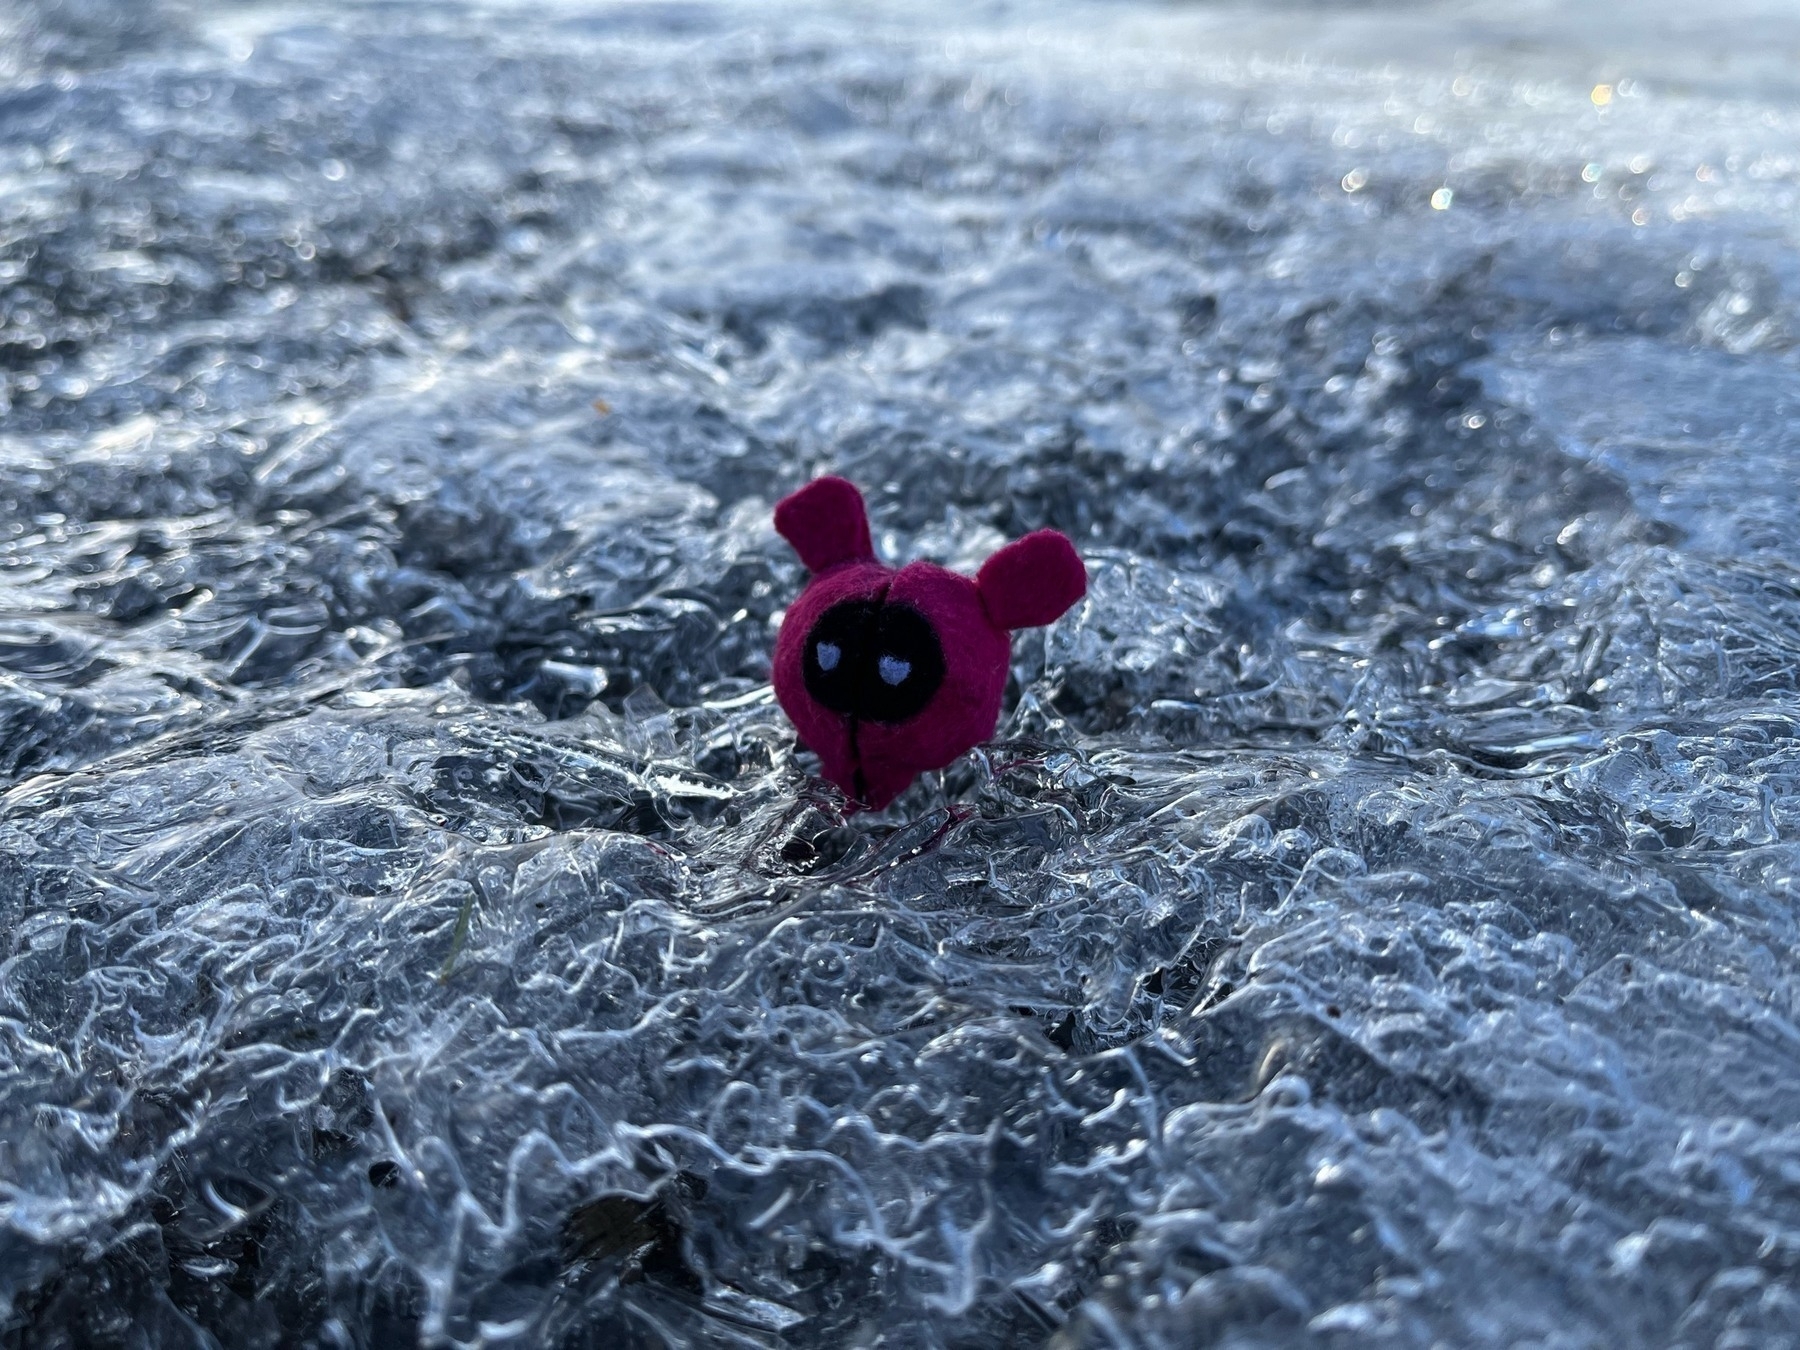
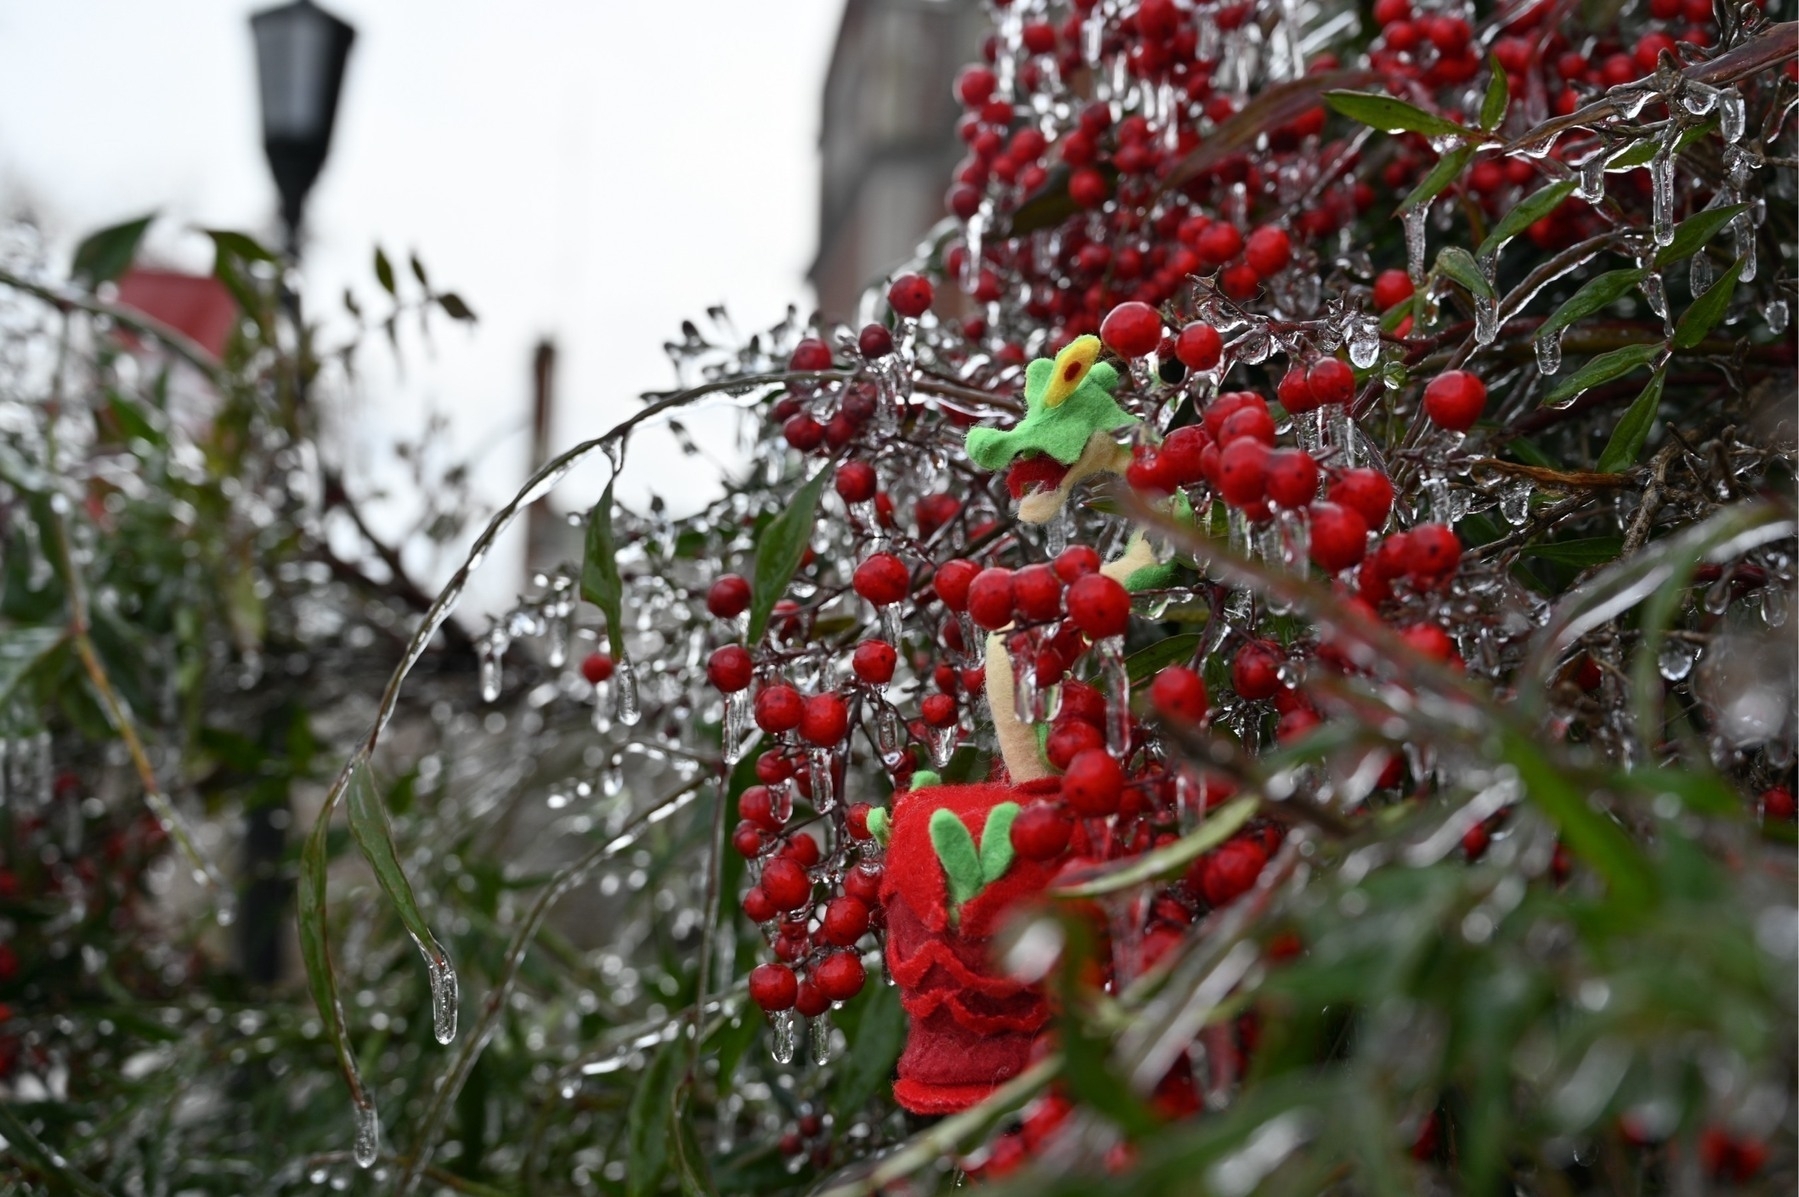
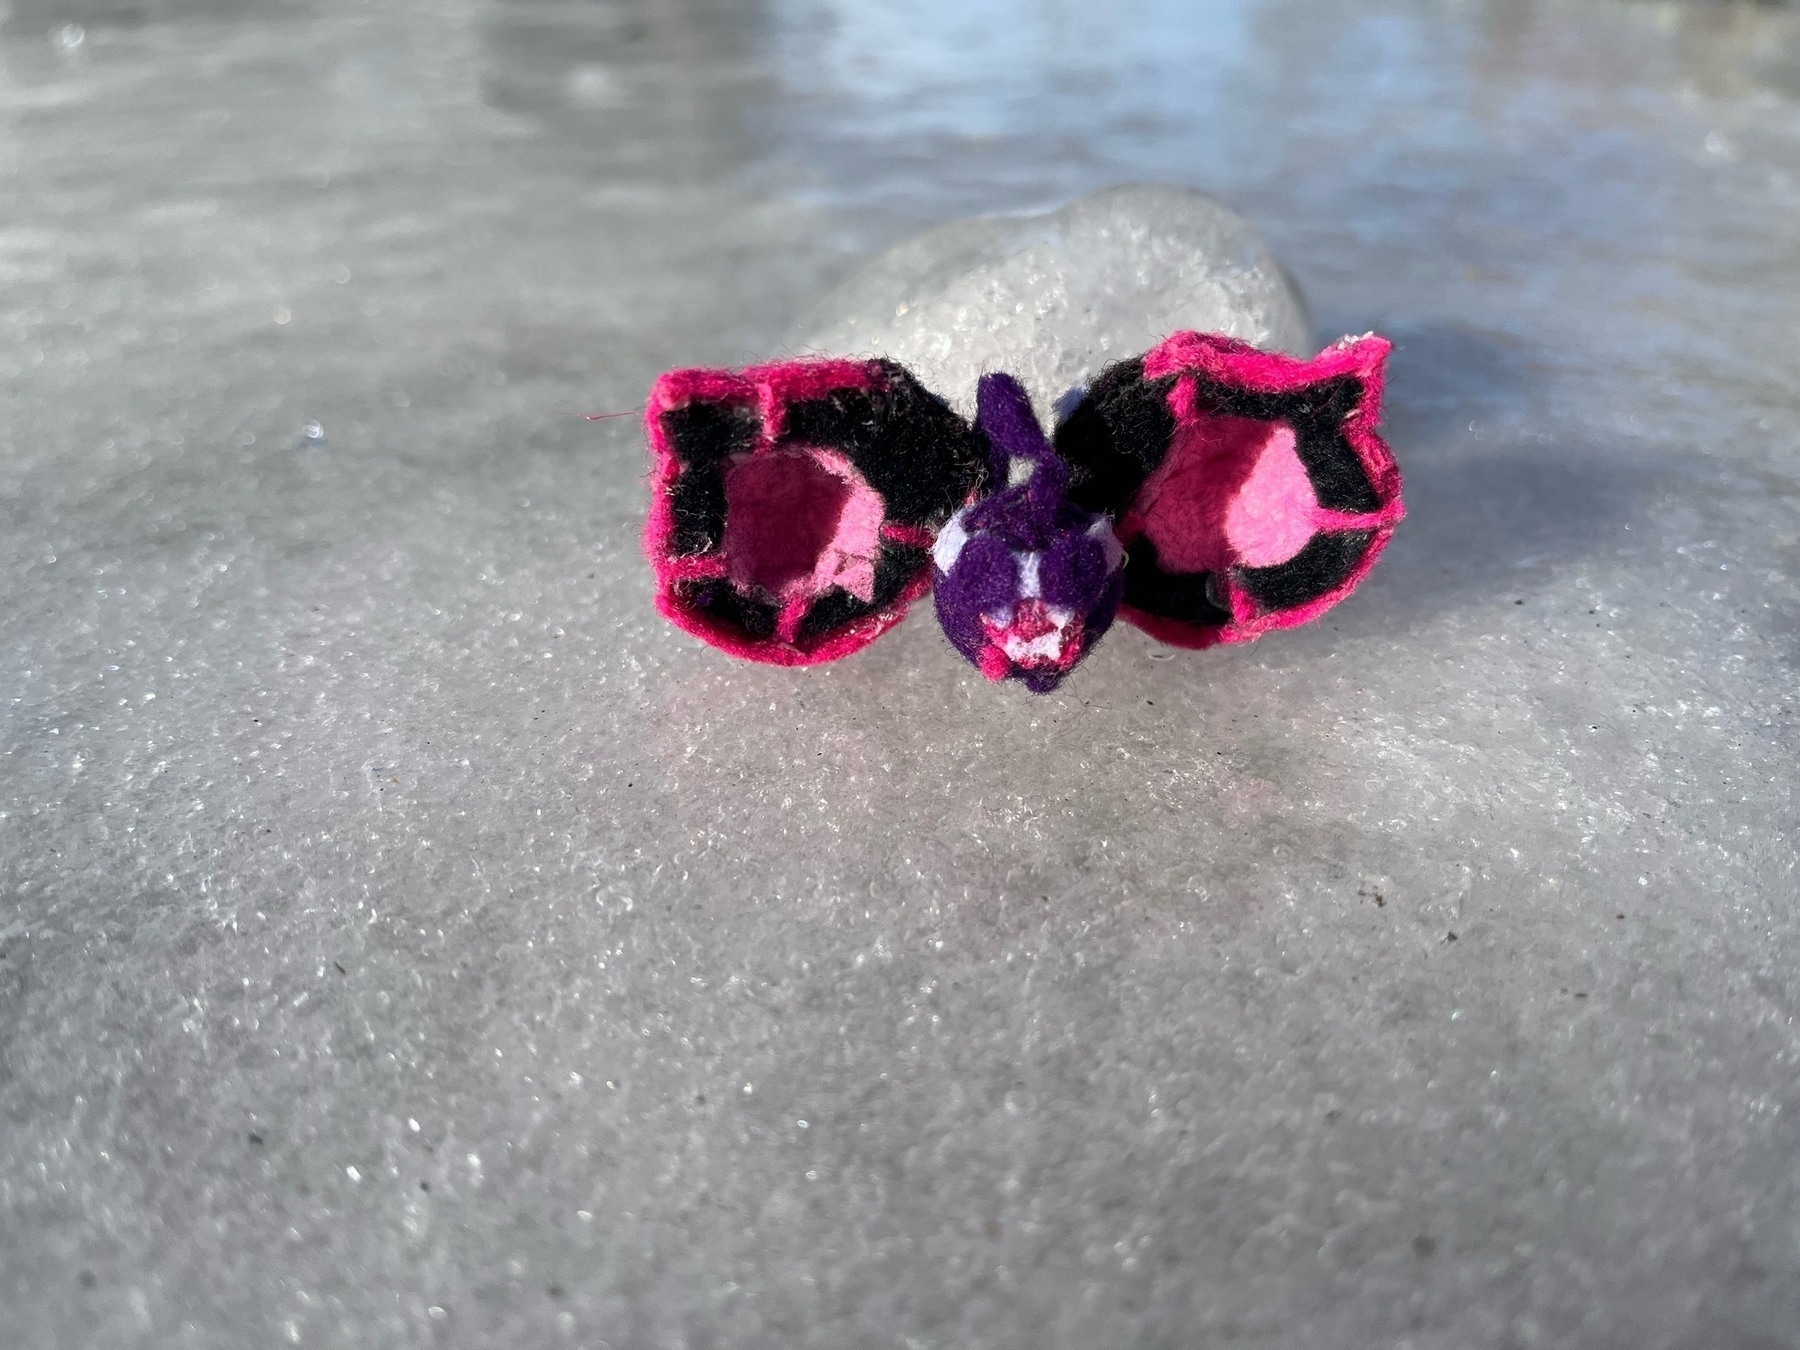
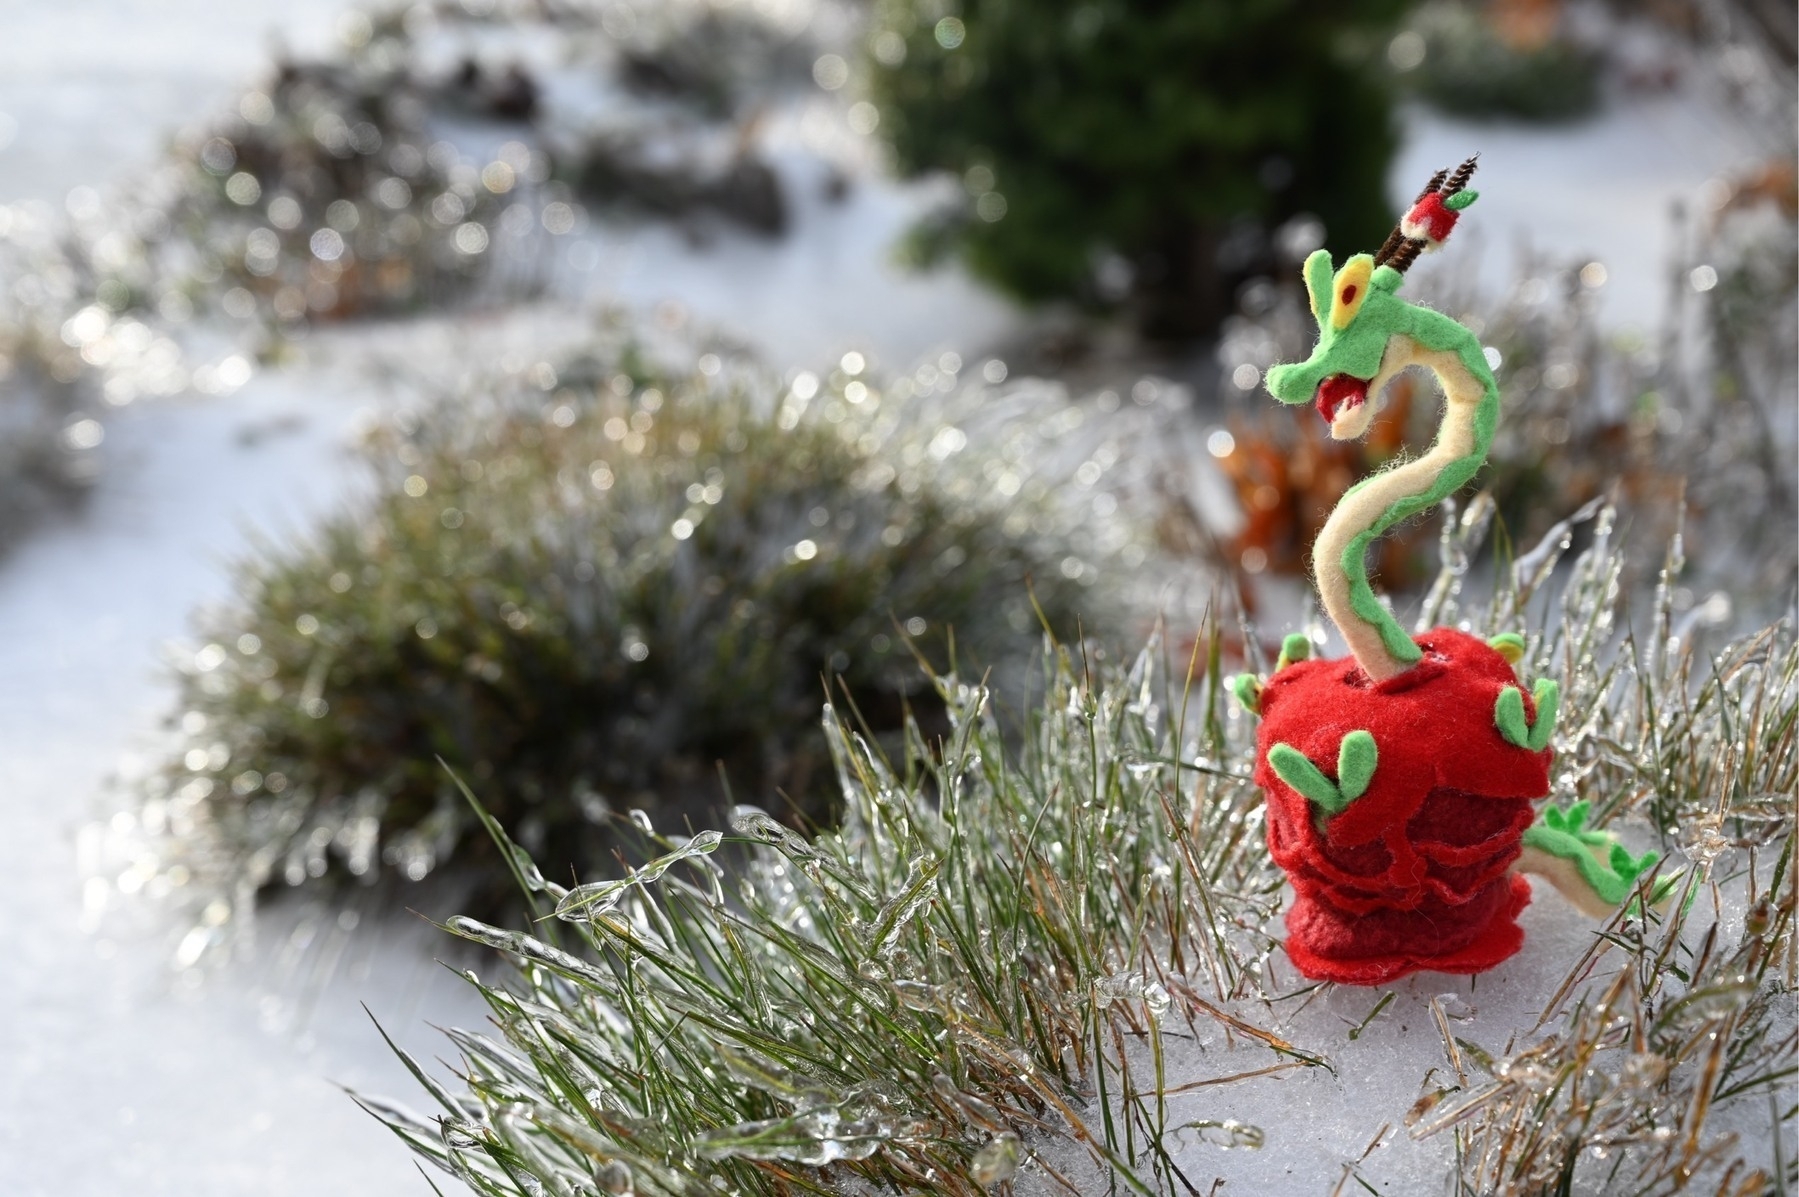
Hydrapple and Pecharunt
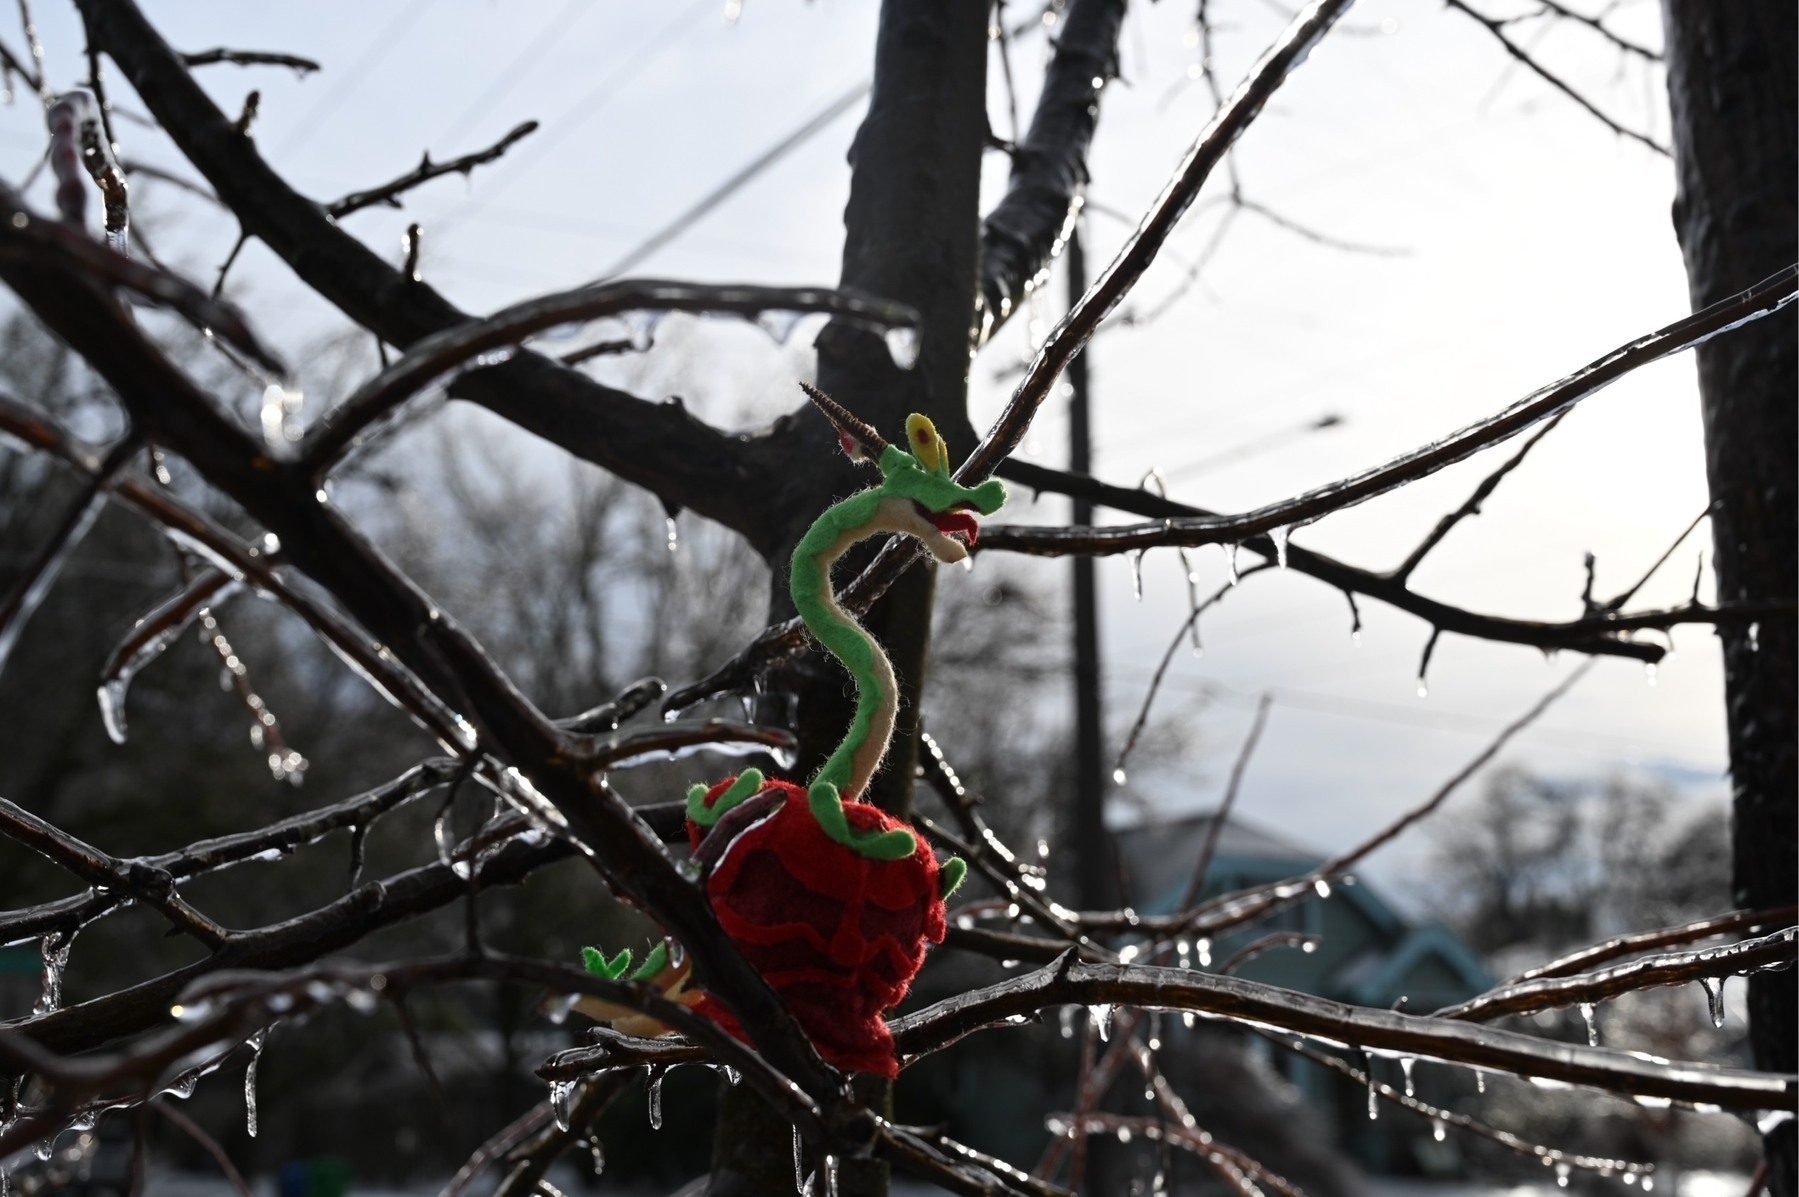
I took advantage of the ice storm last December to take a few nice pictures of some of my more recent Pokemon figures.
-
RG Epyon and Tamotu Pro
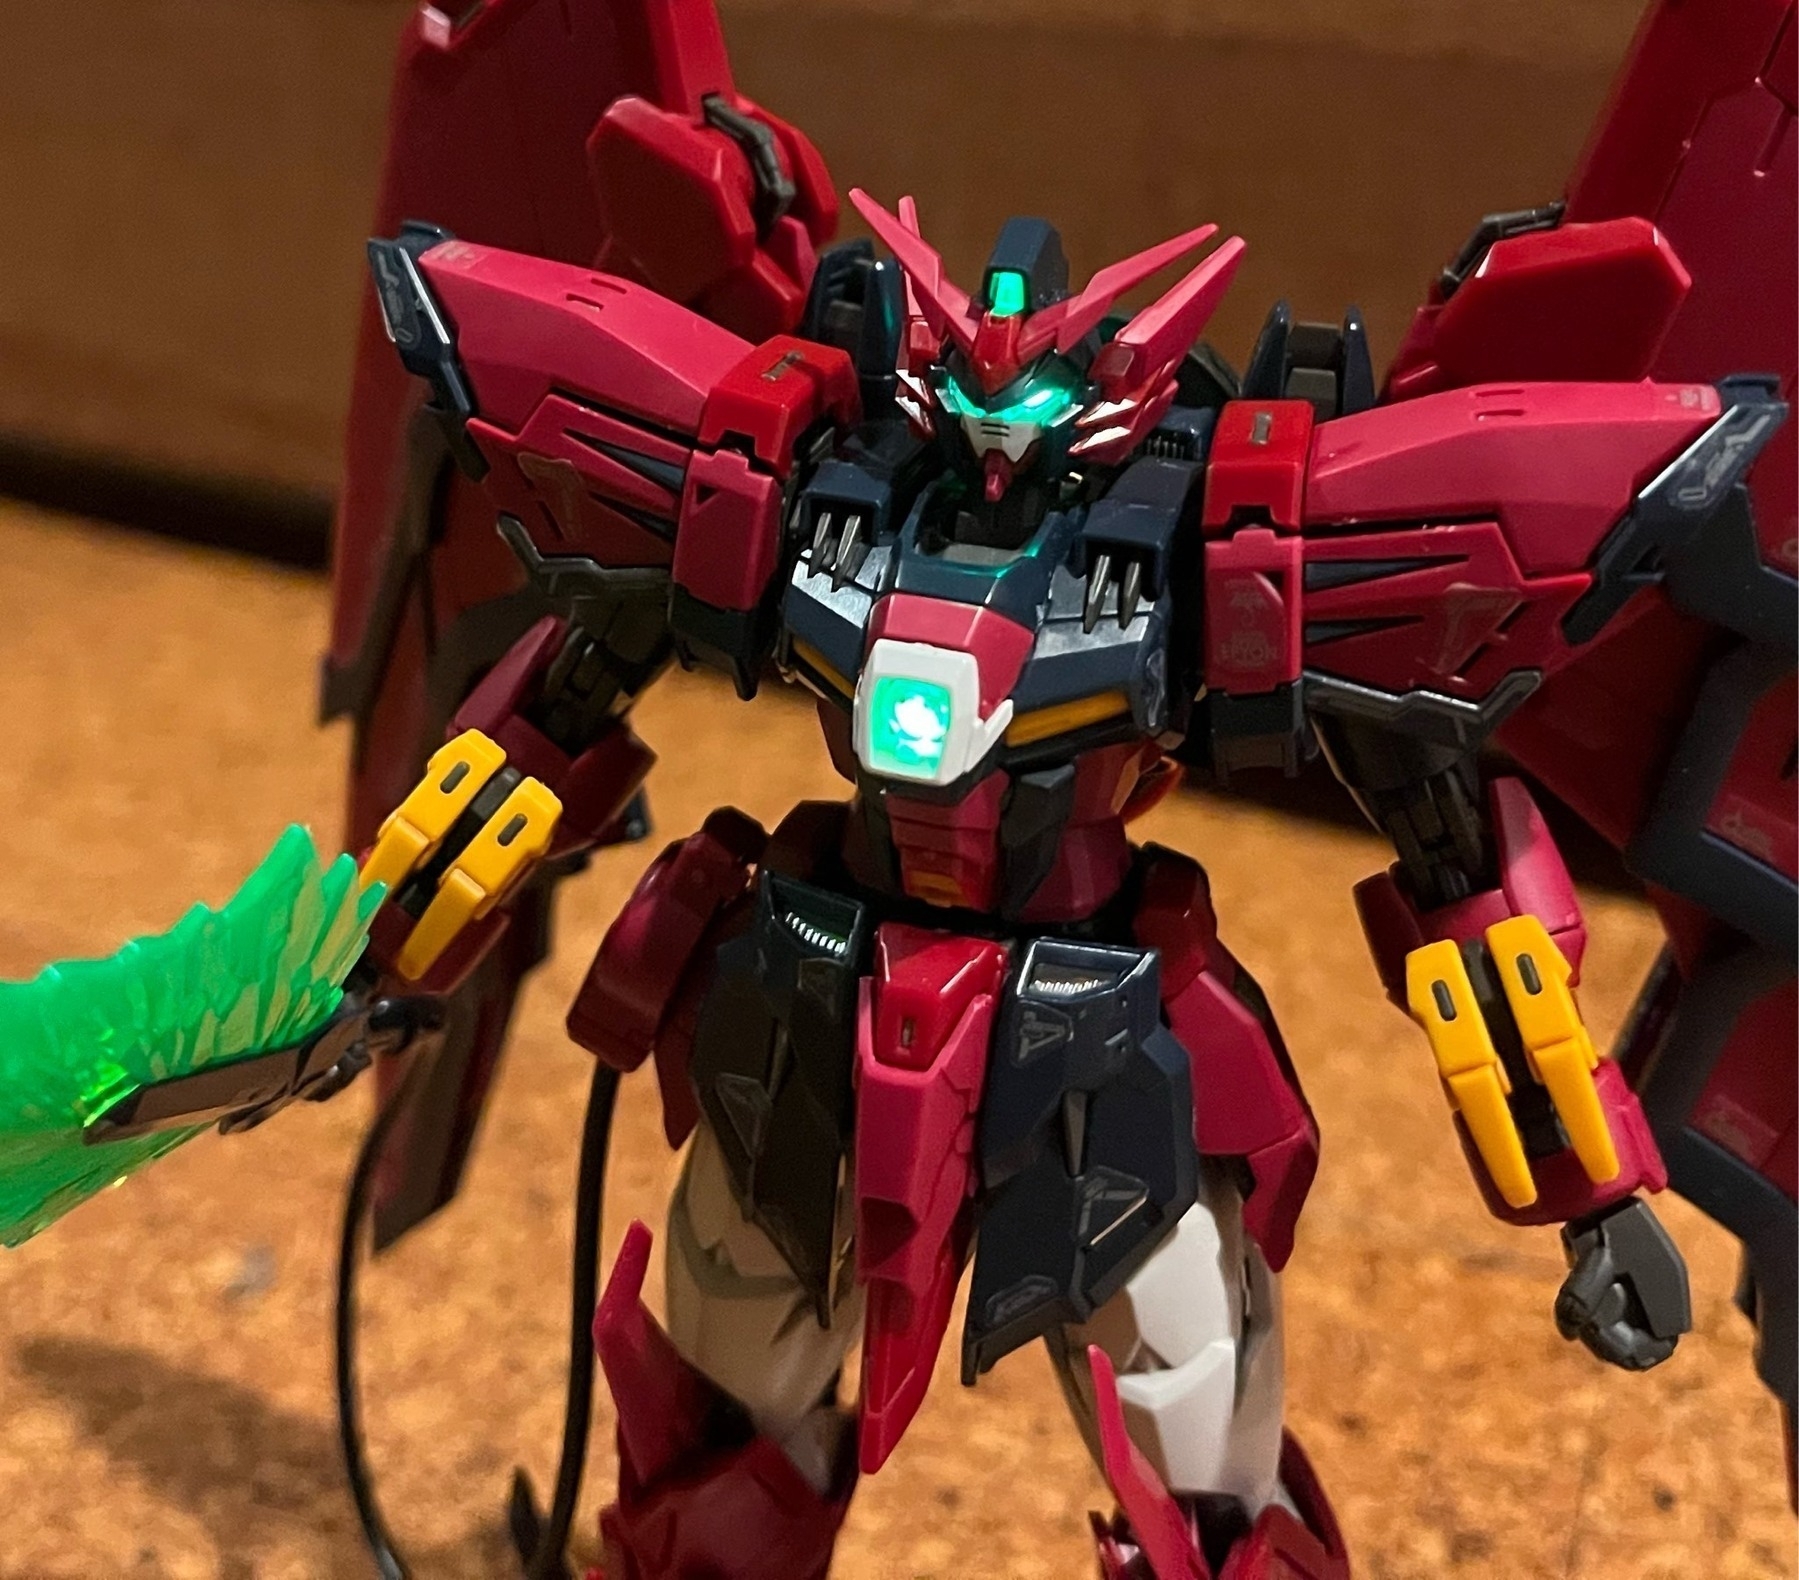
Hello internet! I received the Real Grade Epyon kit from a relative and did something I’ve been wanting to try for a while: adding LED lighting to a small-scale kit. The Epyon is the latest kit in the RG line, and as such has been highly anticipated by the gunpla builder community. Its articulation surpasses its Master Grade counterpart, while the redesigned proportions allow for a sleeker and more realistic look. The plastic quality is on par with Bandai’s recent releases, although extra care is needed for the dark colored armor. Its Advanced MS Joint runner consists of the eyepiece and its whip, which features rotation and flexion on each segment.
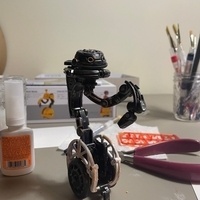
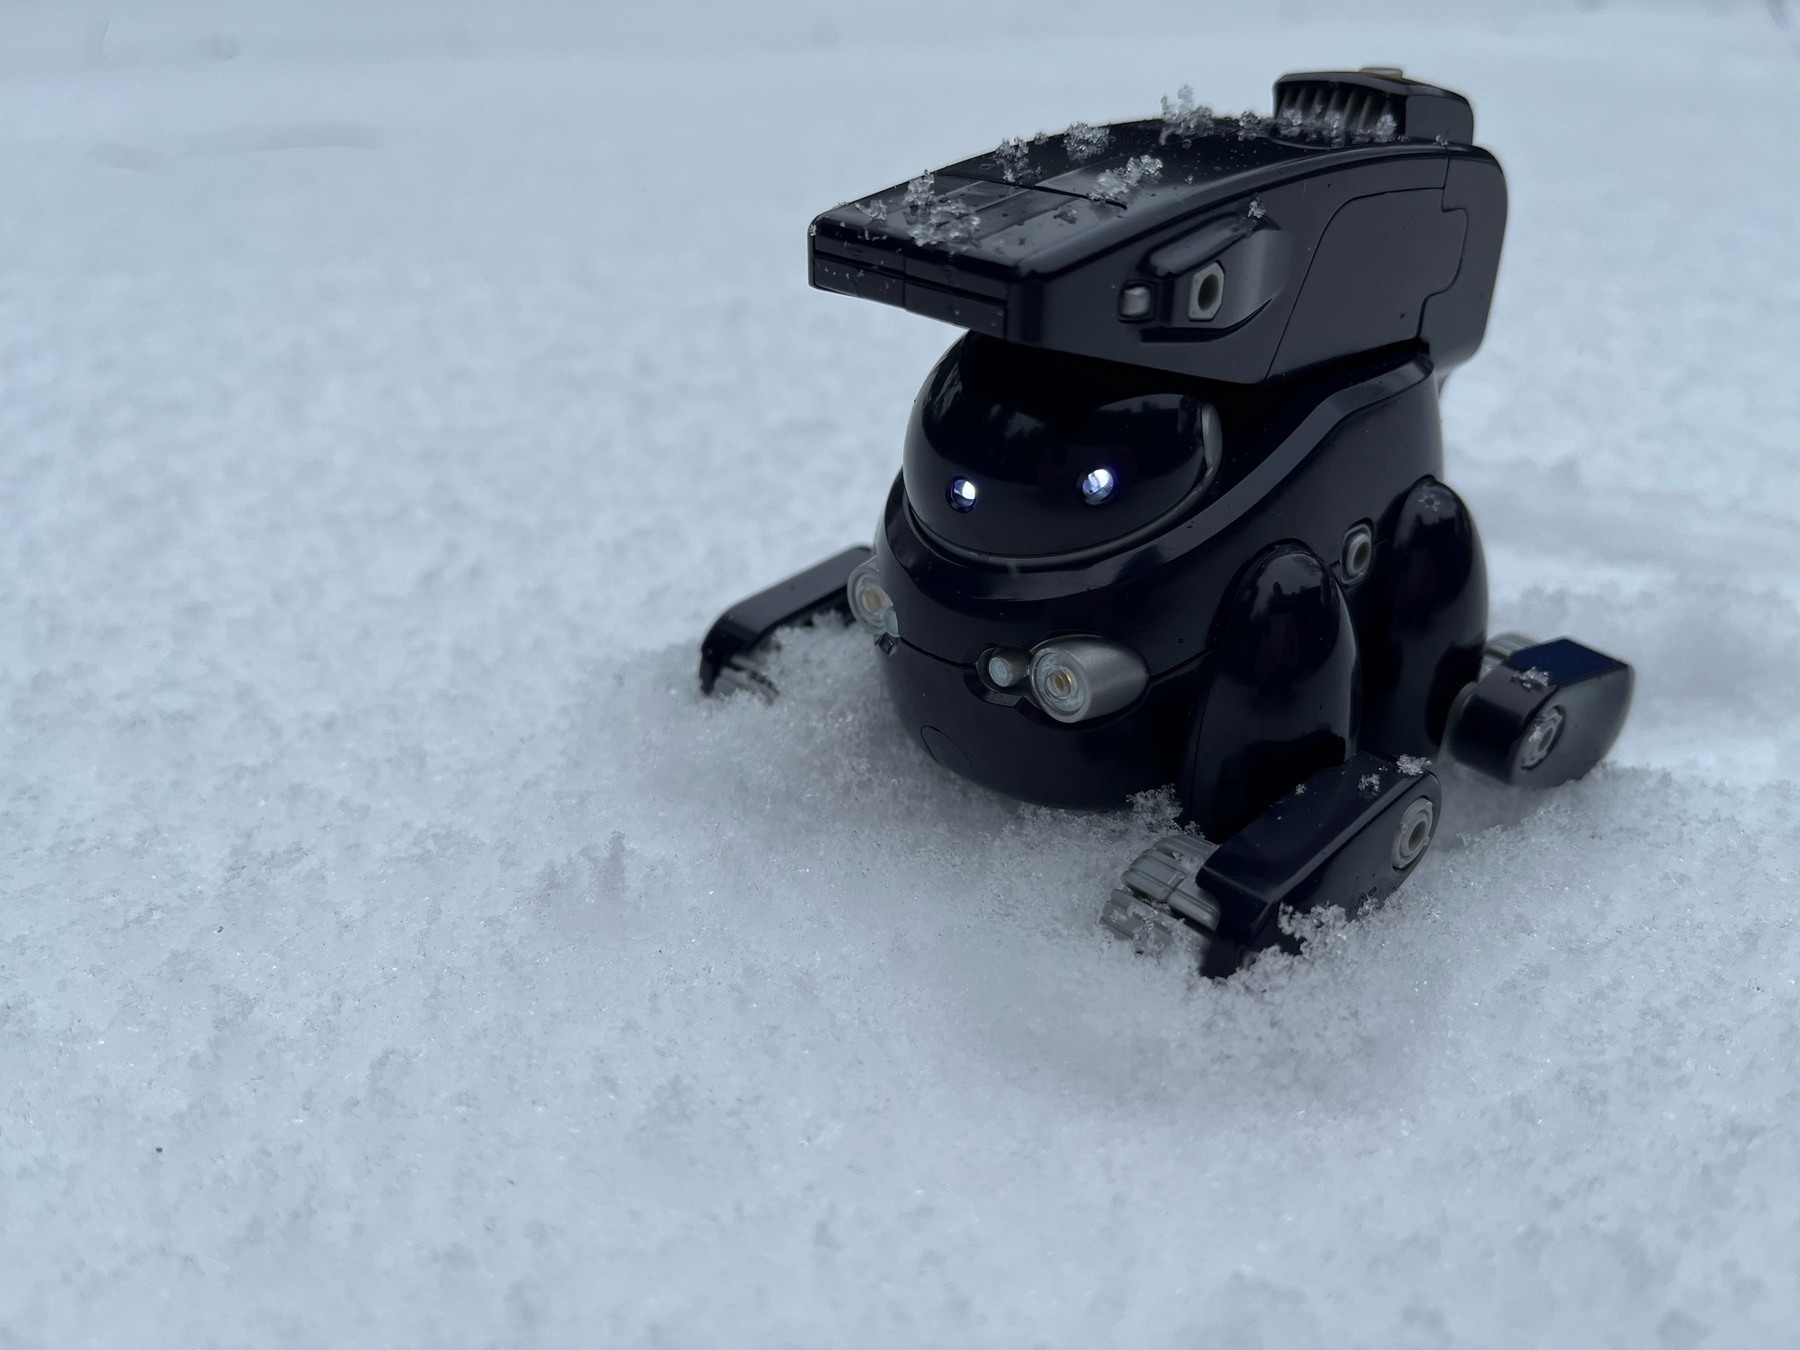
I also added custom lighting to my second Maruttoys kit: the Tamotu Pro (Midnight Blue Ver.) The base Tamotu was simpler than the Noseru I worked on previously, but the Pro add-on parts were similar in density and complexity to the yellow scooter-like robot. It’s a bit disappointing that the original Tamotu doesn’t feature rolling wheels, but the Pro remedies this with some extra leg parts, along with a bulkier backpack which adds two extendable, highly flexible arms atop the robot.
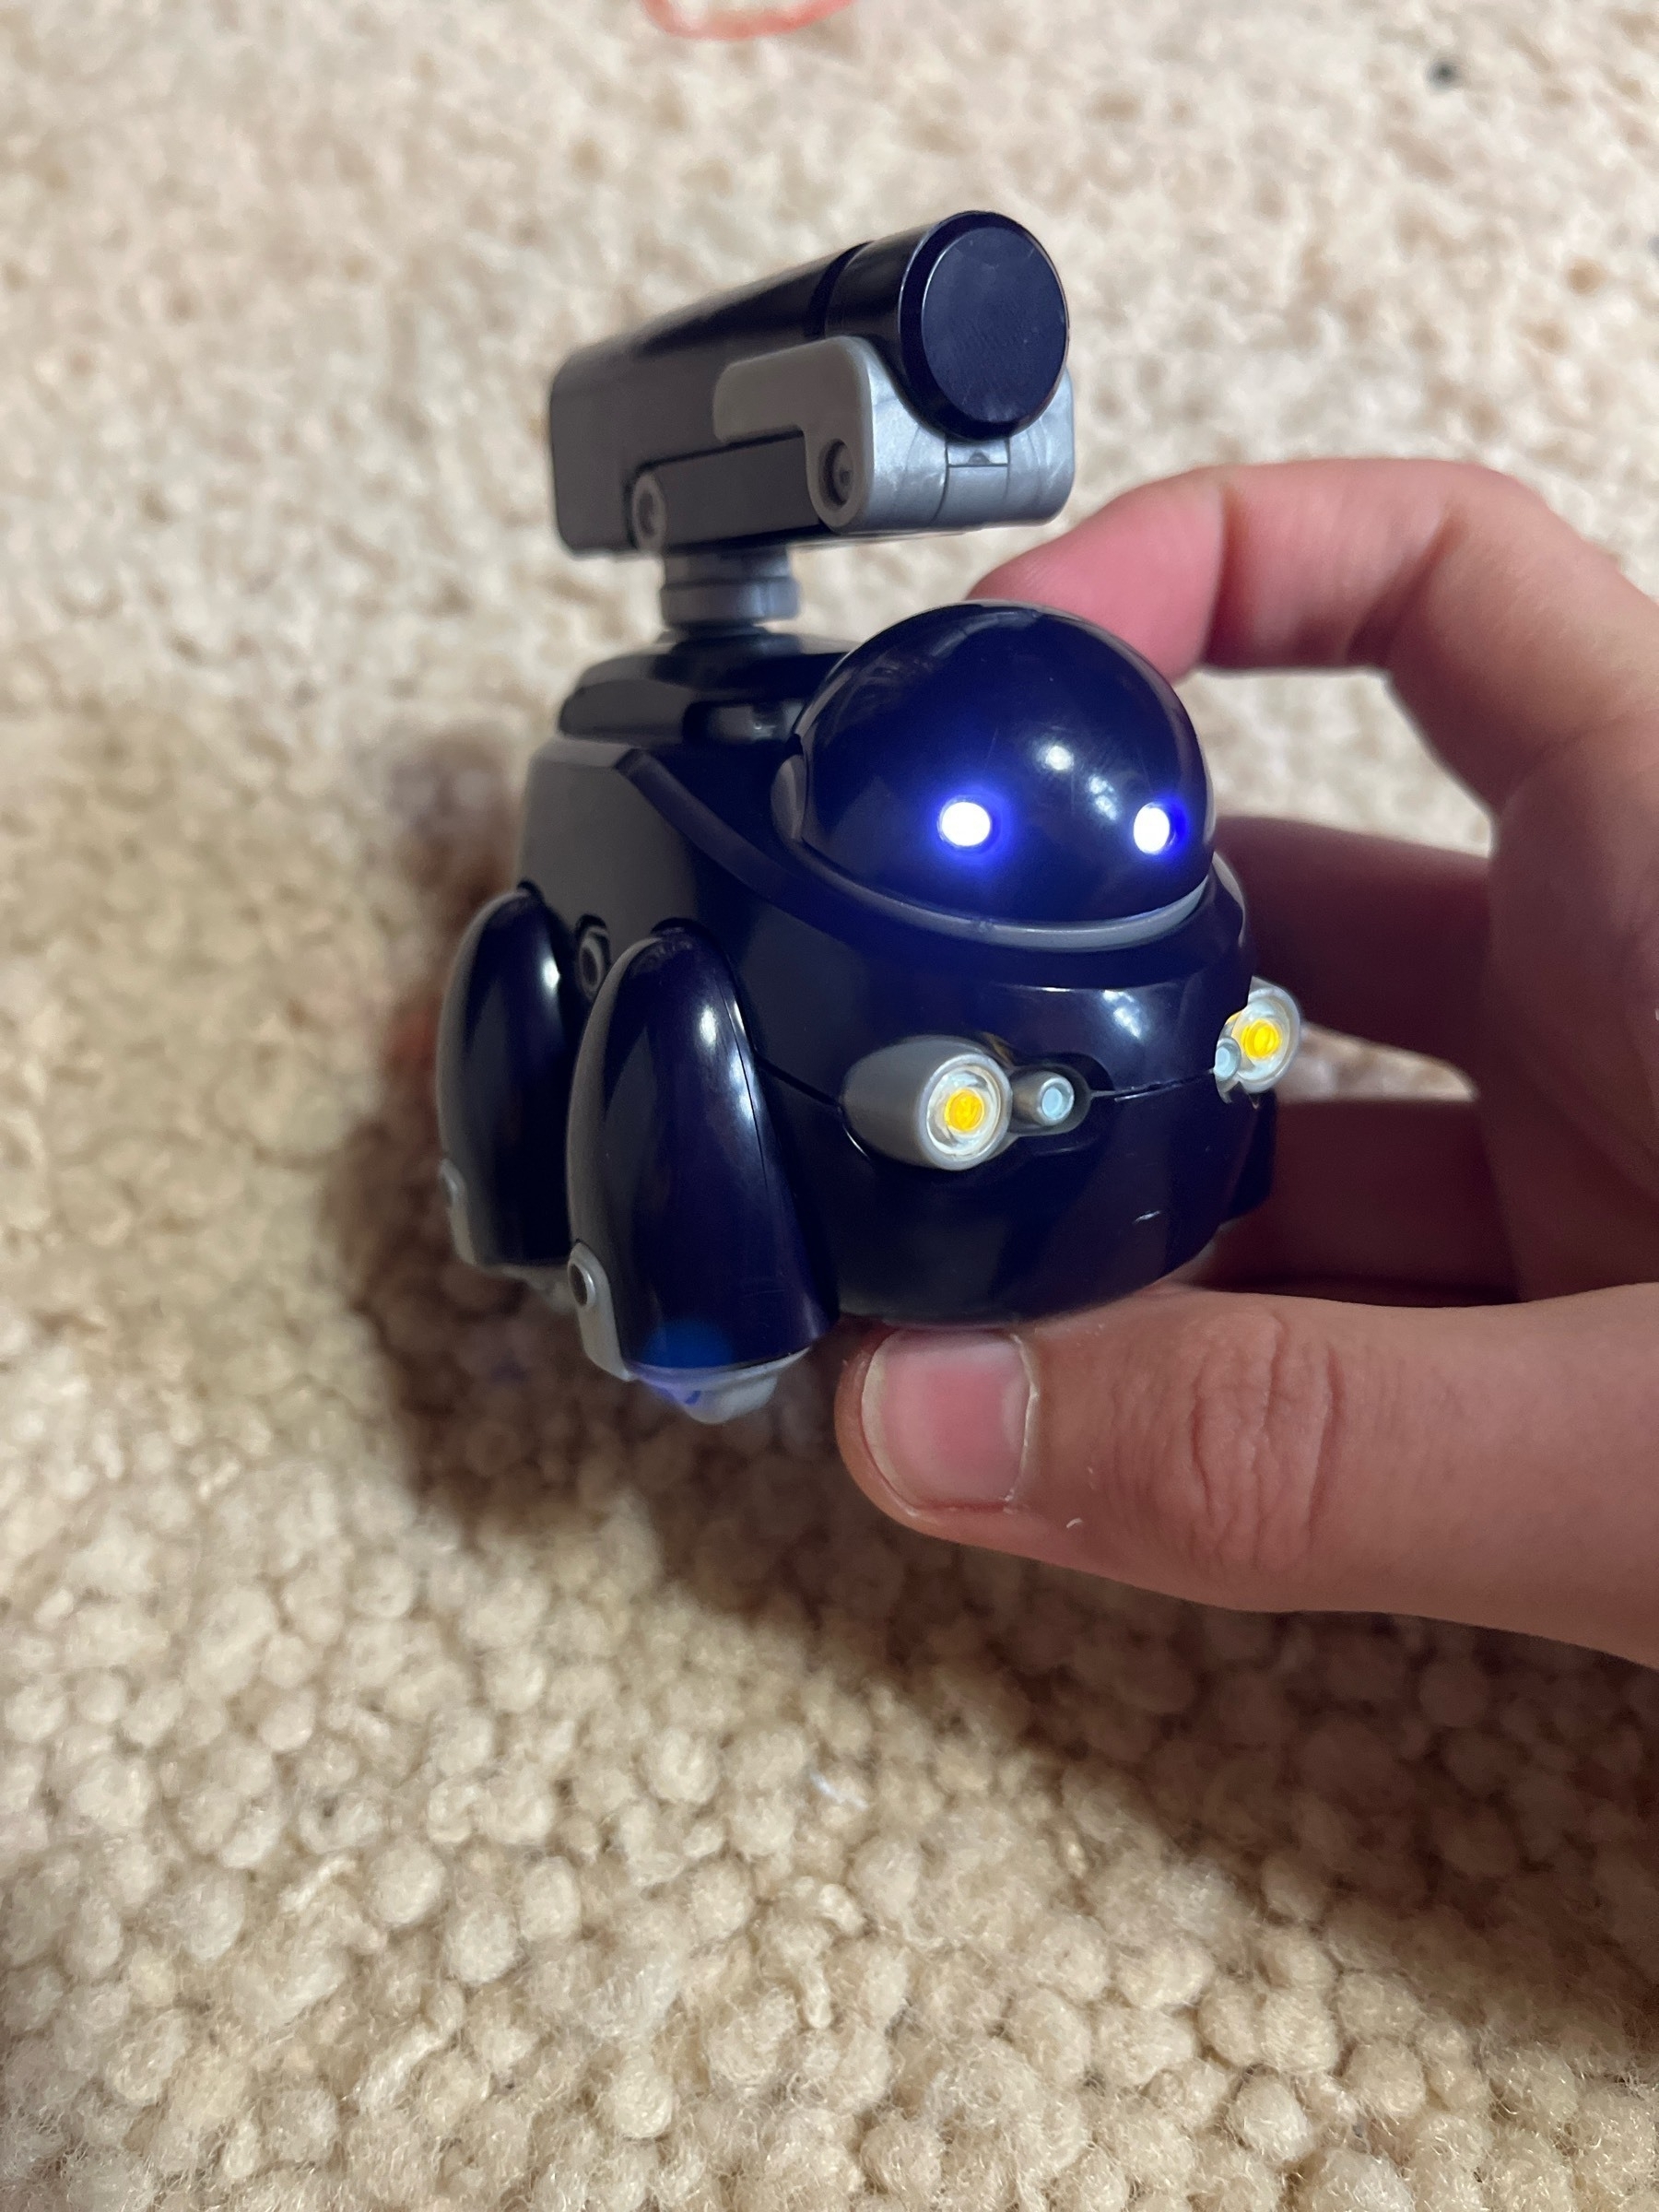
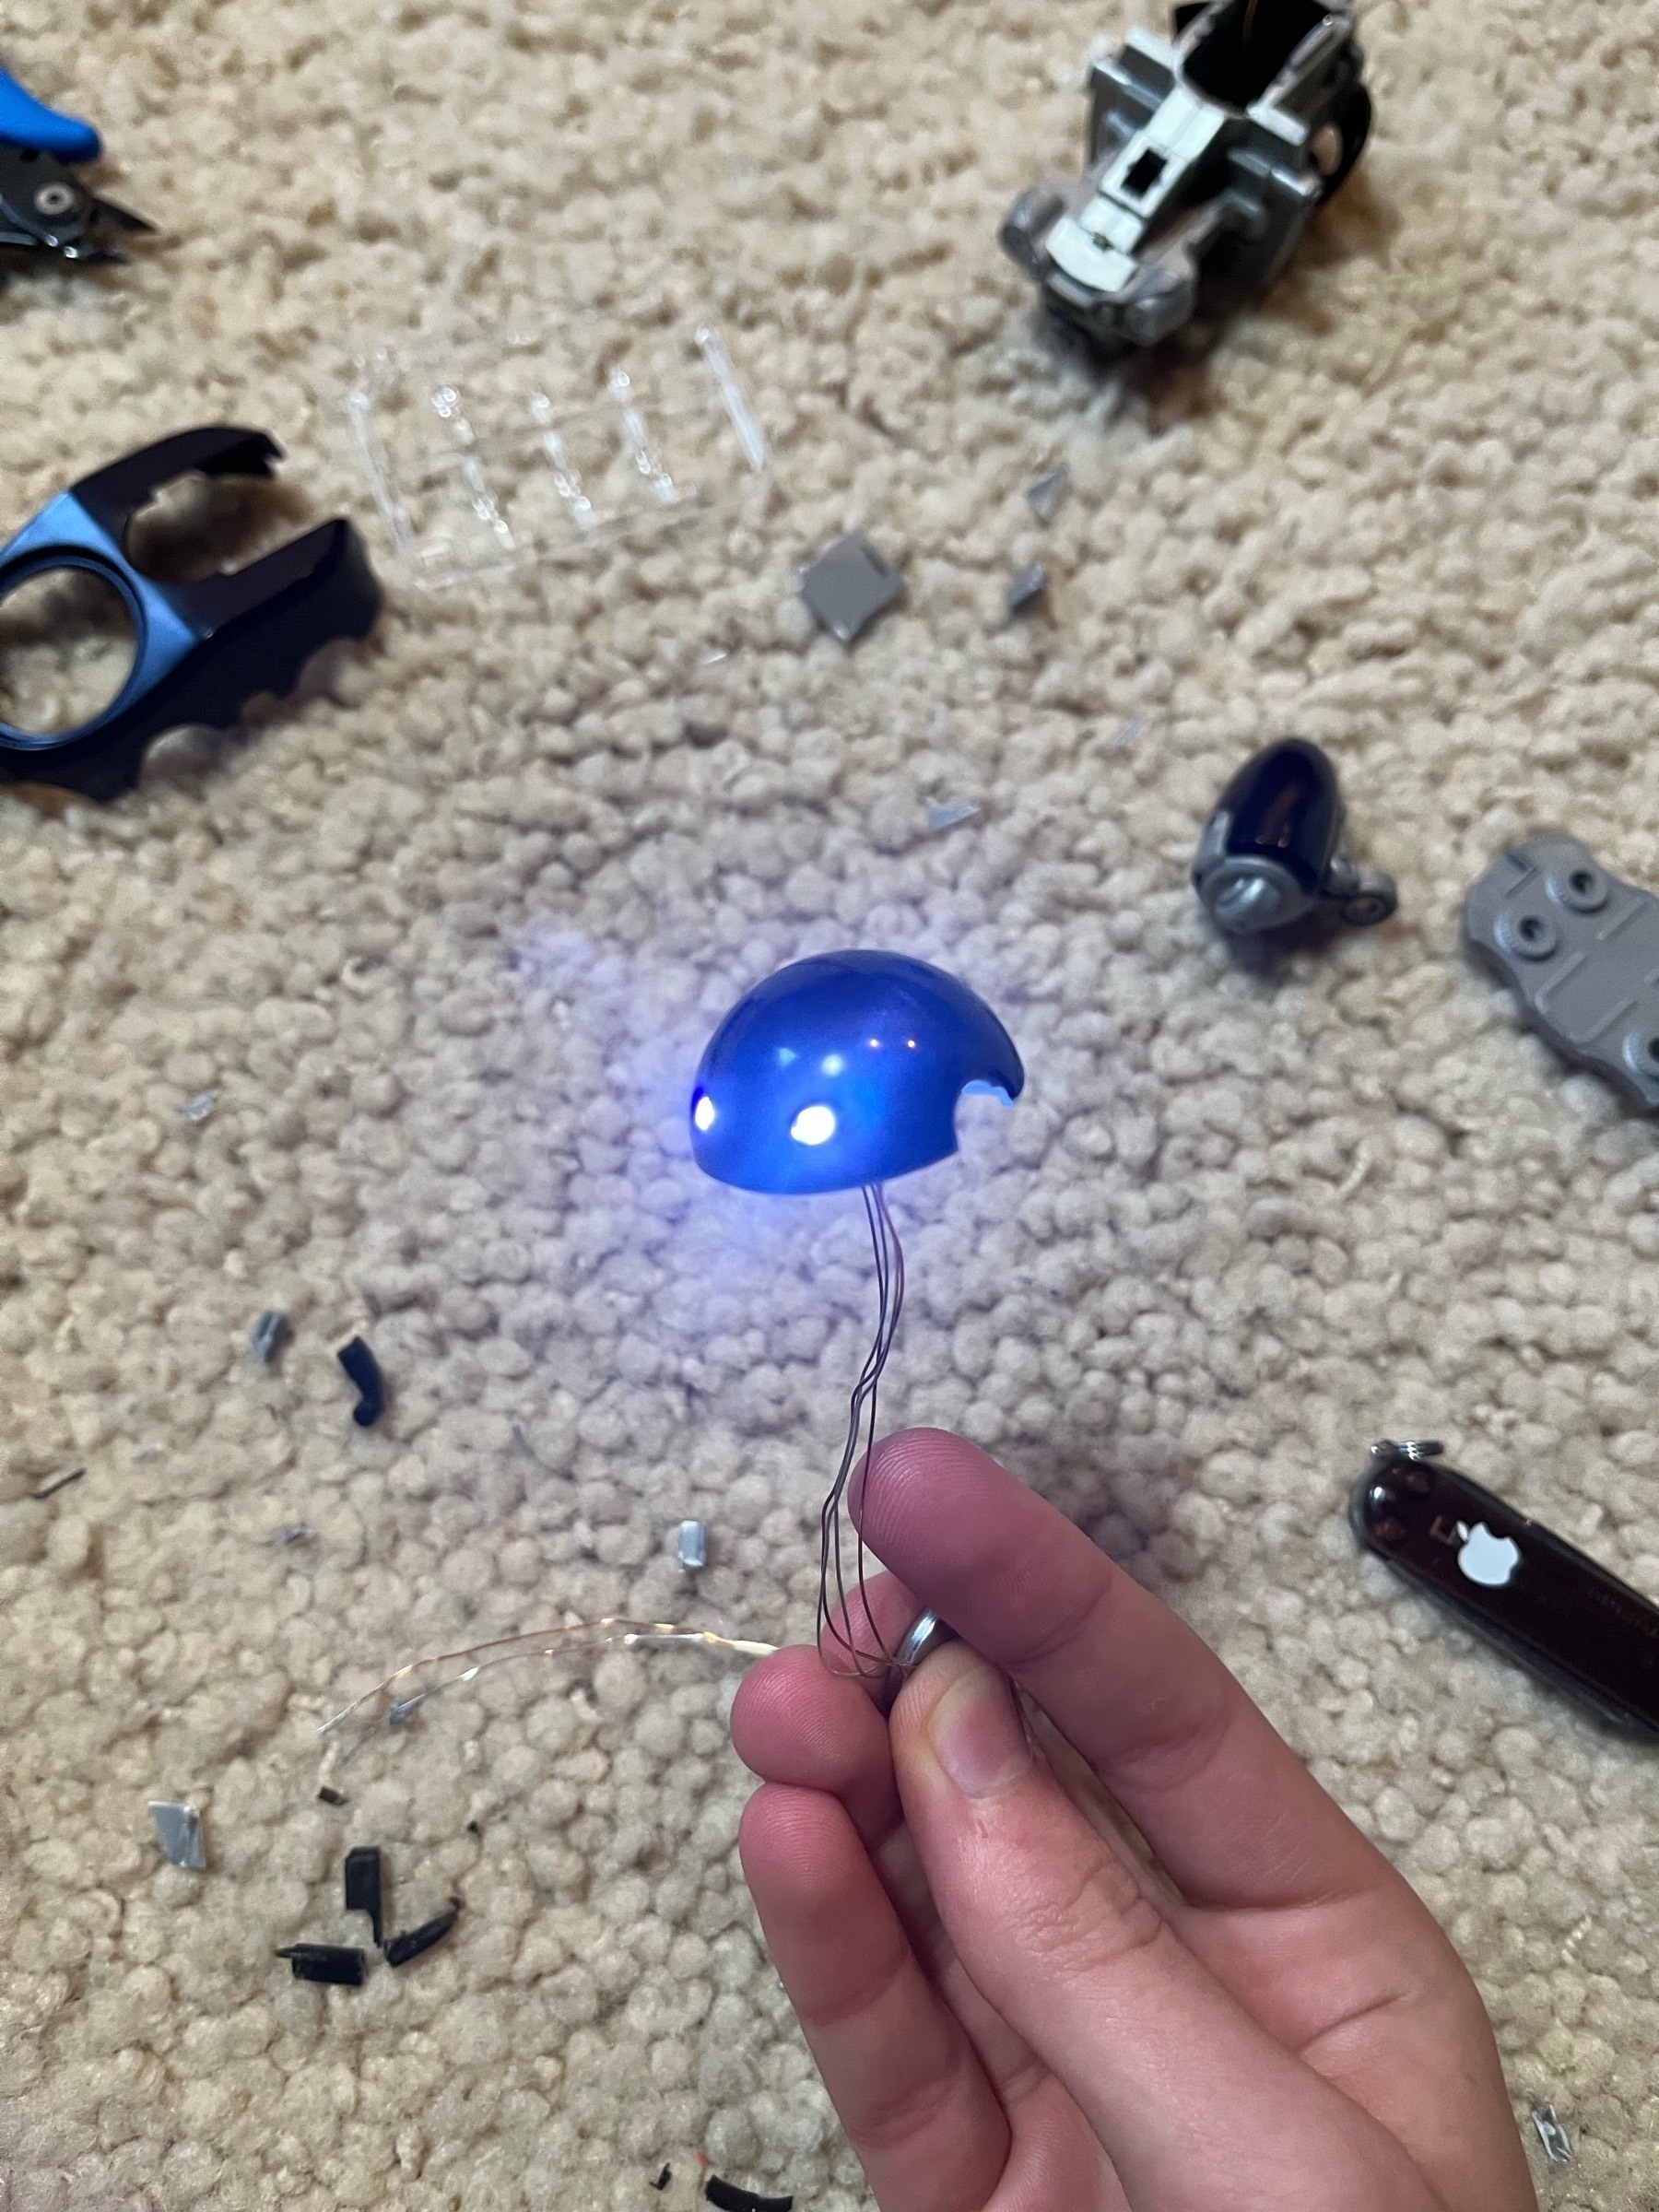
I got some tiny LEDs in different colors as well as some wired cases for button batteries. The cases are unfortunately very large for average 1/144 scale models, but I was able to hide one behind the Epyon’s wings. As for the tamotu, I snipped out several internal walls on the frame and was eventually able to fit all the wires inside its body. For both models, I needed to drill and cut multiple parts, but it worked out in the end.
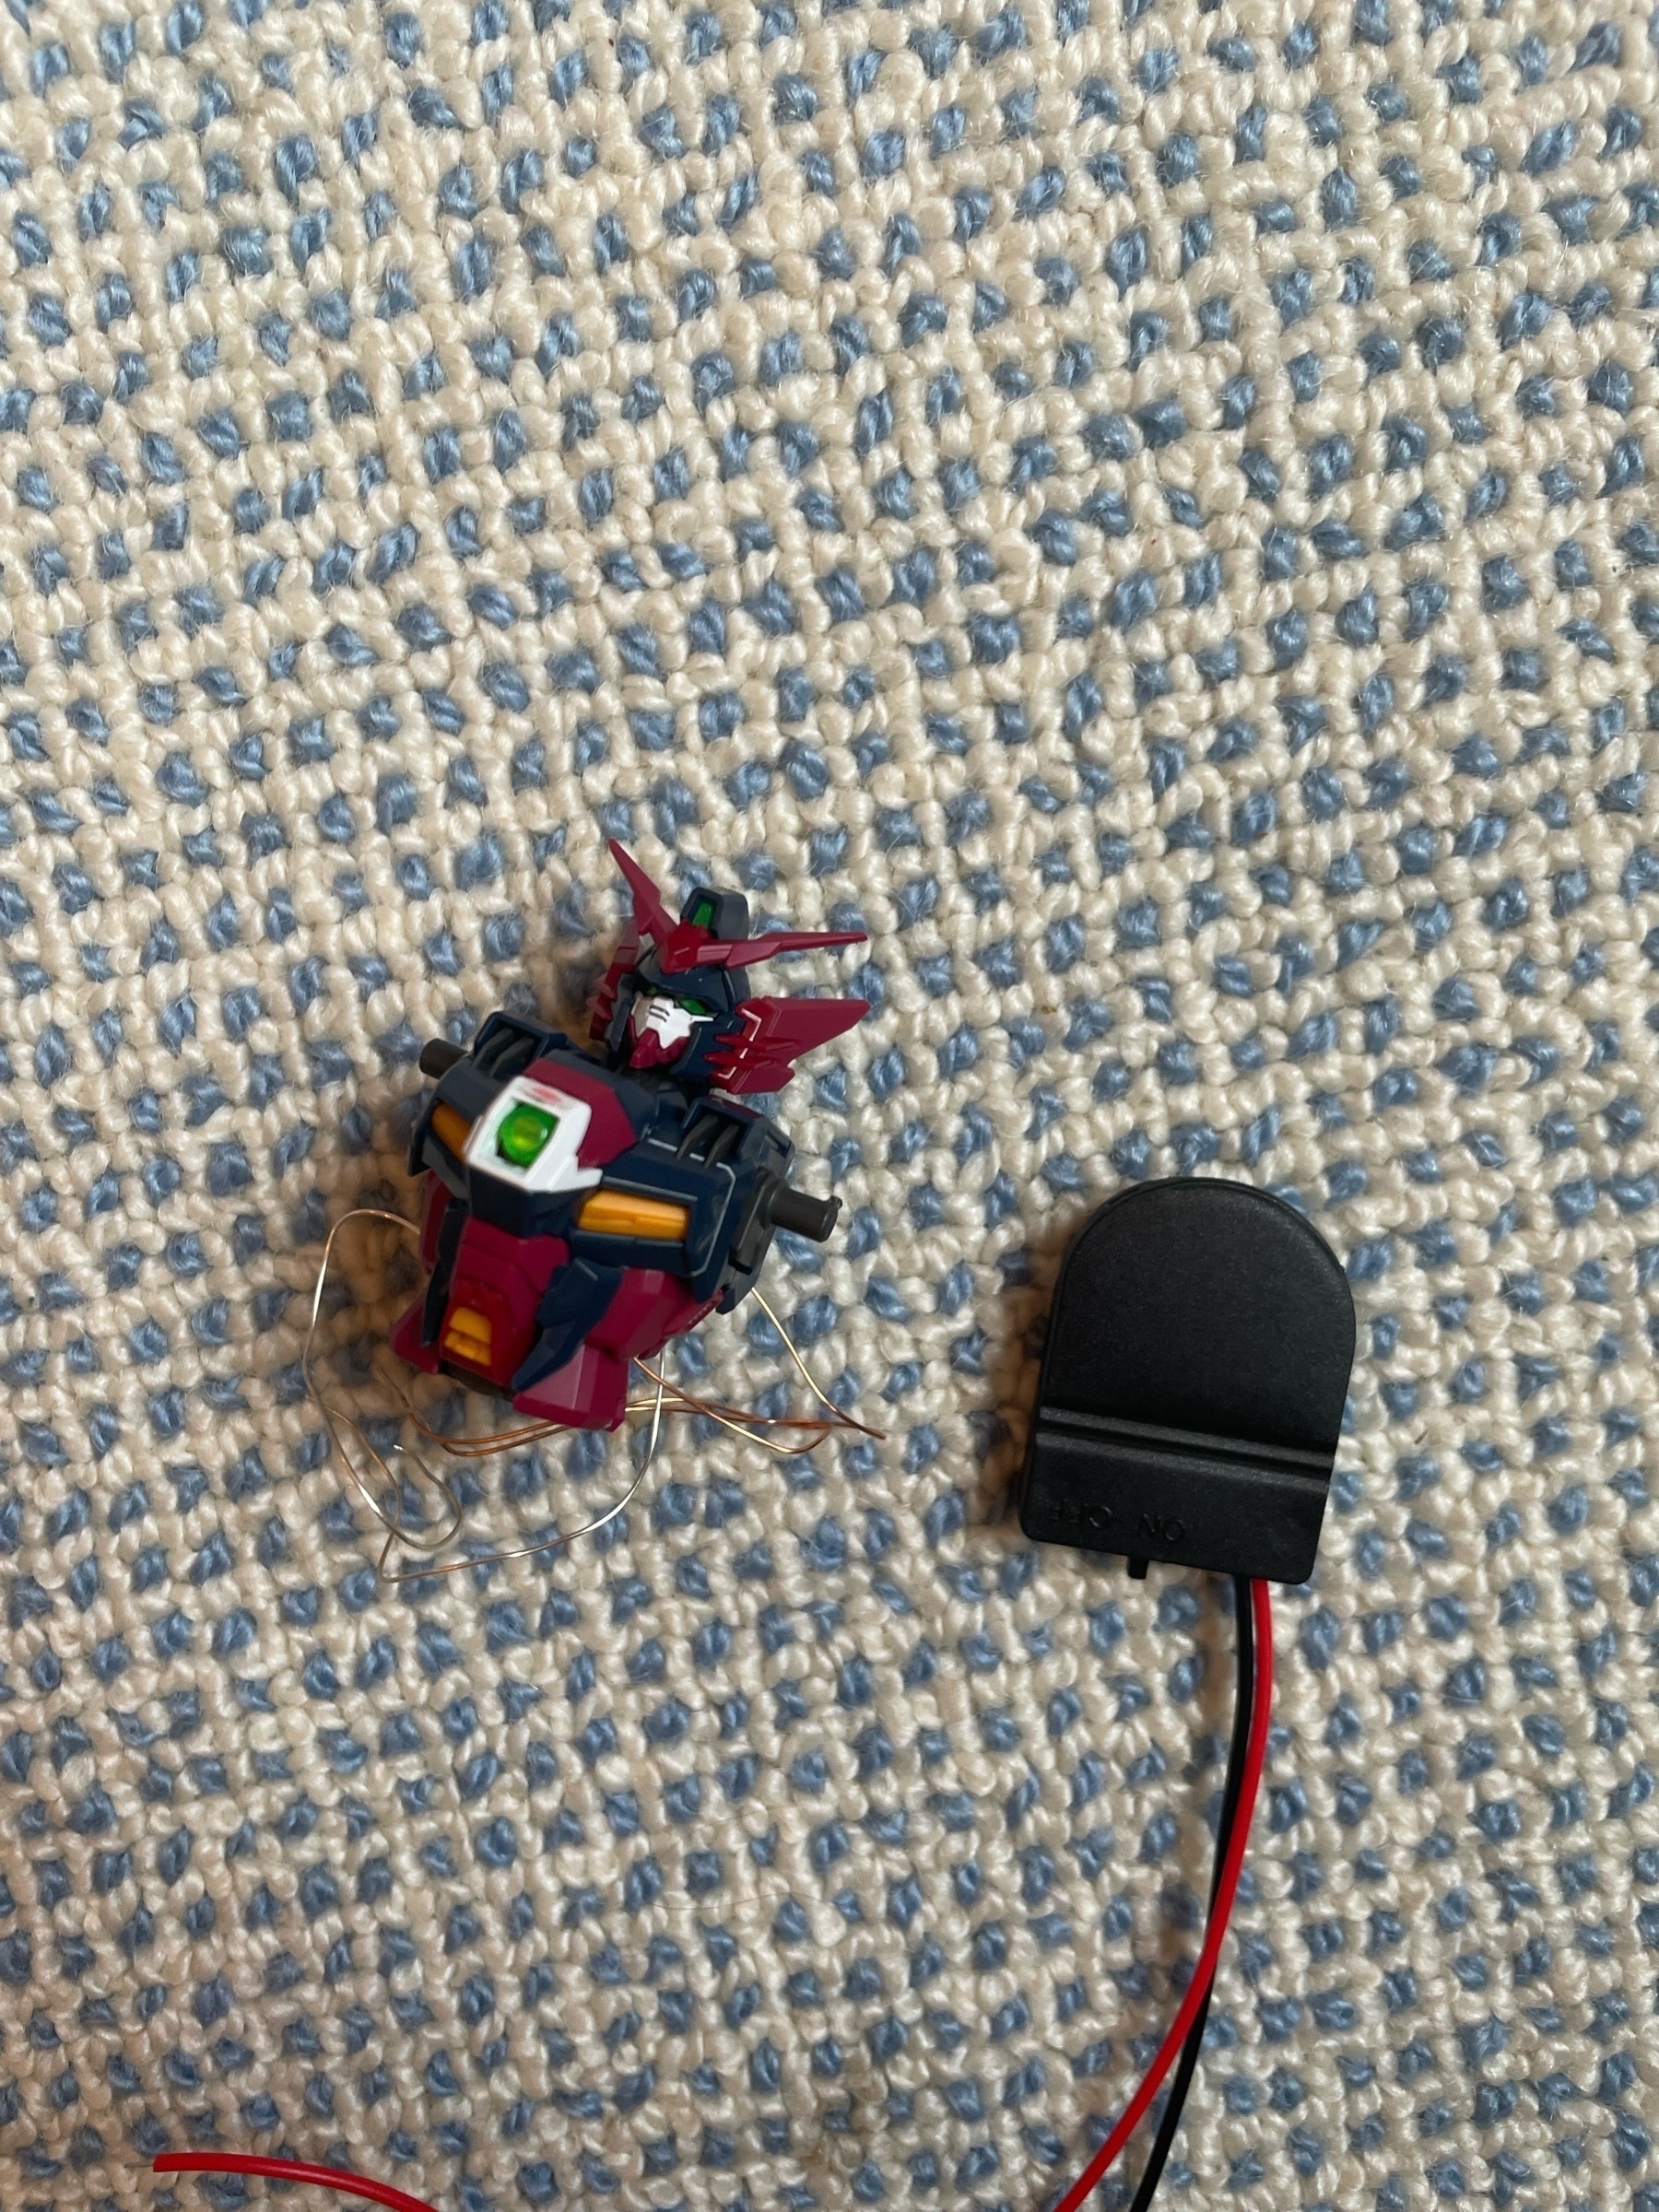
Mini-Tutorial 3: How to add LEDs
Choose the location. It’s easier to fit small LEDs behind clear parts, but it can work to have them exposed if you want a brighter glow. It’s also important to plan where you’ll fit a battery to power your lights.
Drill your holes. I used an actual drill with a small drill bit, but it’s likely easier to use a dremel or something similar to be more precise. Make sure there is enough room for the LED’s wires.
Install your LEDs. If you planned the locations well. They should slide right into your drill holes. You may need to sand or cut more parts to avoid damage to the kit or the lights. Then, use a soldering iron to weld the wires together. Good luck!
-
Full Mechanics Aerial
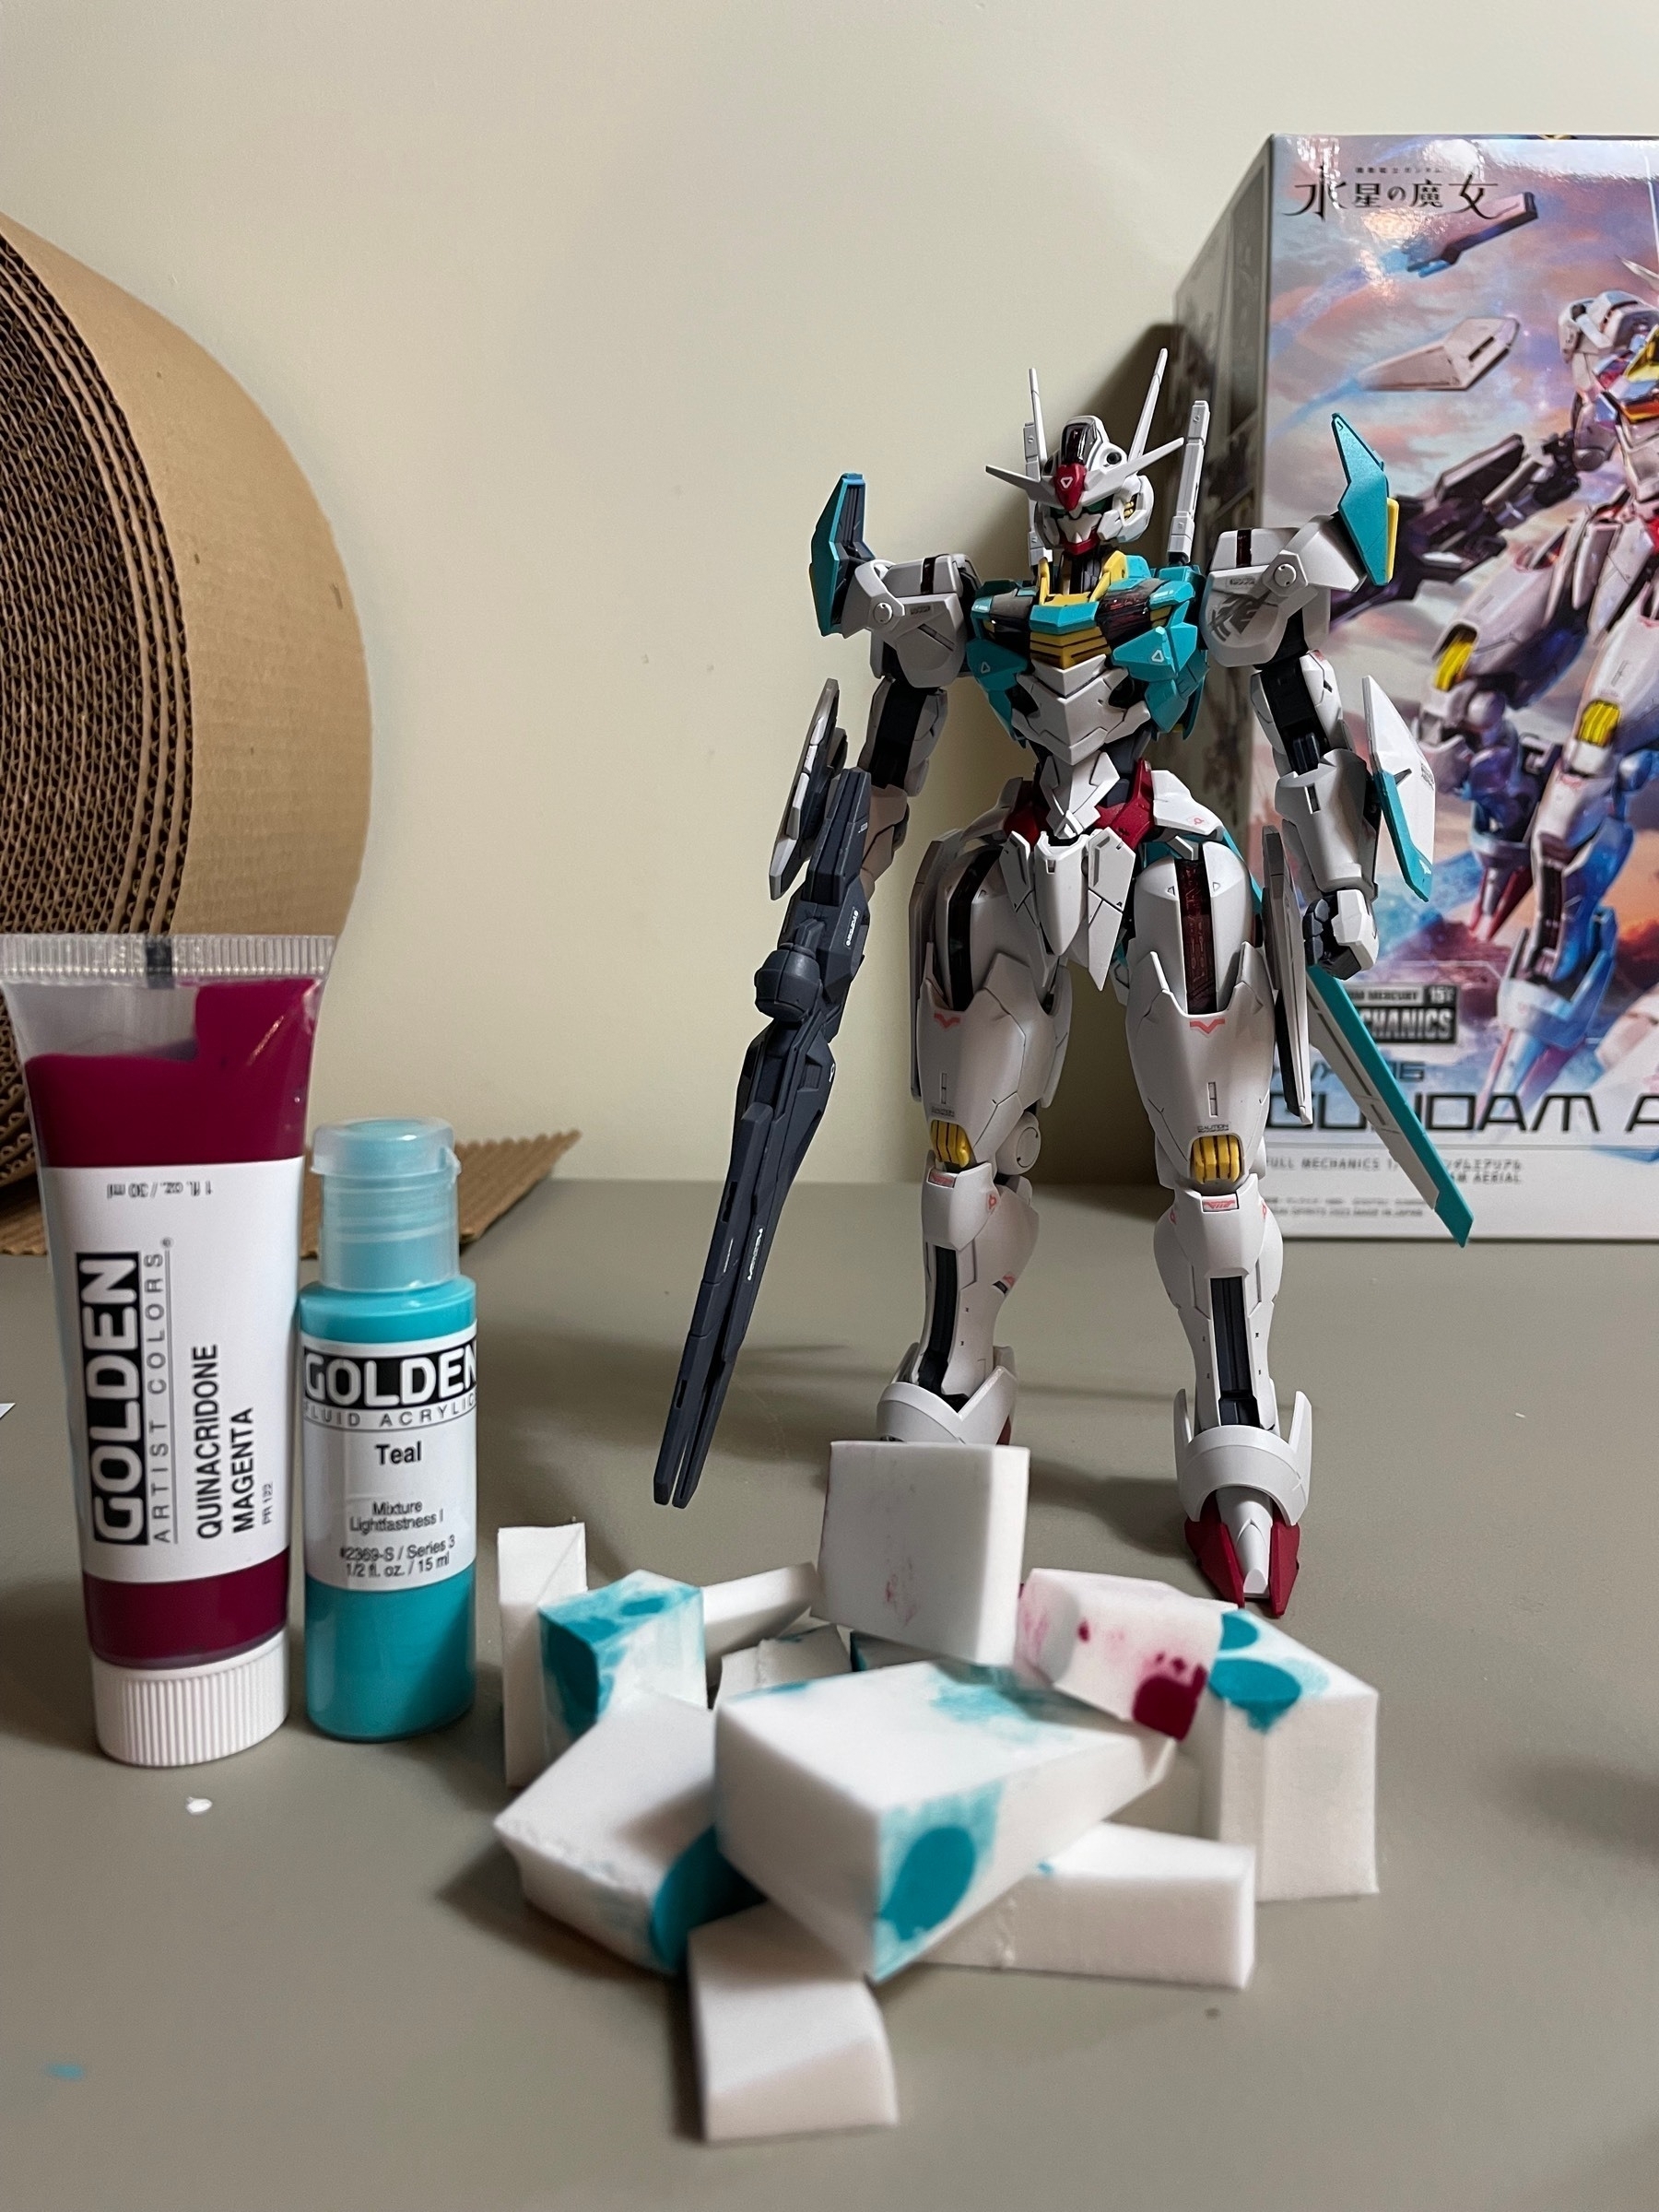
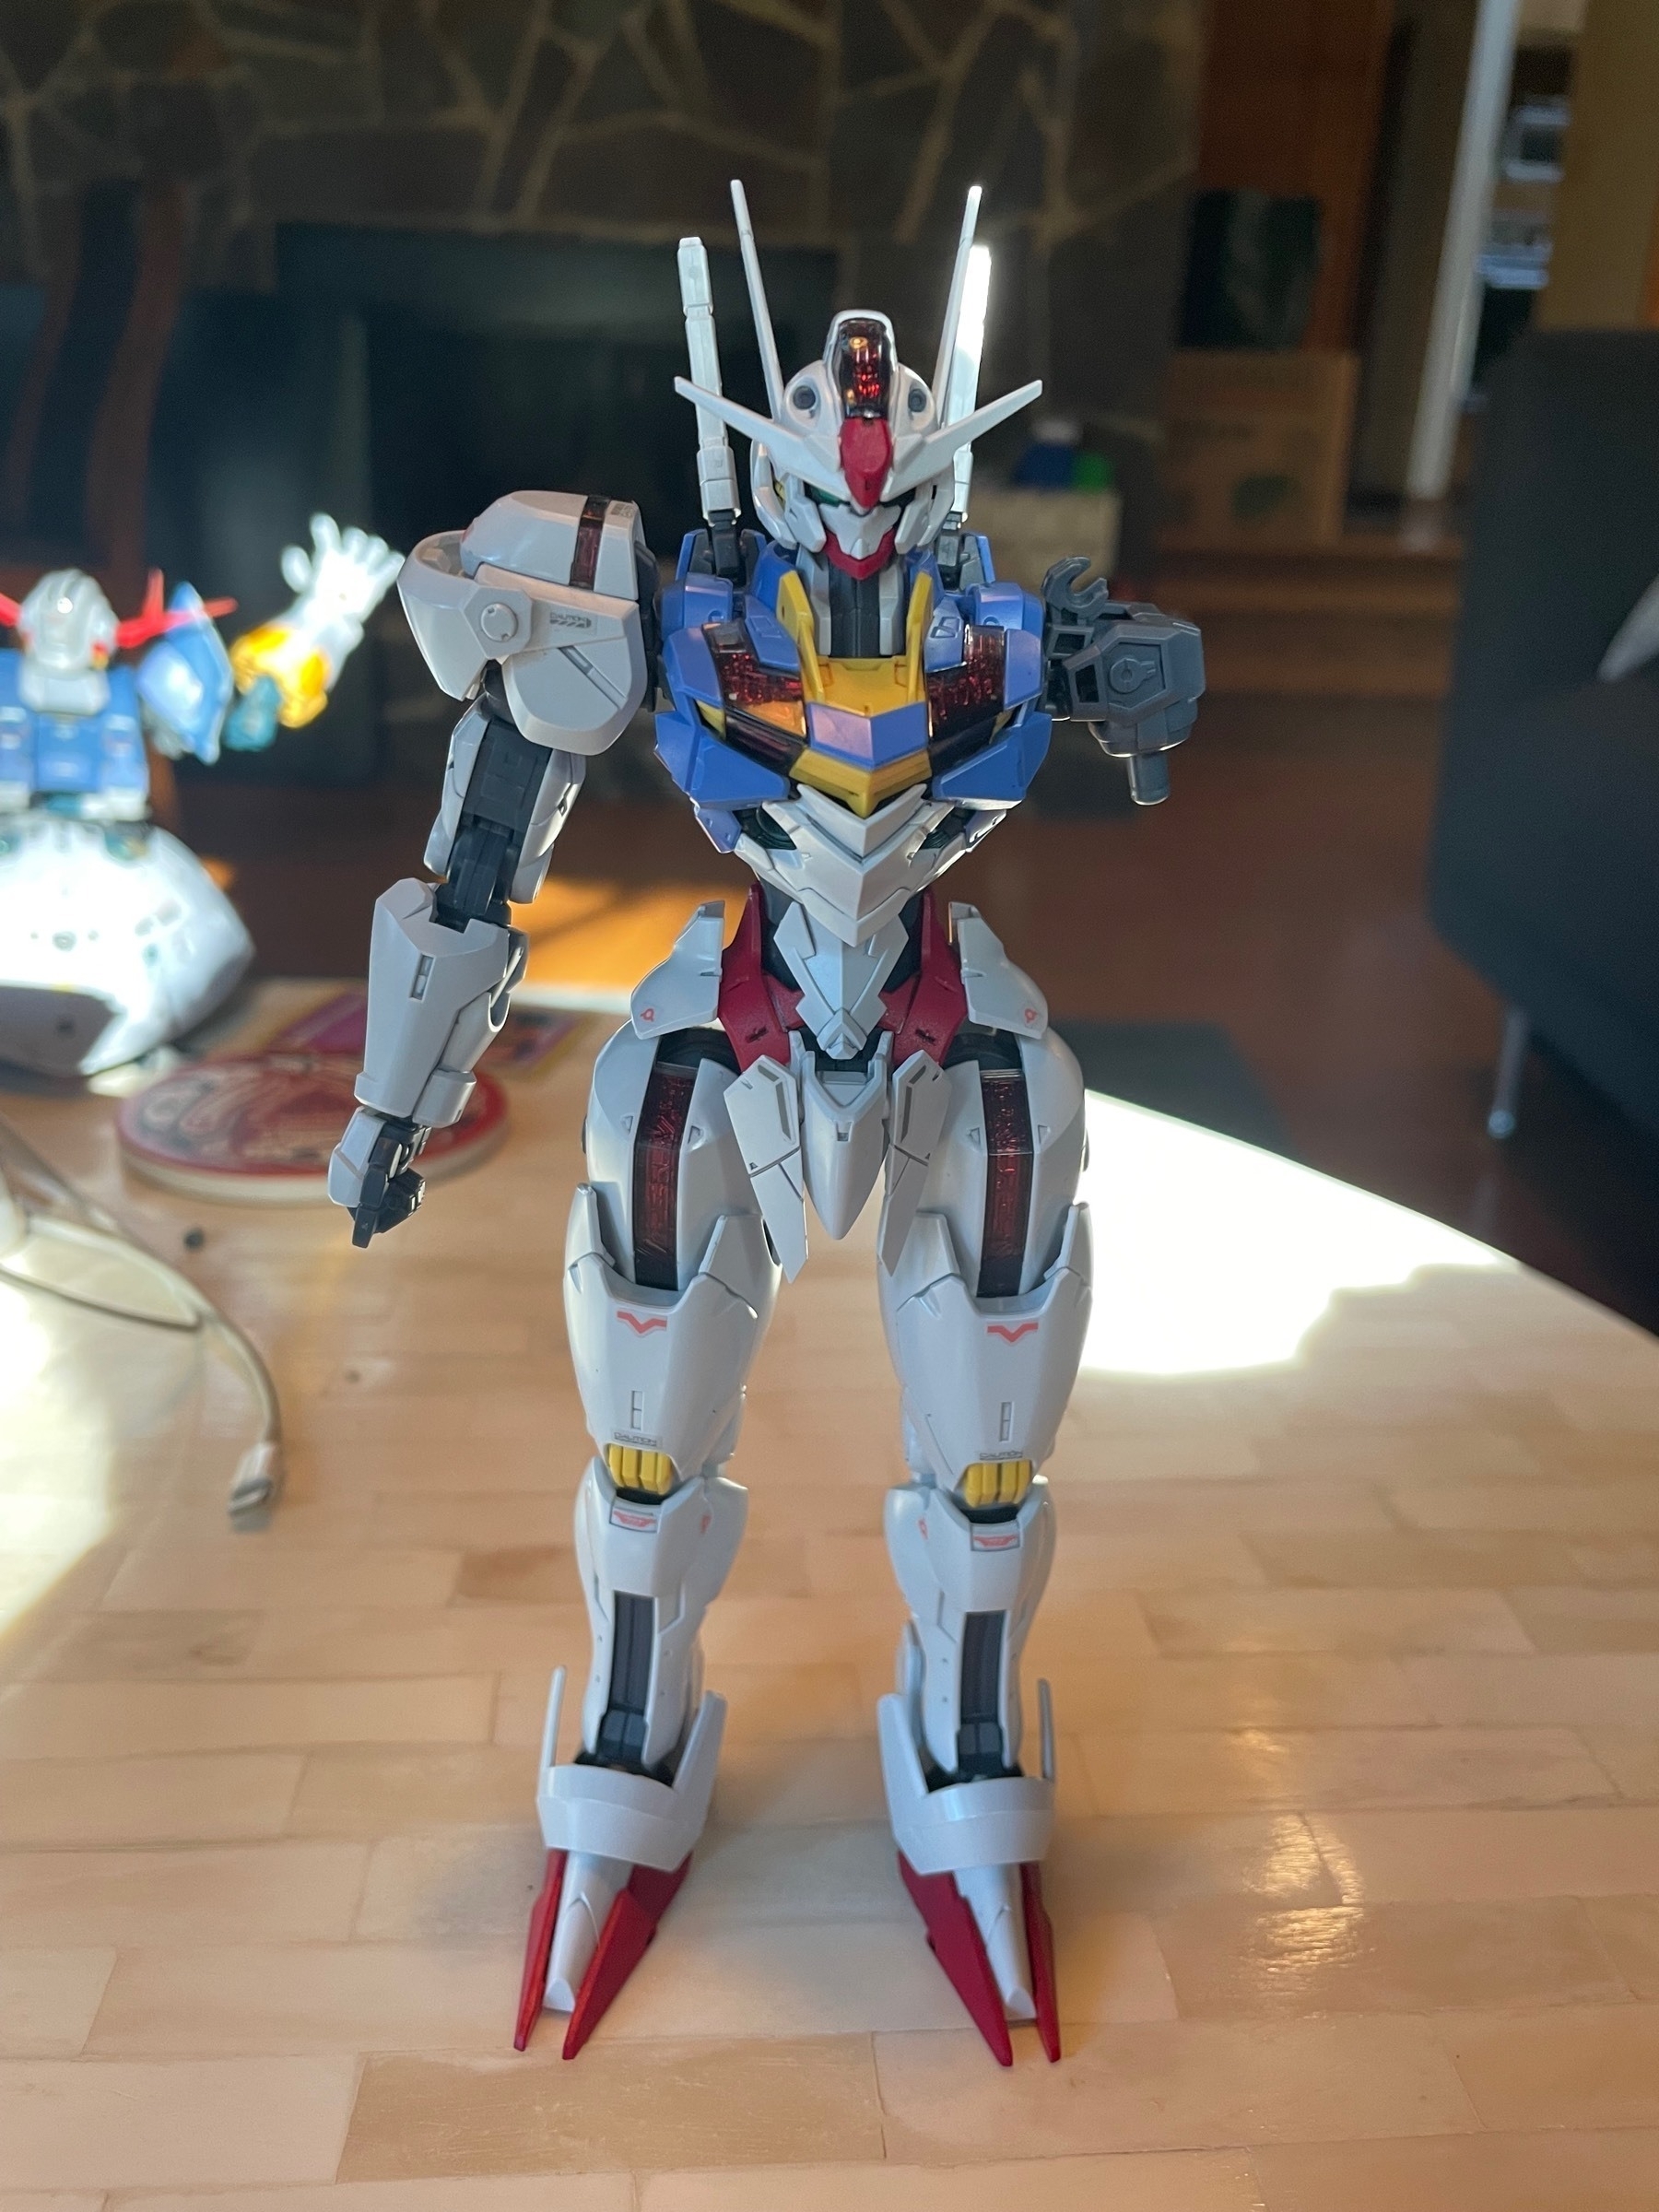
Hello internet! These past few weeks, I have been building, painting, and detailing Bandai’s Full Mechanics Gundam Aerial. Aerial is a much larger kit than the Noseru I took a look at last time, and, at around twice the price of that kit, encompasses a much longer build time too. As opposed to the High Grade Aerial’s in-molded chest piece and stickers for the permet score parts, this 1/100 version of the suit includes chromed-out red pieces for under the smokey clear parts to replicate the bright red, almost glowing, color seen in the anime. Other than that, the colors on the model are fairly standard Gundam red, yellow, blue, and white, and while it is a nice color scheme, I wanted to try something different for this kit.
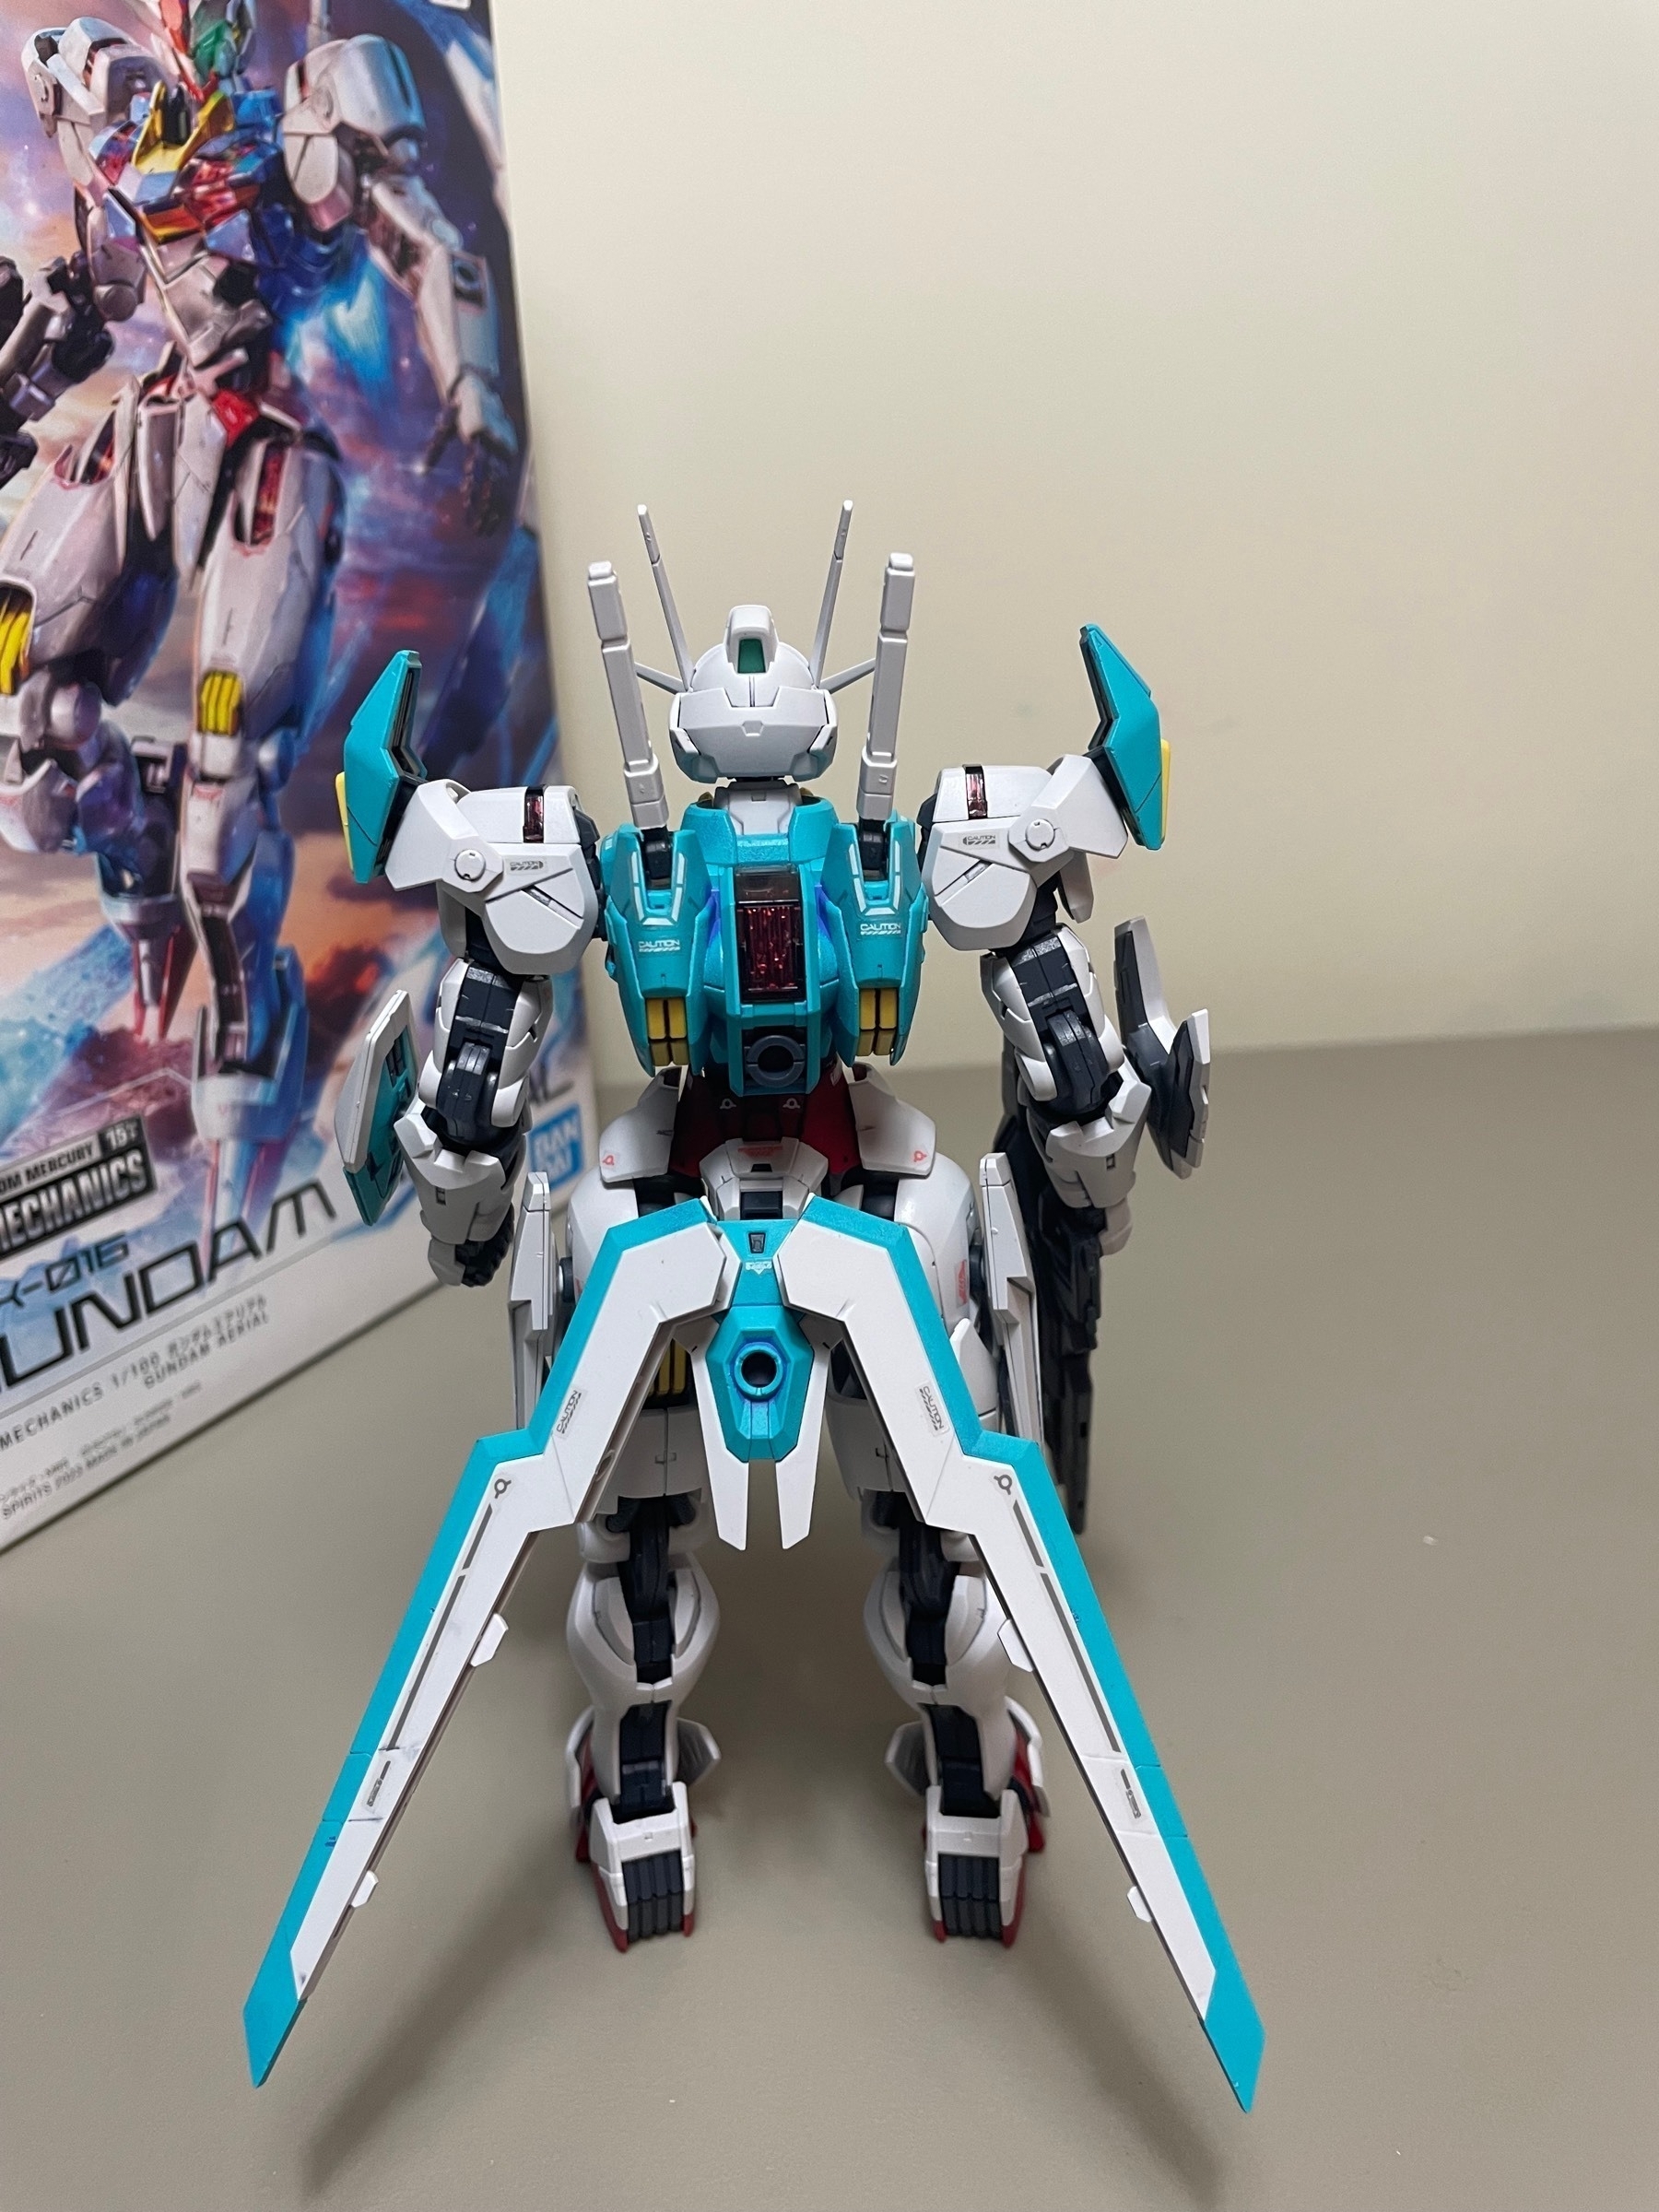
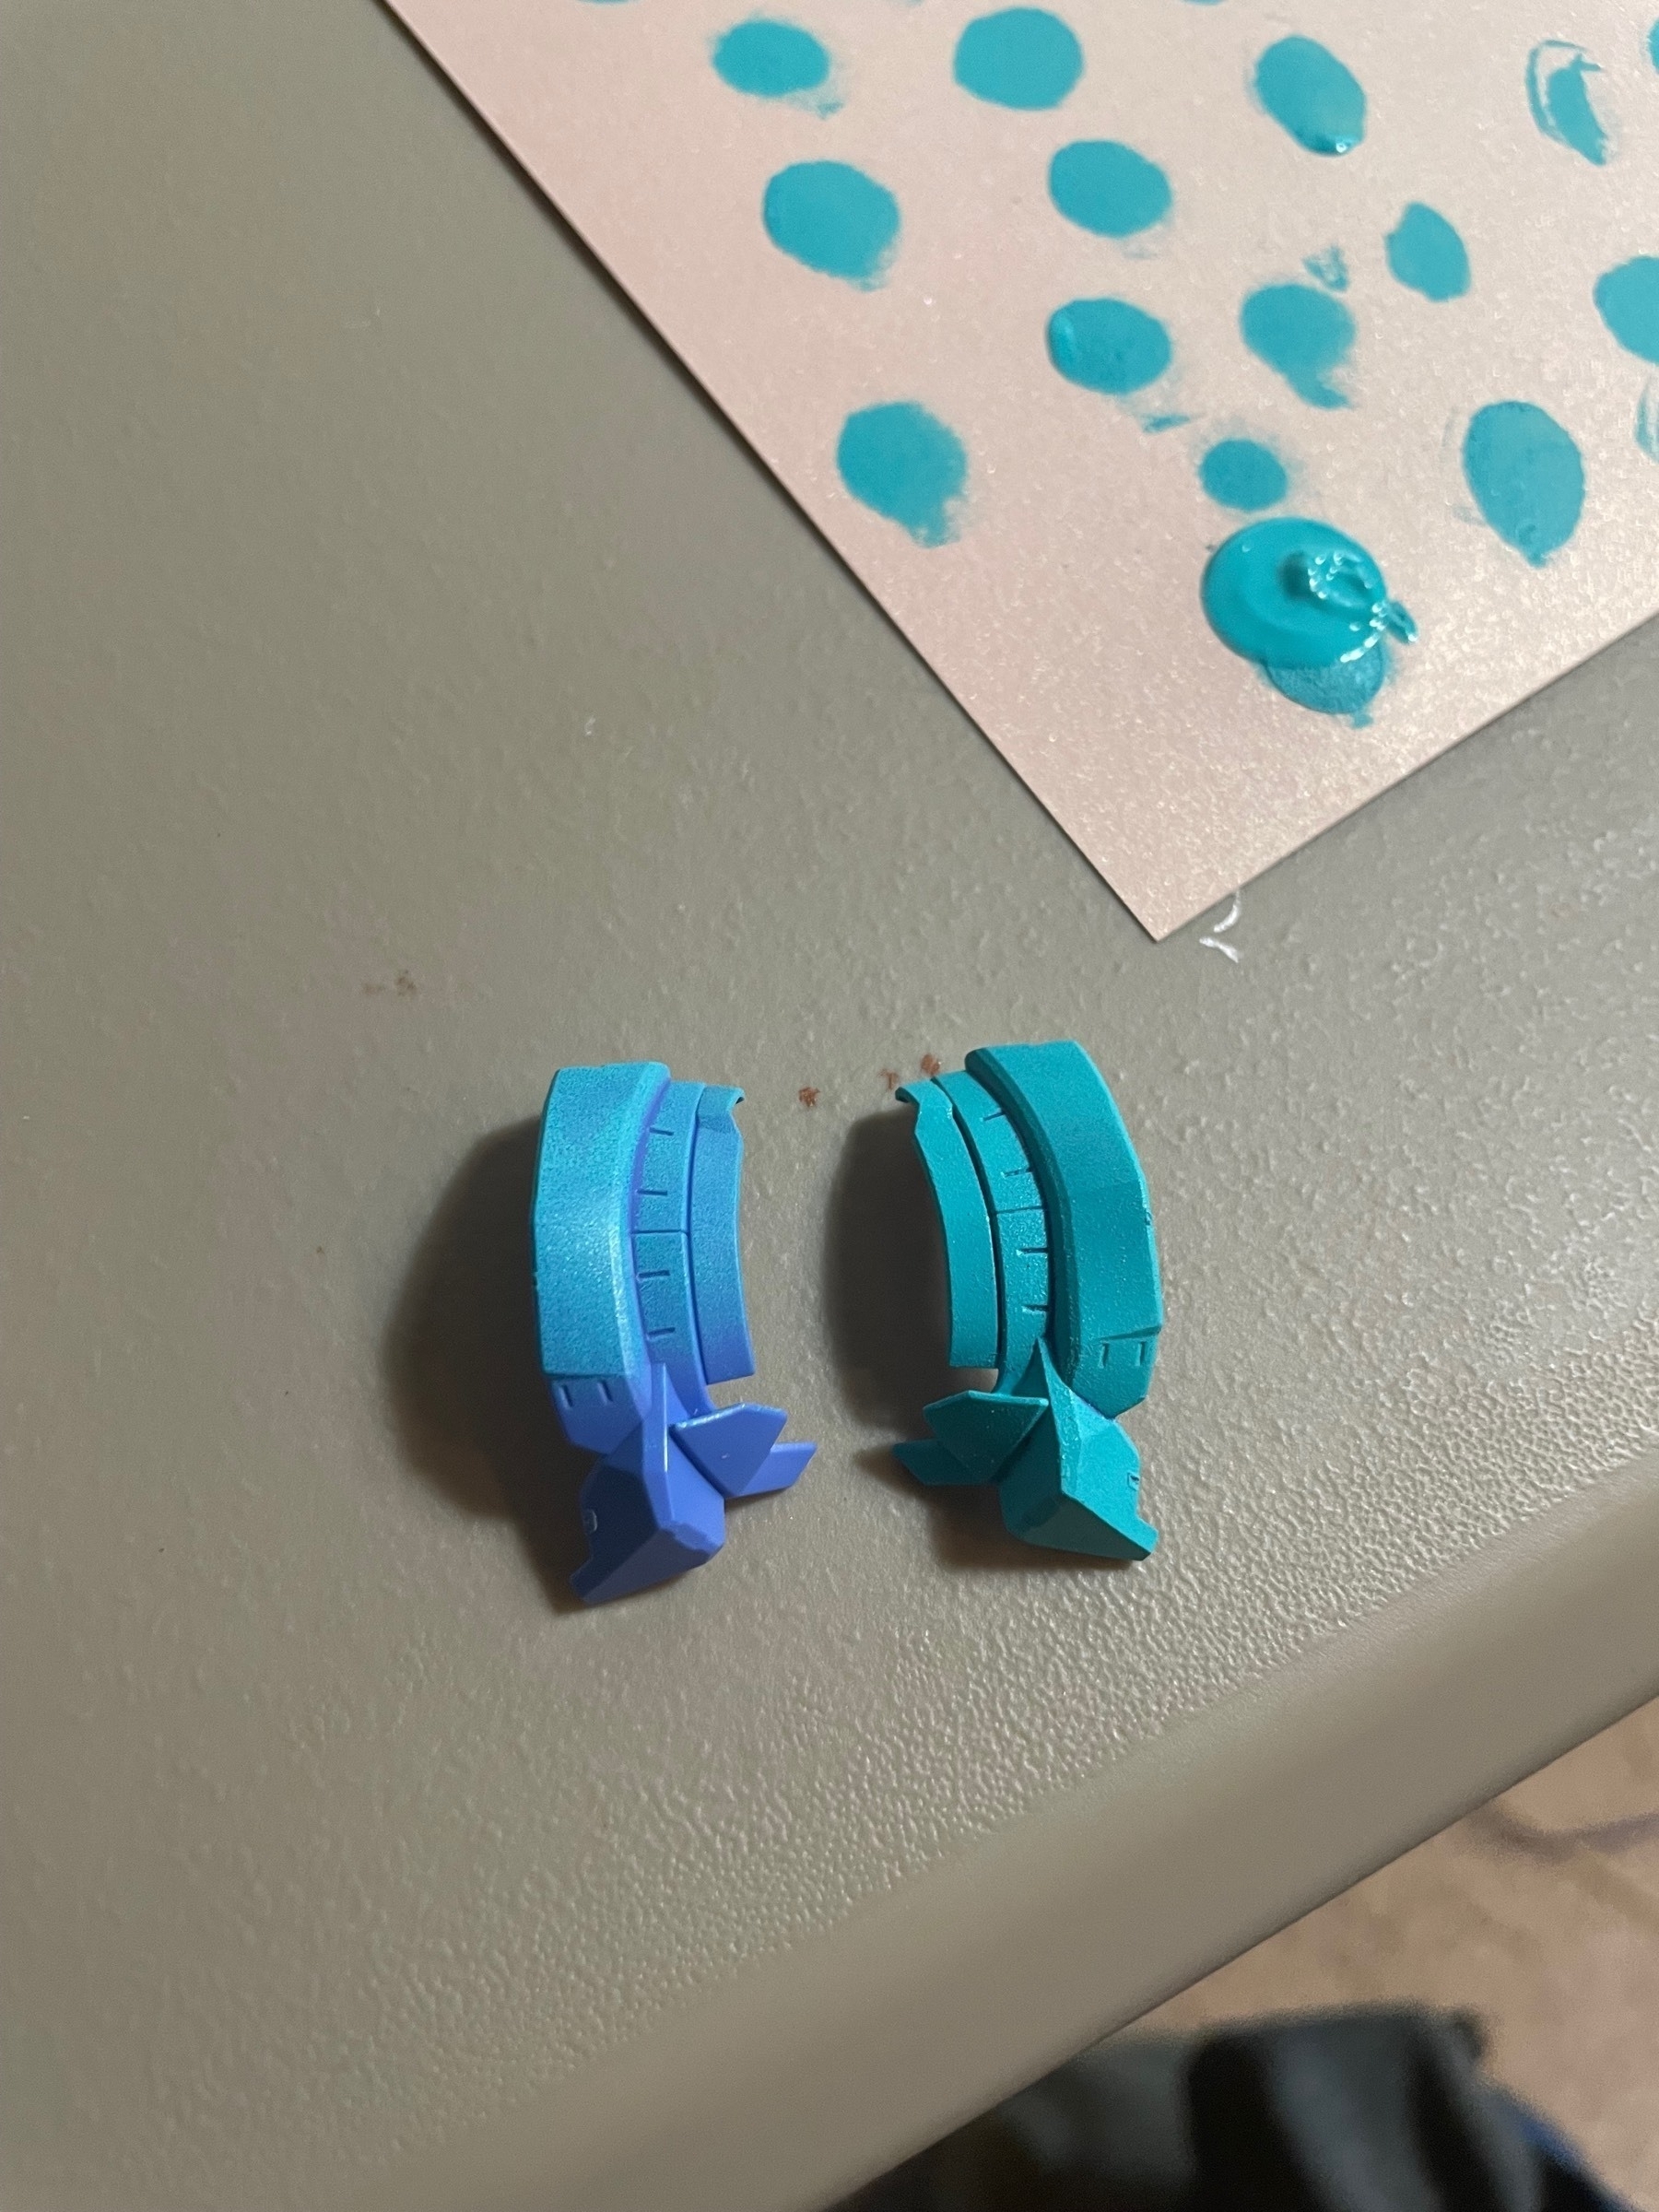
I used a simple sponge painting technique to change the original red and blue to a darker red and a teal. Sponge painting is more commonly used to paint walls and ceilings, but it can also be applied at a smaller scale to paint plastic models. Makeup sponges are used to get a clean, newly painted finish, but coarser sponges can also be used to get a more chipped and weathered look. Although I matte topcoated the main body, I ran out part way through spraying the shield and had to switch to a satin (semi-matte) topcoat.
Mini-Tutorial 2: How to sponge paint
Gather your supplies. You will need some sort of fine-pored sponge, preferably a makeup sponge. You will also need your desired paint, some scrap paper, and a hobby knife.
Similar to drybrushing, dip your sponge in the paint and dab it on a piece of scrap paper until a thin, even coat starts to show.
Sponge the individual parts of the model kit. The first coat might not cover the entire piece, but you should give at least three coats to the part for a clean finish.
-
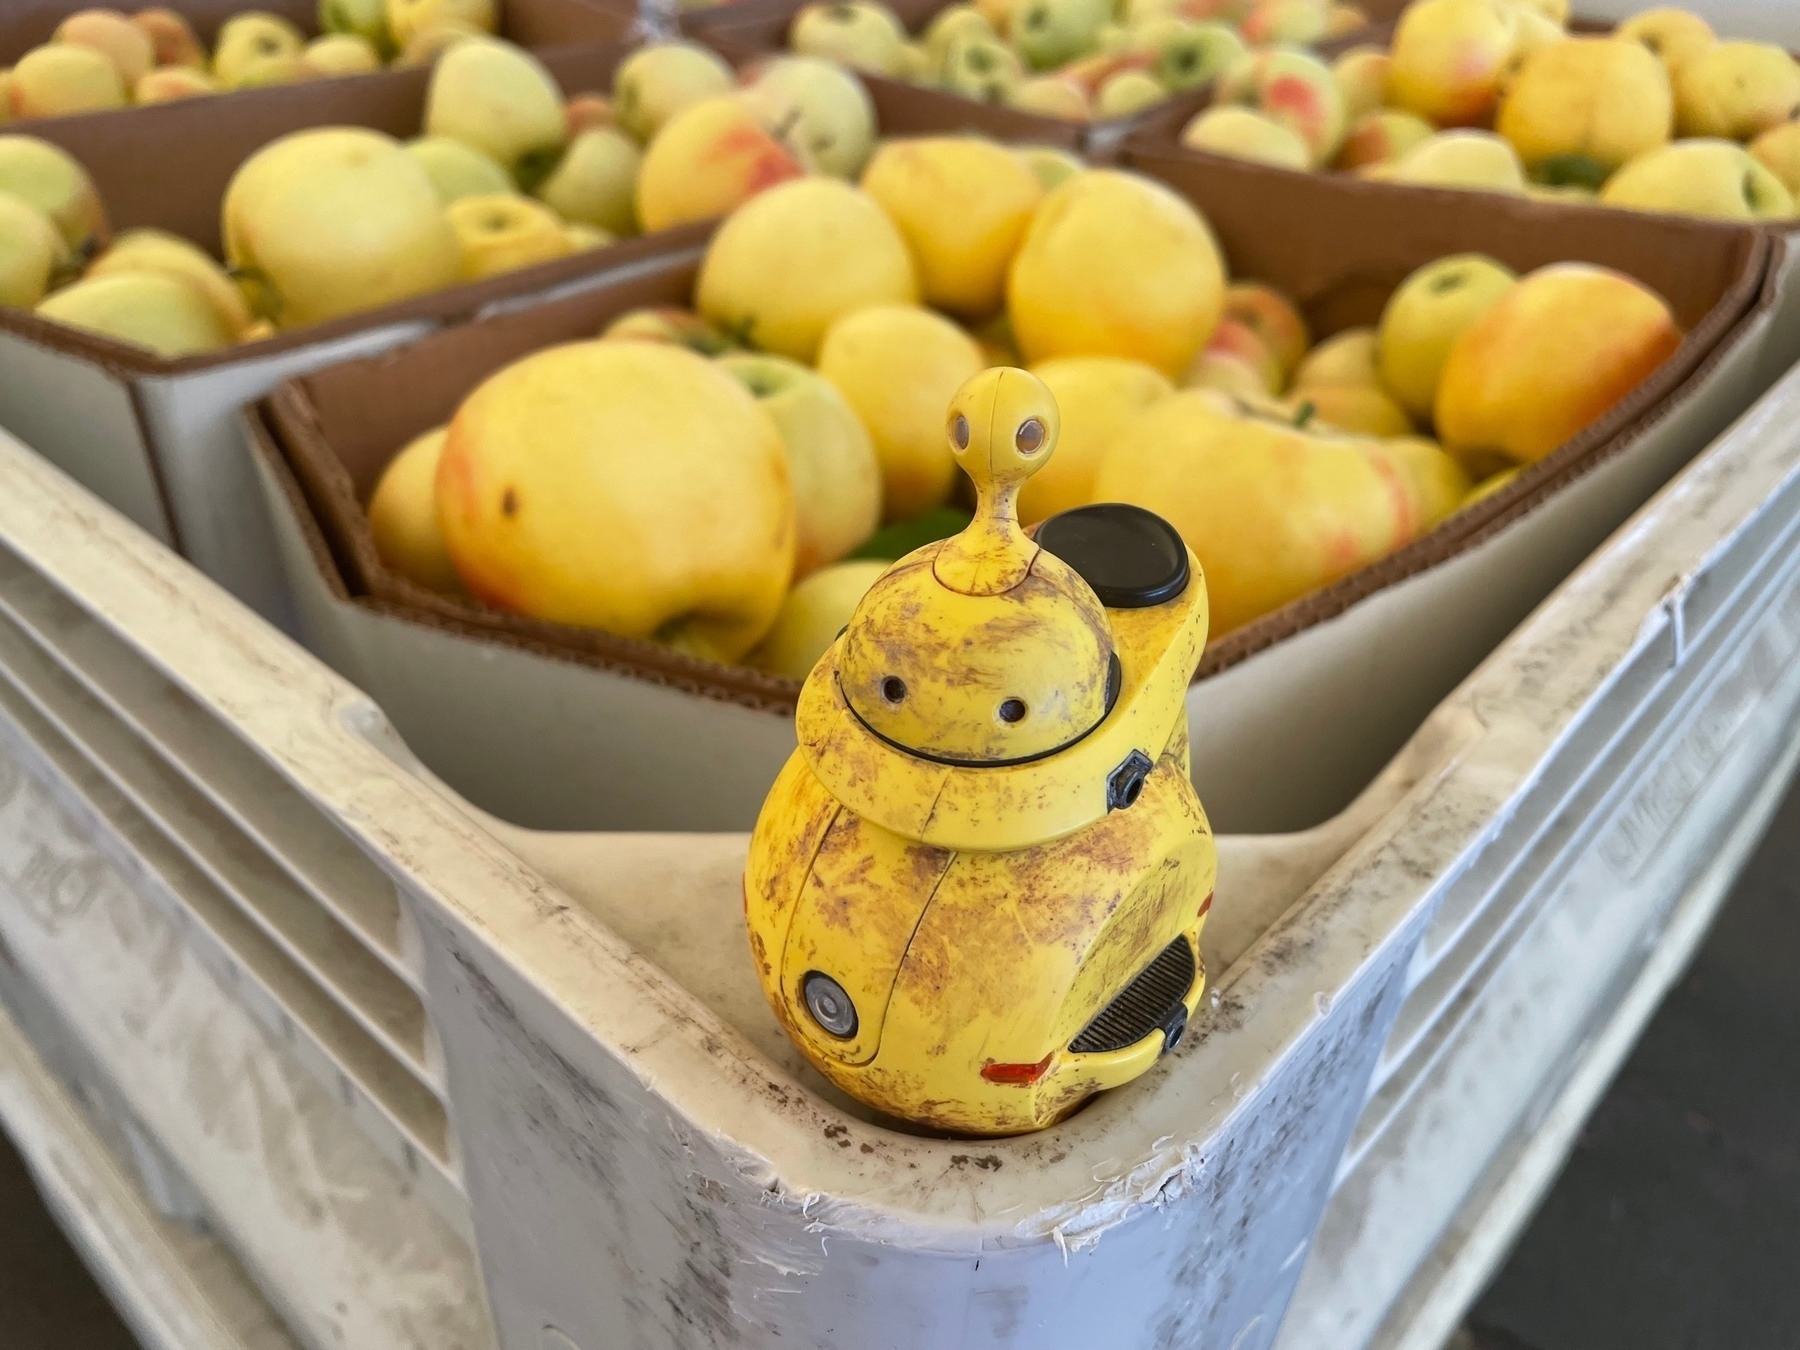
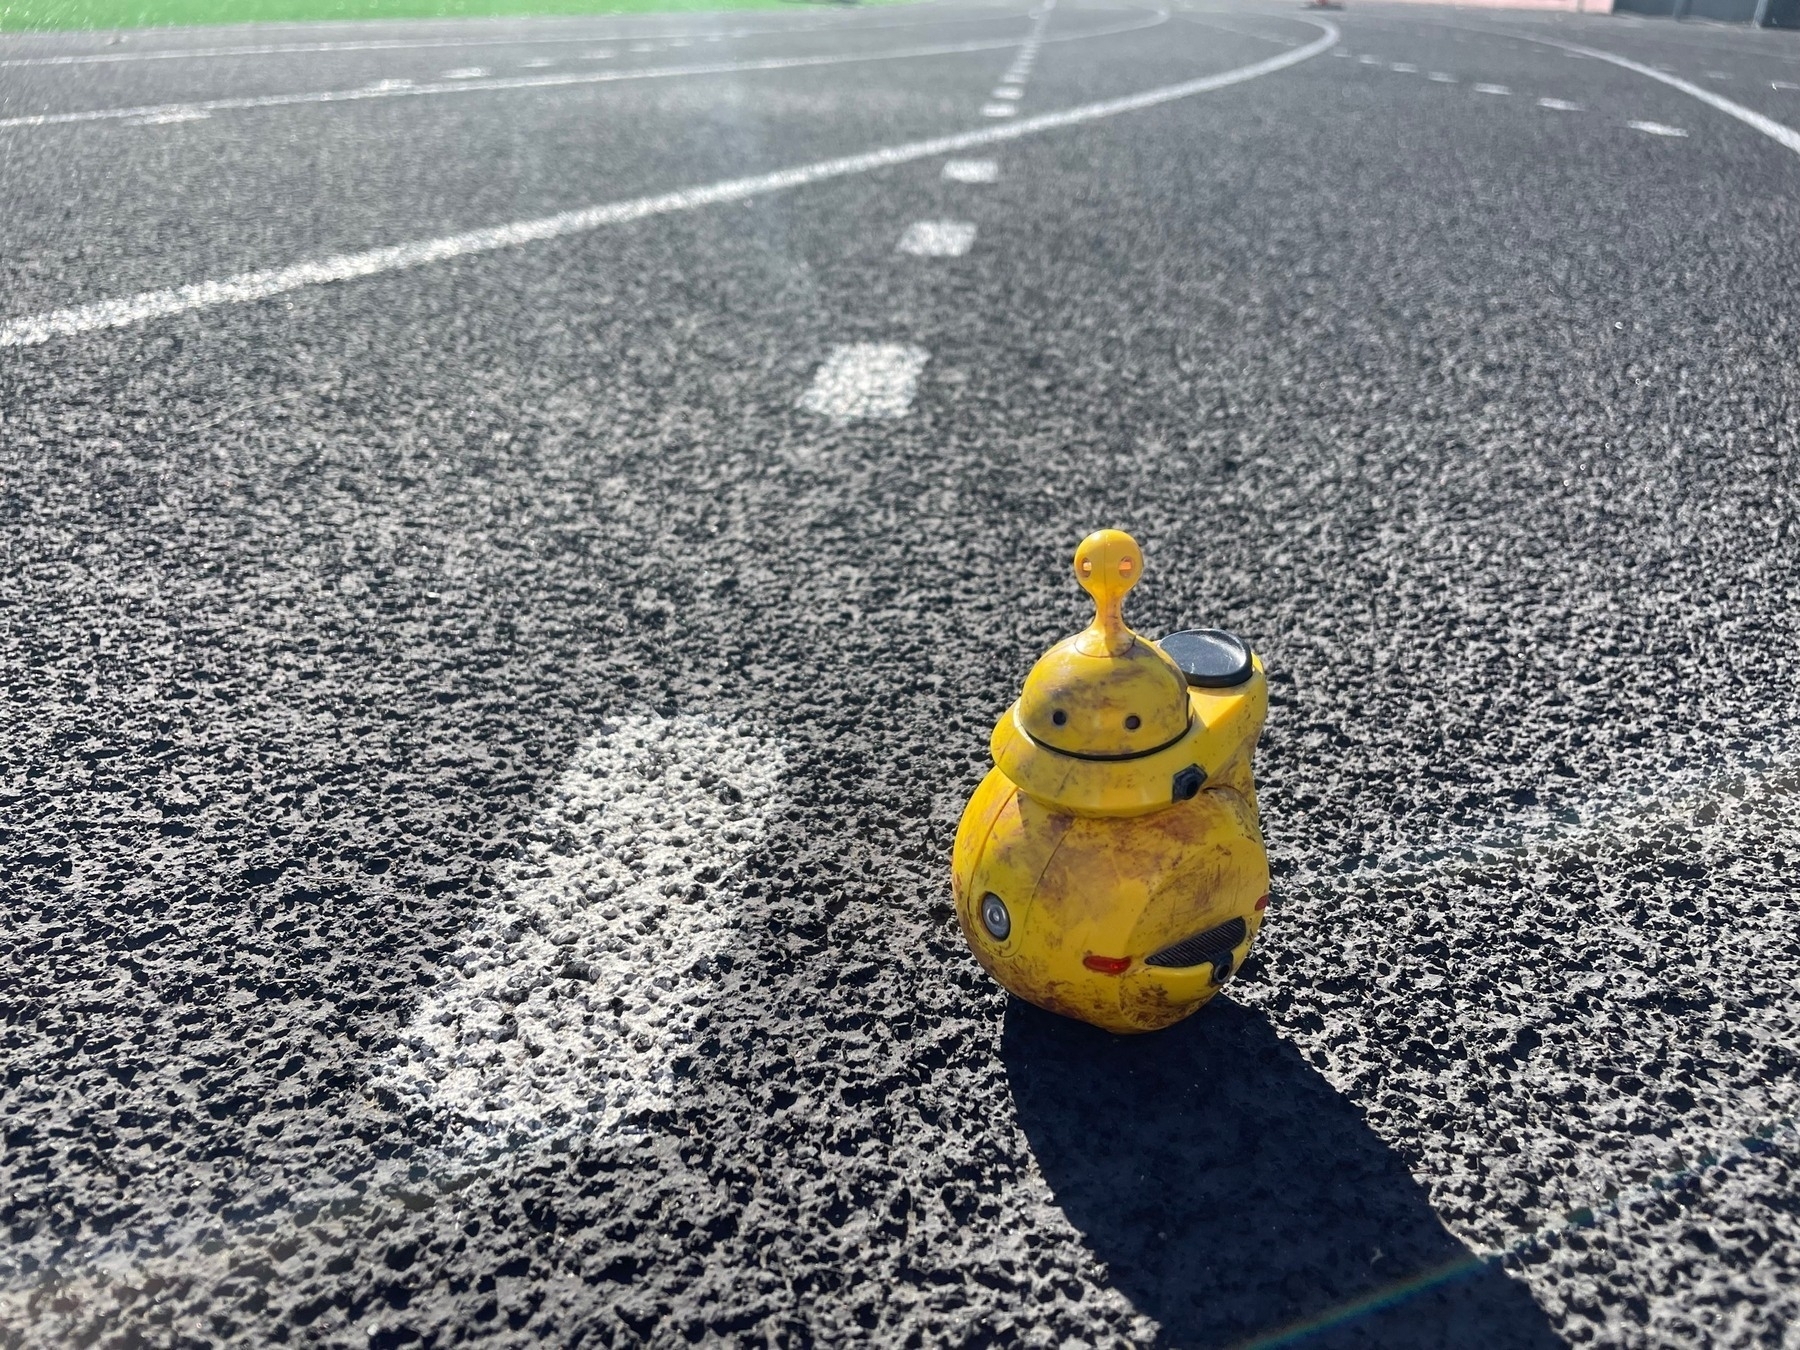
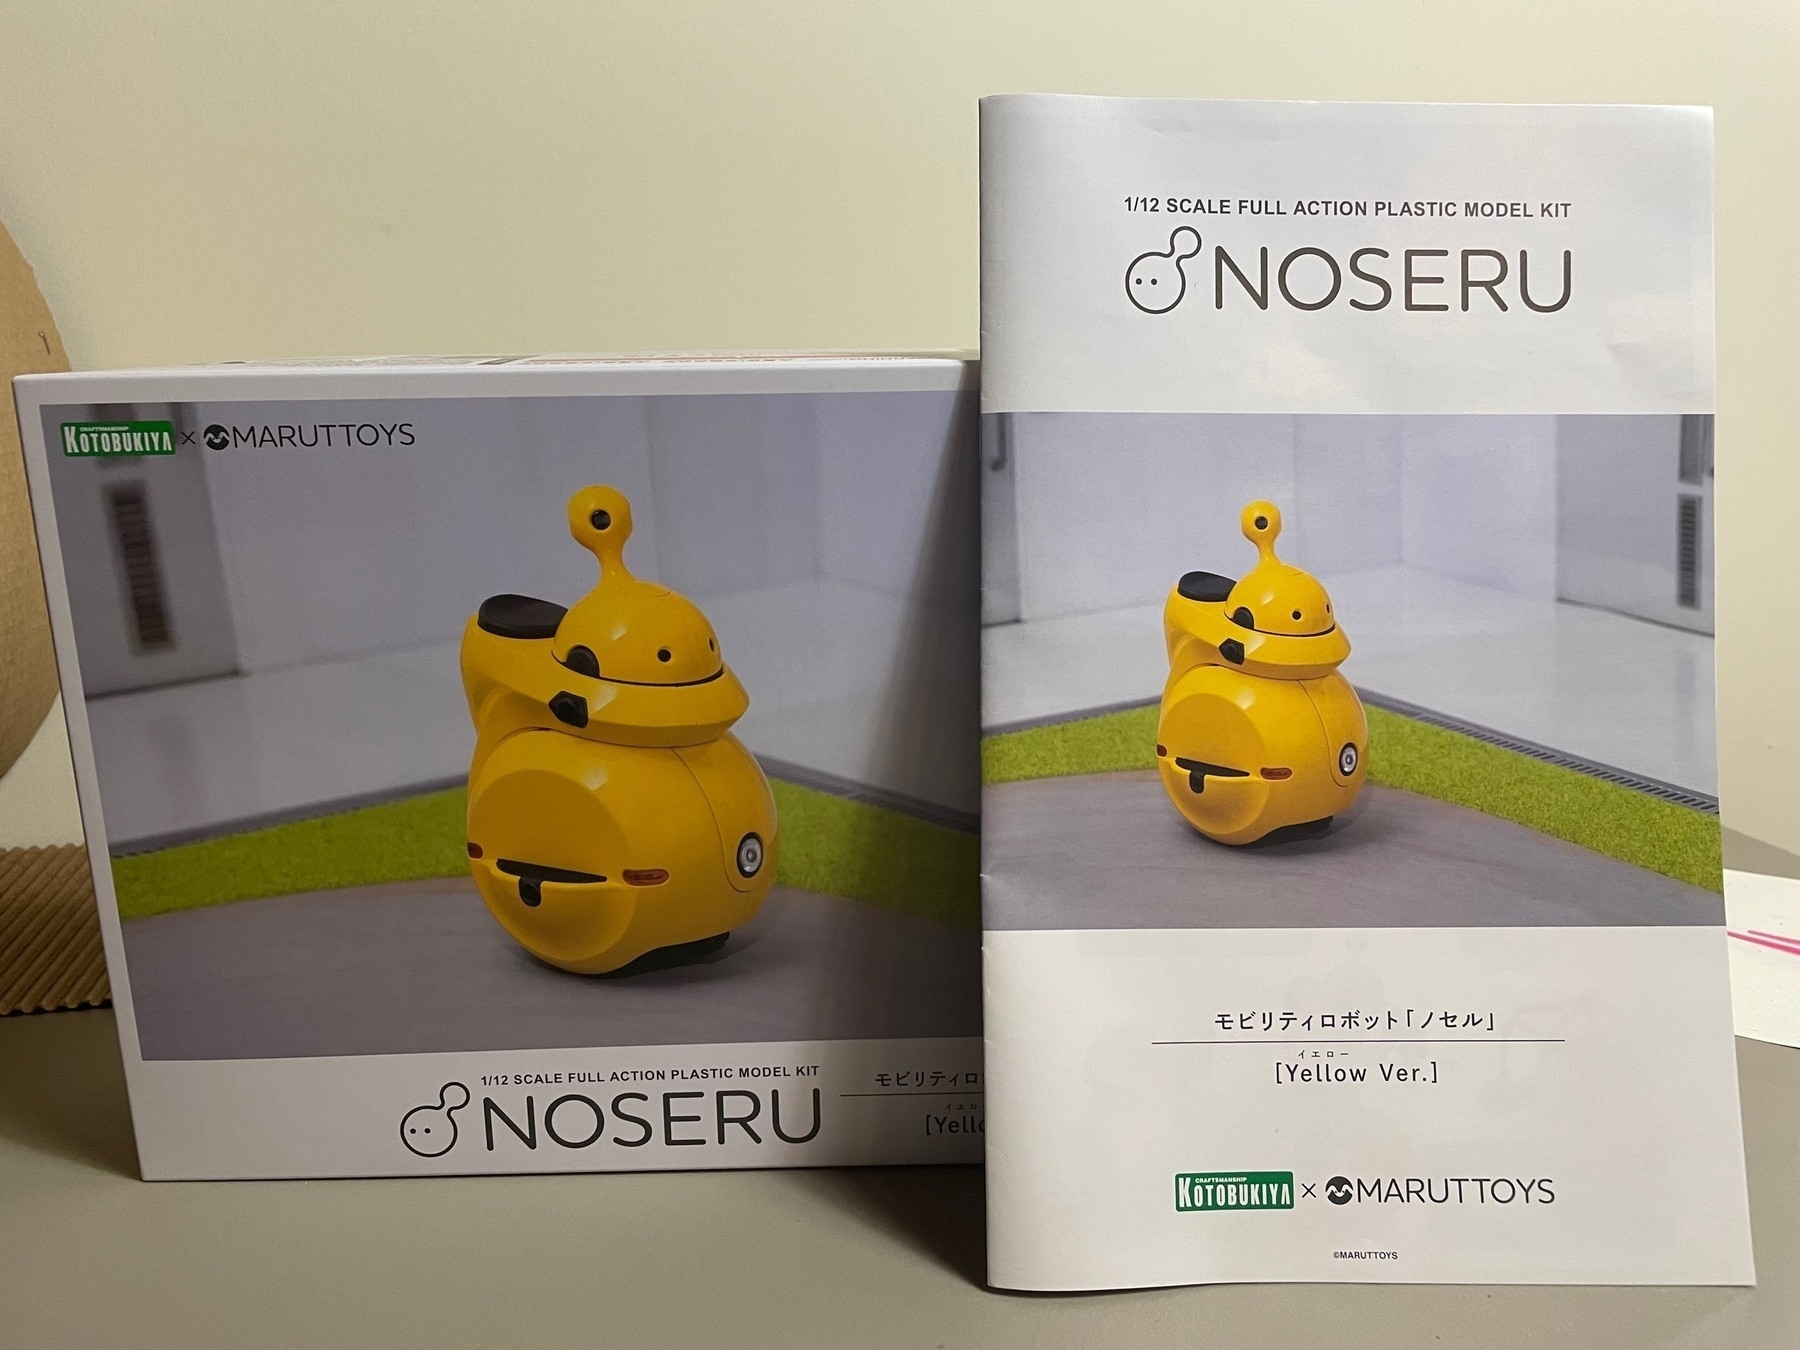
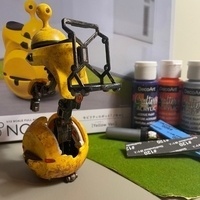
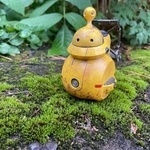
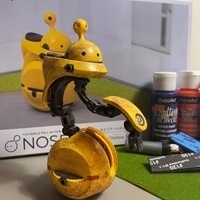
Hello internet! Over the next few months, I hope to actually use this blog I’ve been paying for for over a year! For this first actual post, I will document my weathering process of a Kotobukiya Maruttoys Noseru (Yellow Ver.) kit.
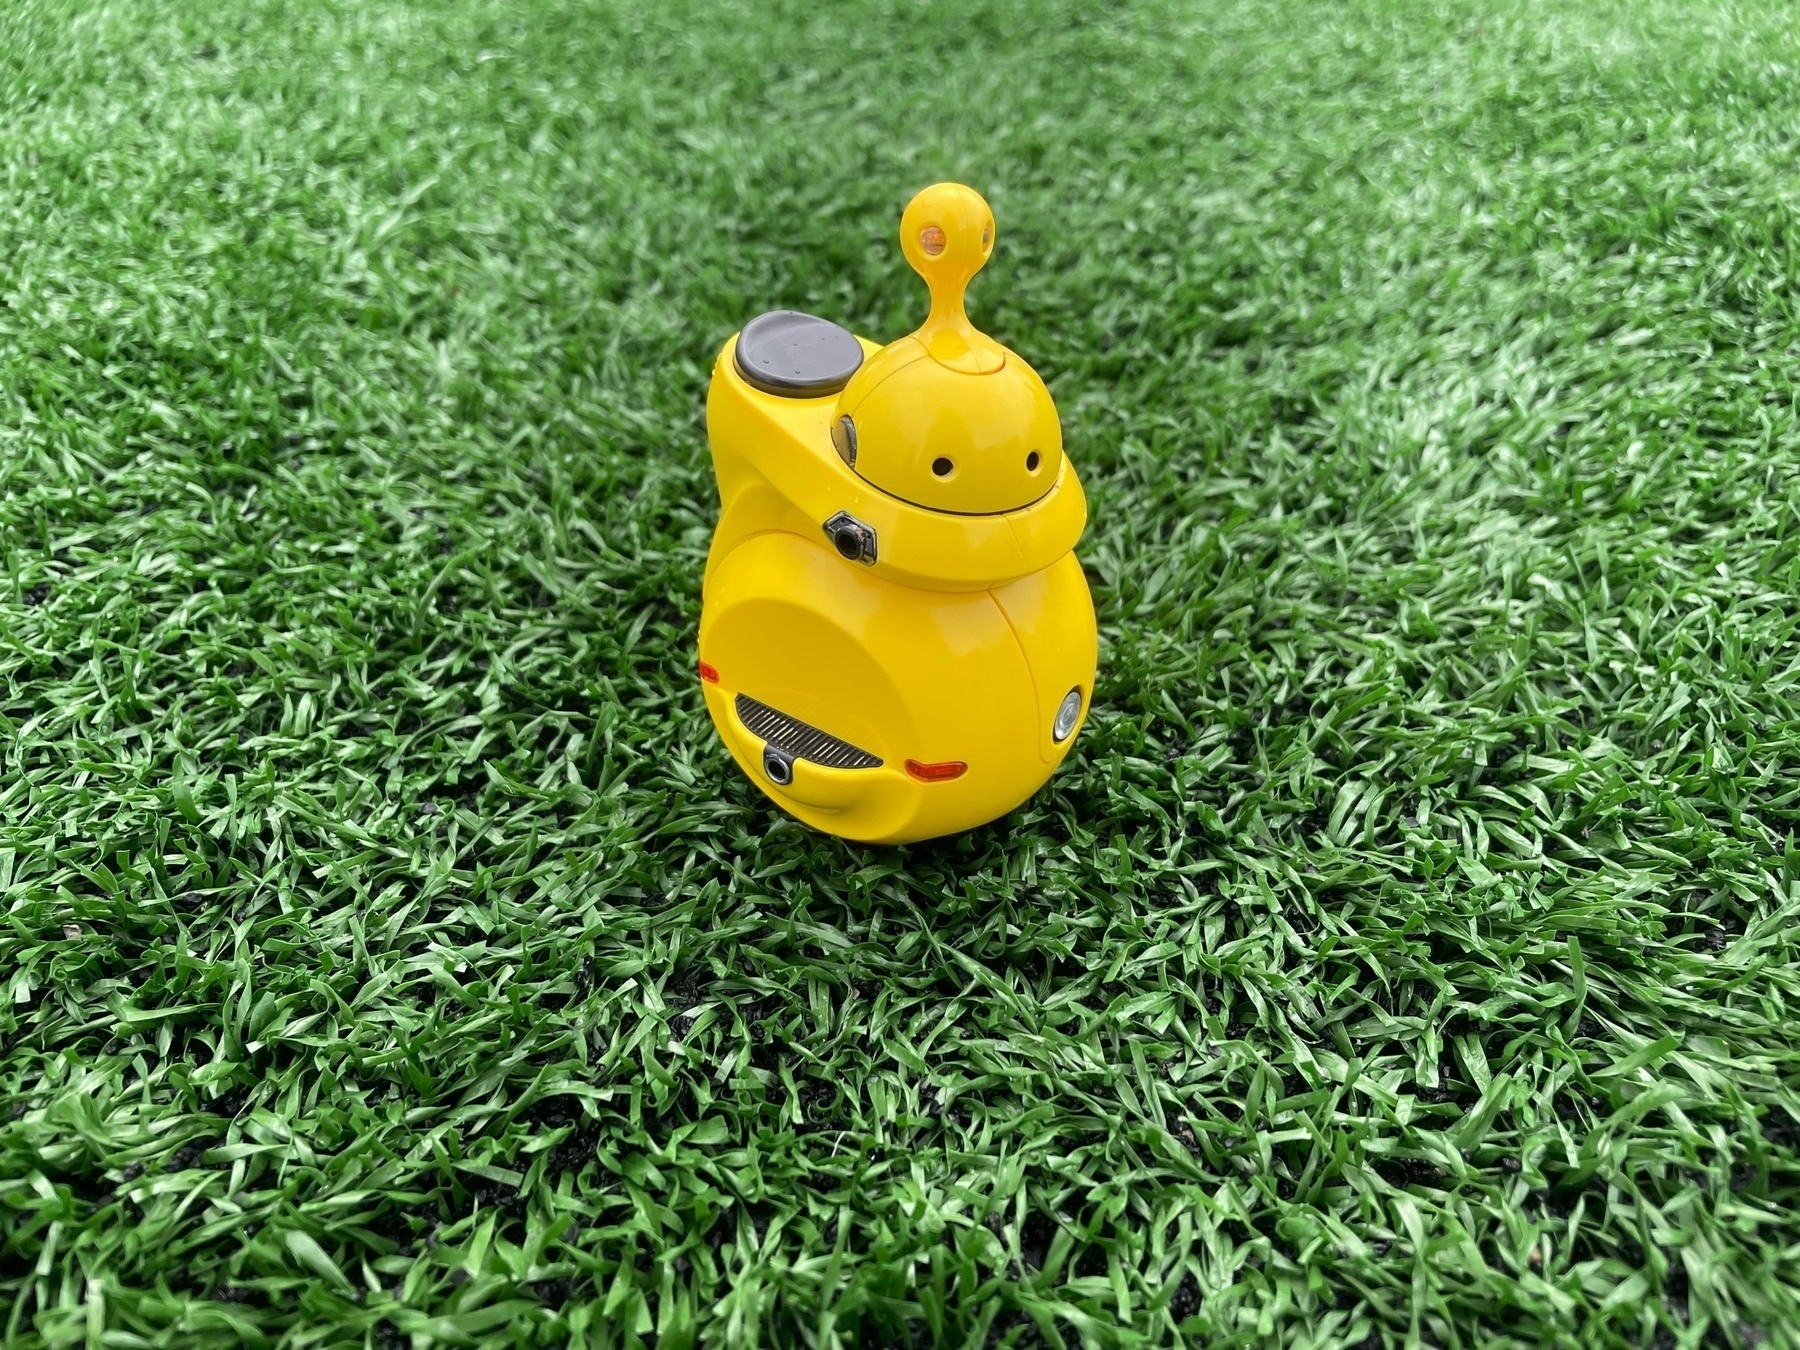
The base kit itself is quite solid; the yellow armor parts have a nice glossy finish, while the dark gray frame parts feature some lovely detail. Unfortunately, the main piping, tires on the wheels, and some silver bolts all need painting to be fully accurate to the manual. The other main complaint I have with the kit is that several joints are very tight, and need to be sanded to avoid breakage. Other than that, Noseru is a premium-feeling kit, and the photography on the box only adds to this feeling.
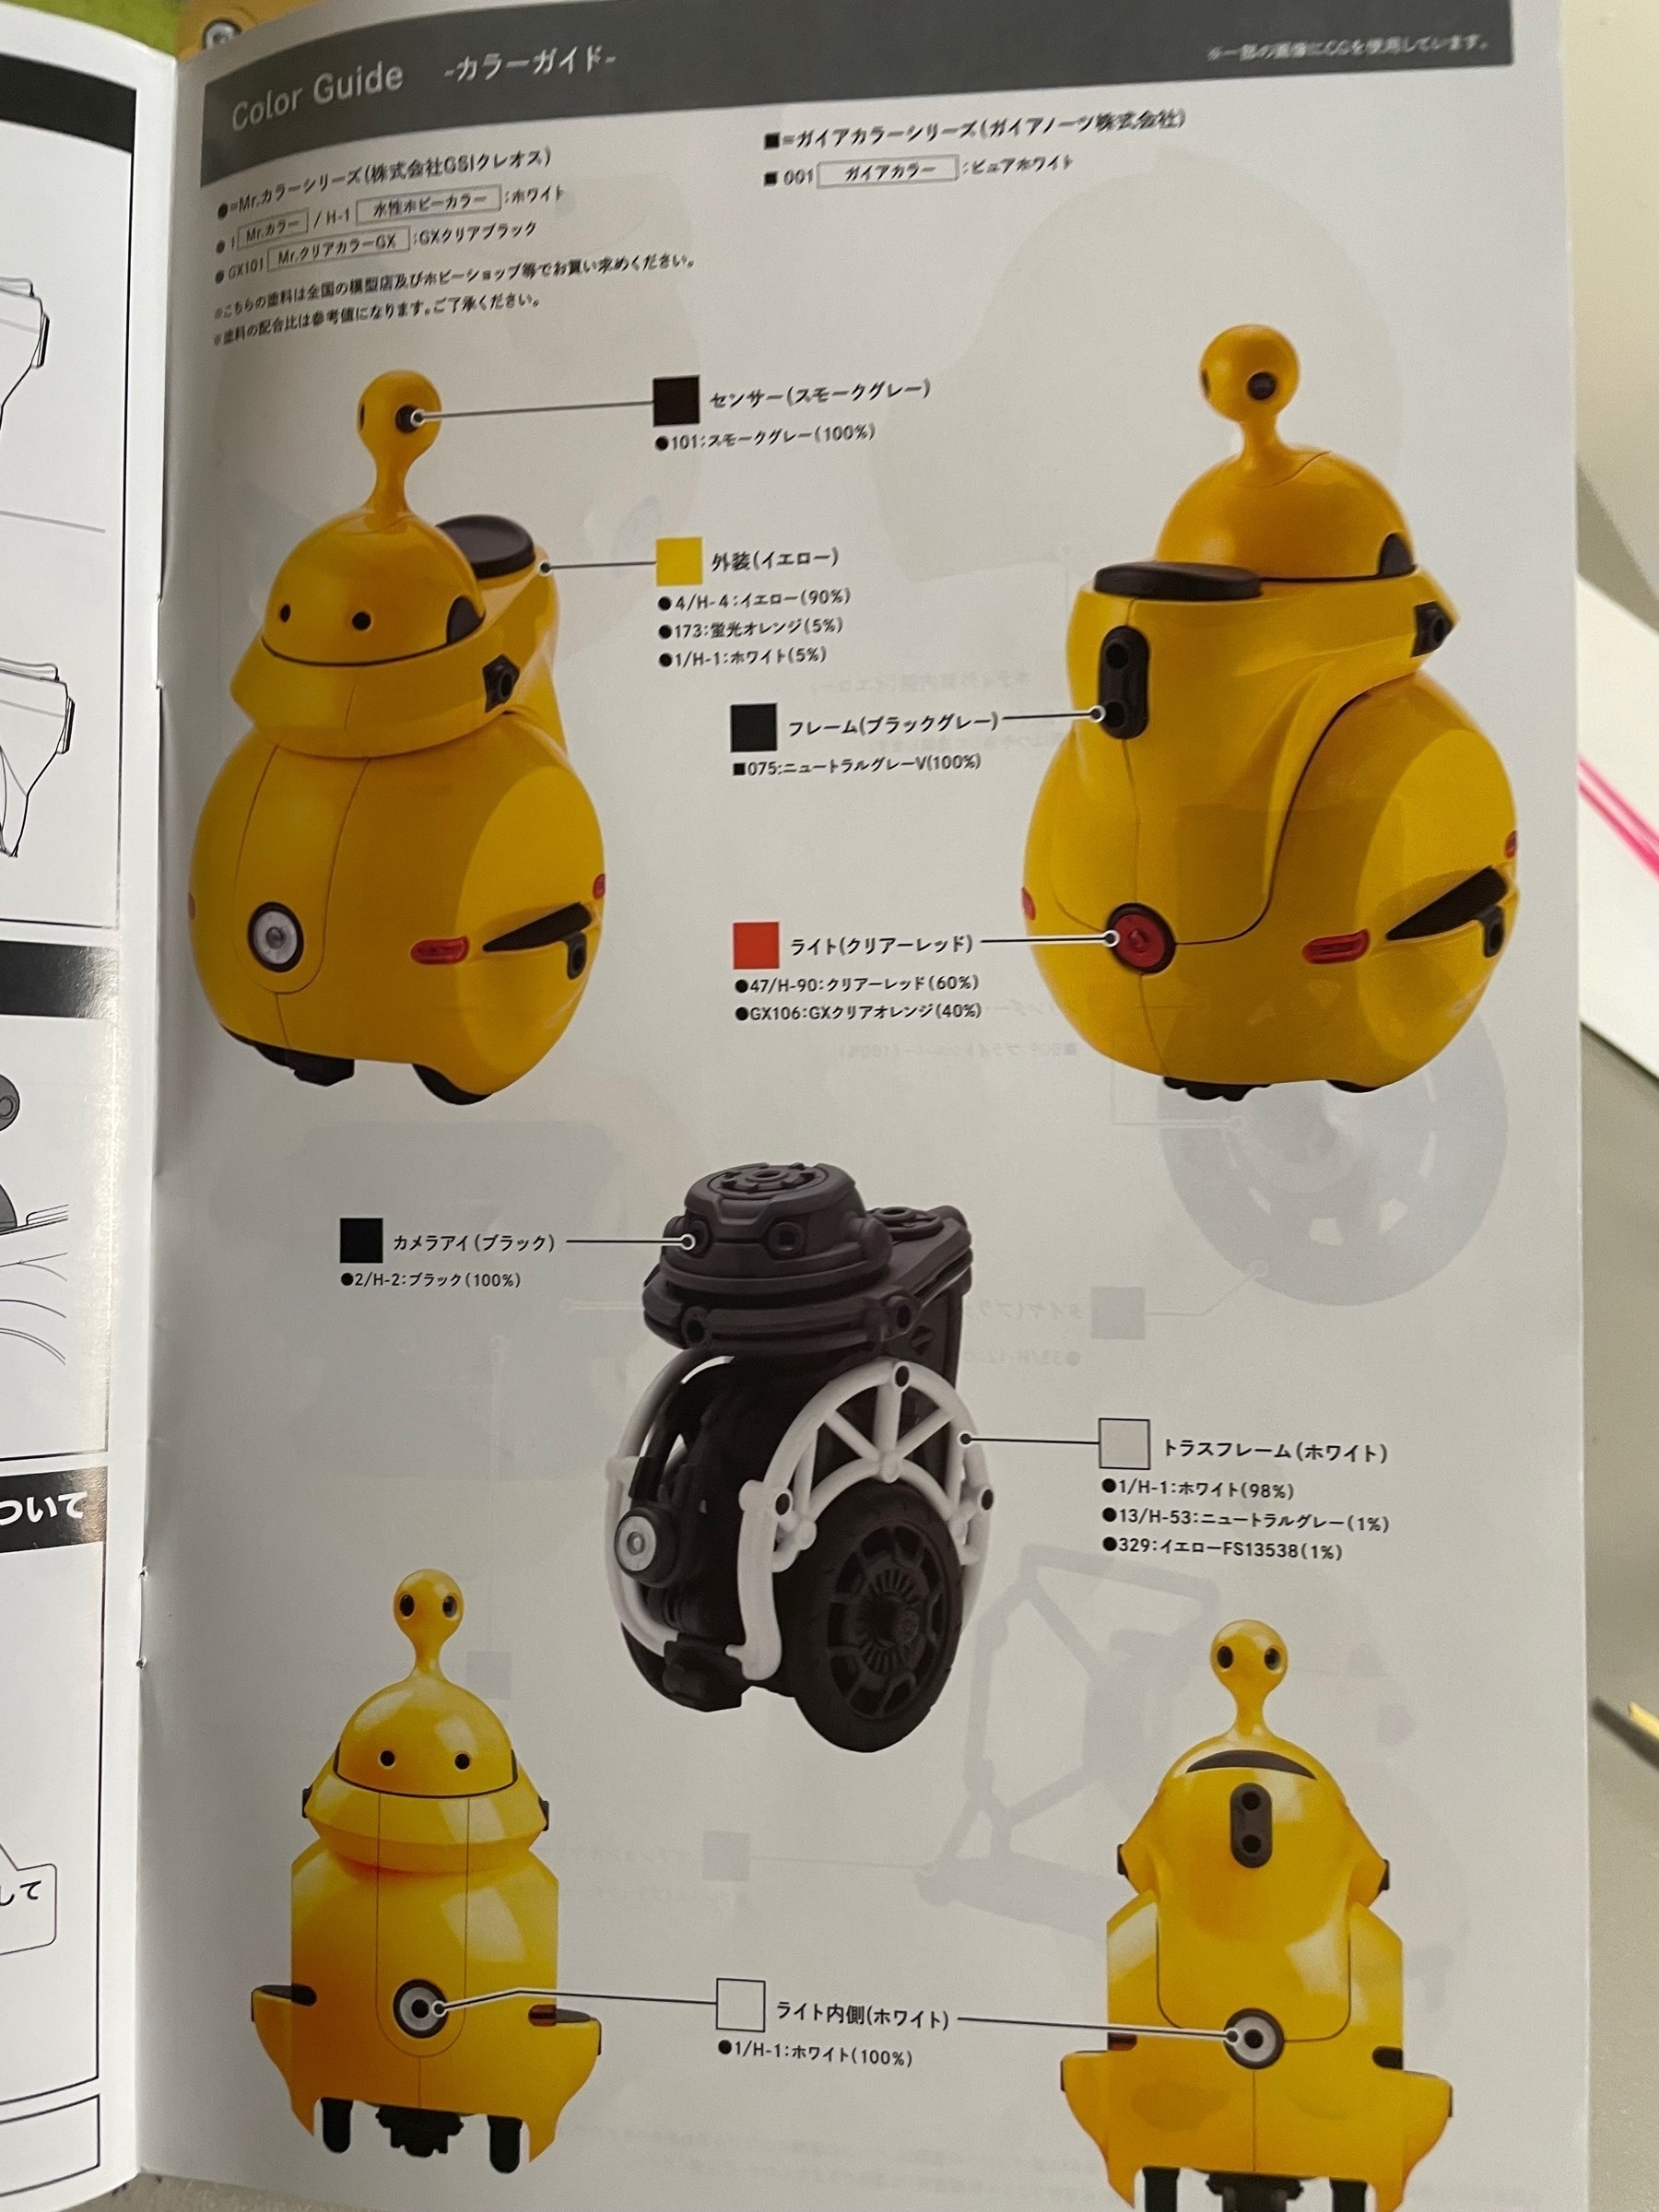
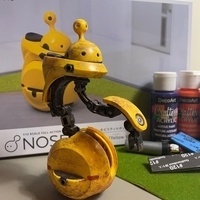
I used some simple techniques, mainly drybrushing, to get Noseru looking dirty and dinged up. Drybrushing is one of the simplest model kit weathering techniques, as all it requires is some scrap paper, an old brush or toothbrush, and some paint; I used some cheap acrylic paints.
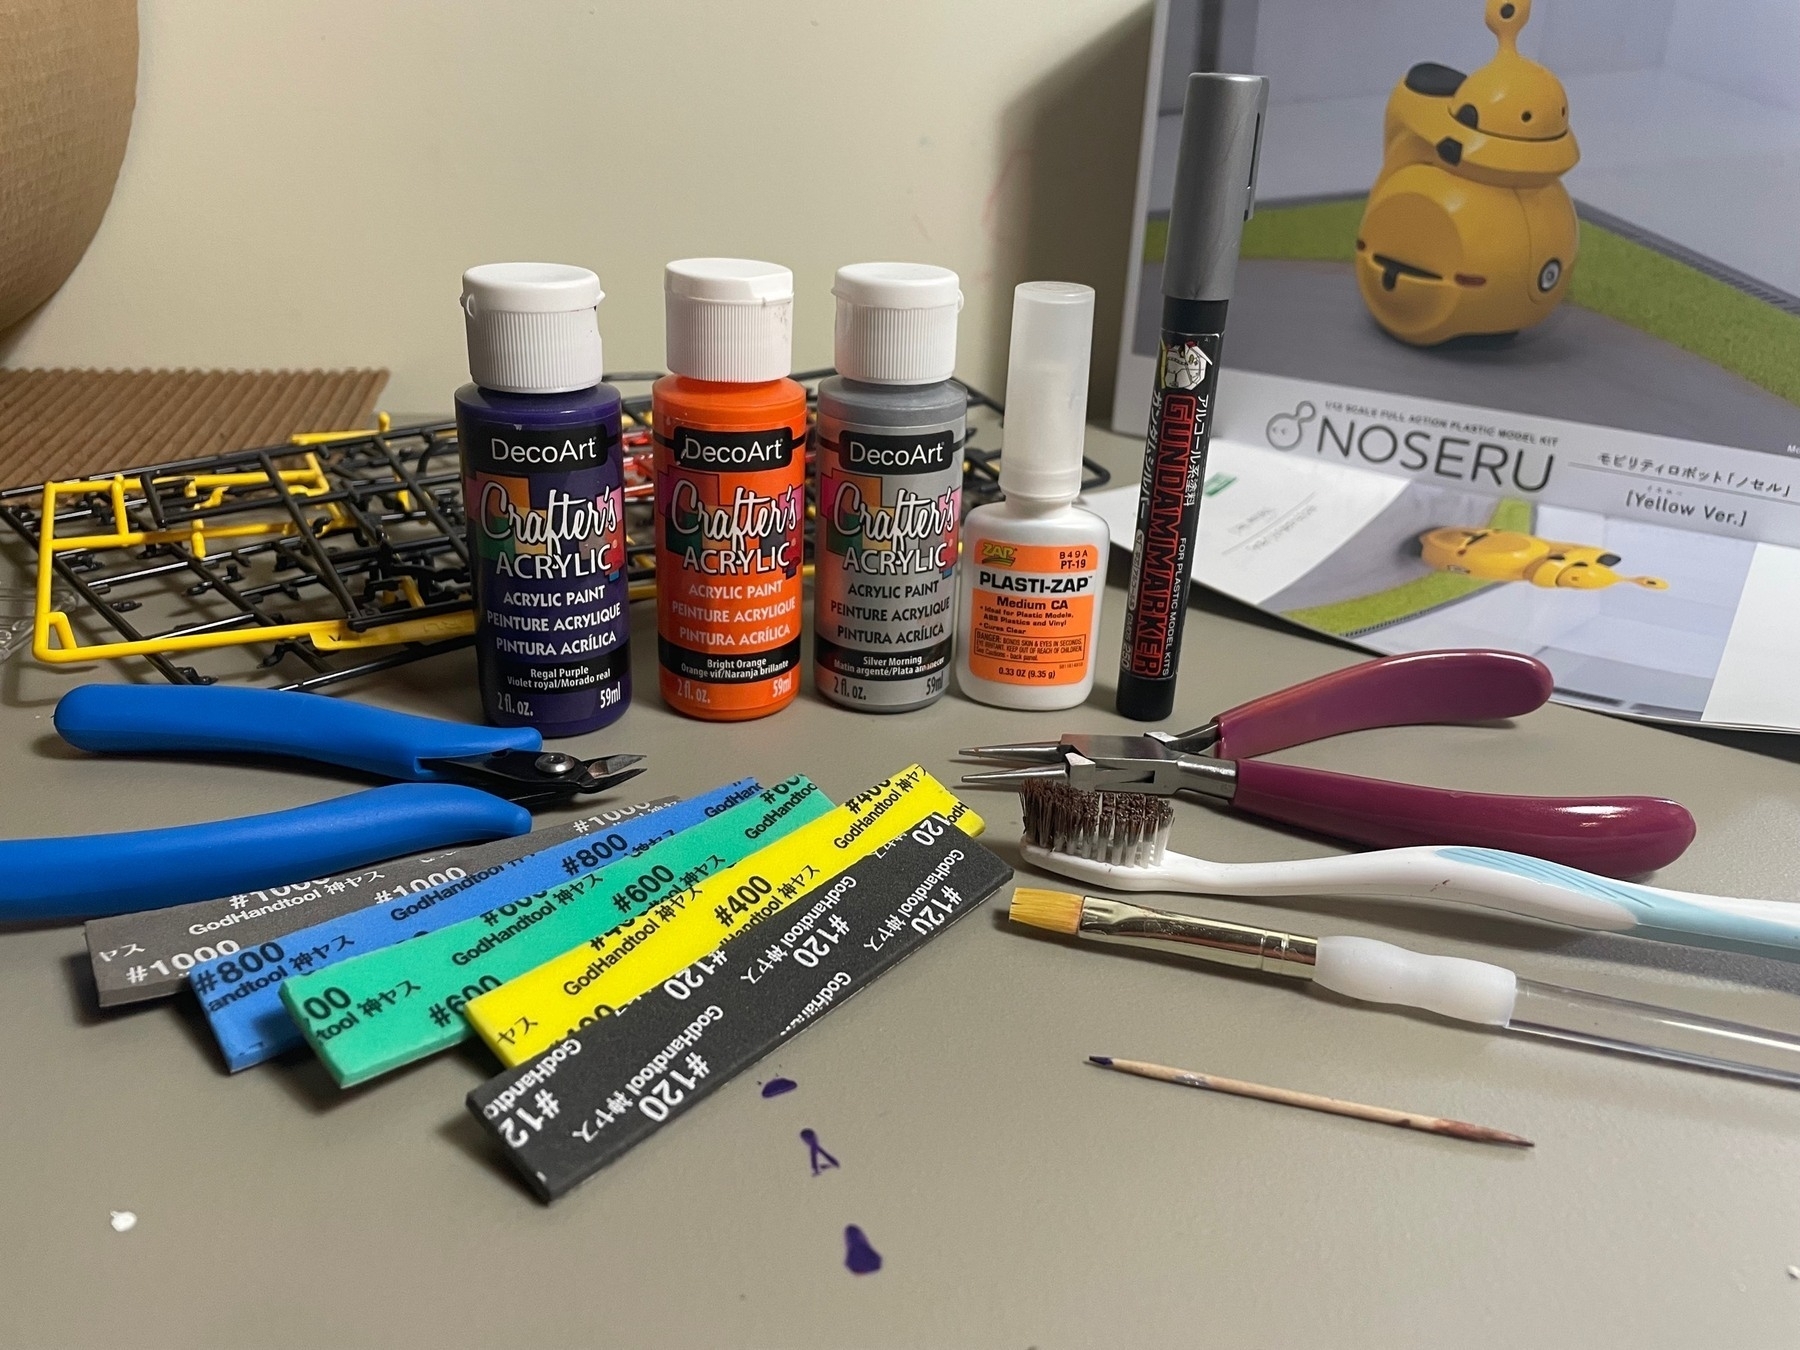
Mini-Tutorial 1: How to drybrush
Choose your brush and paints. For me, this was an old toothbrush and some DecoArt acrylic paint in Bright Orange, Silver Morning, and Regal Purple. (I mixed all three to get the brown I used on the armor.)
Apply paint to the brush, then wipe most of it off on a piece of scrap paper. With the paint remaining on the brush, lightly go over the corners of the model several times until the desired effect is achieved.
The rest is really up to you! I dry brushed the entirety of the armor with the rusty brown I mixed together, and used silver and silver+orange on the frame. I then sprayed the entire model (minus the clear parts) with a matte topcoat.
-
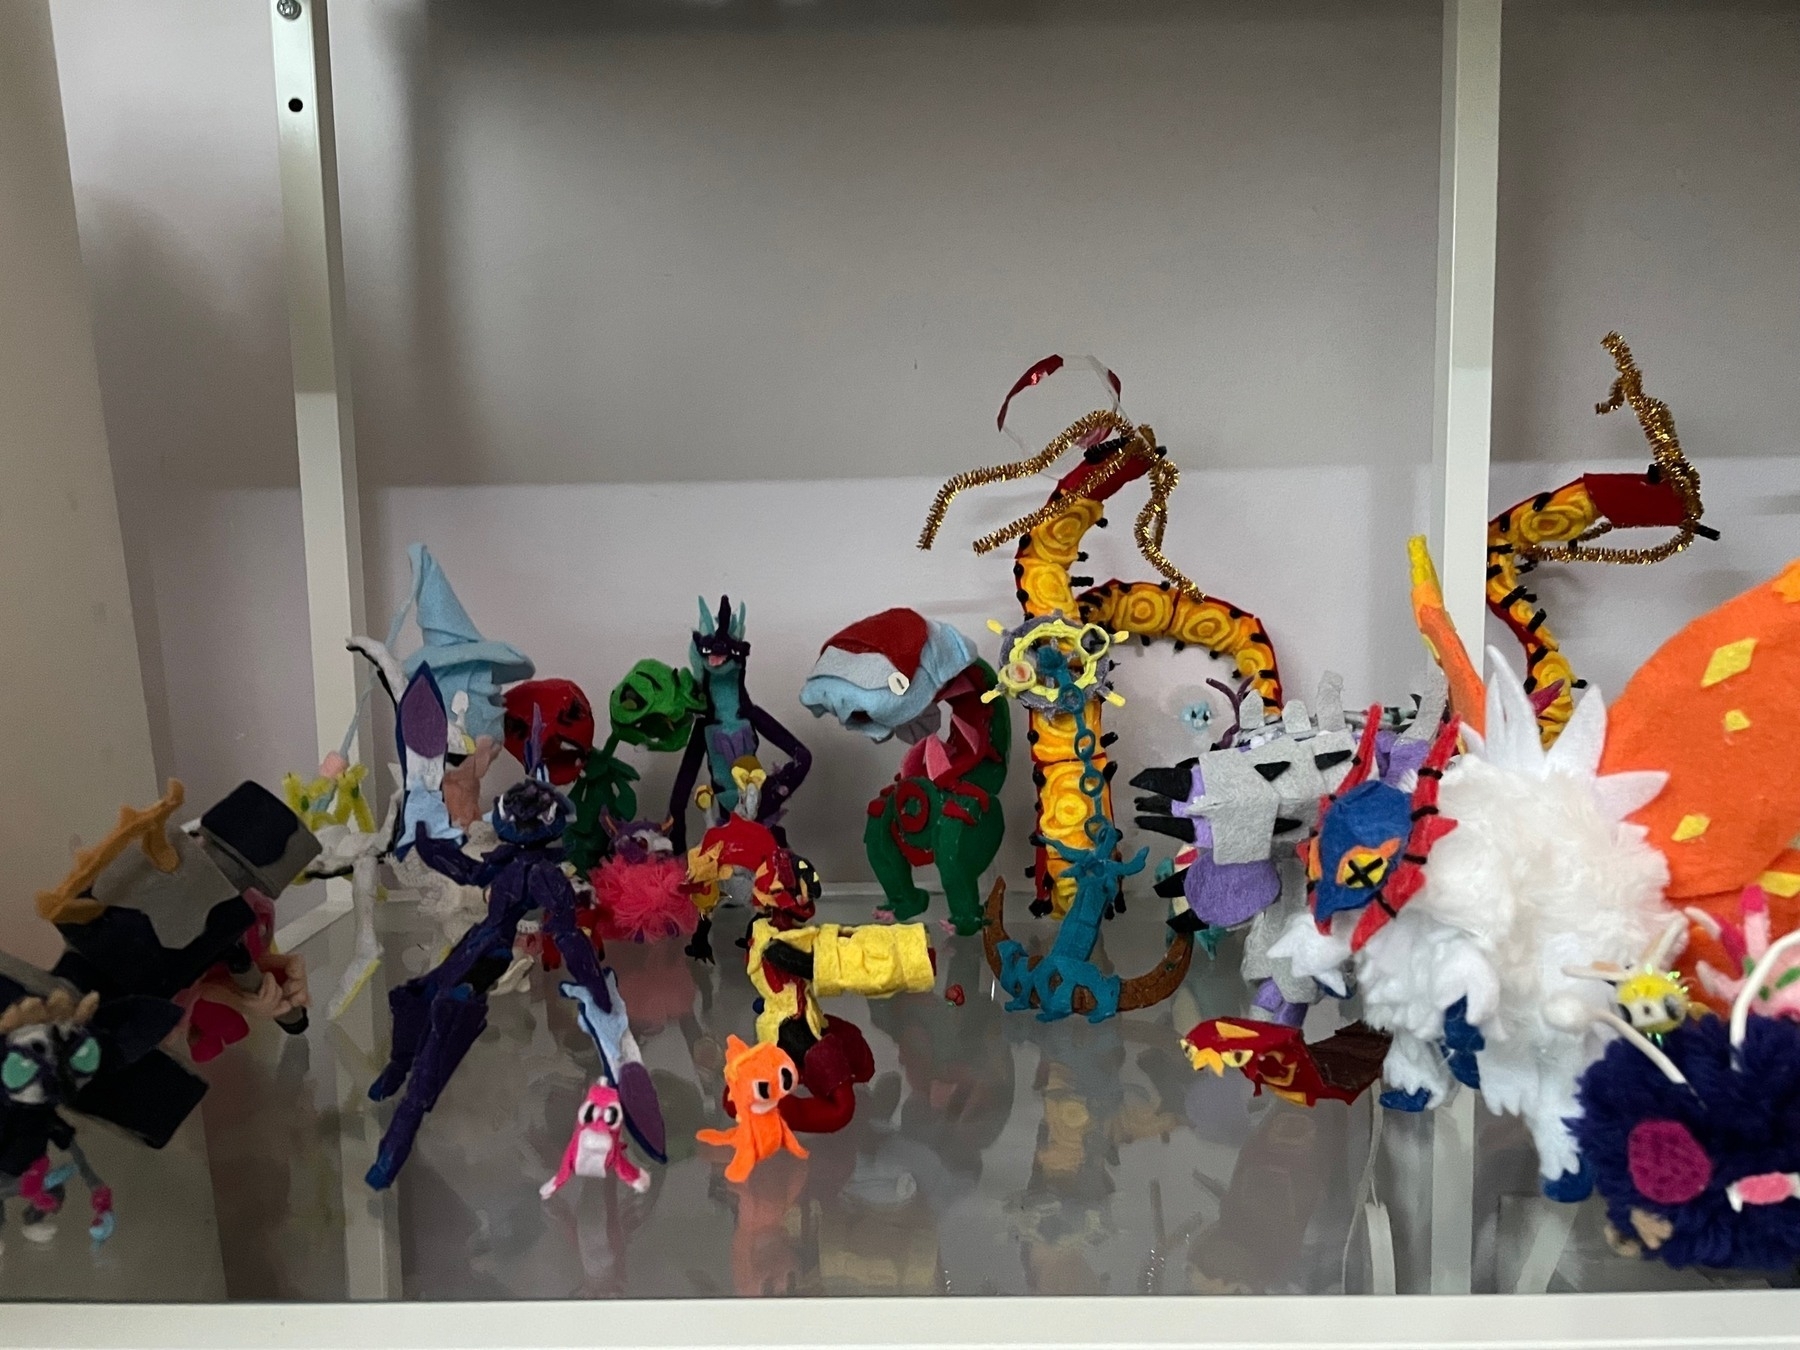
The Pokémon together
-
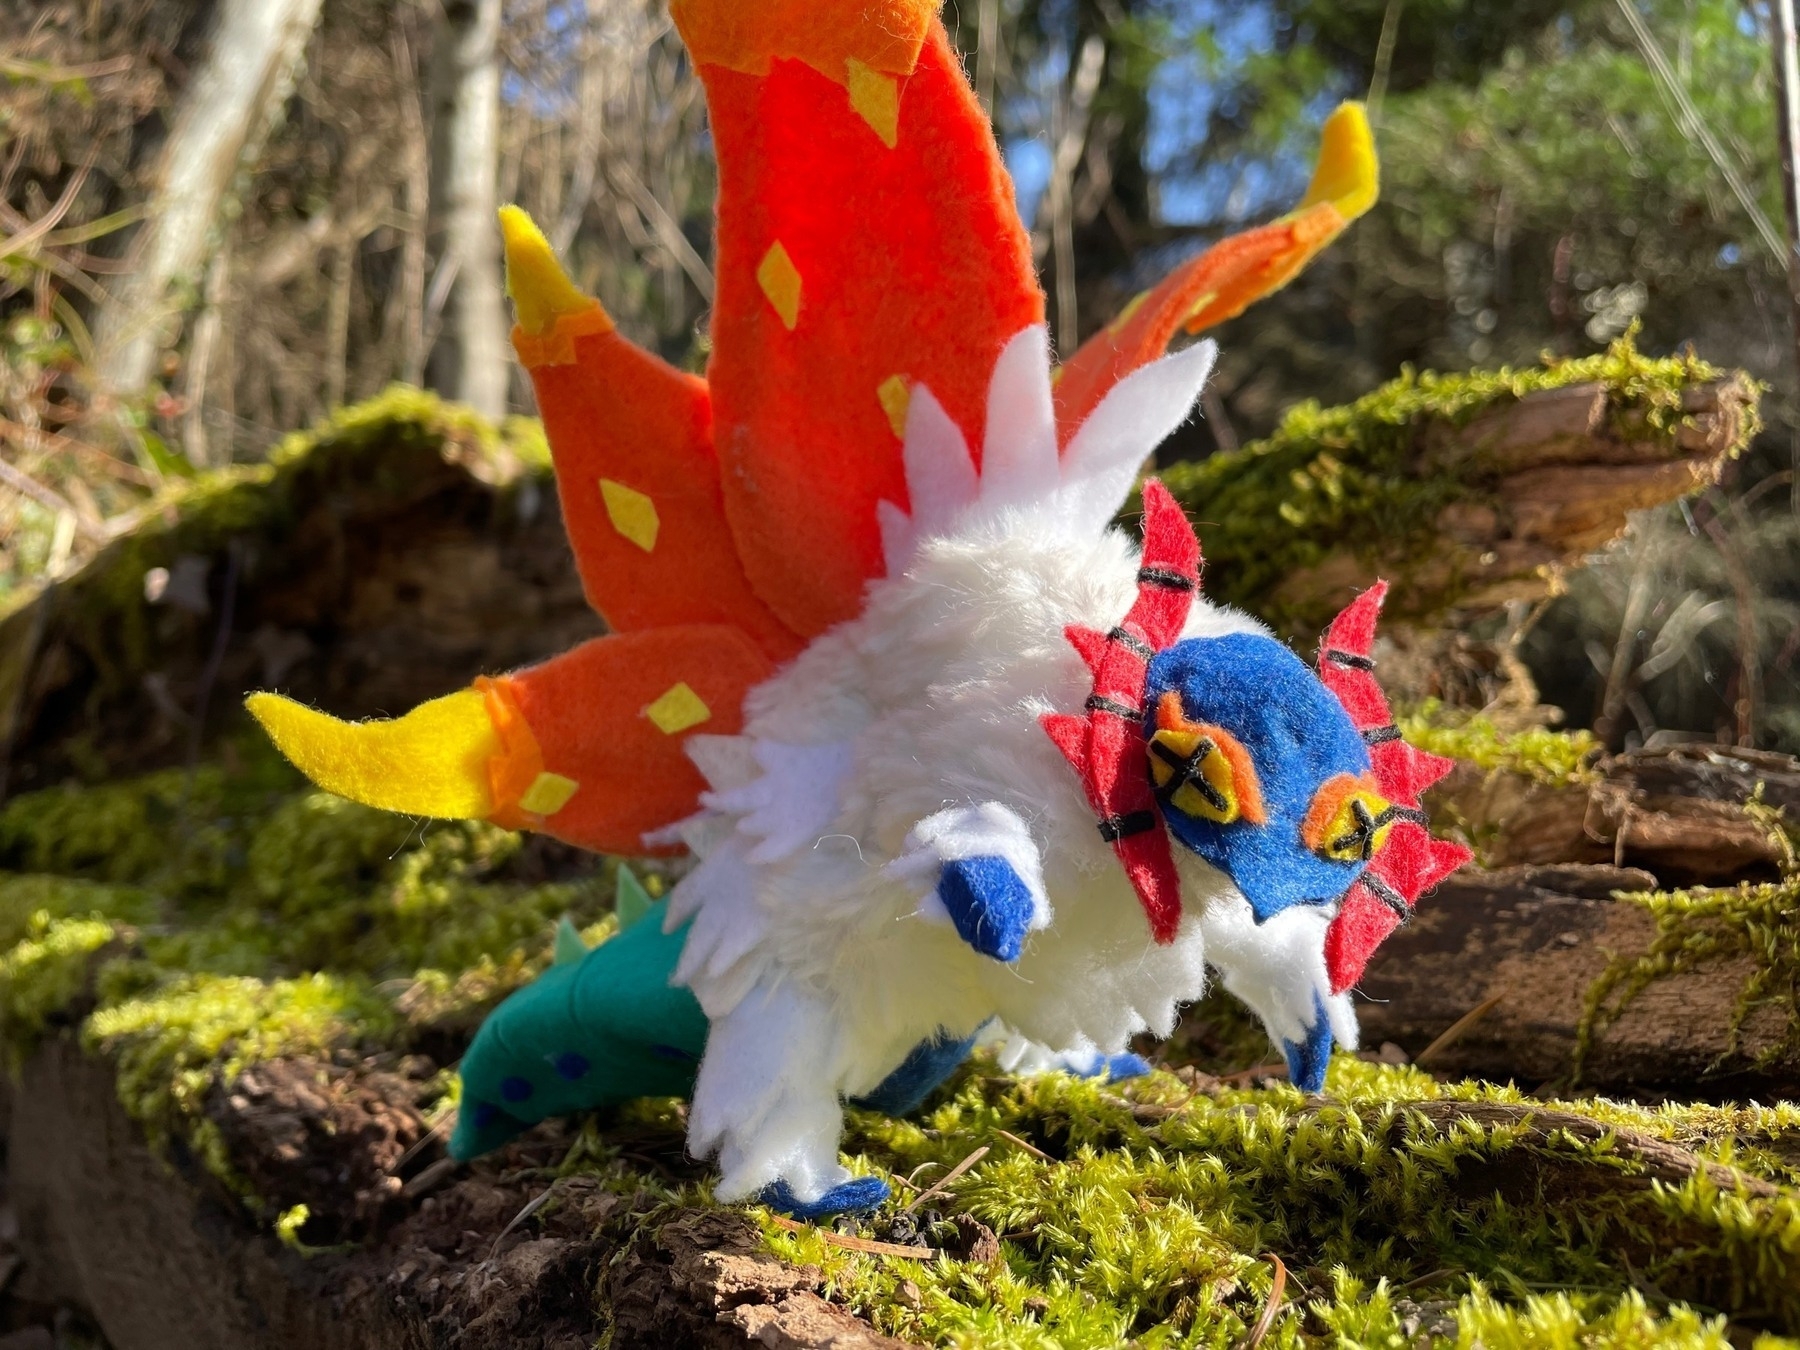
Frito the Slither Wing at the park
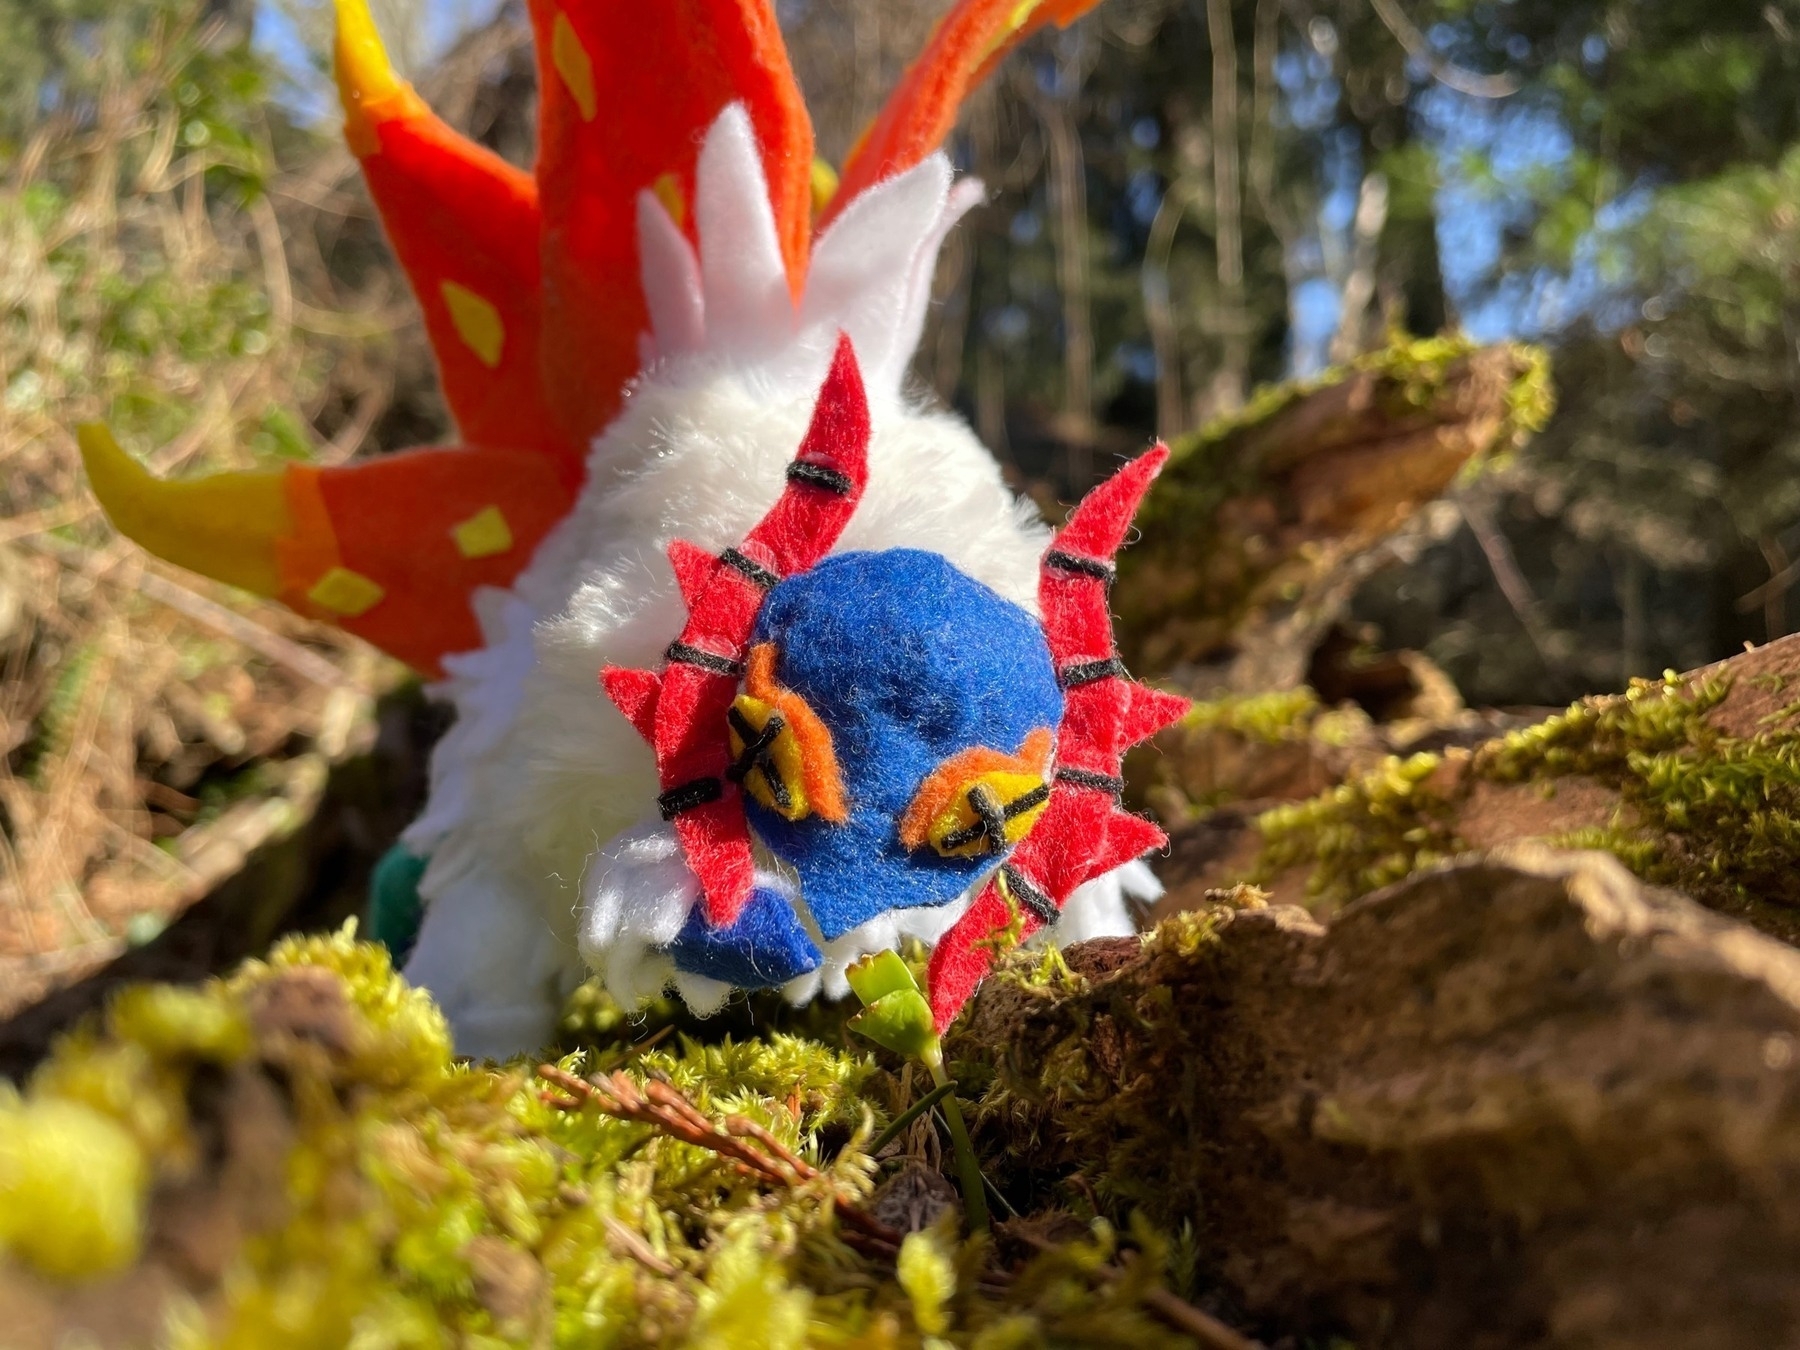
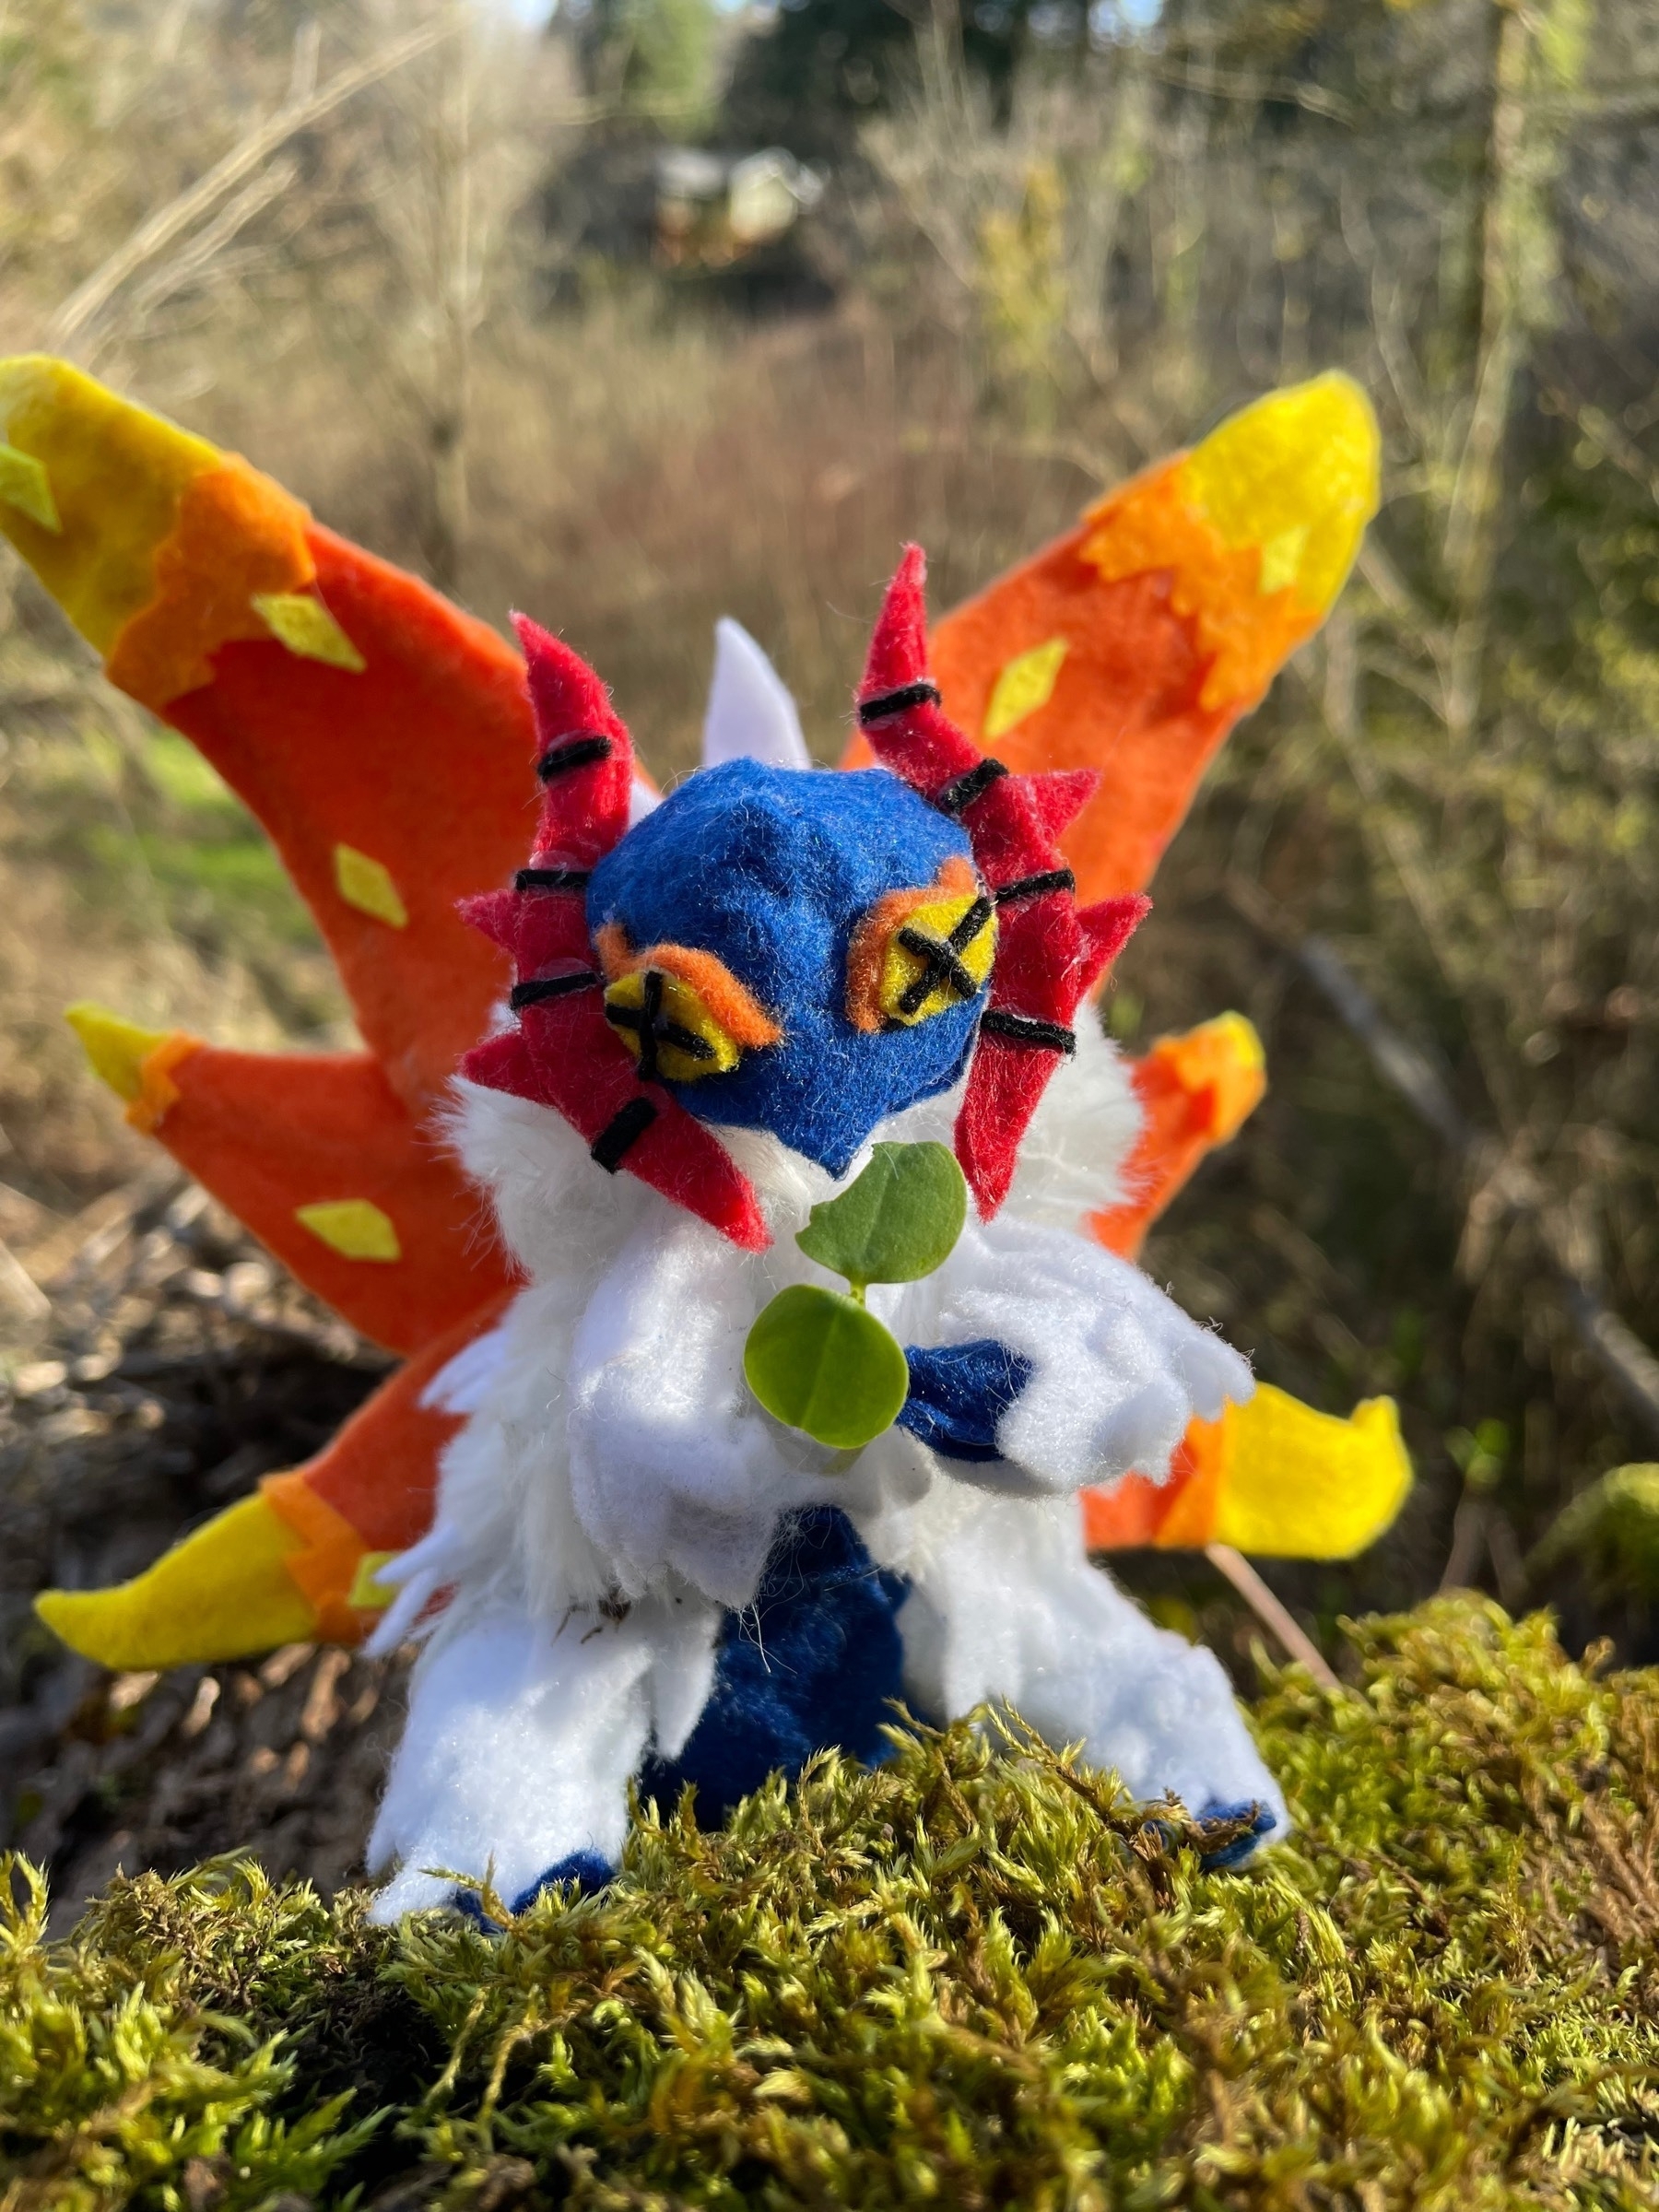
-
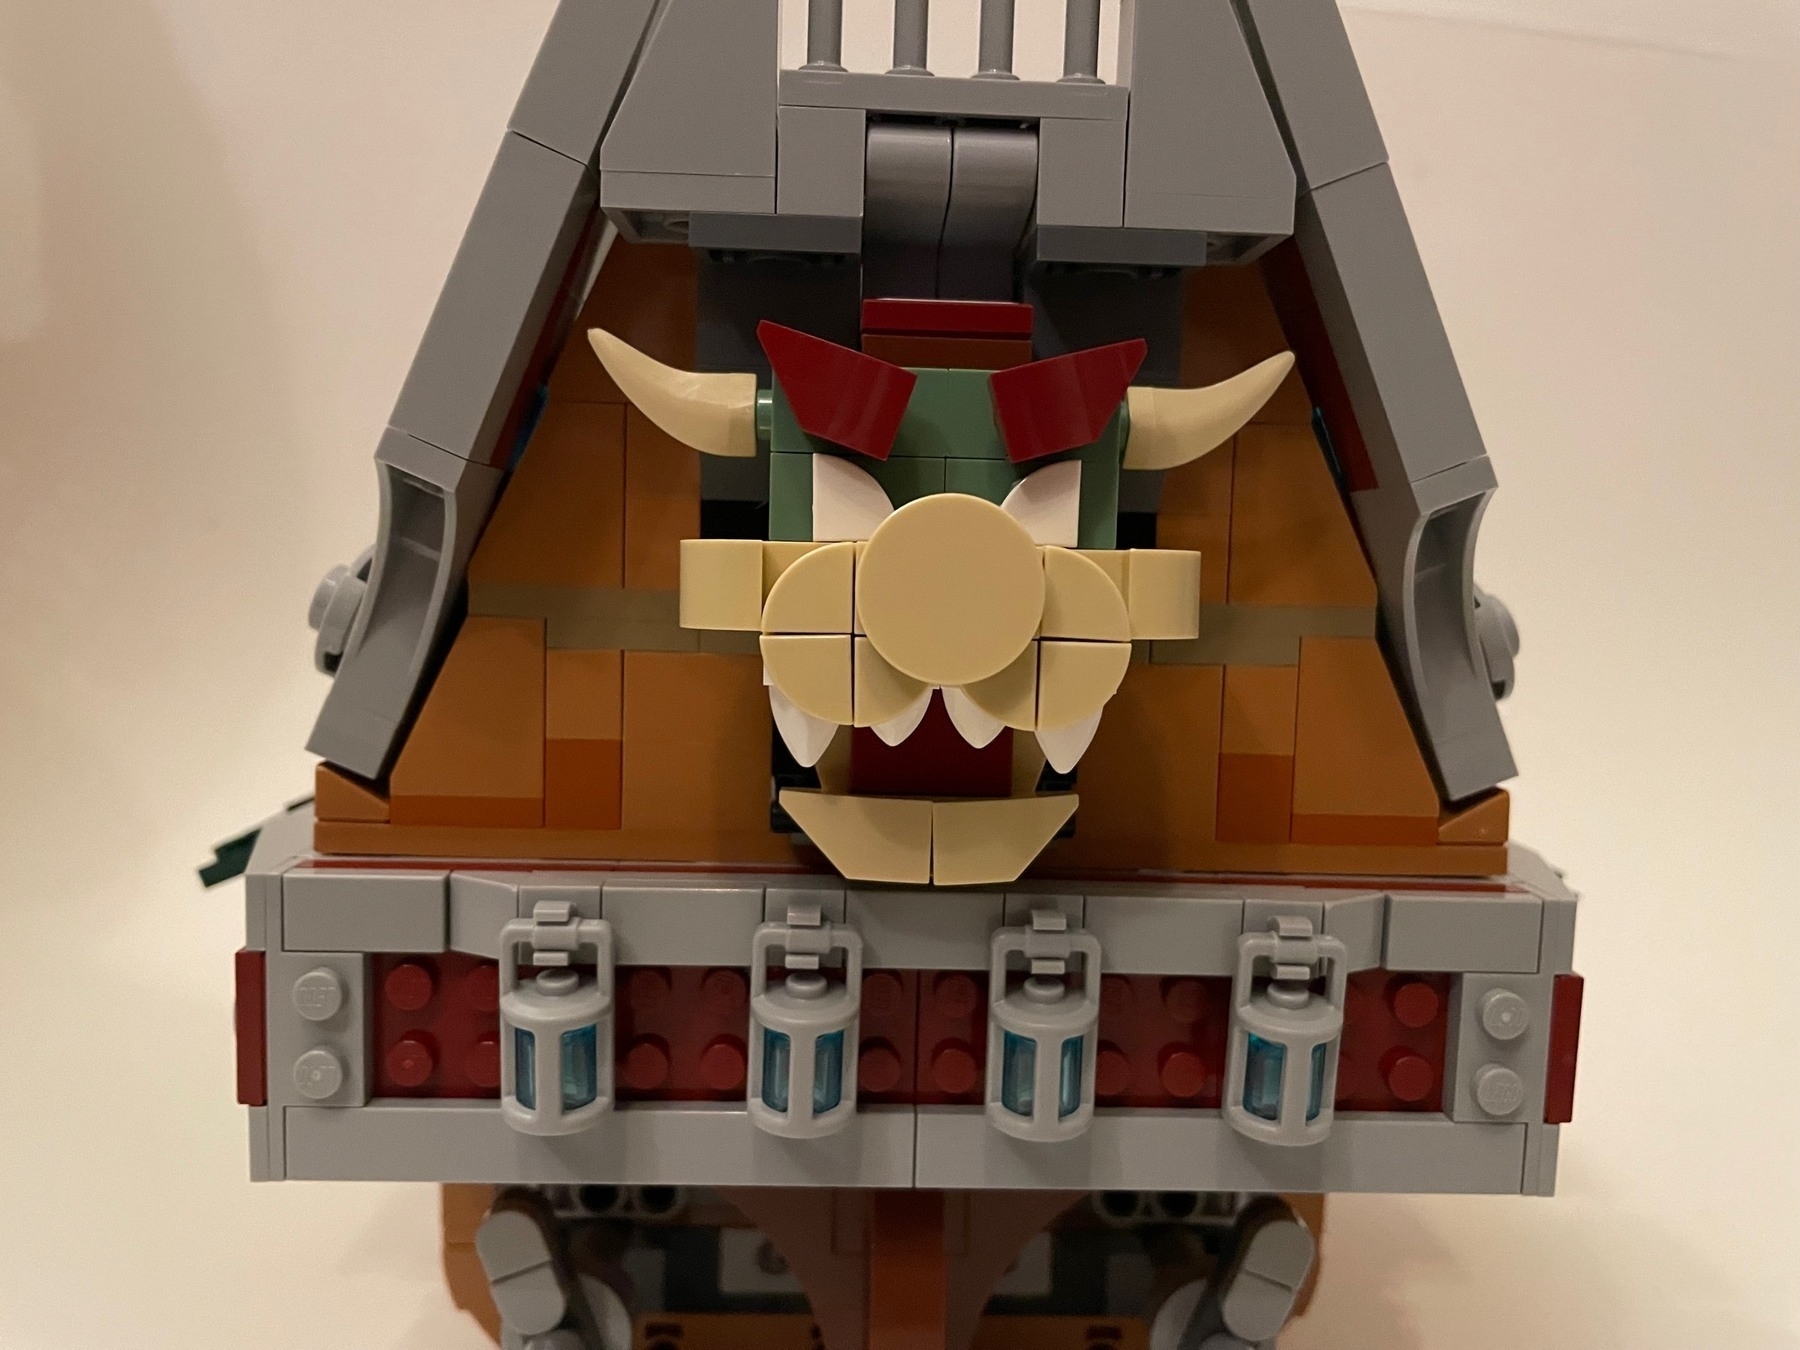
LEGO 71391 Bowser’s Airship in pictures
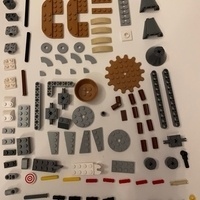
Its decently hefty box holds some decently hefty bags.
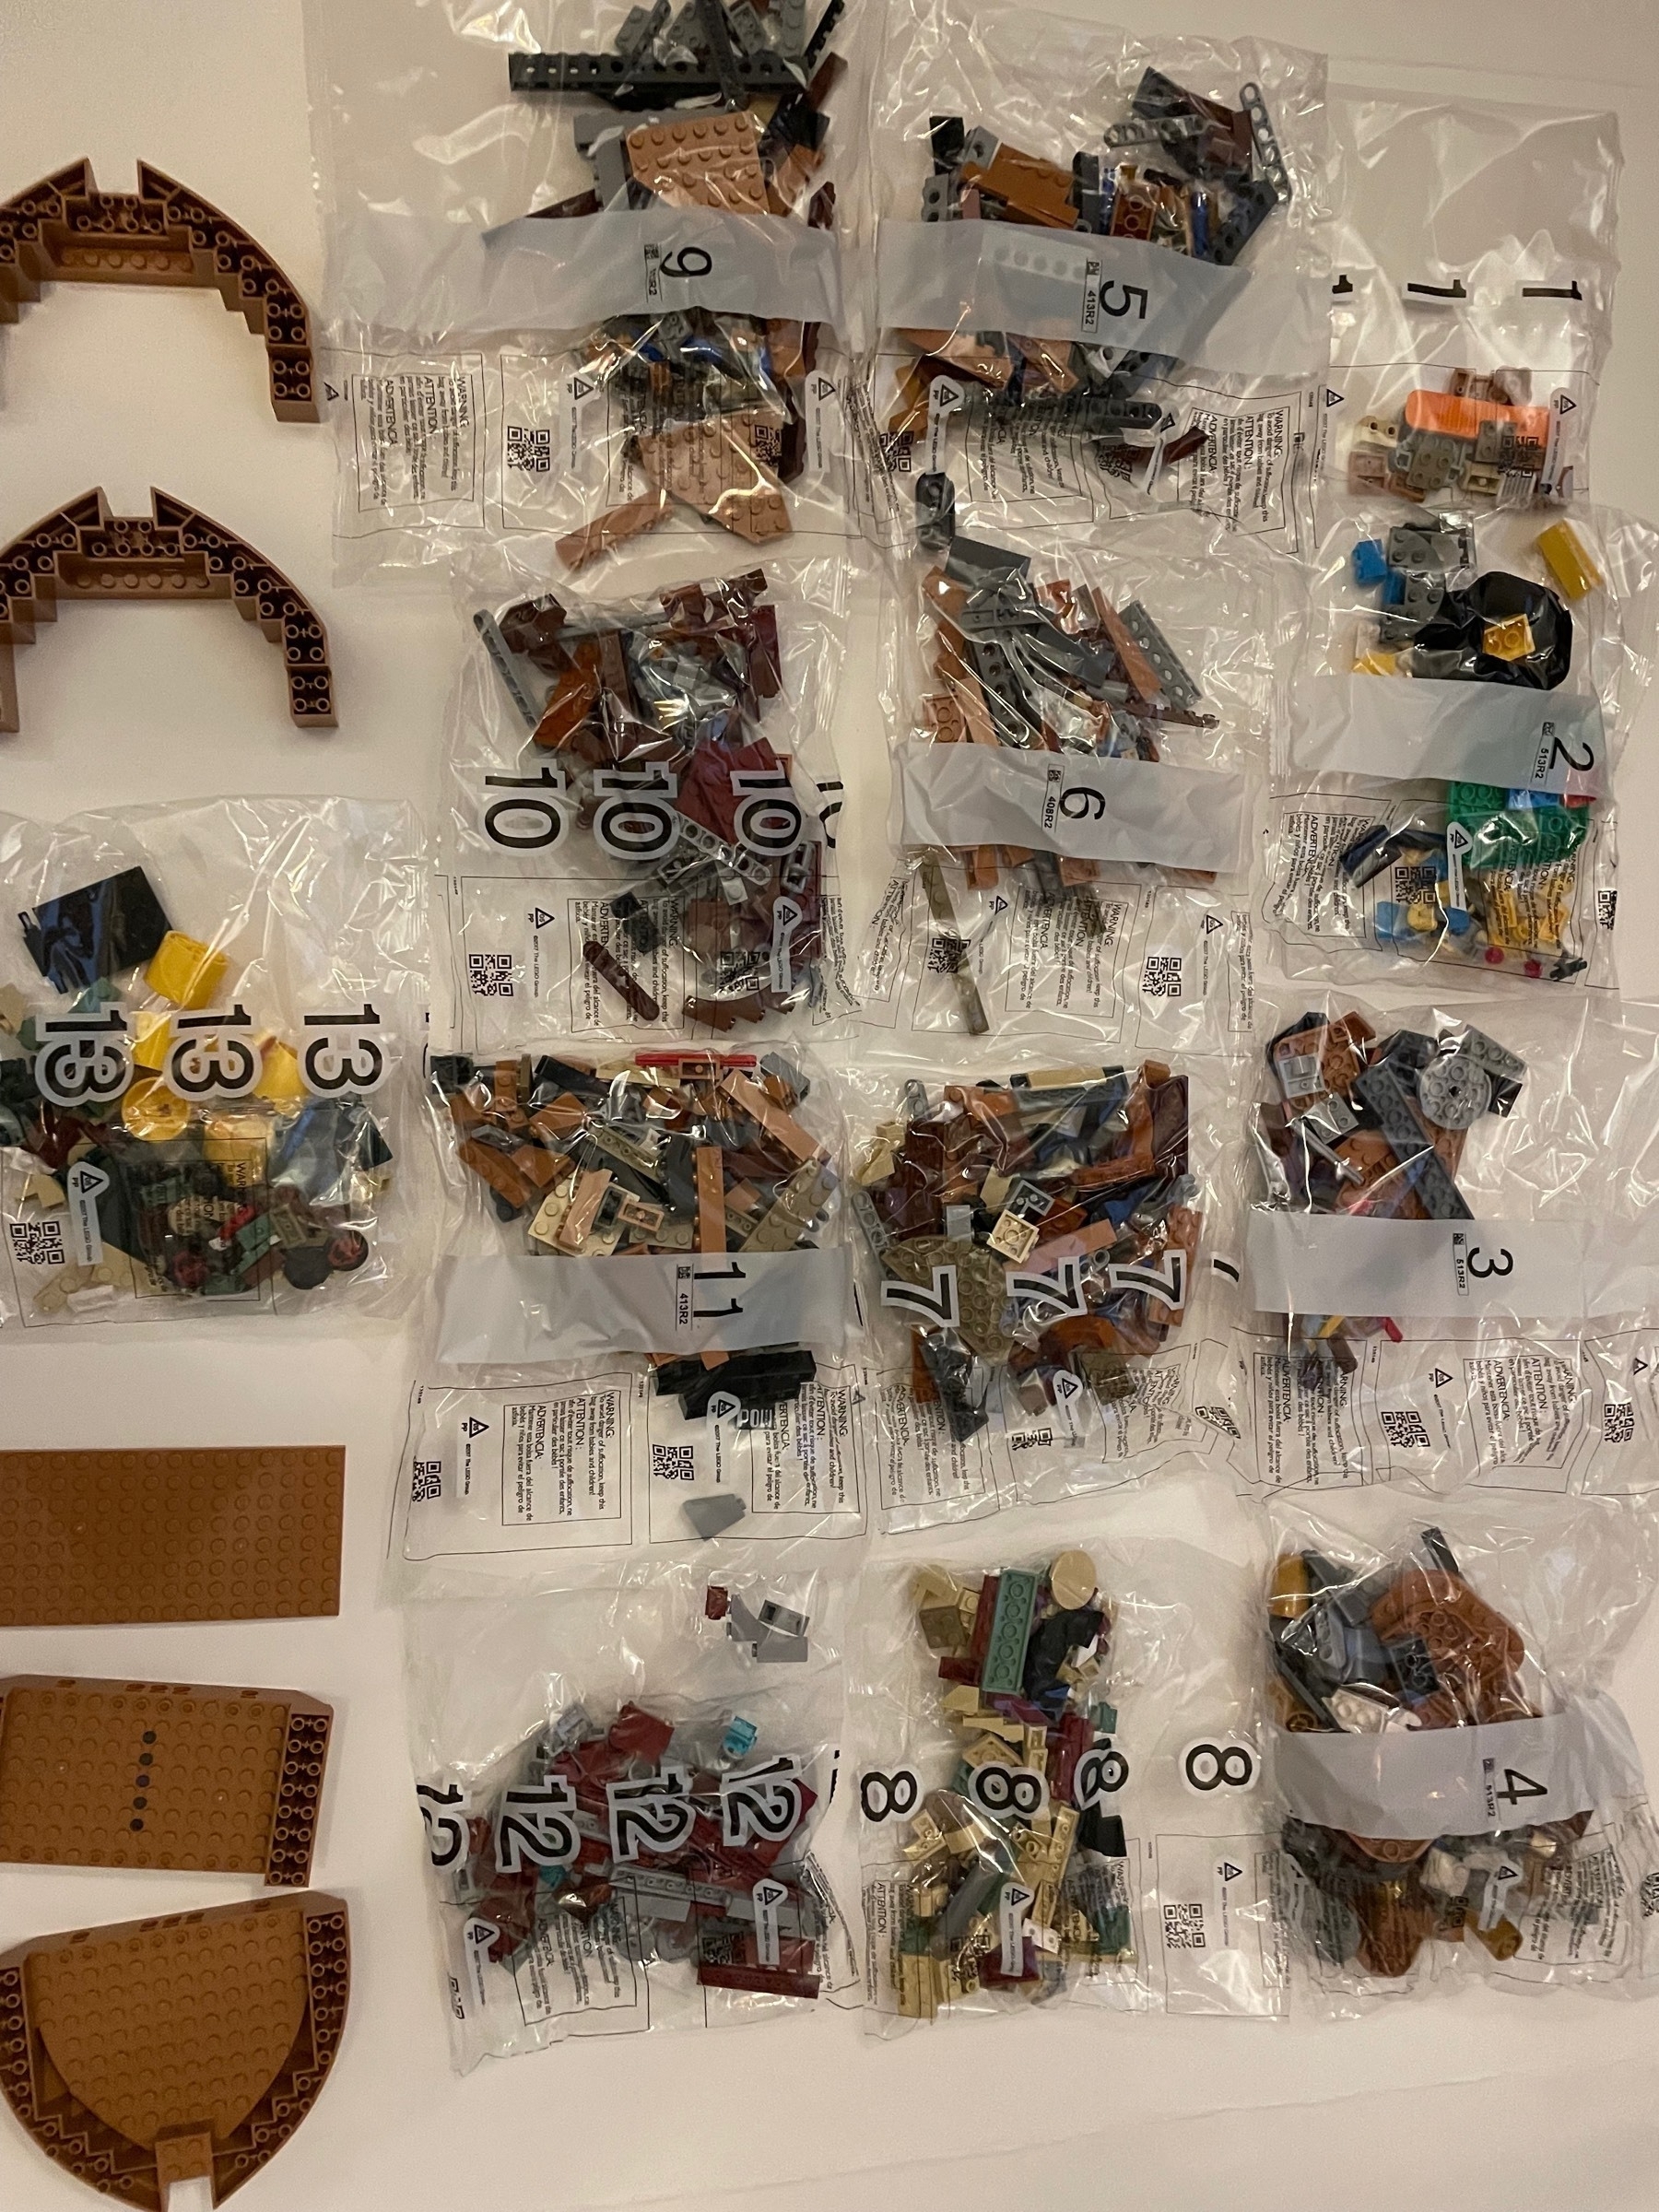
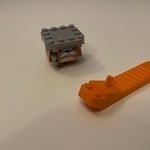
Bag 1: Rocky Wrench
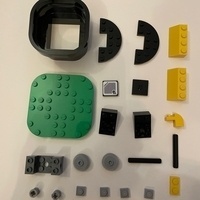
Bag 2: Cannon Pipe, Magikoopa, and his broom
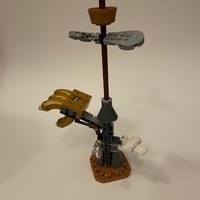
Bag 3: Pirate Goomba and the small mast
Bag 4: the main mast
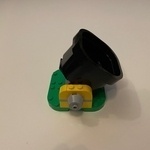
Bags 1-4: the build thus far
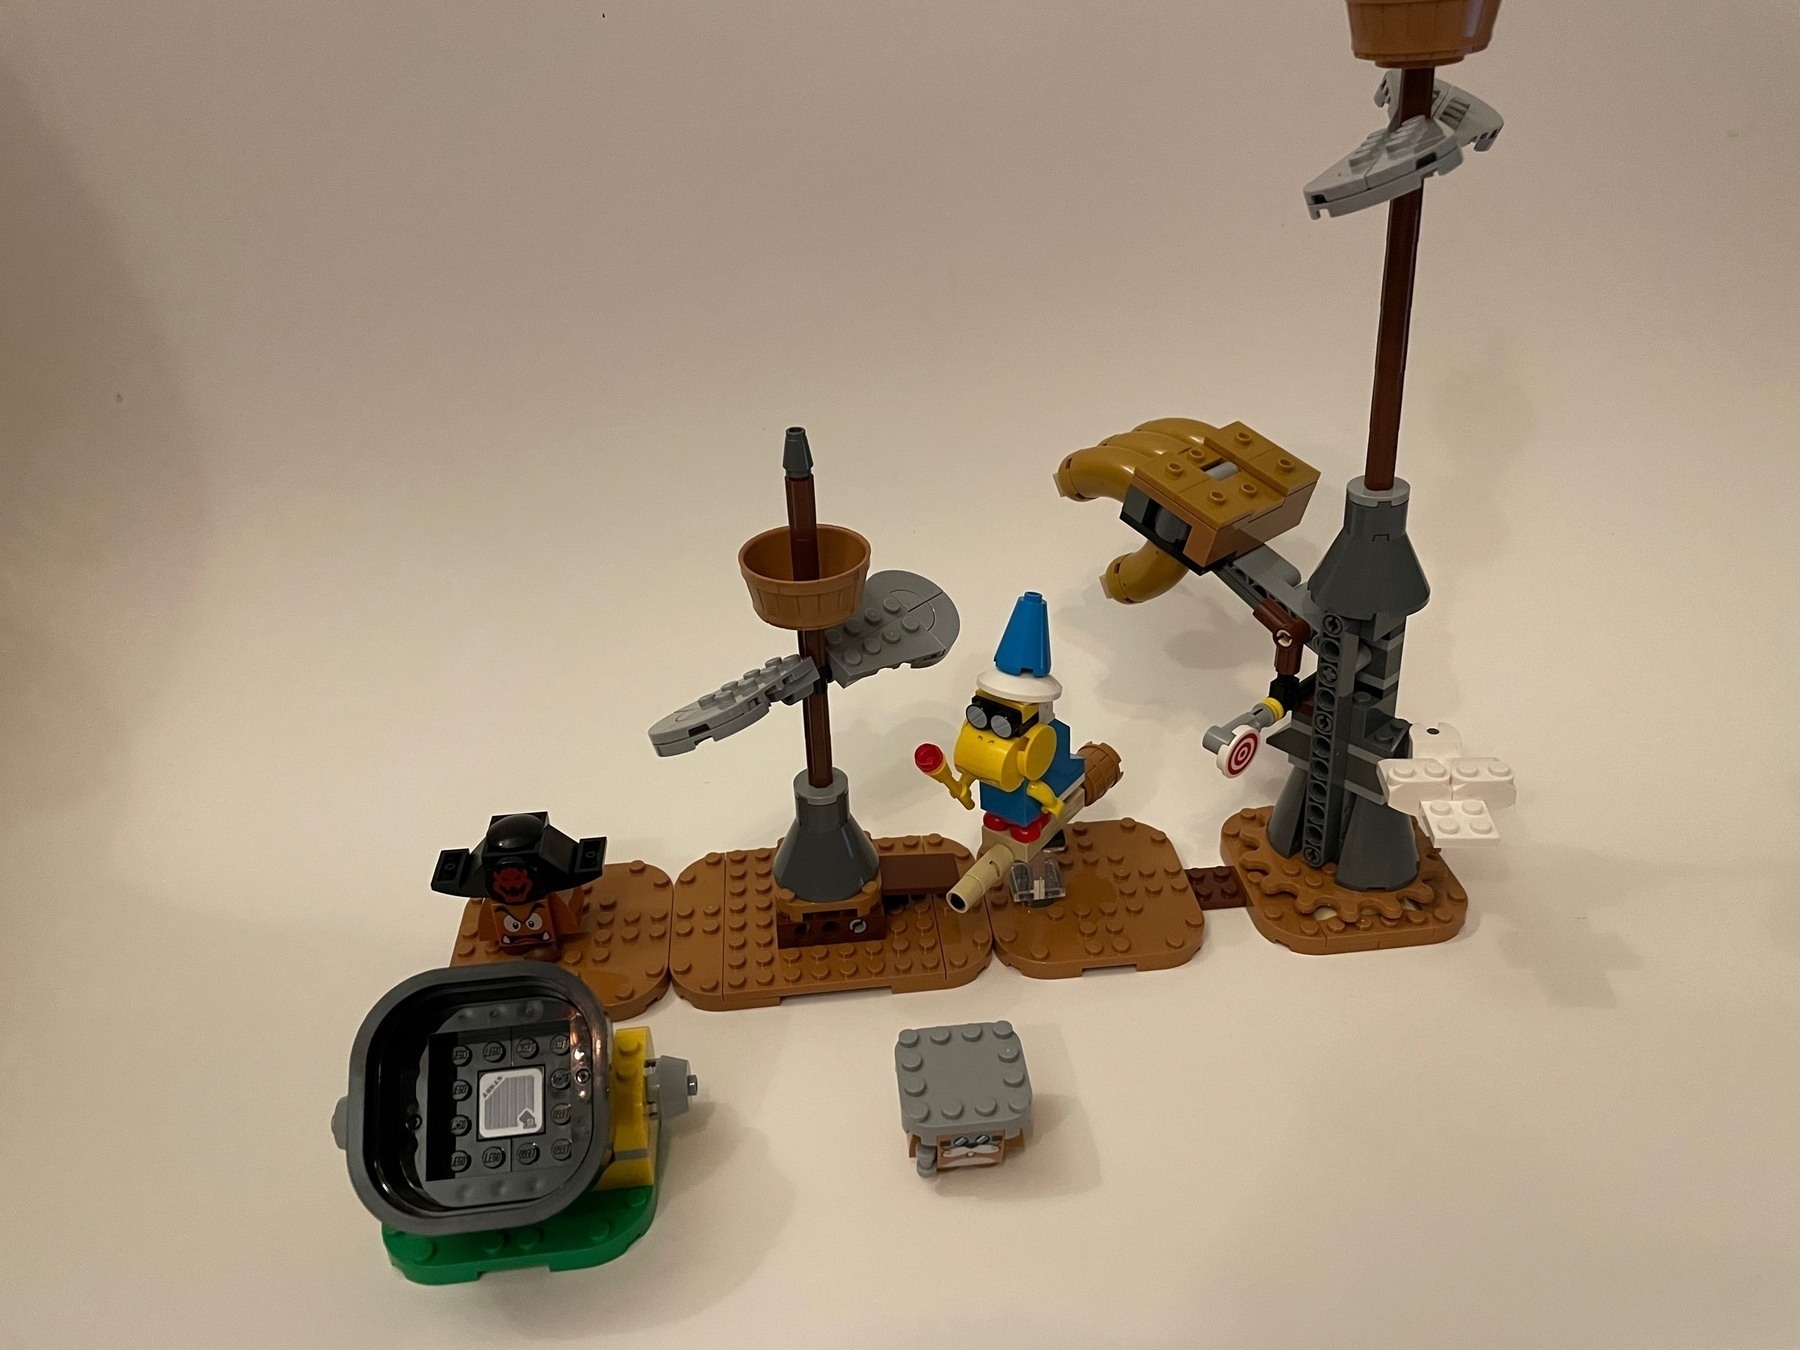
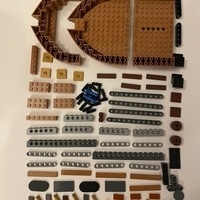
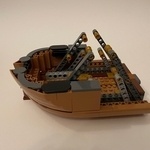
Bags 5-6: the lower hull
Bags 7-8: the front hull and the large Bowser head
Bags 9-10: the back hull
Bags 11-12: the cabin area
Bag 13: the finishing touches
I will try to post more! Have a nice day!

-
LEGO week
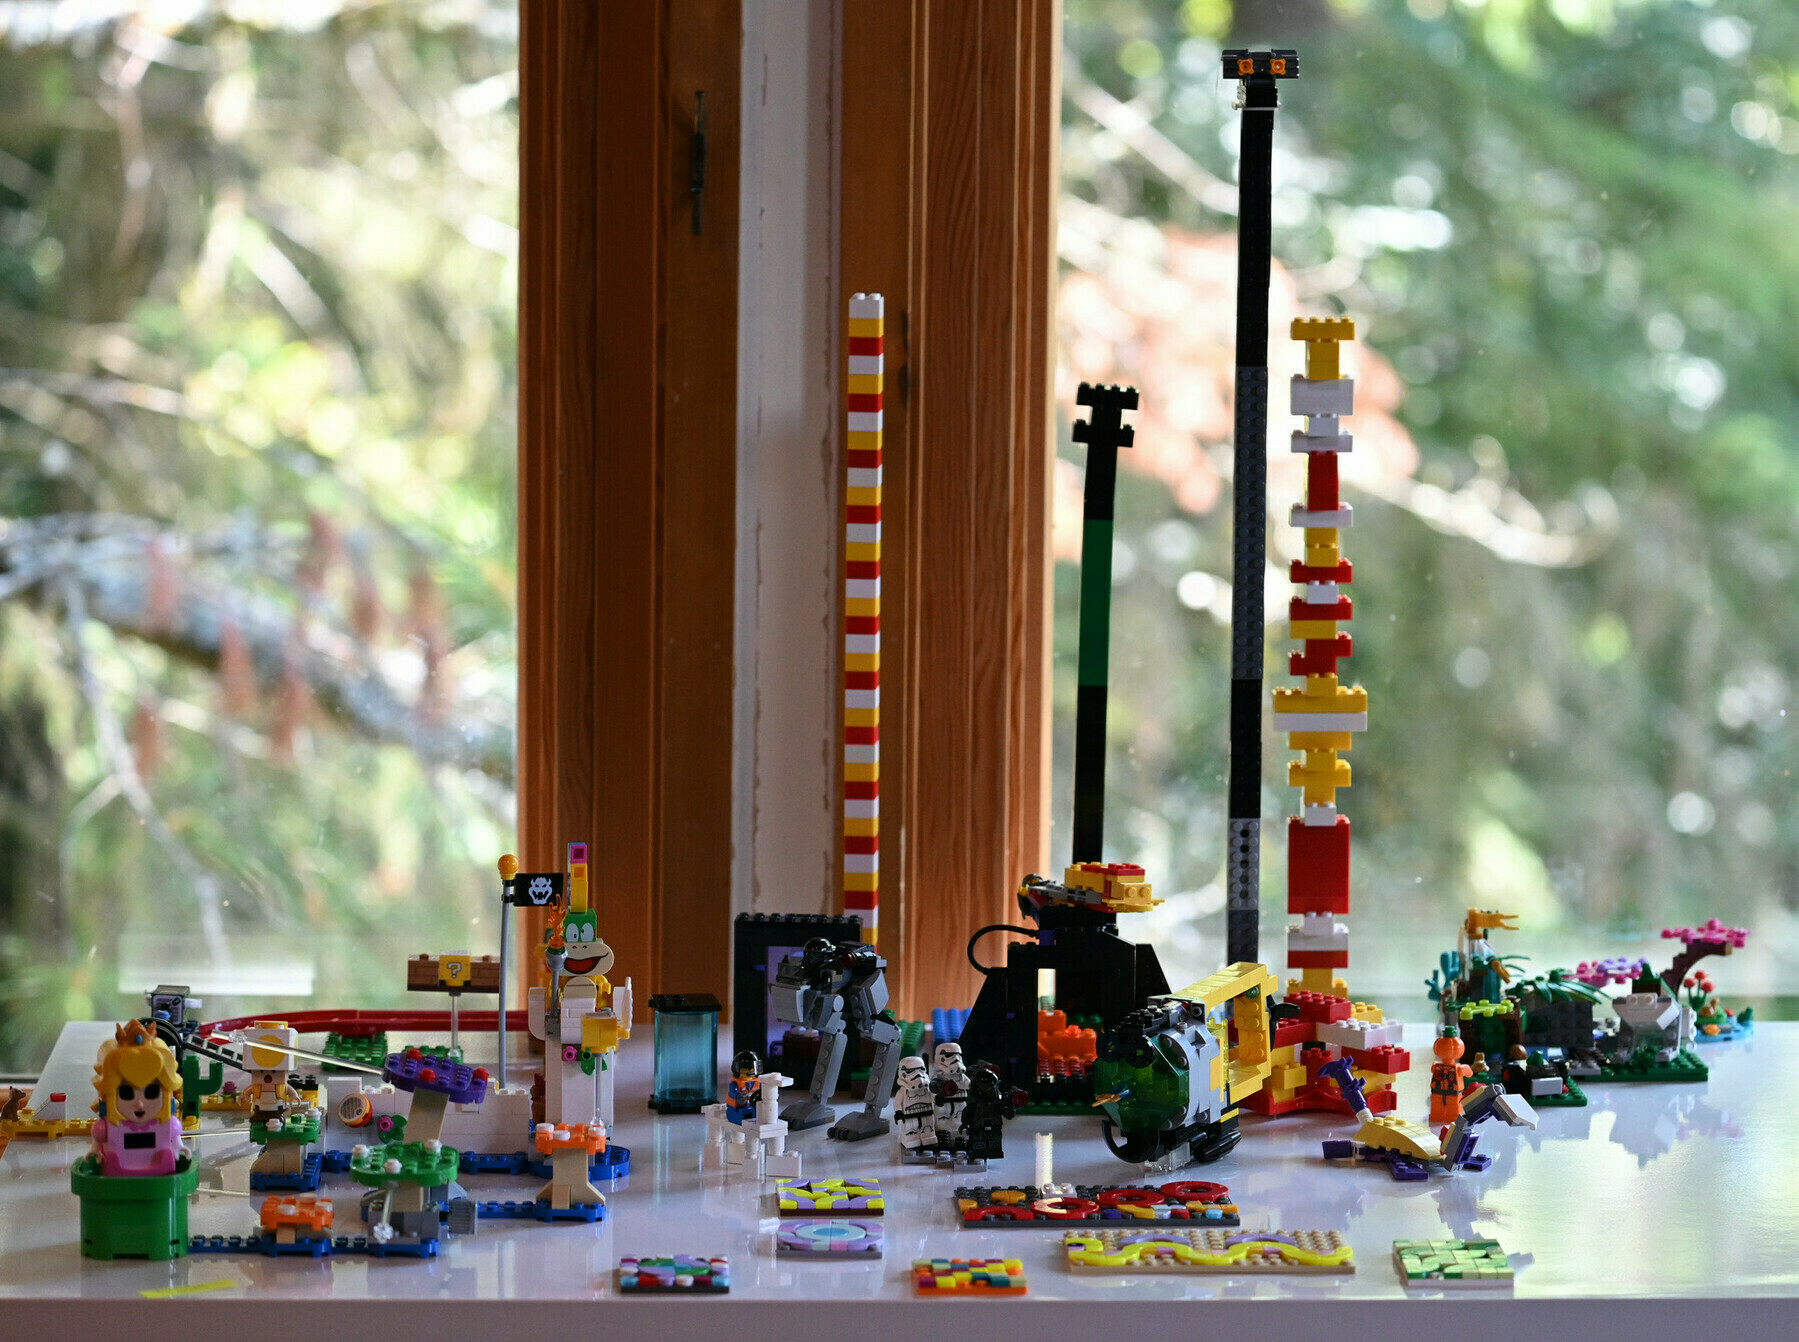
Frog builds
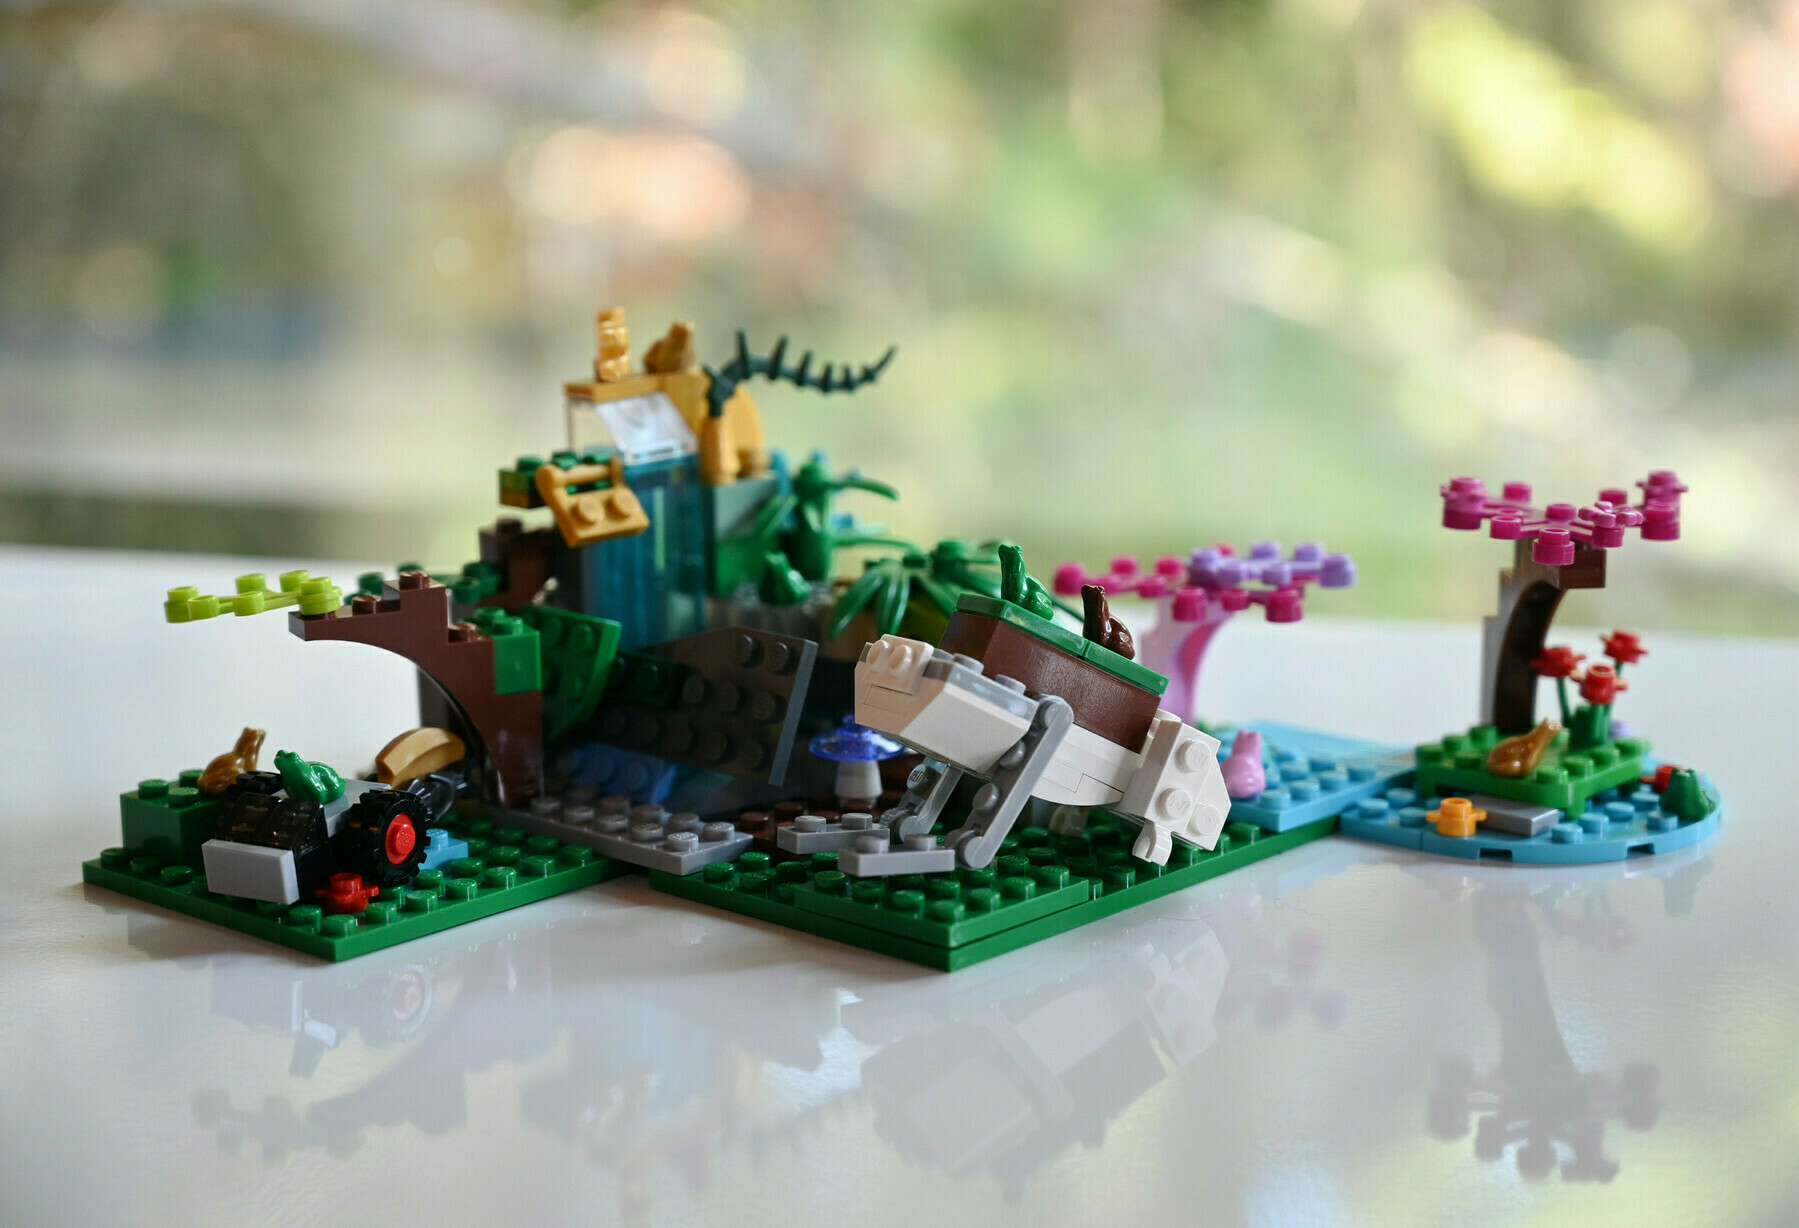
Mario sky world
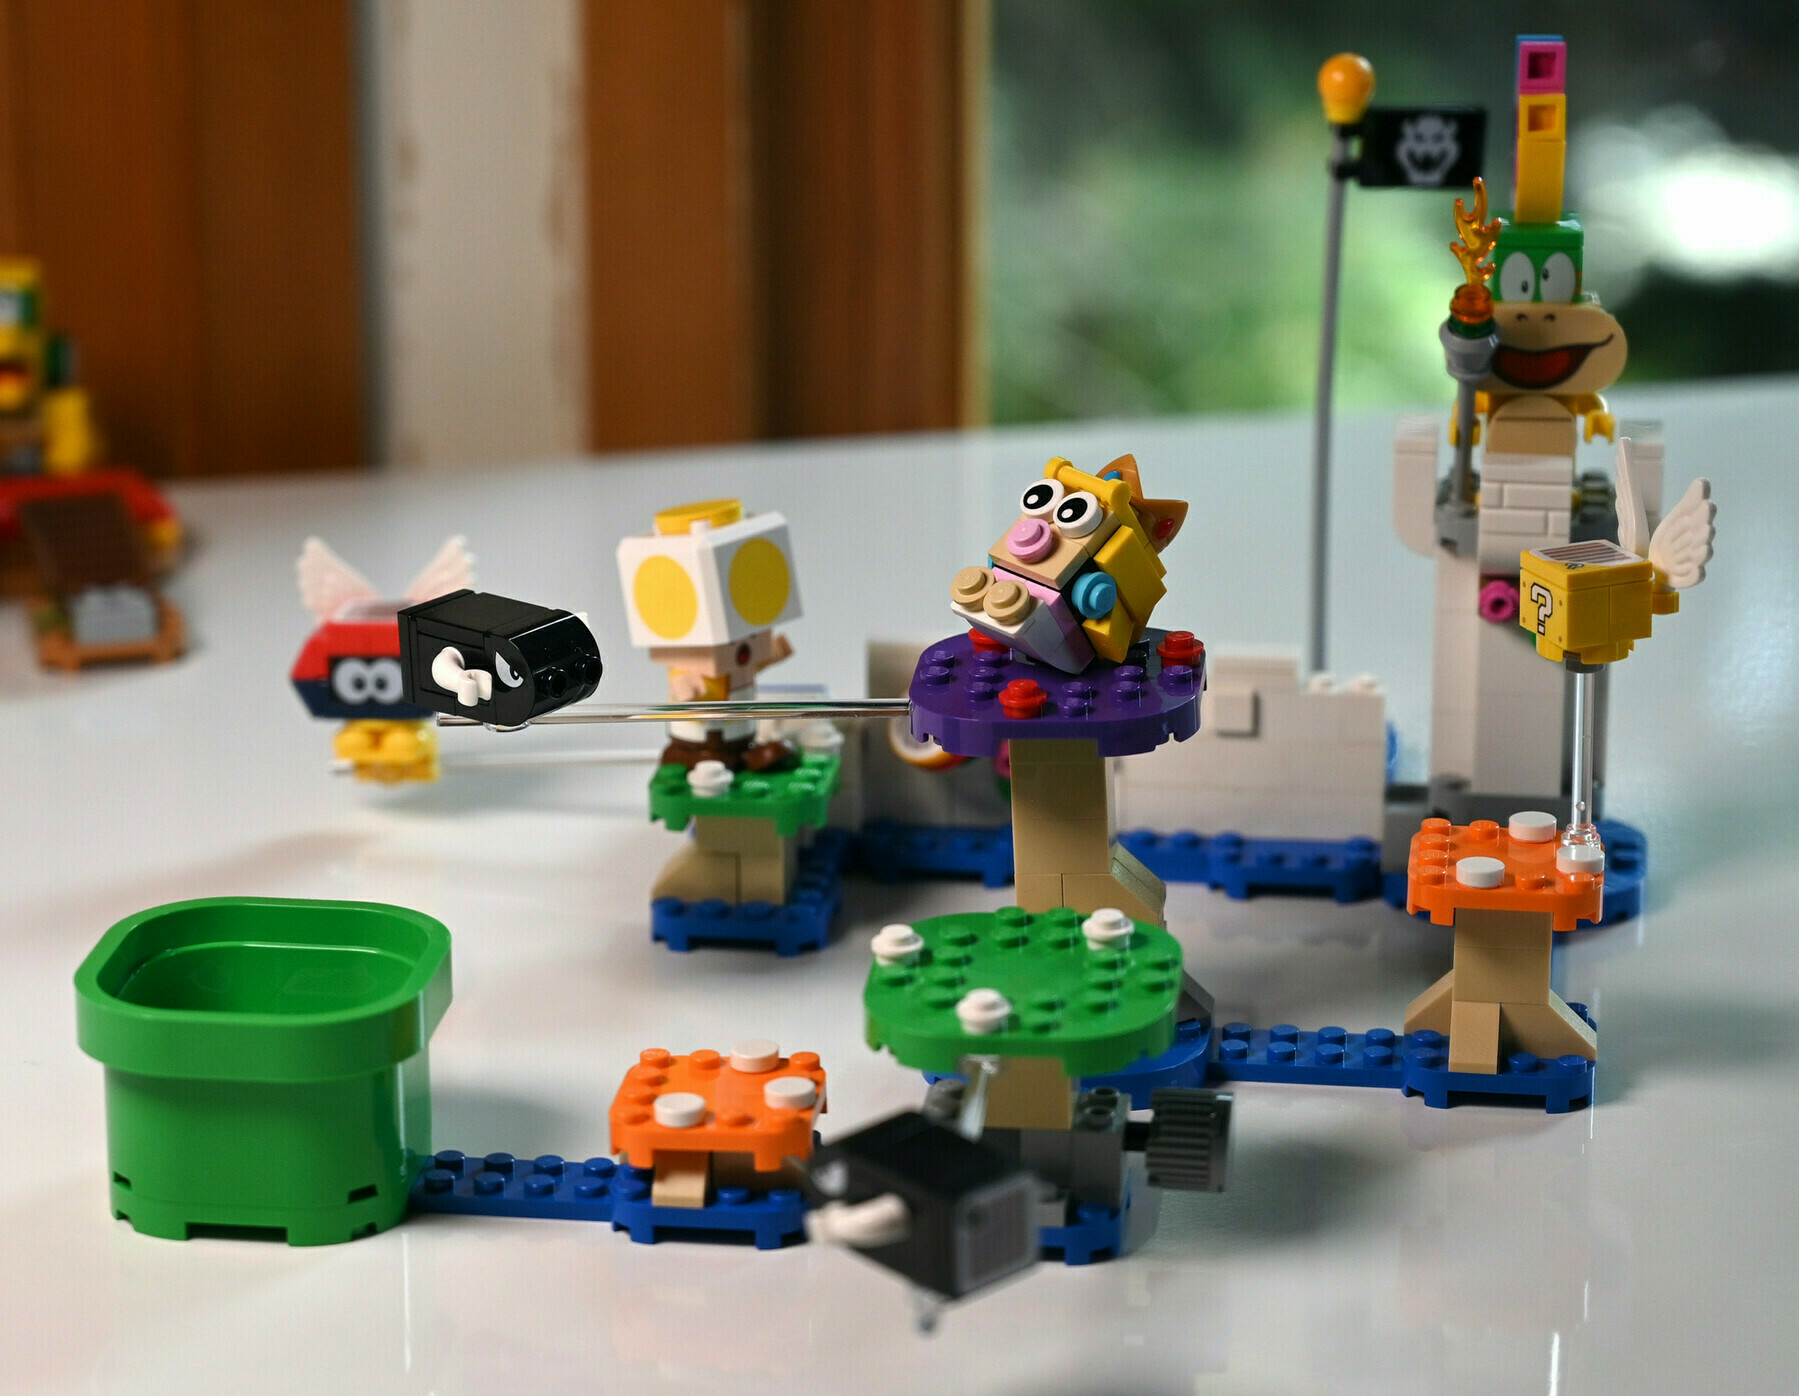
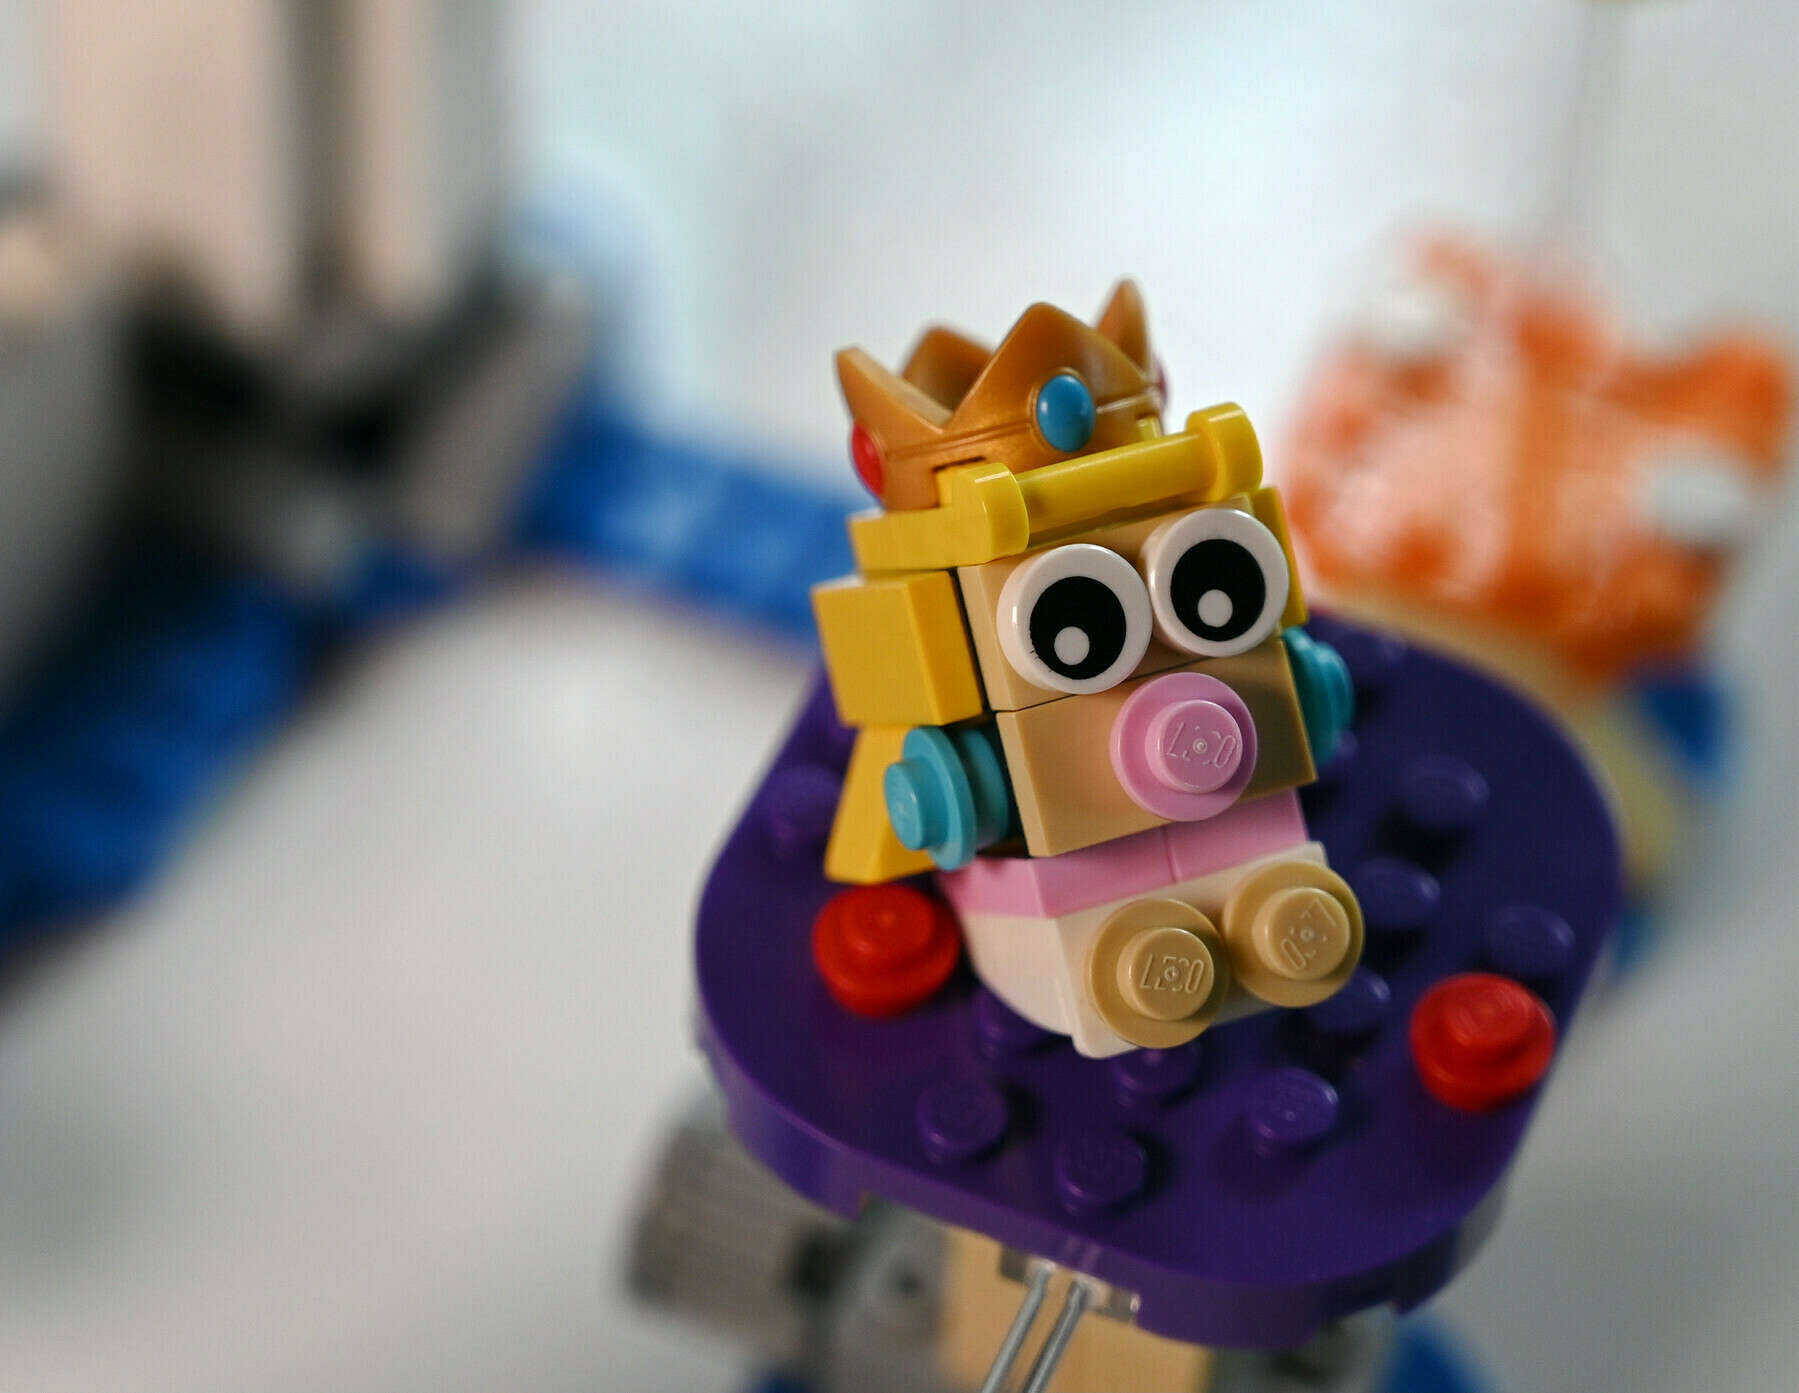
Custom baby peach
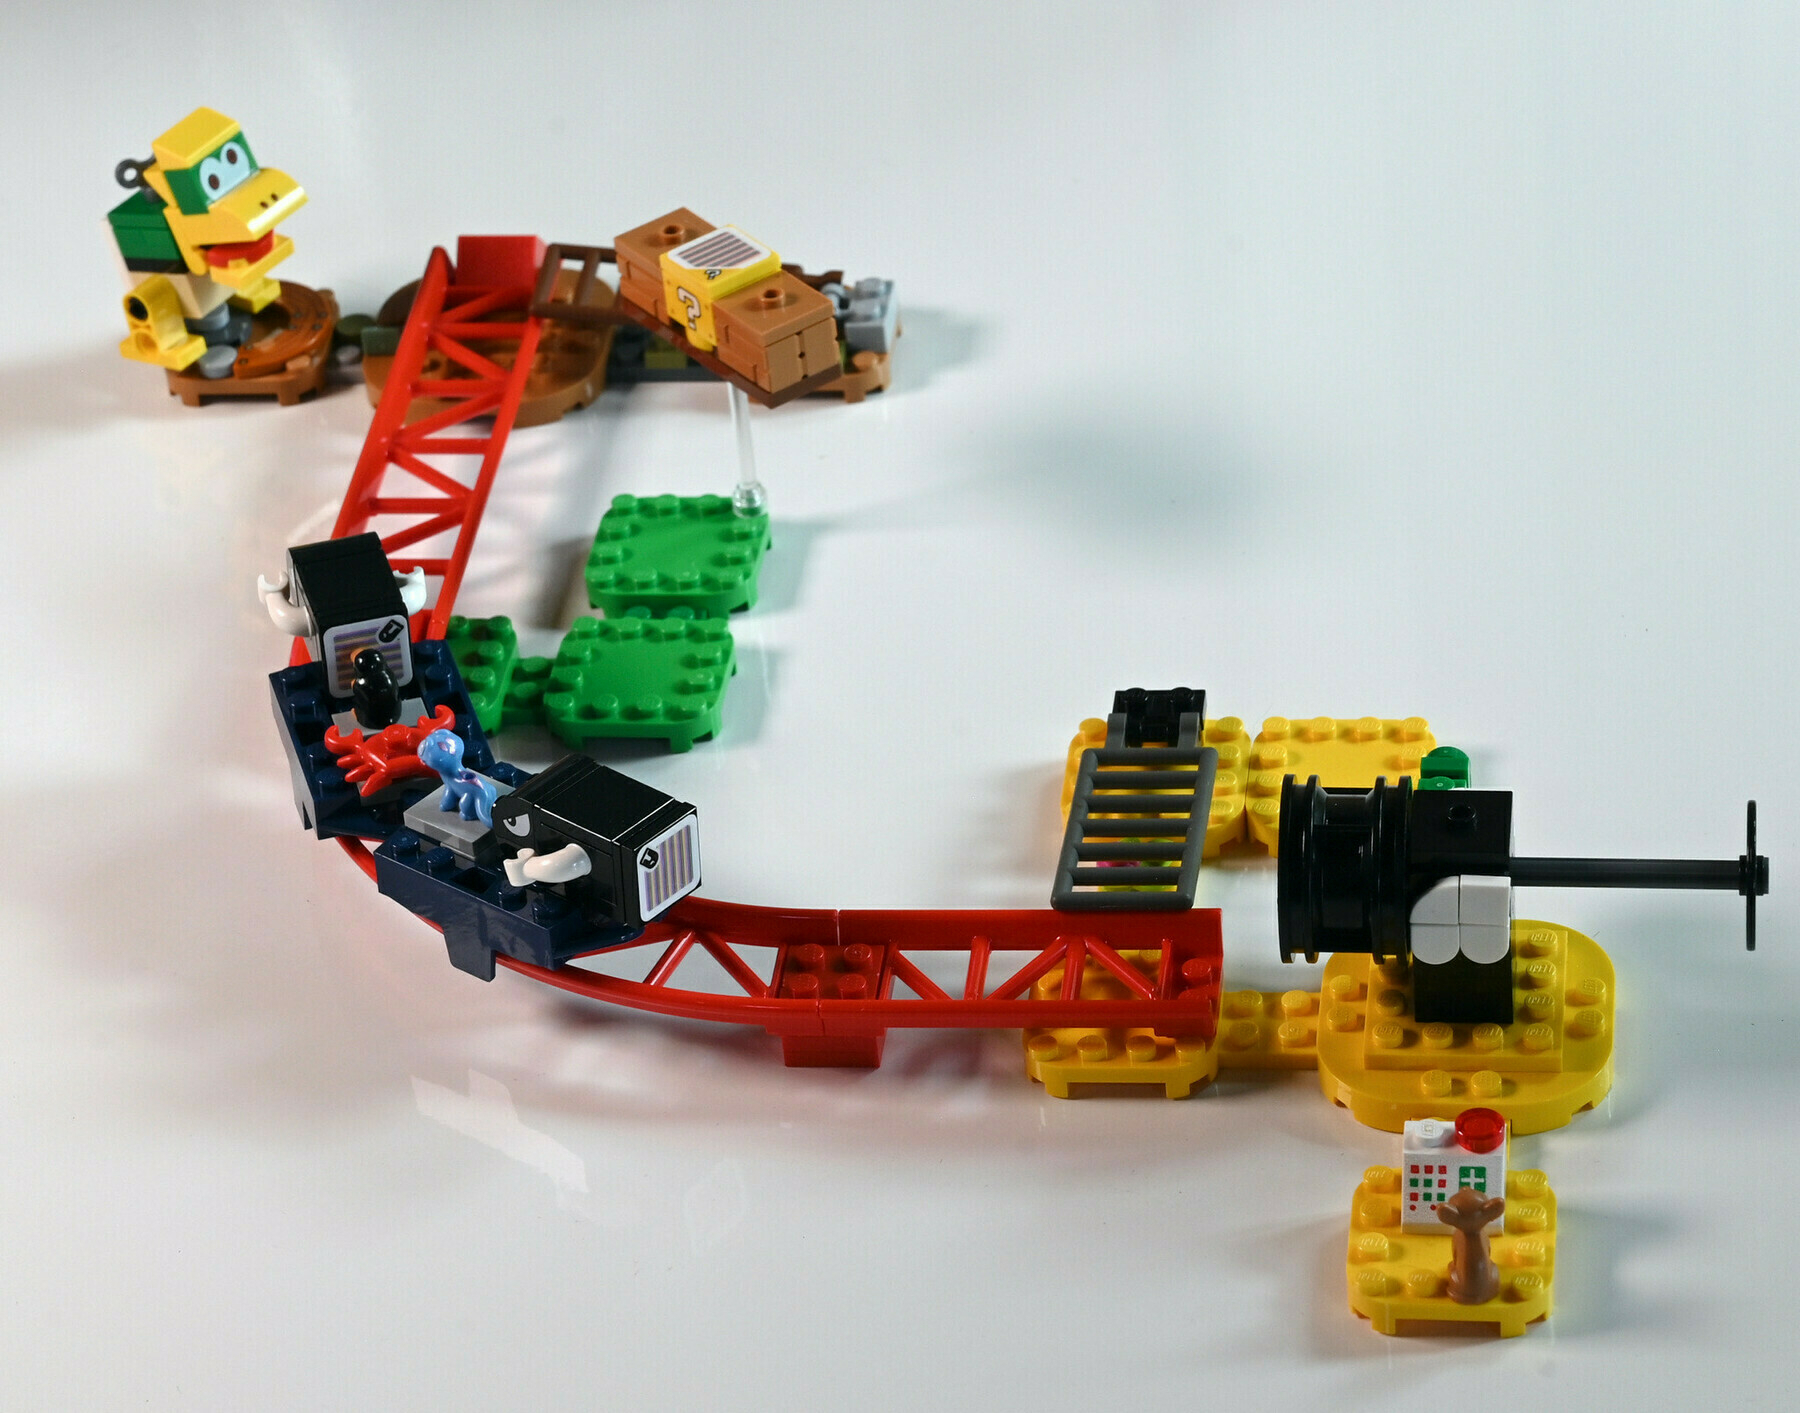
Mario amusement park
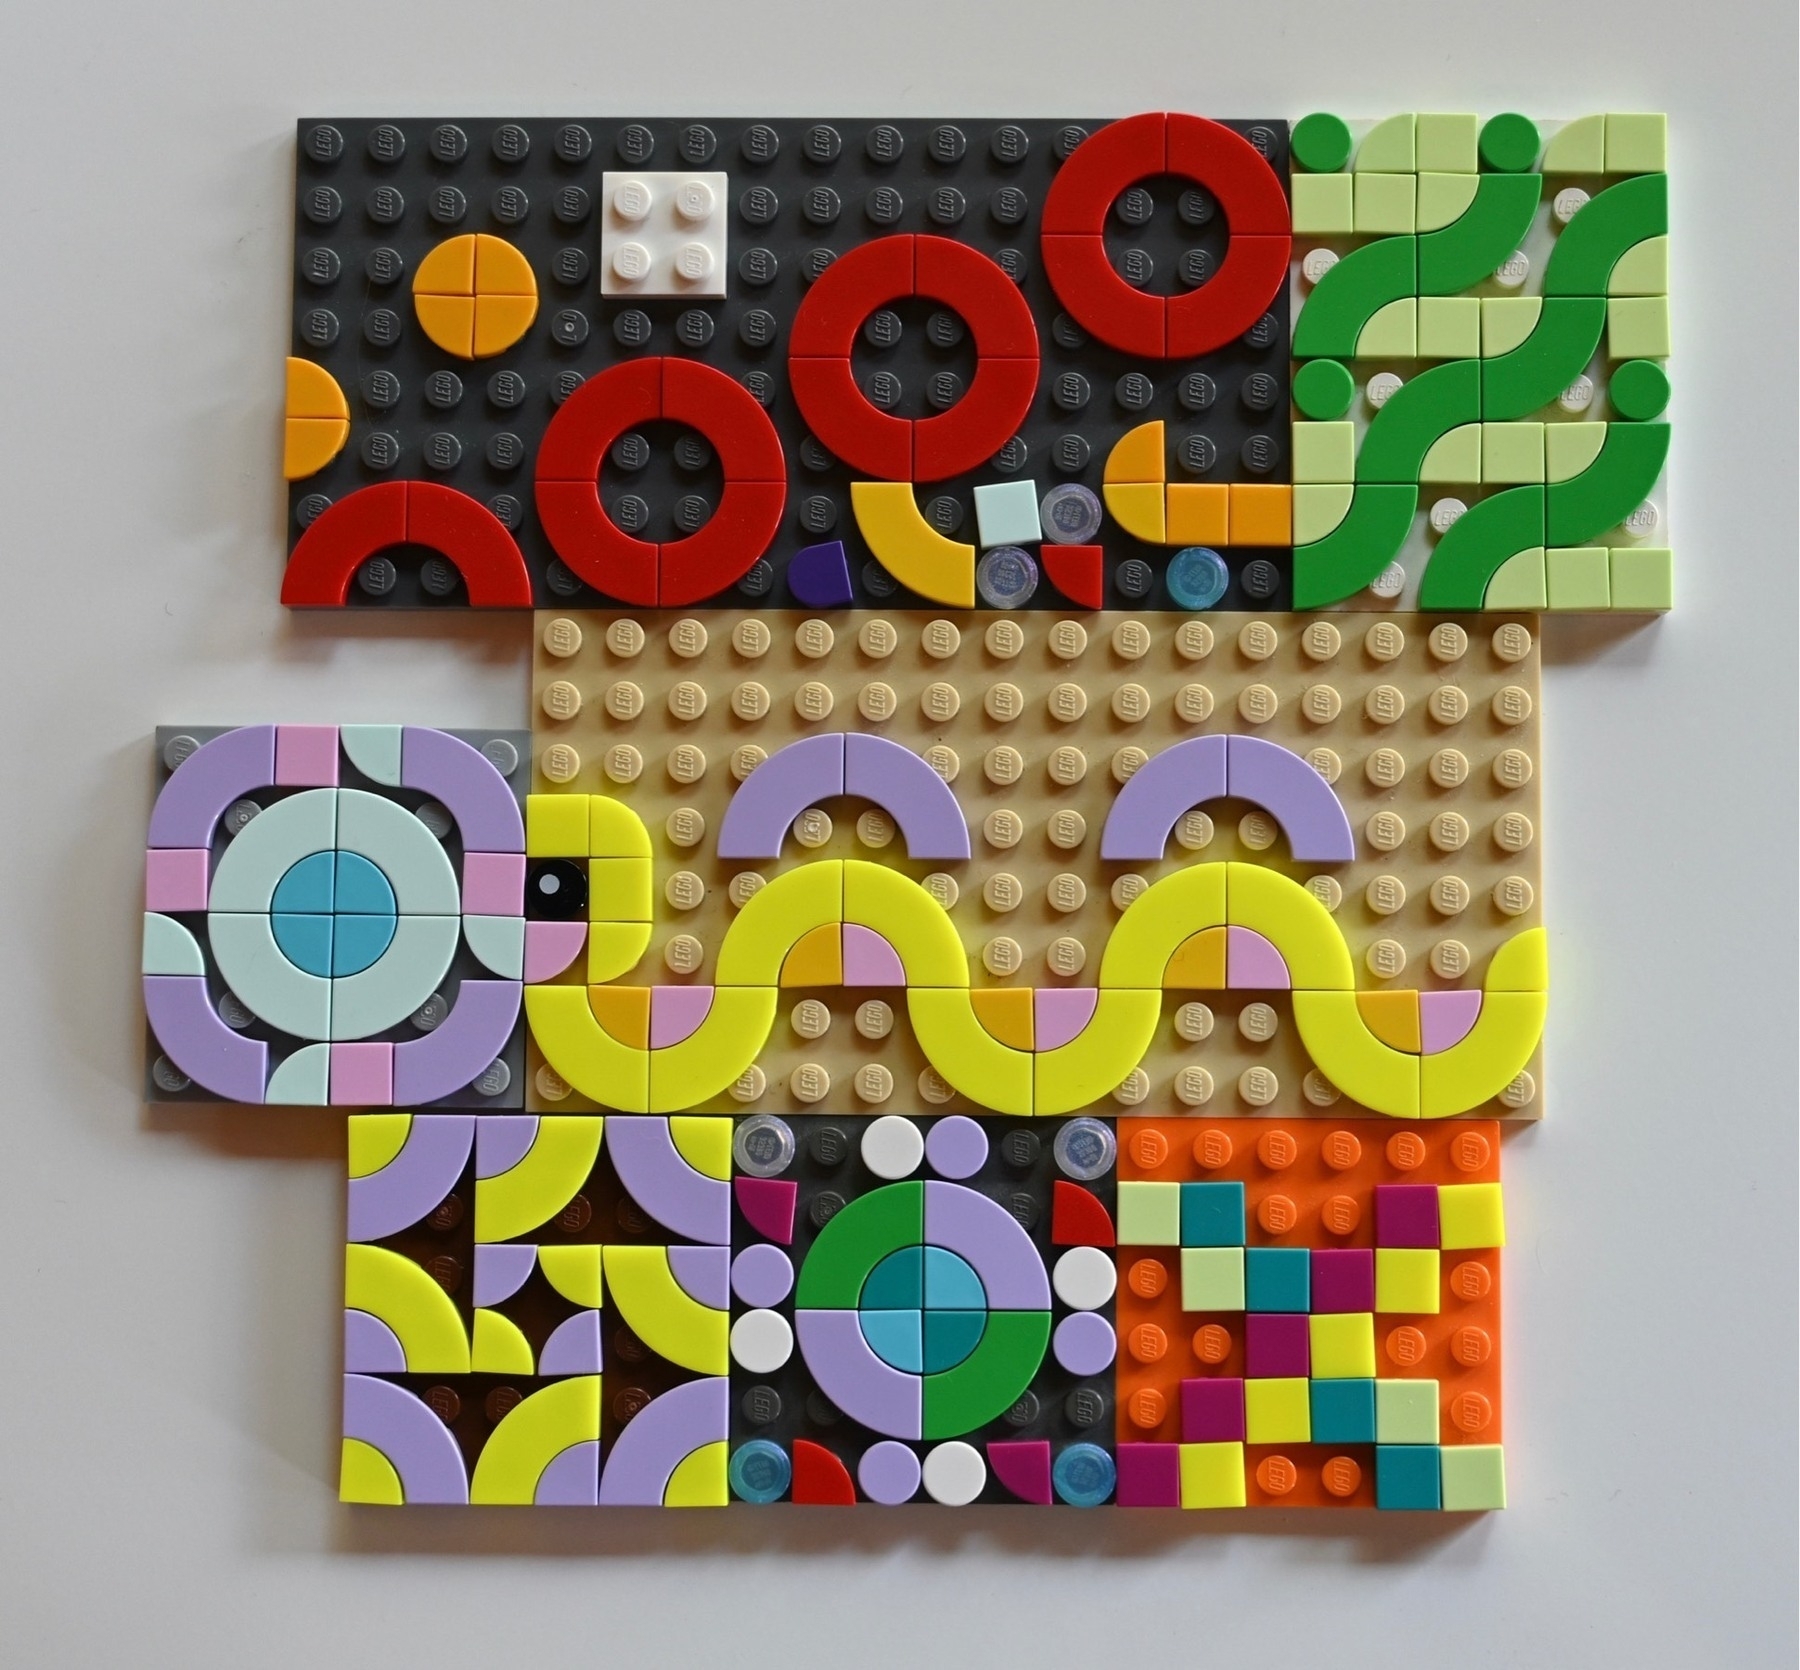
Mosaic builds
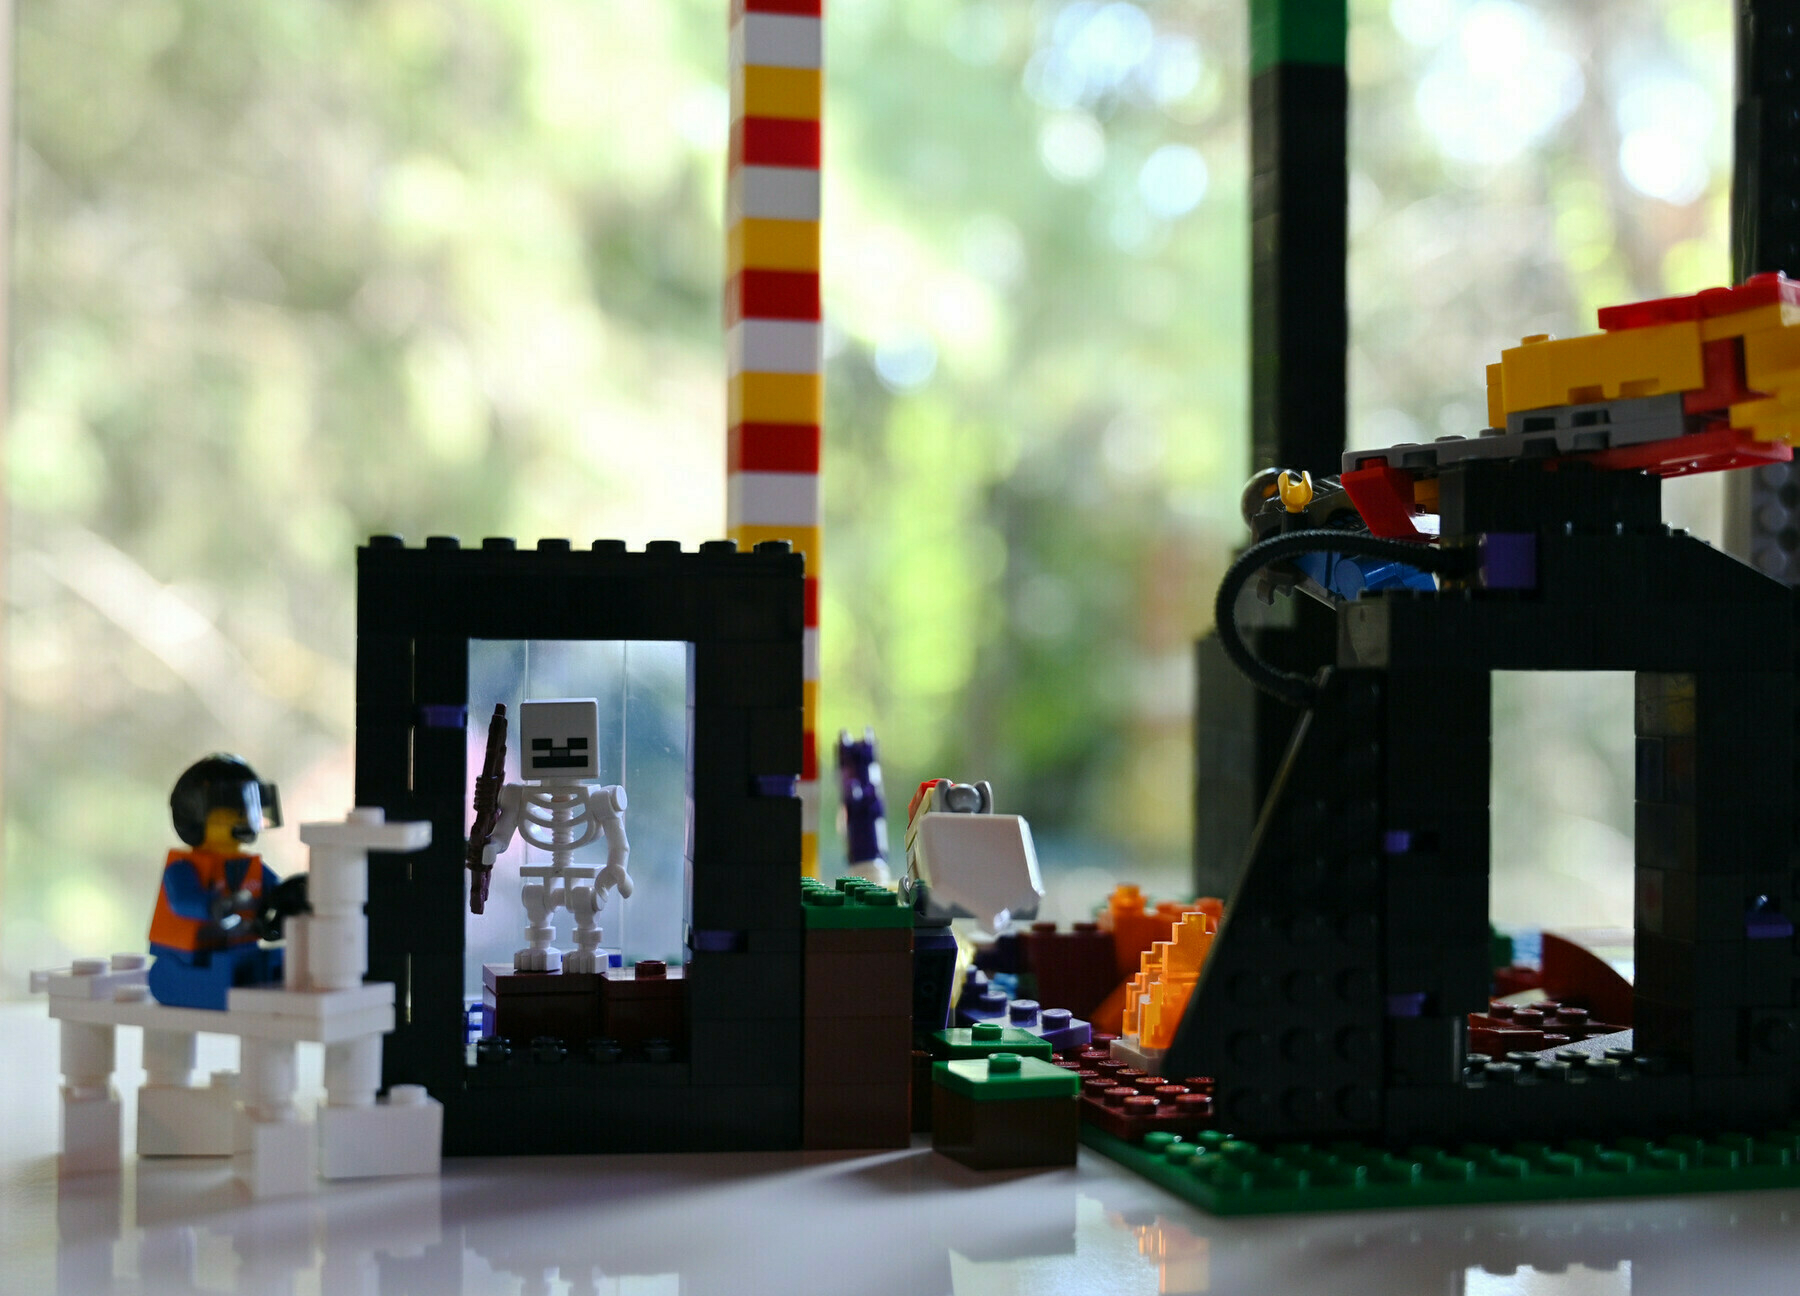
Minecraft portals
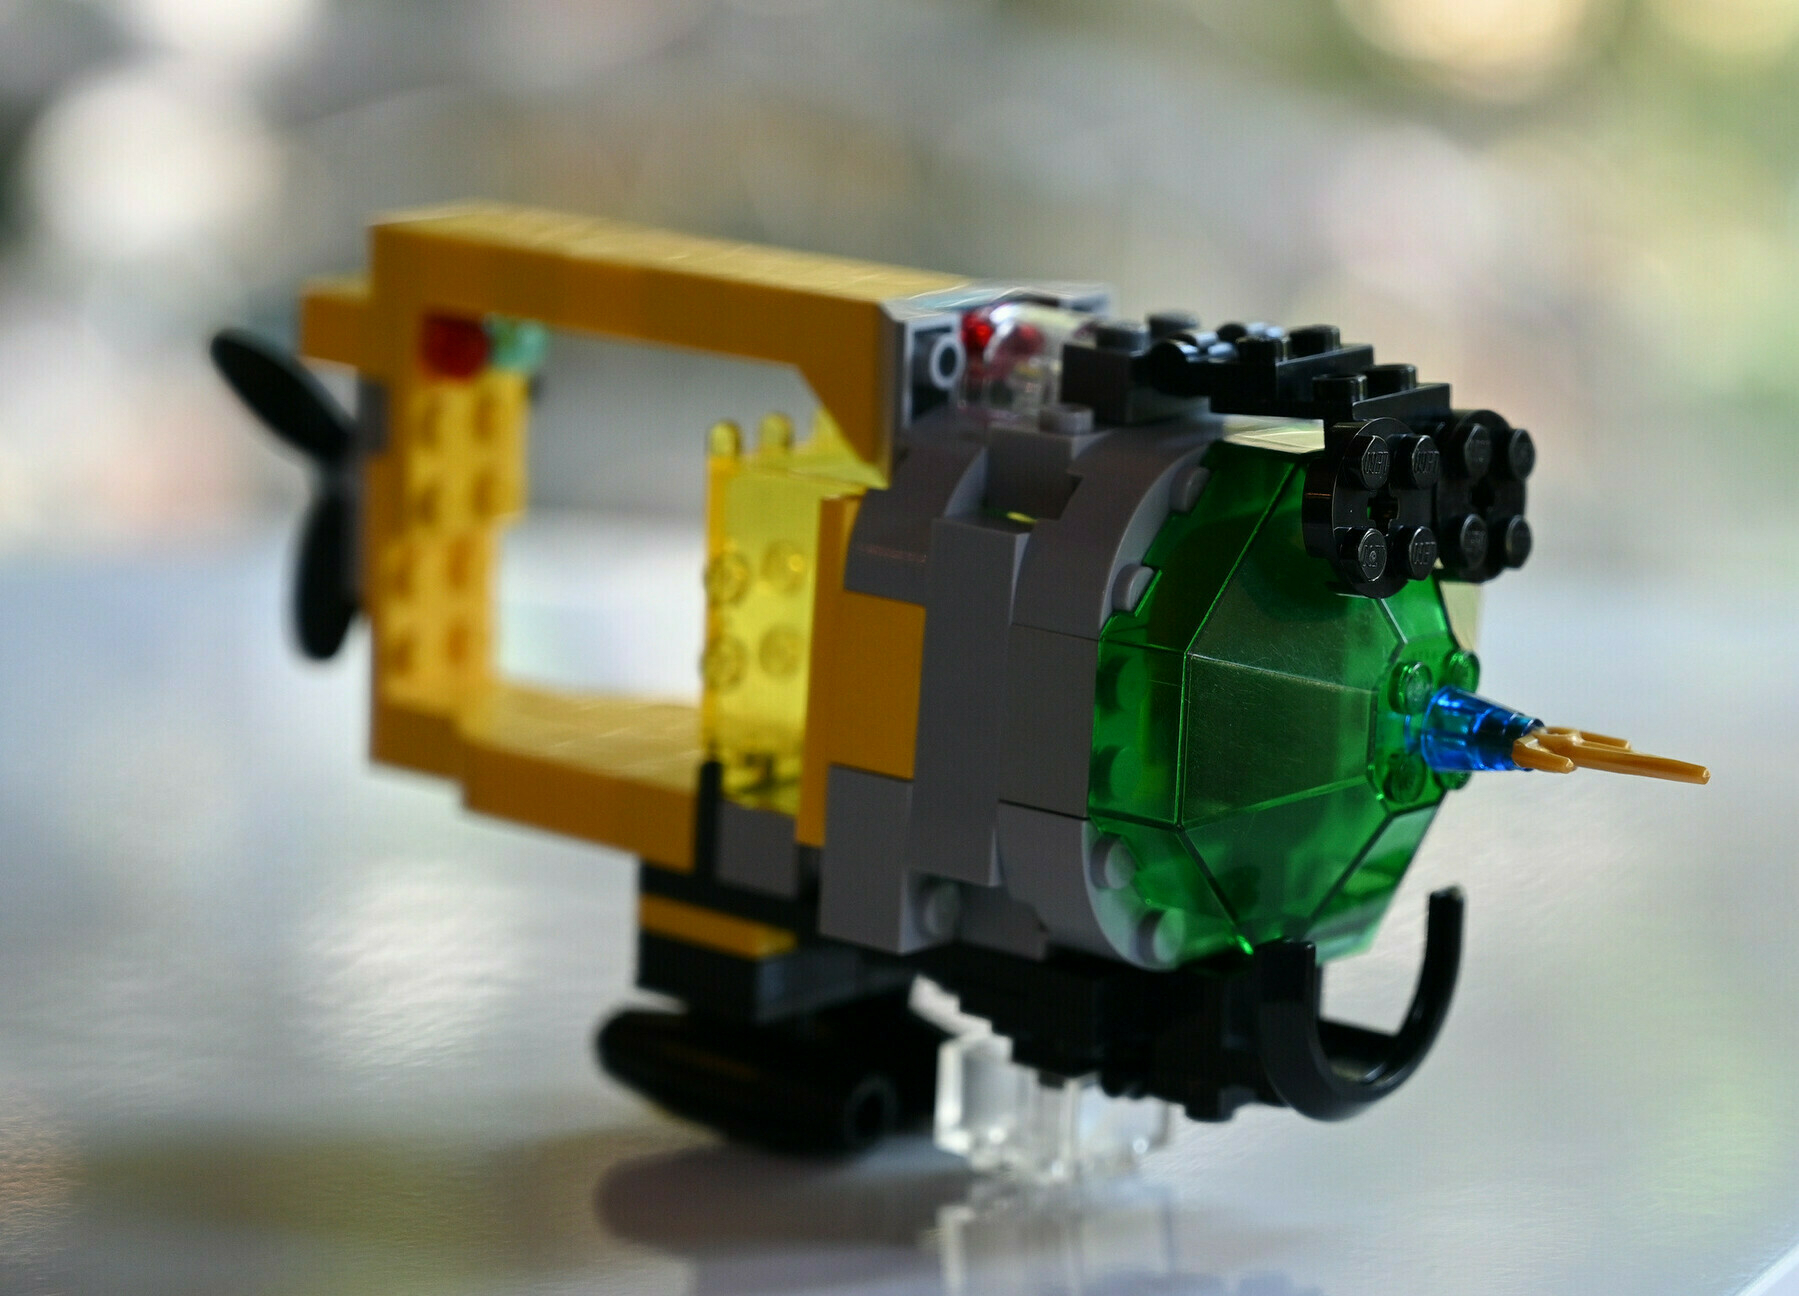
Smily submersible
-
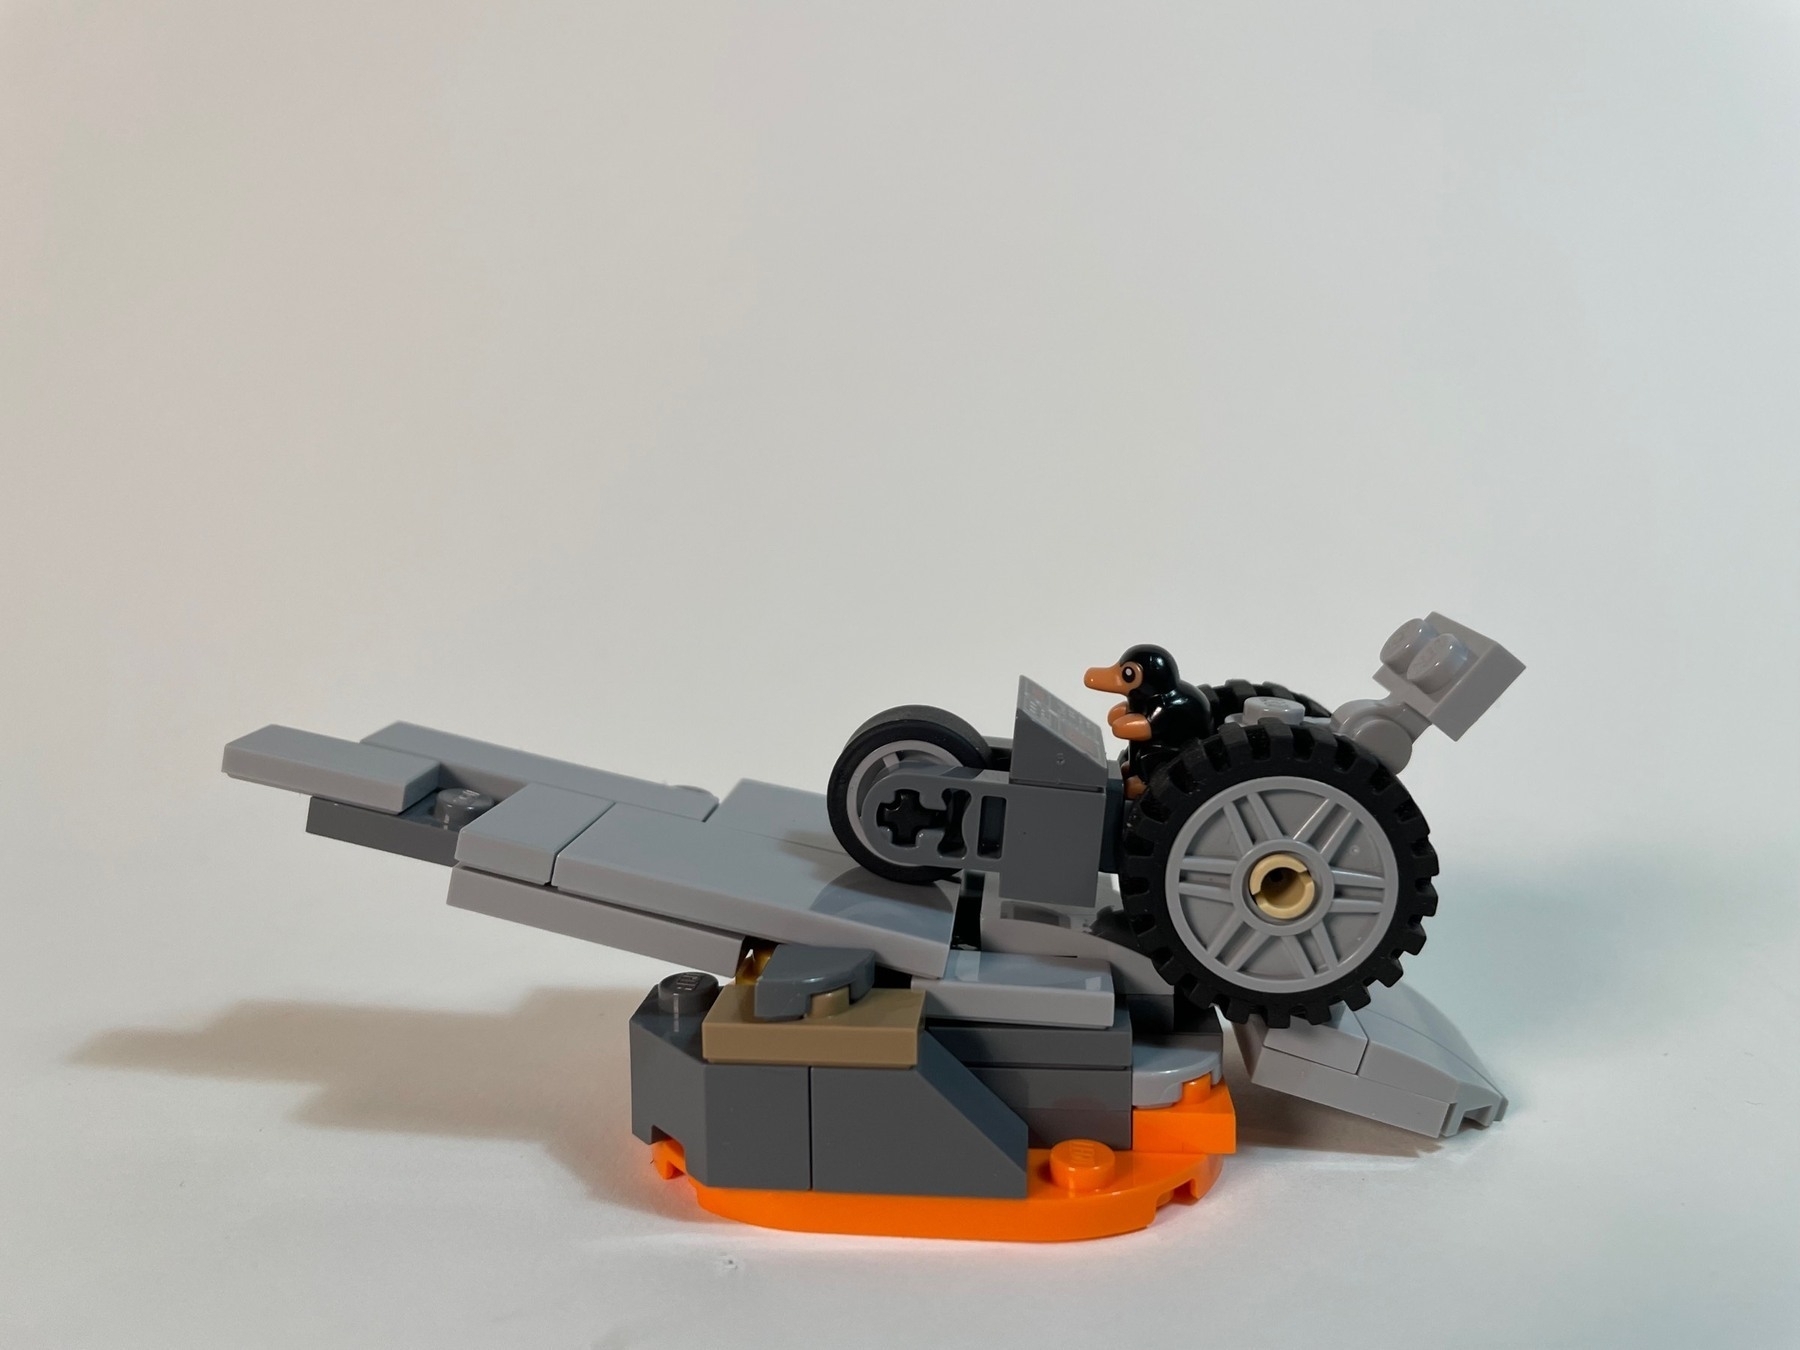
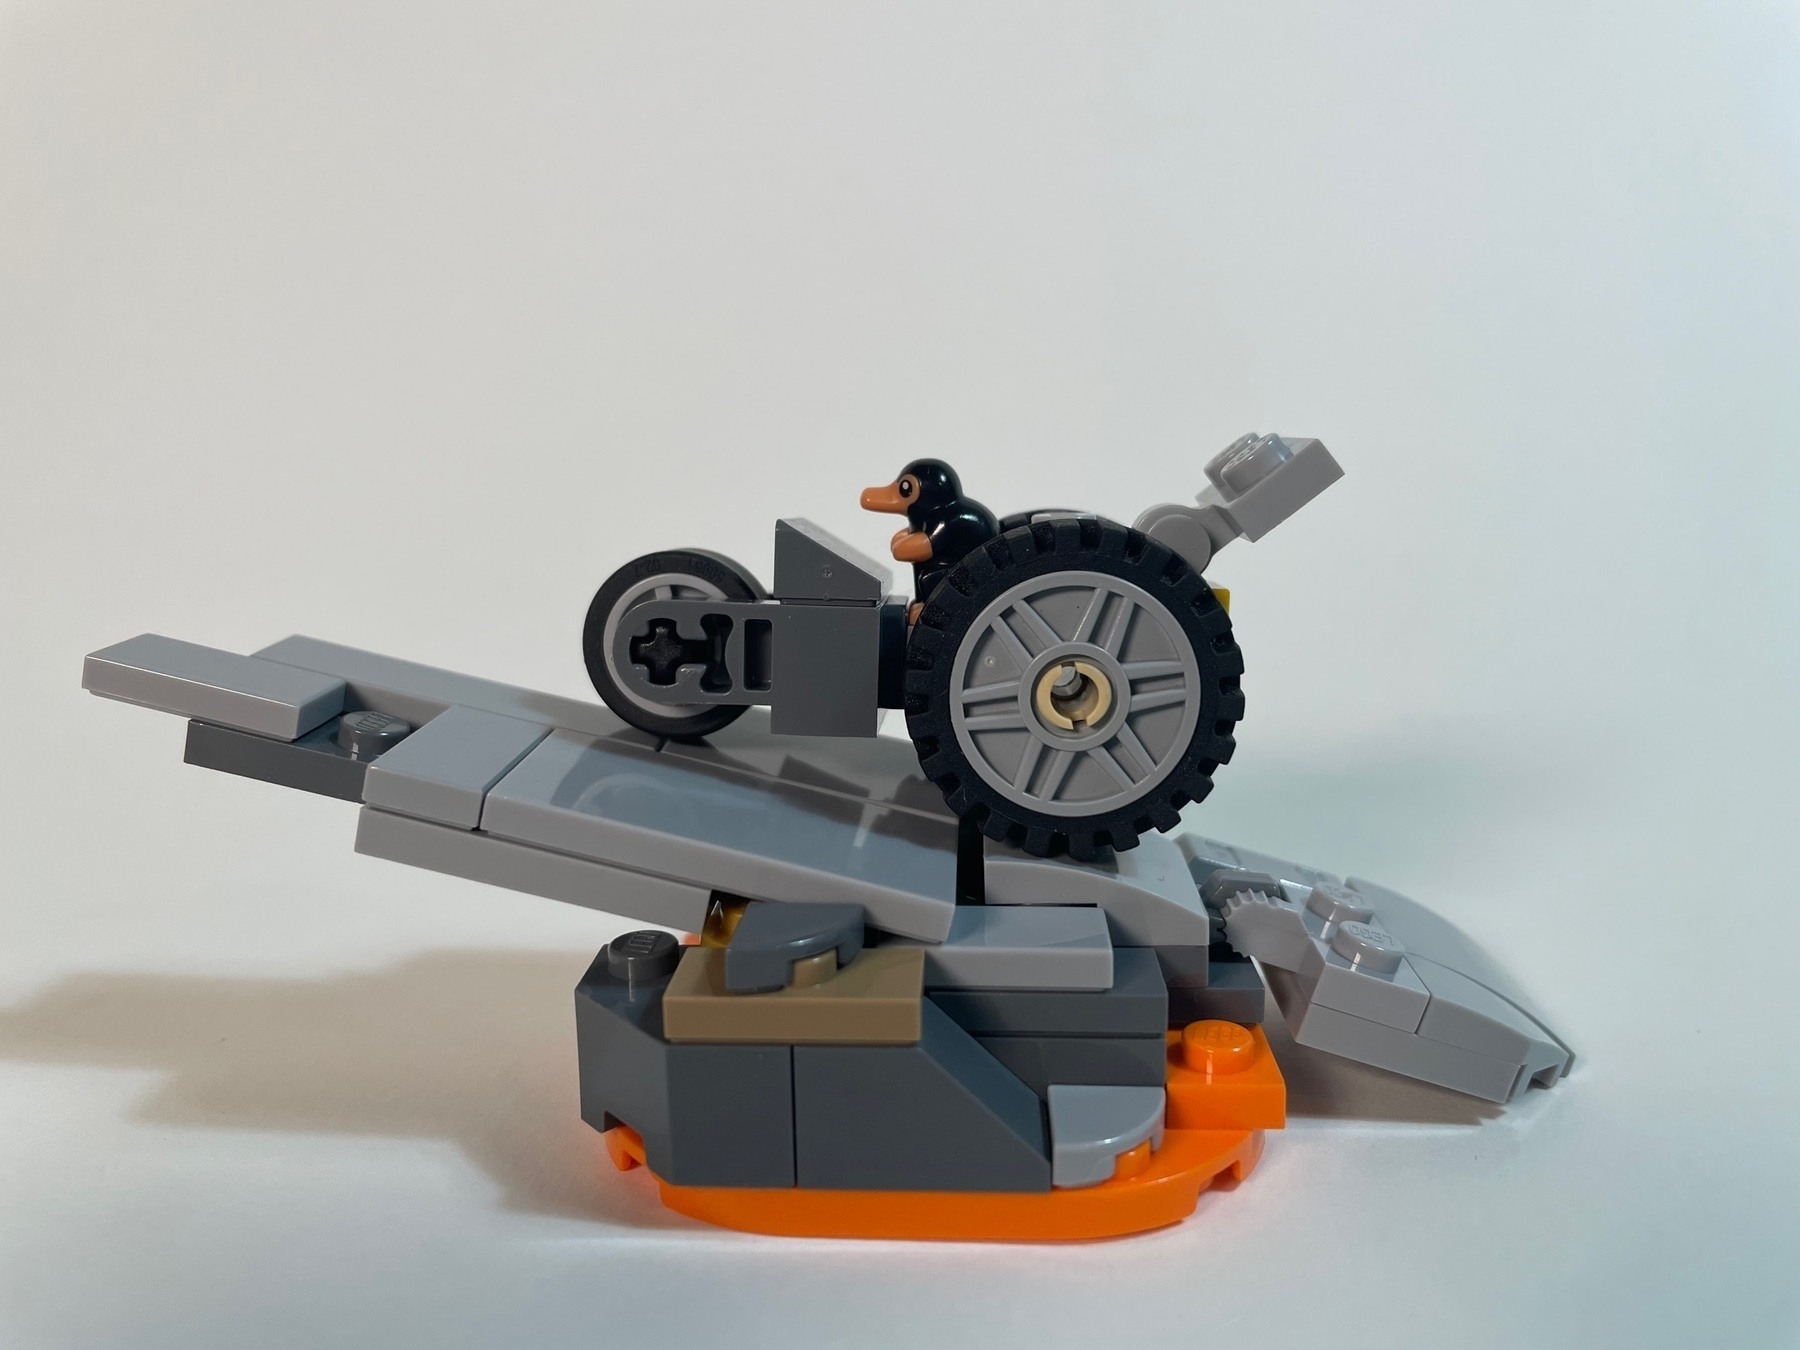
Niffler racer part two: small ramp.
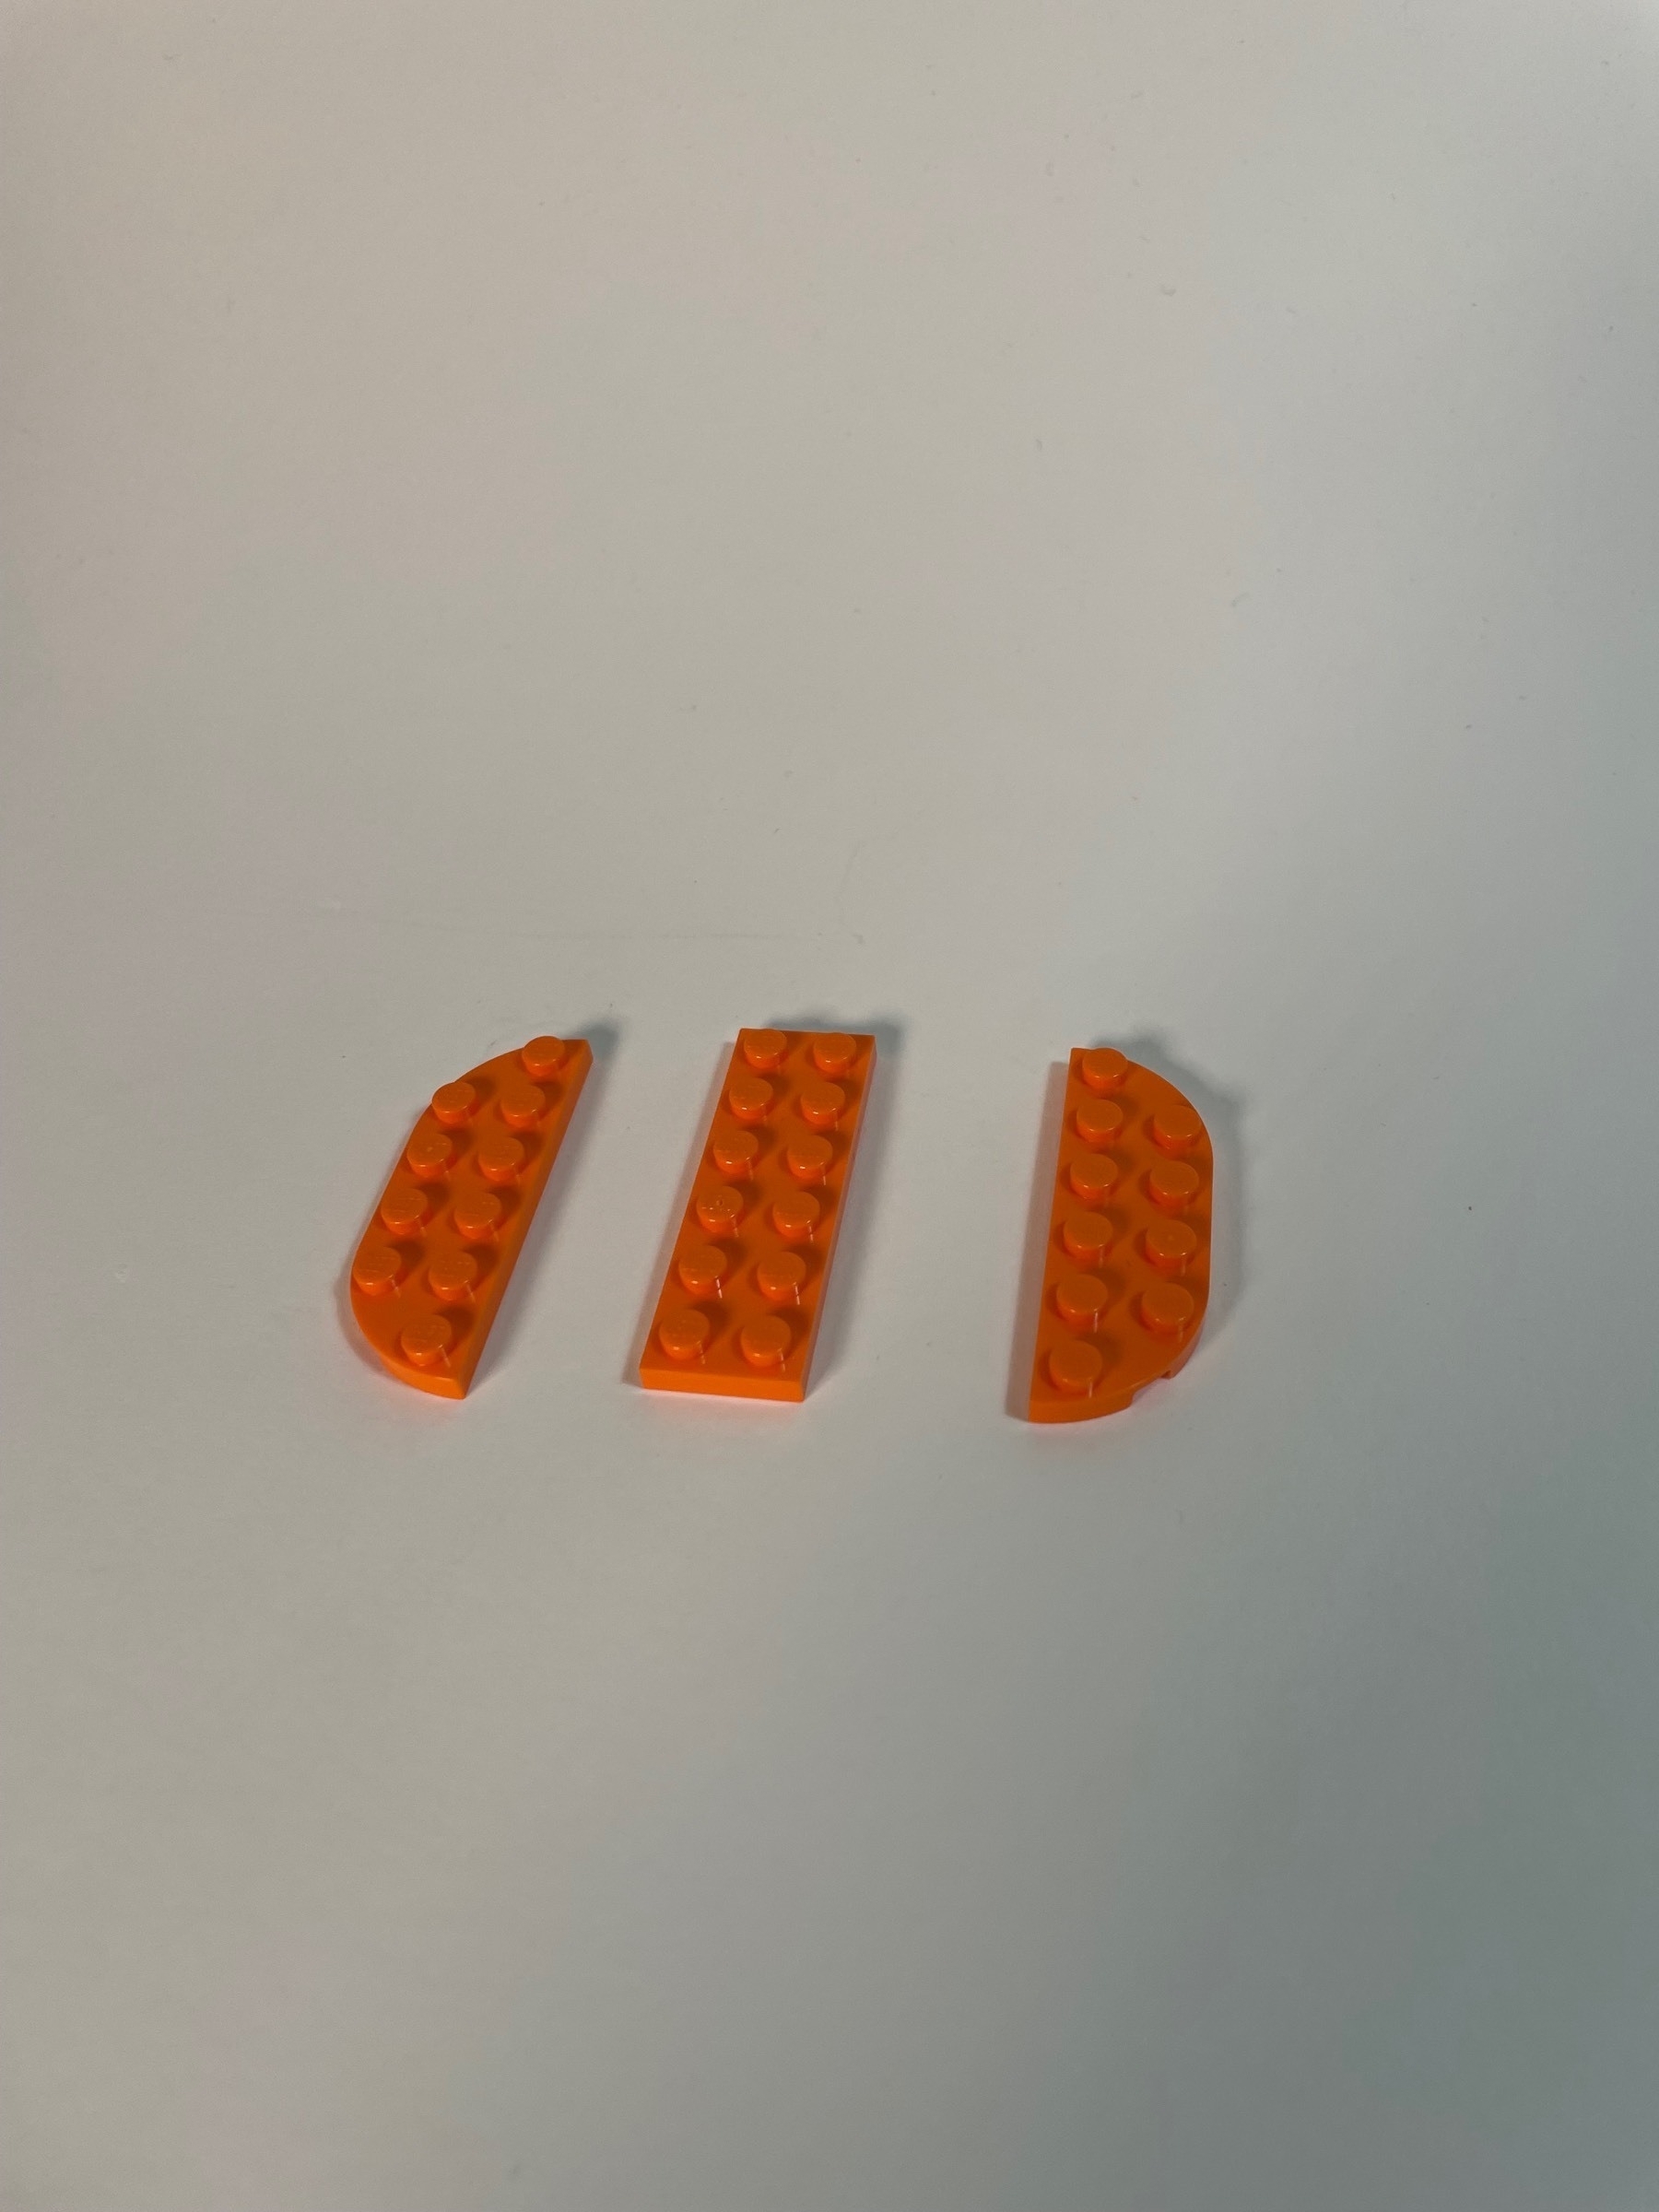
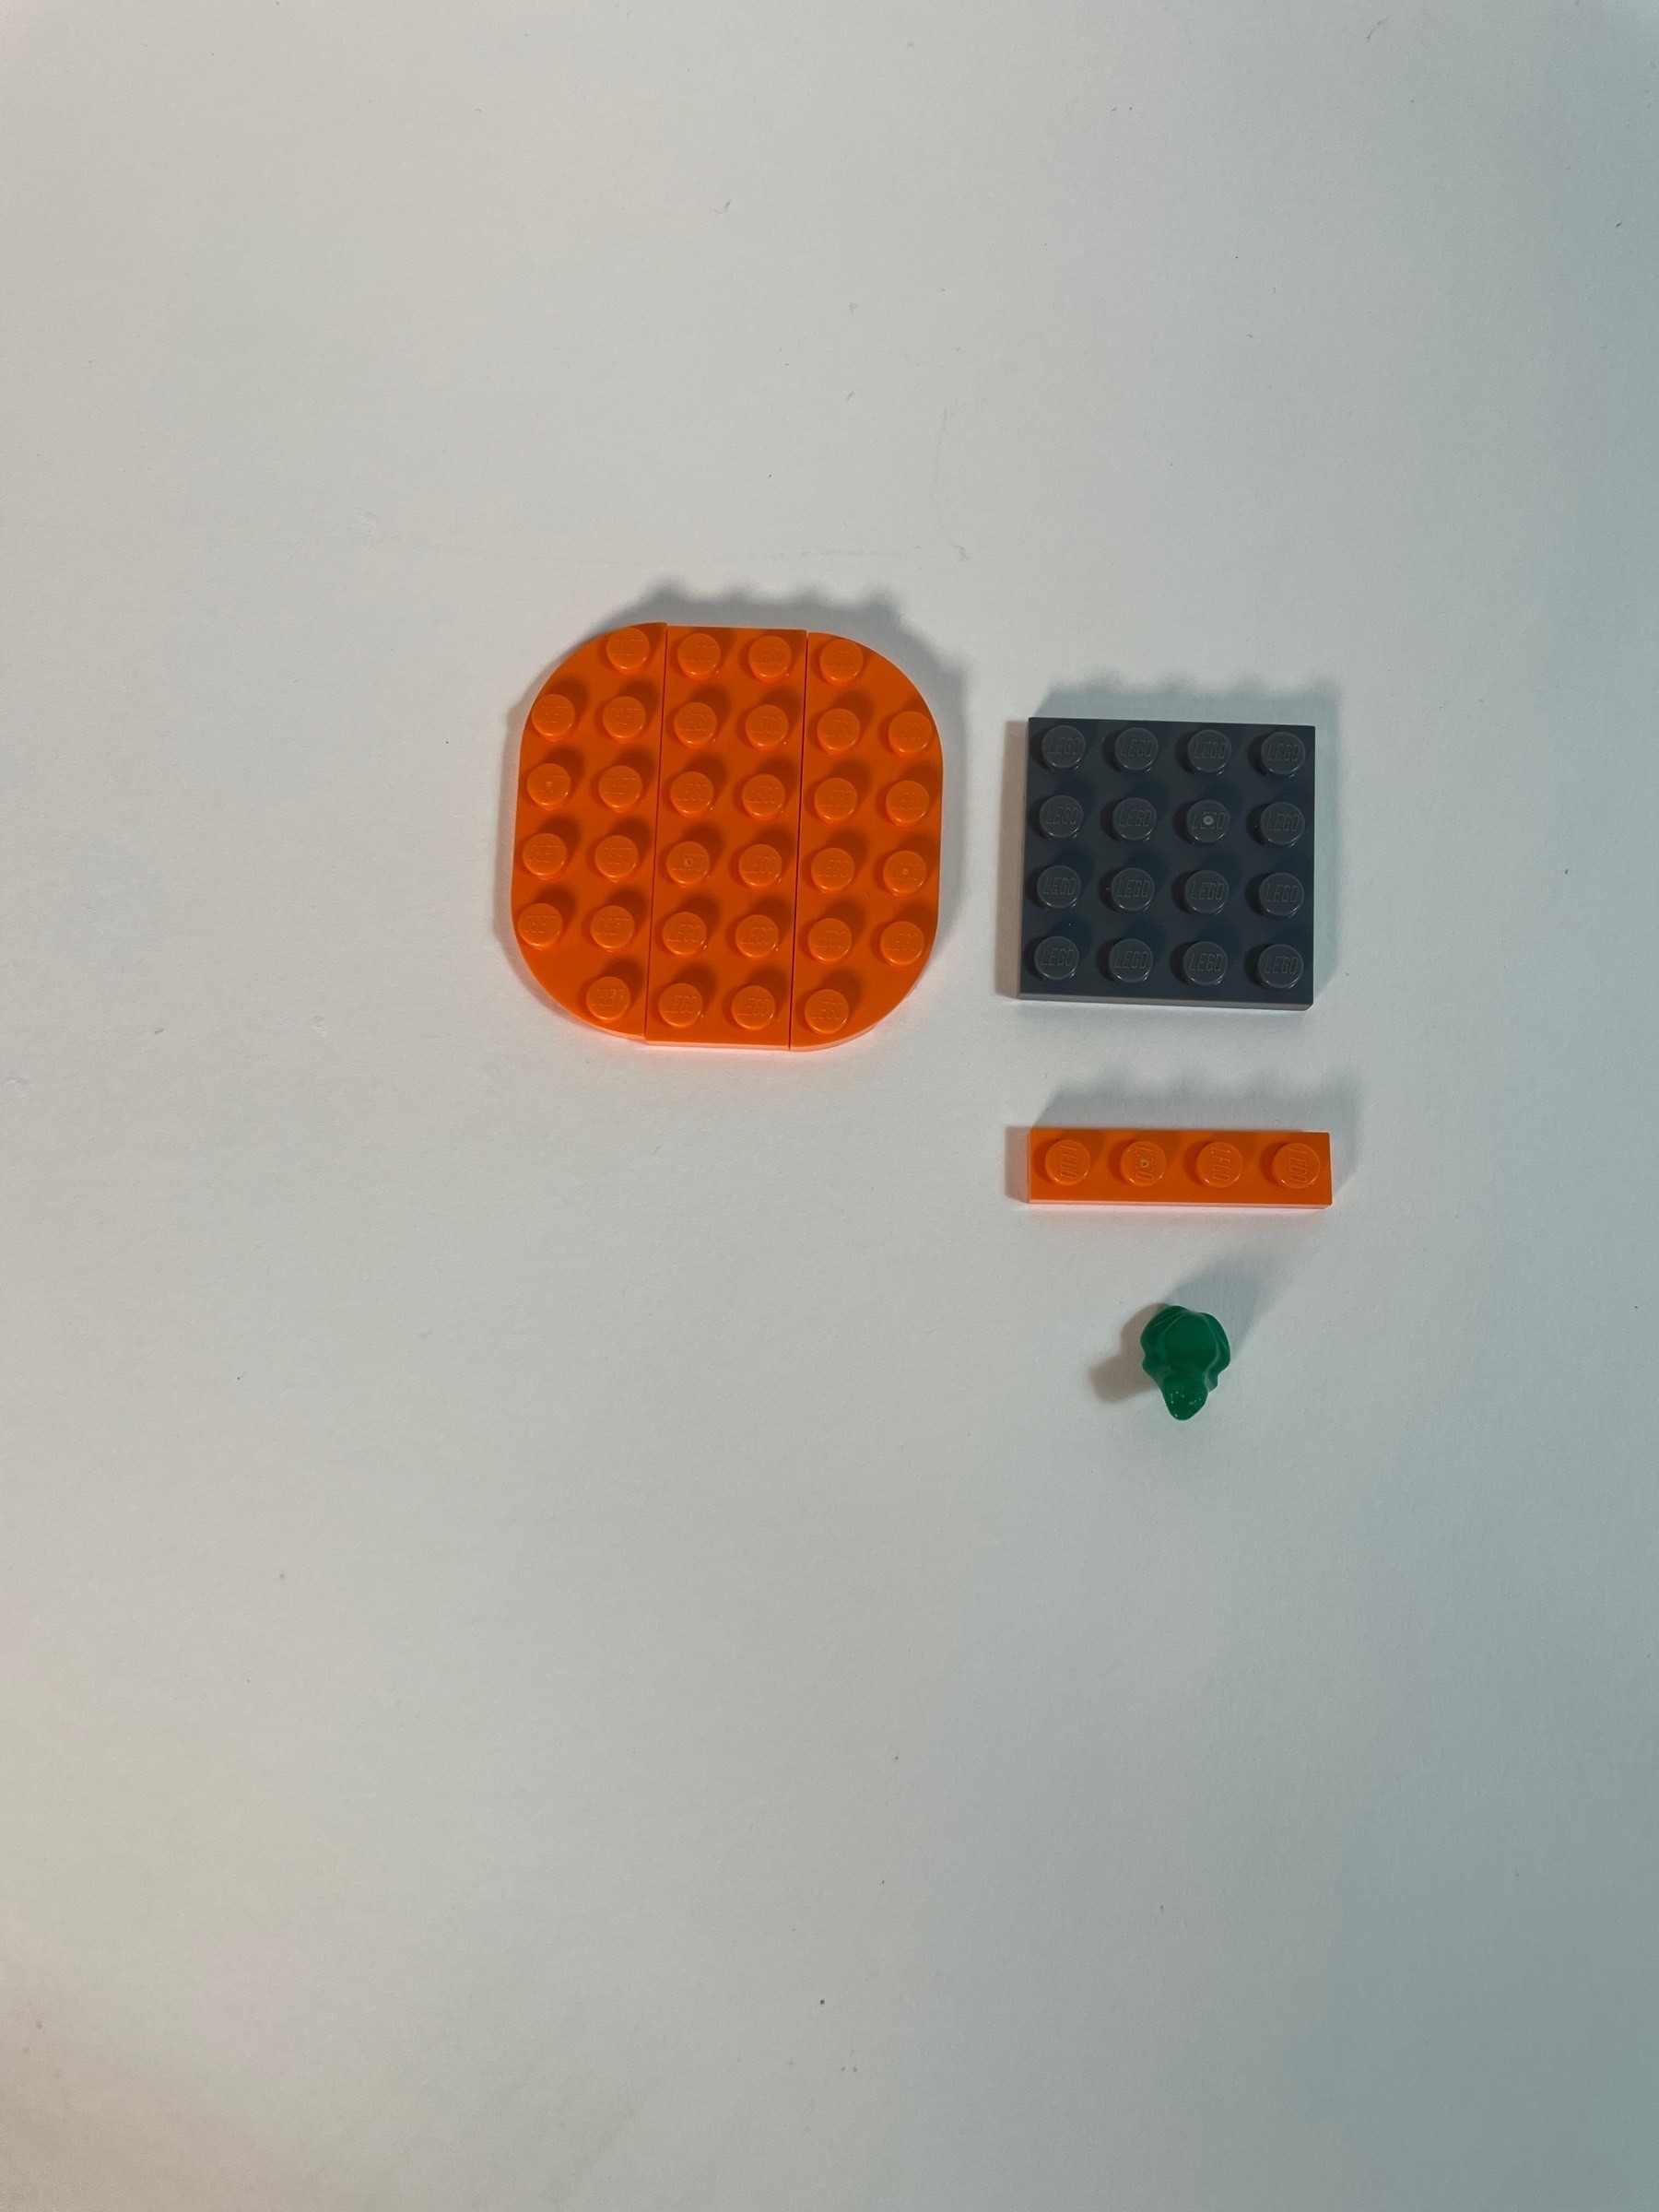
Start with a 6 by 6 base.
Hmm… This frog is suspicious.
Start on the rockwork.
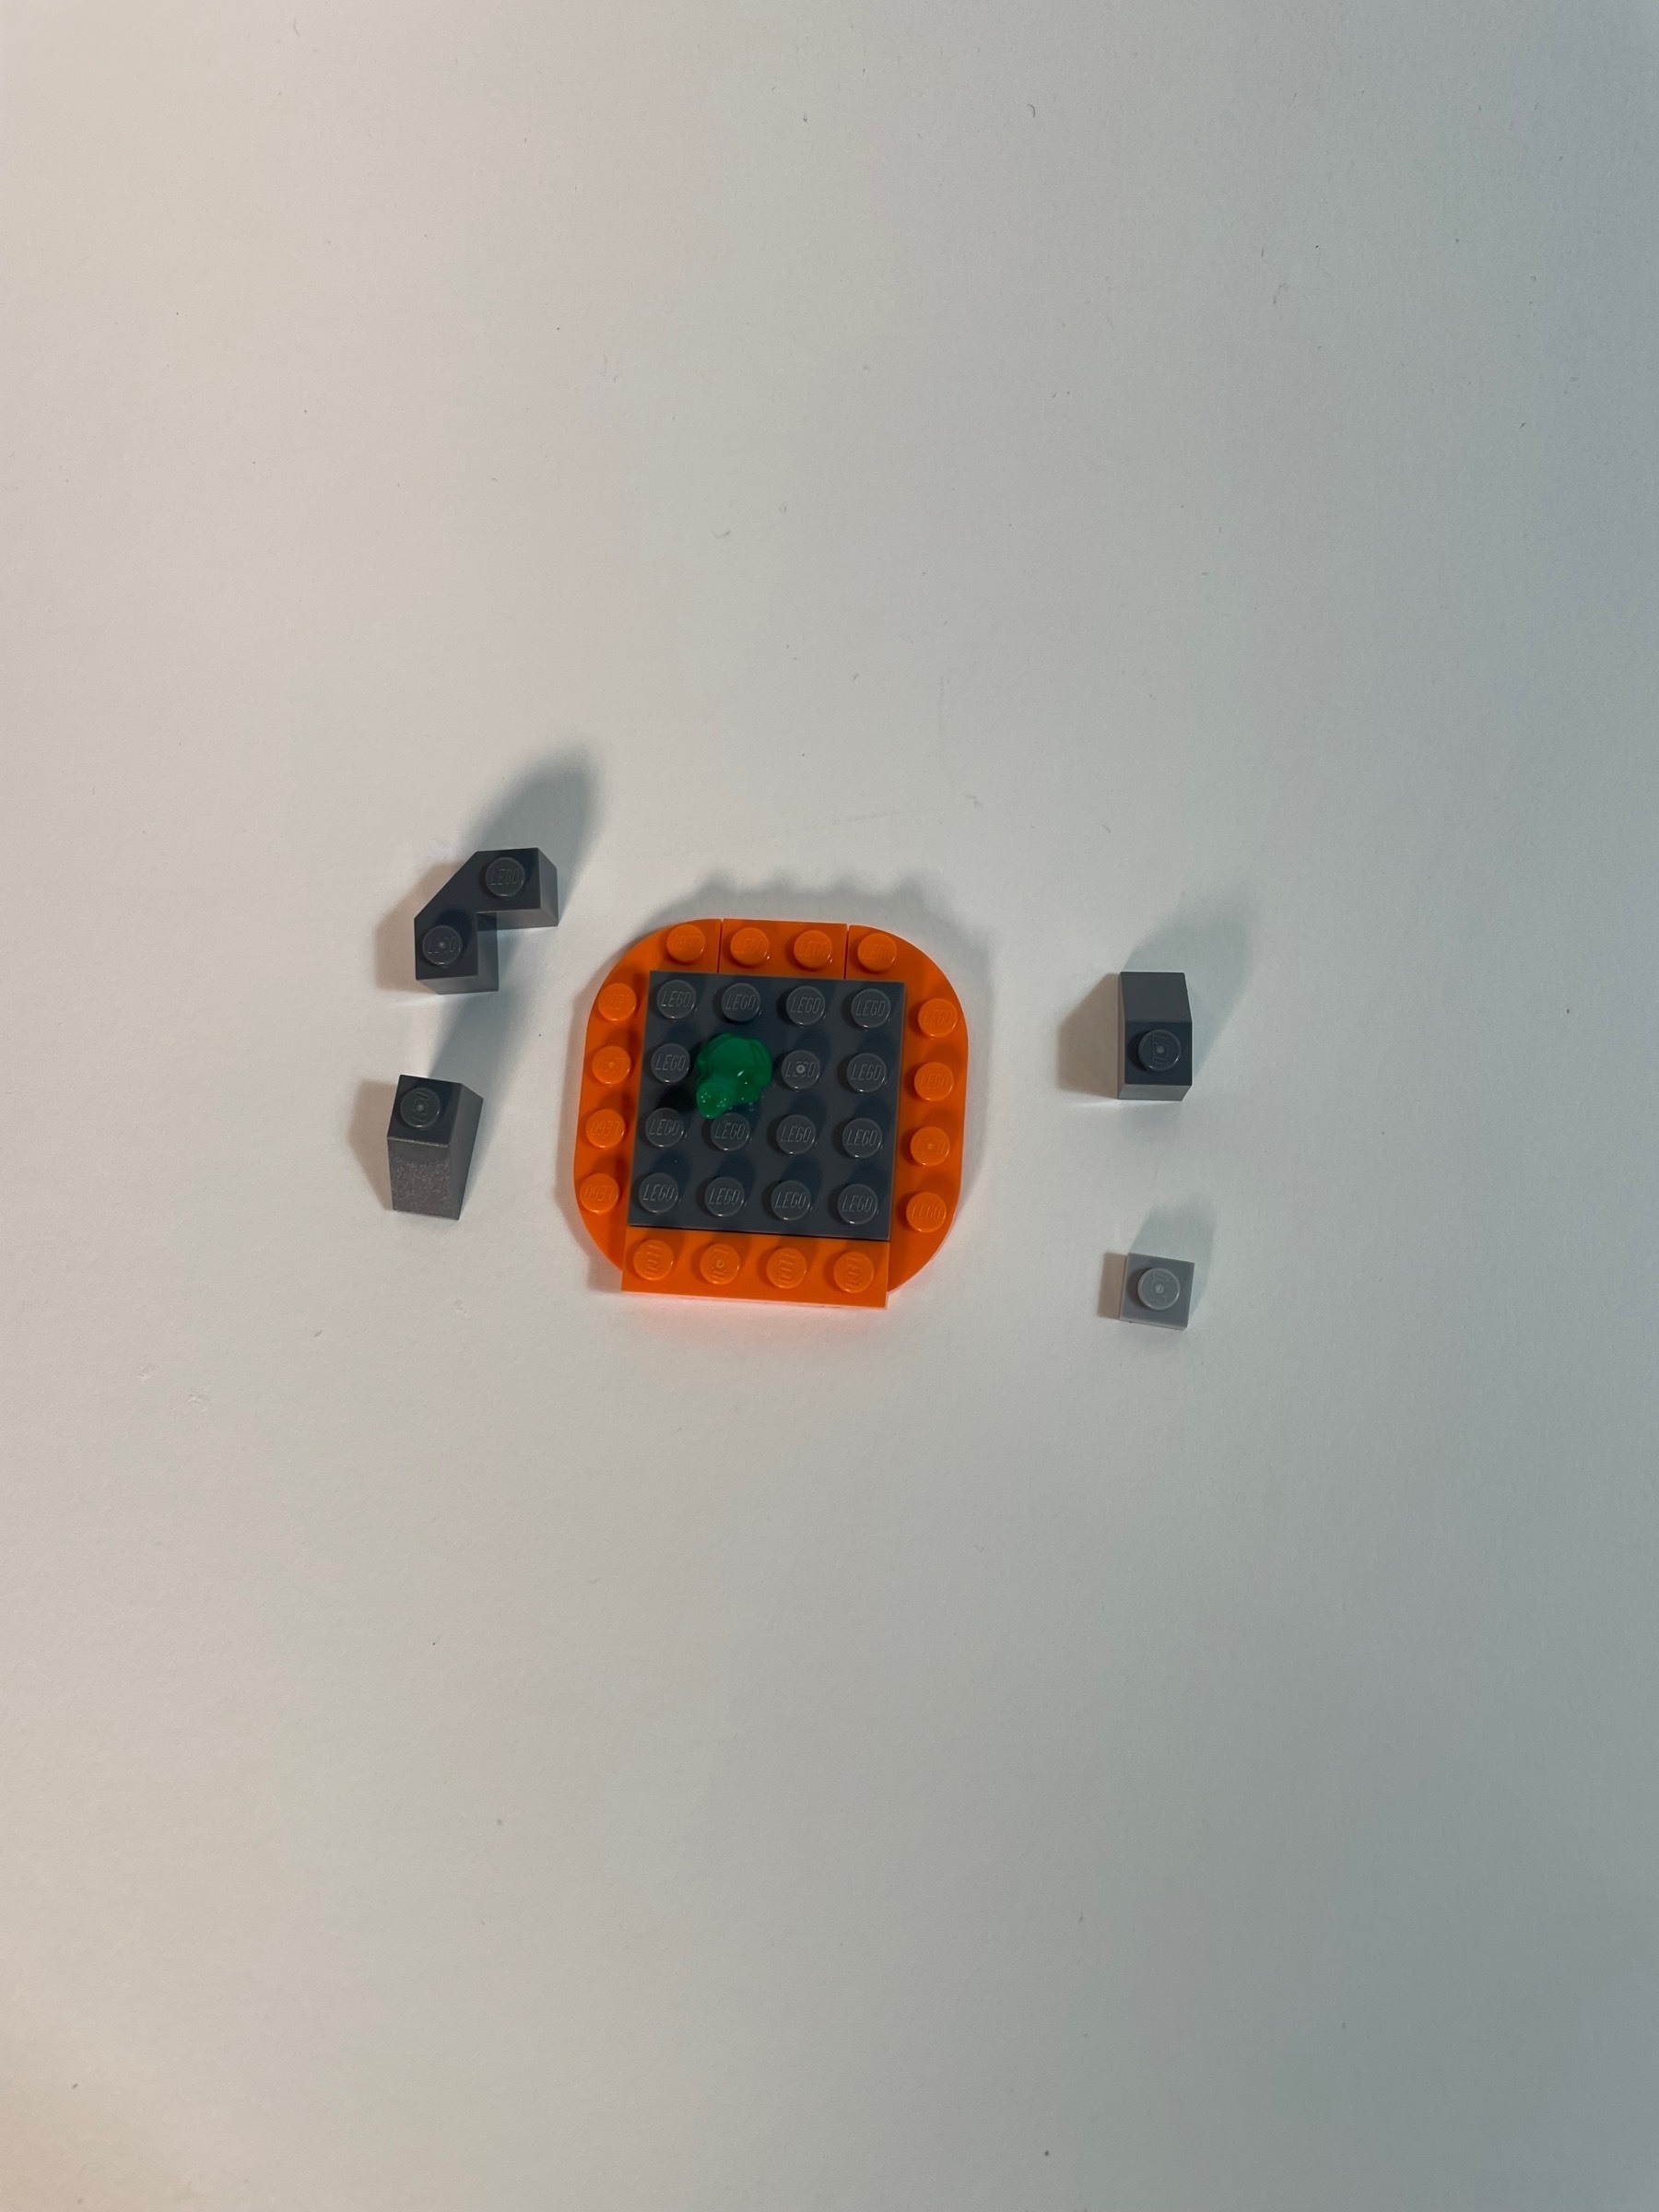
It’s not just a suspicious frog, it’s a rich frog!
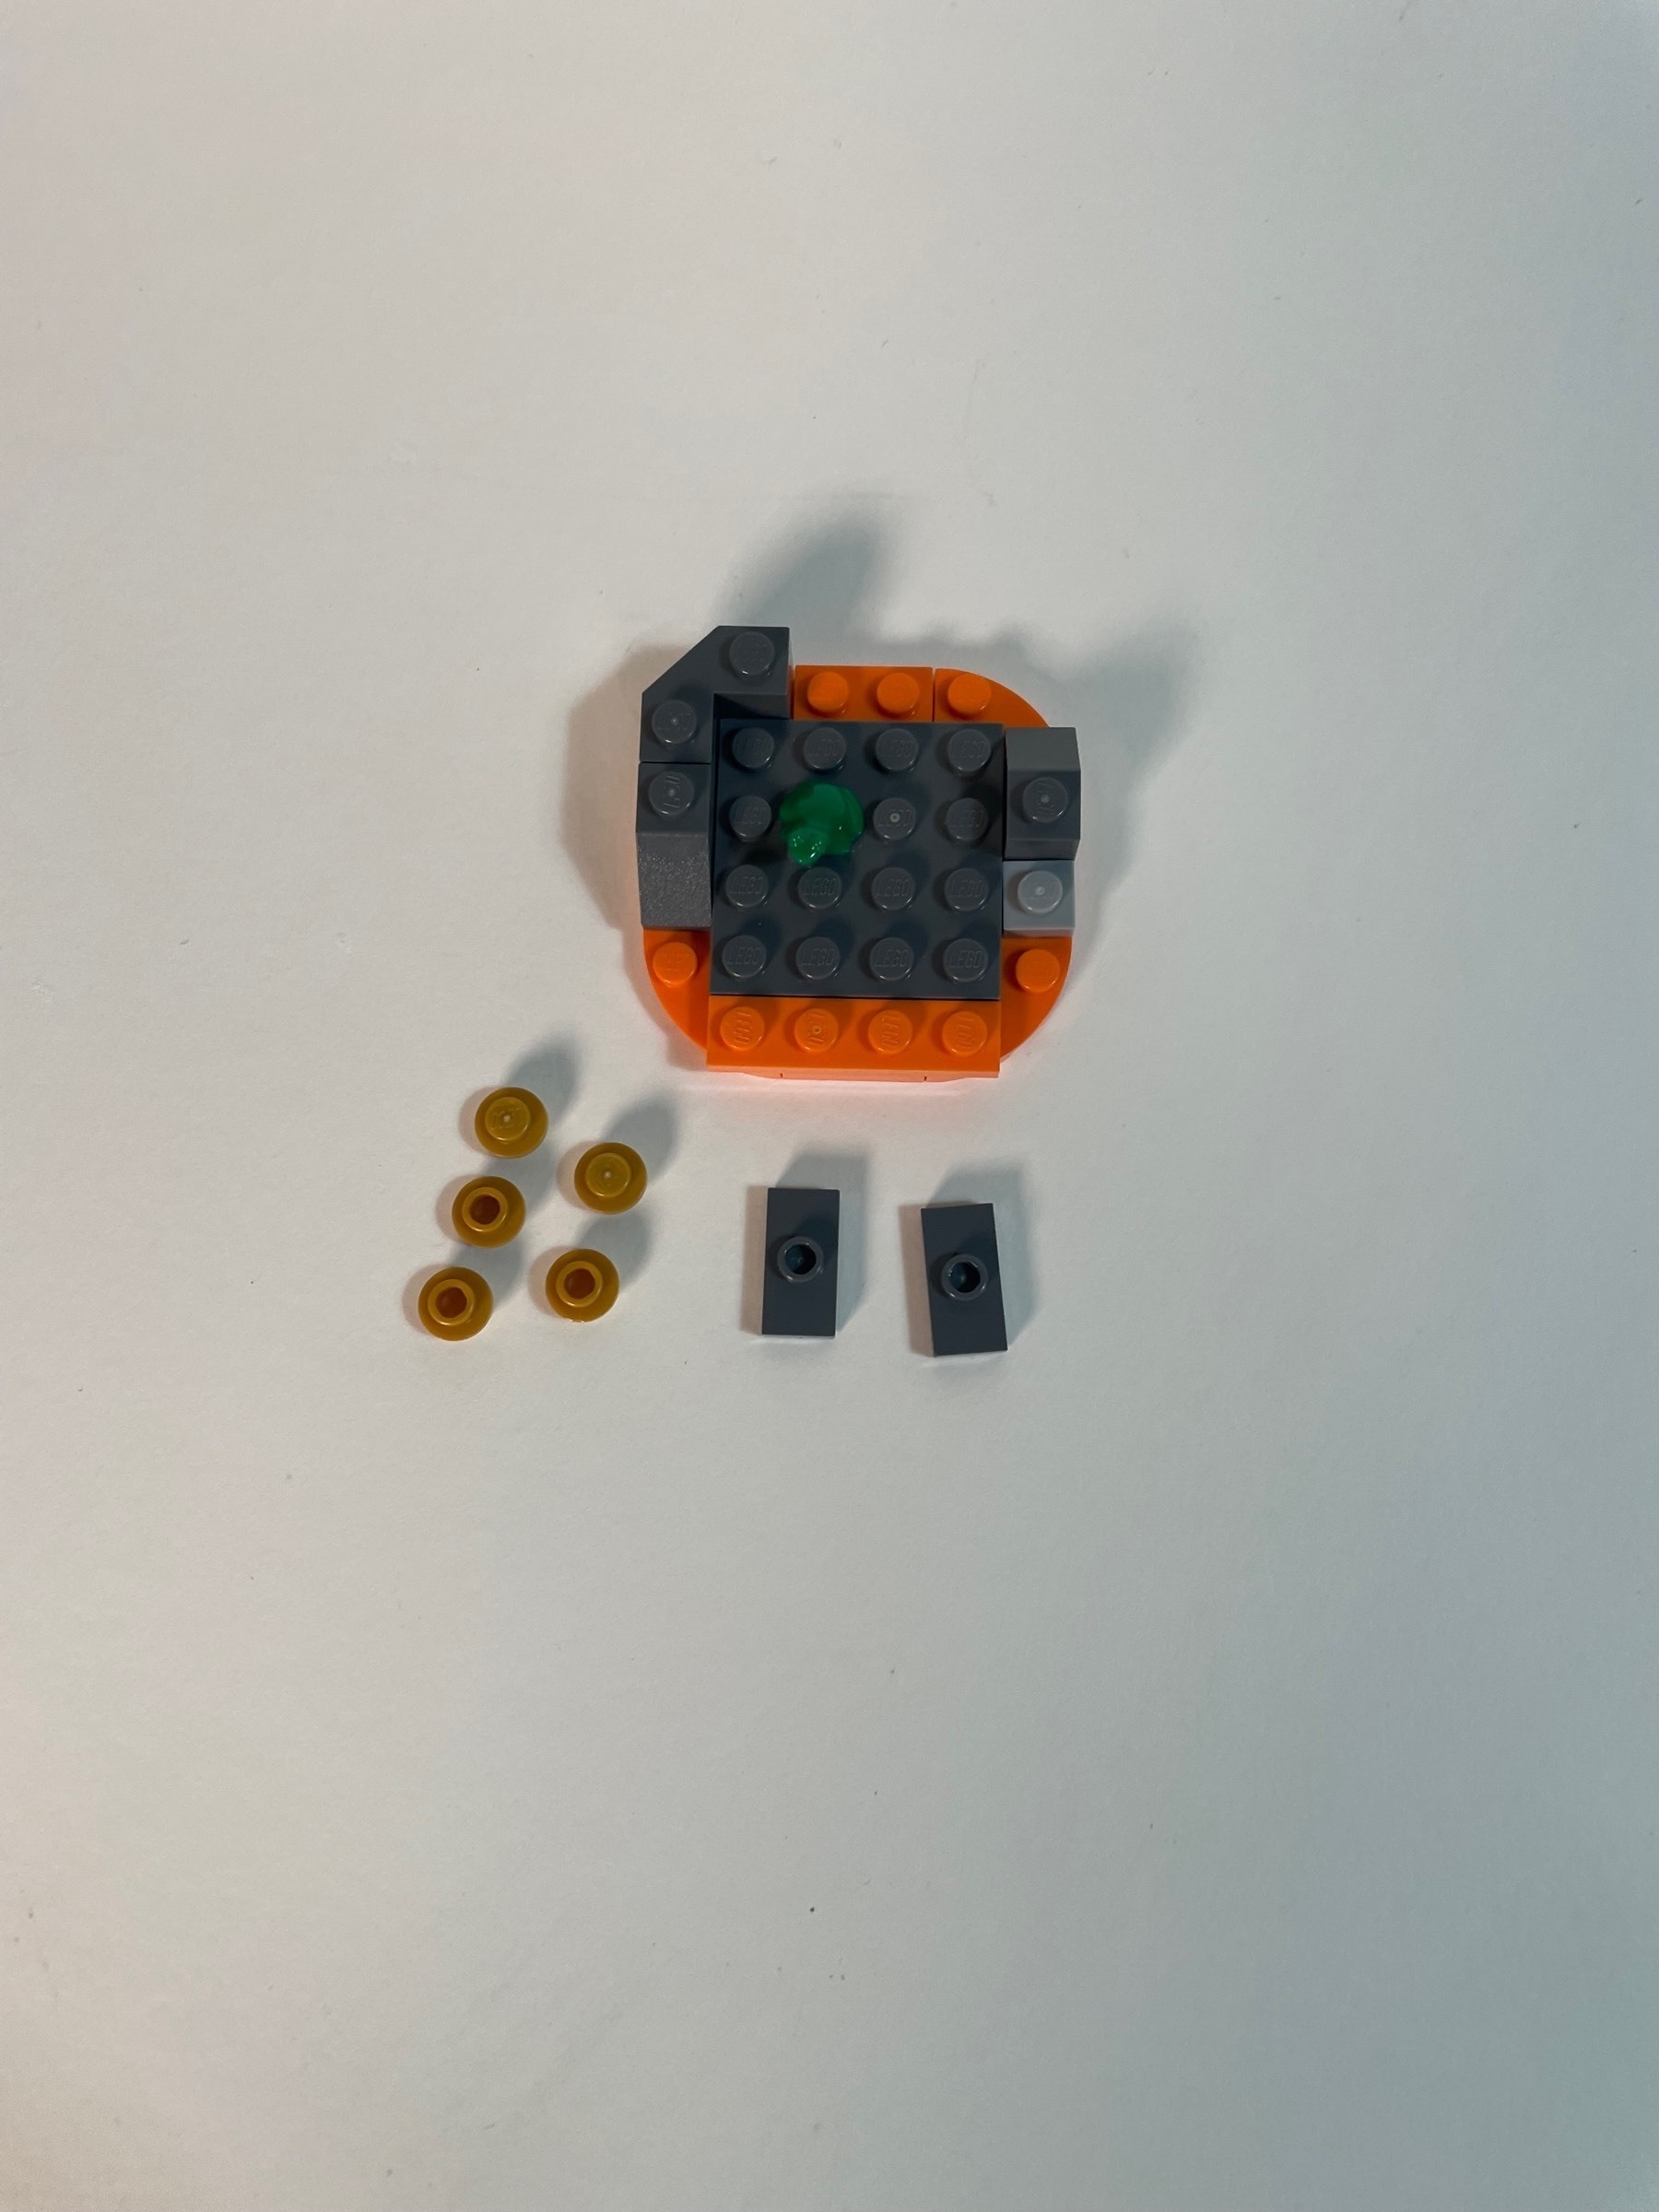
Continue on the colorful stone.
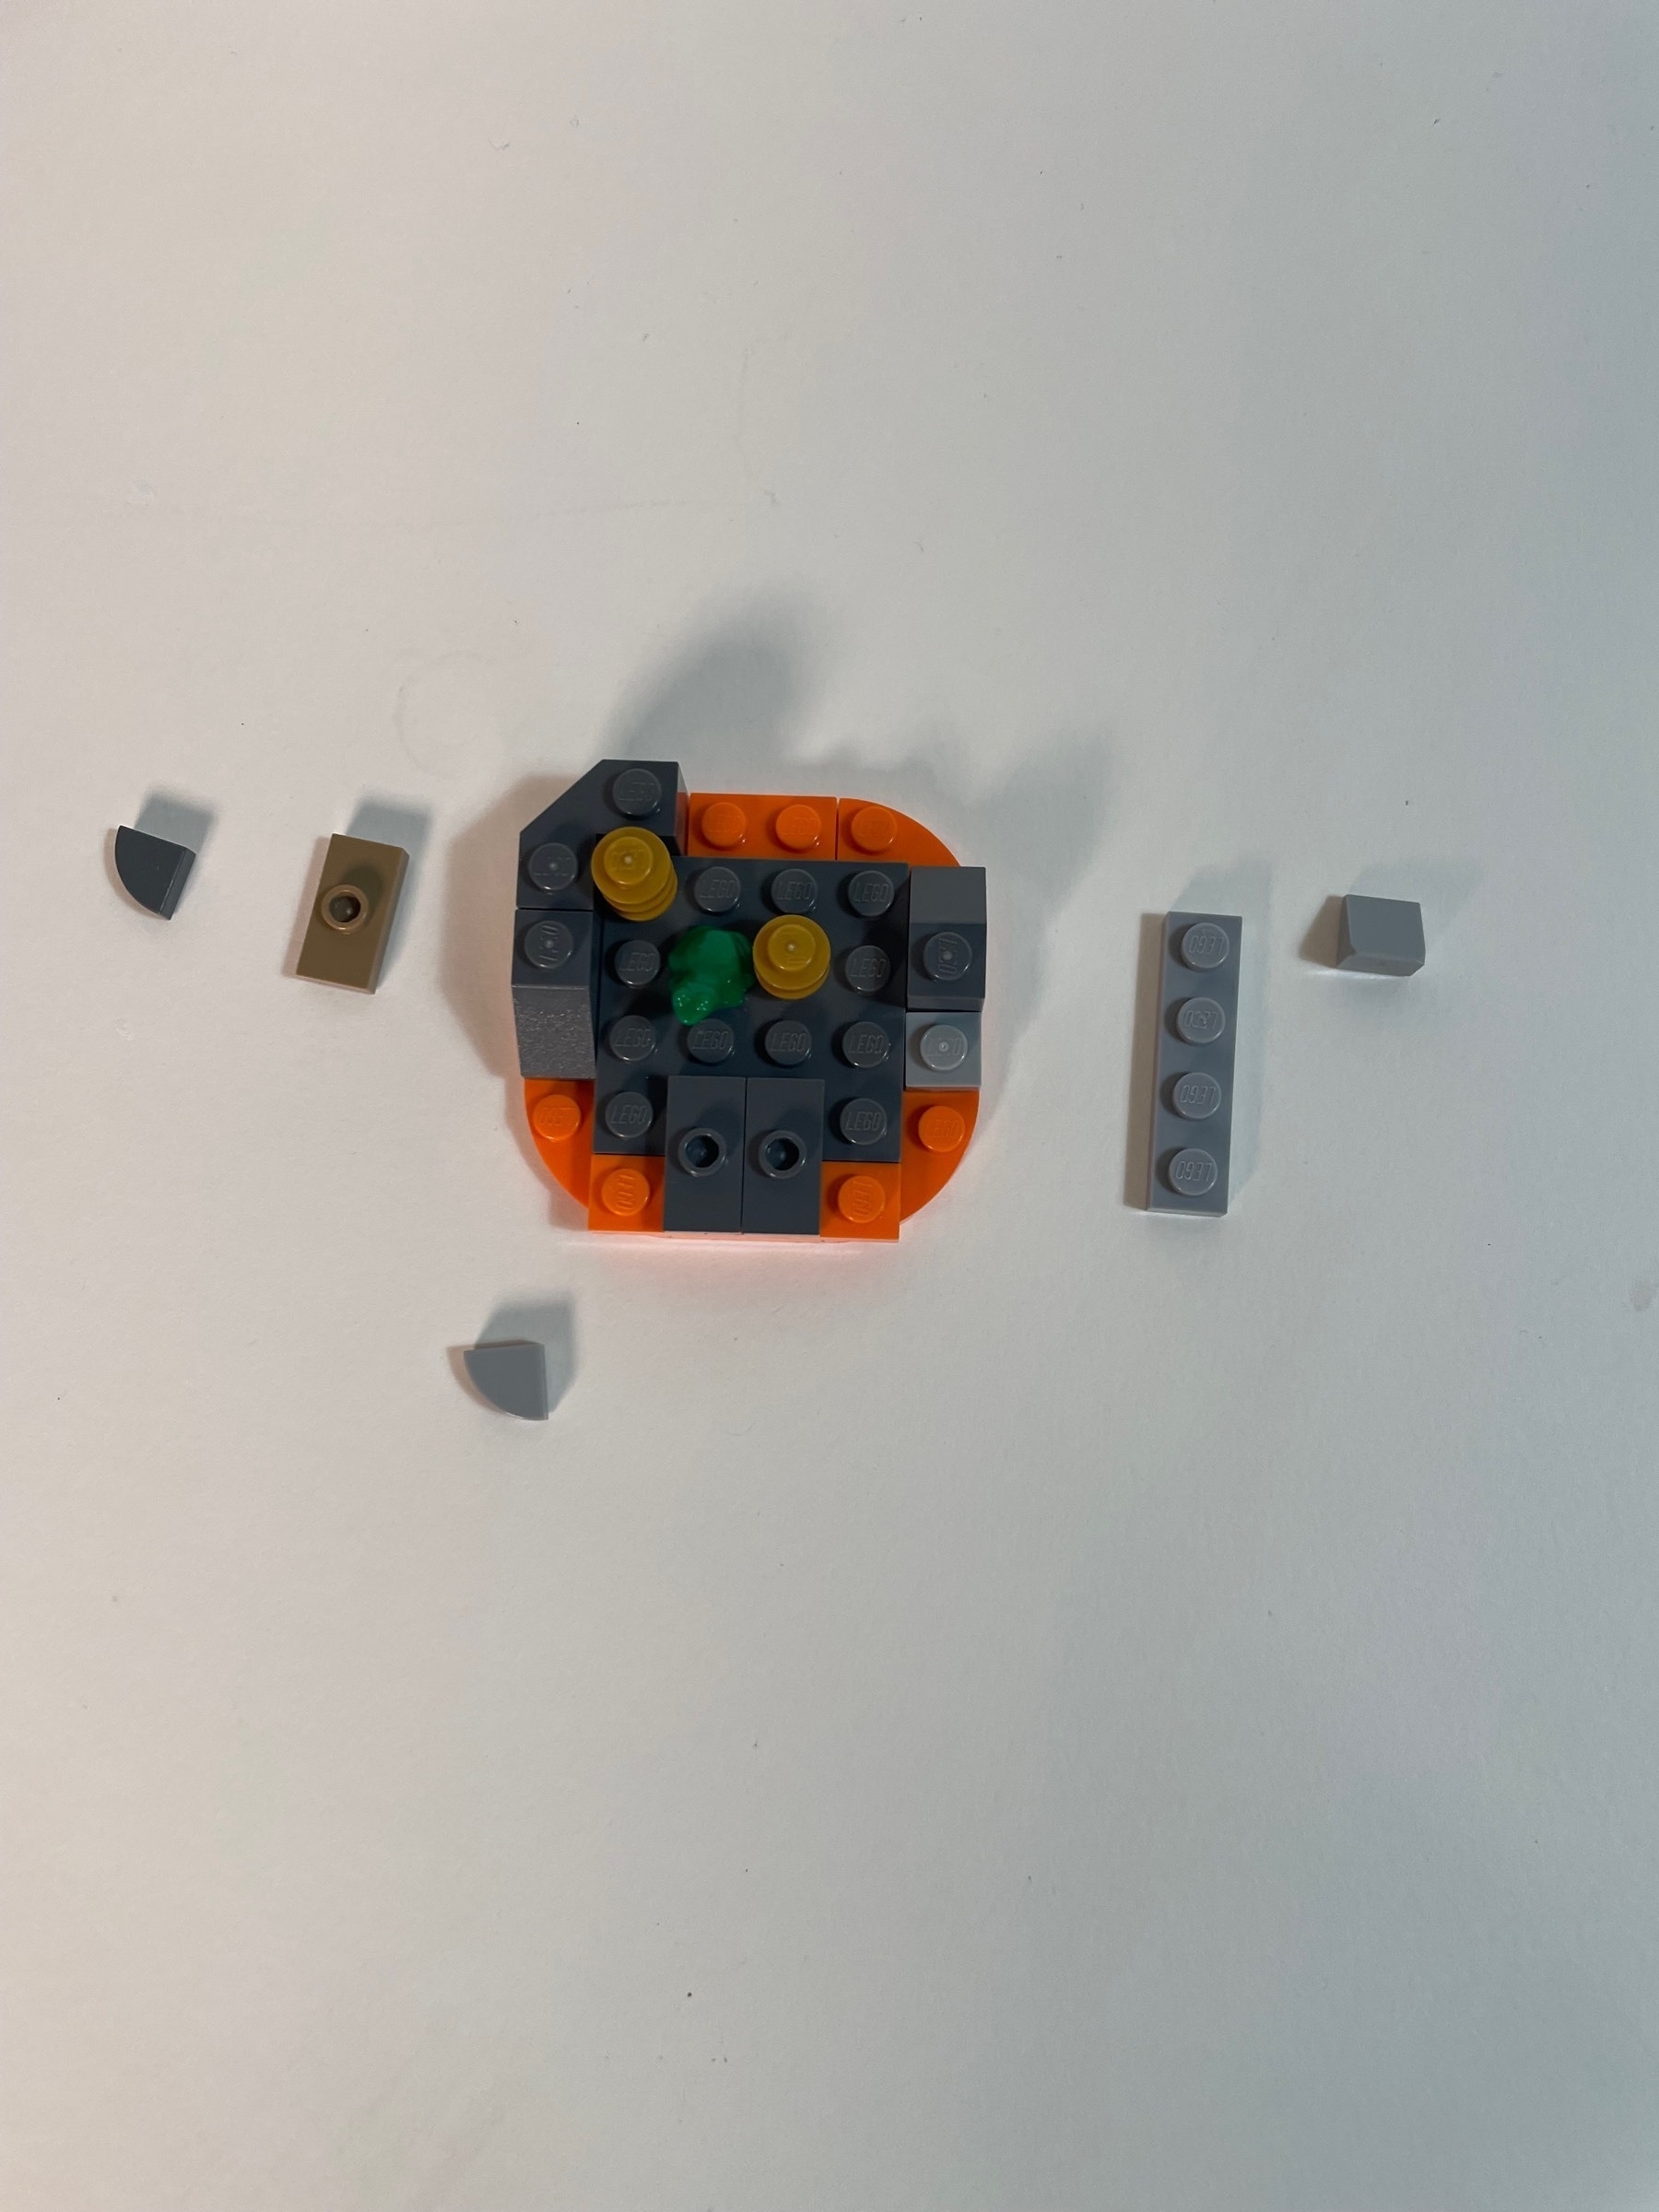
This hinge is important later.
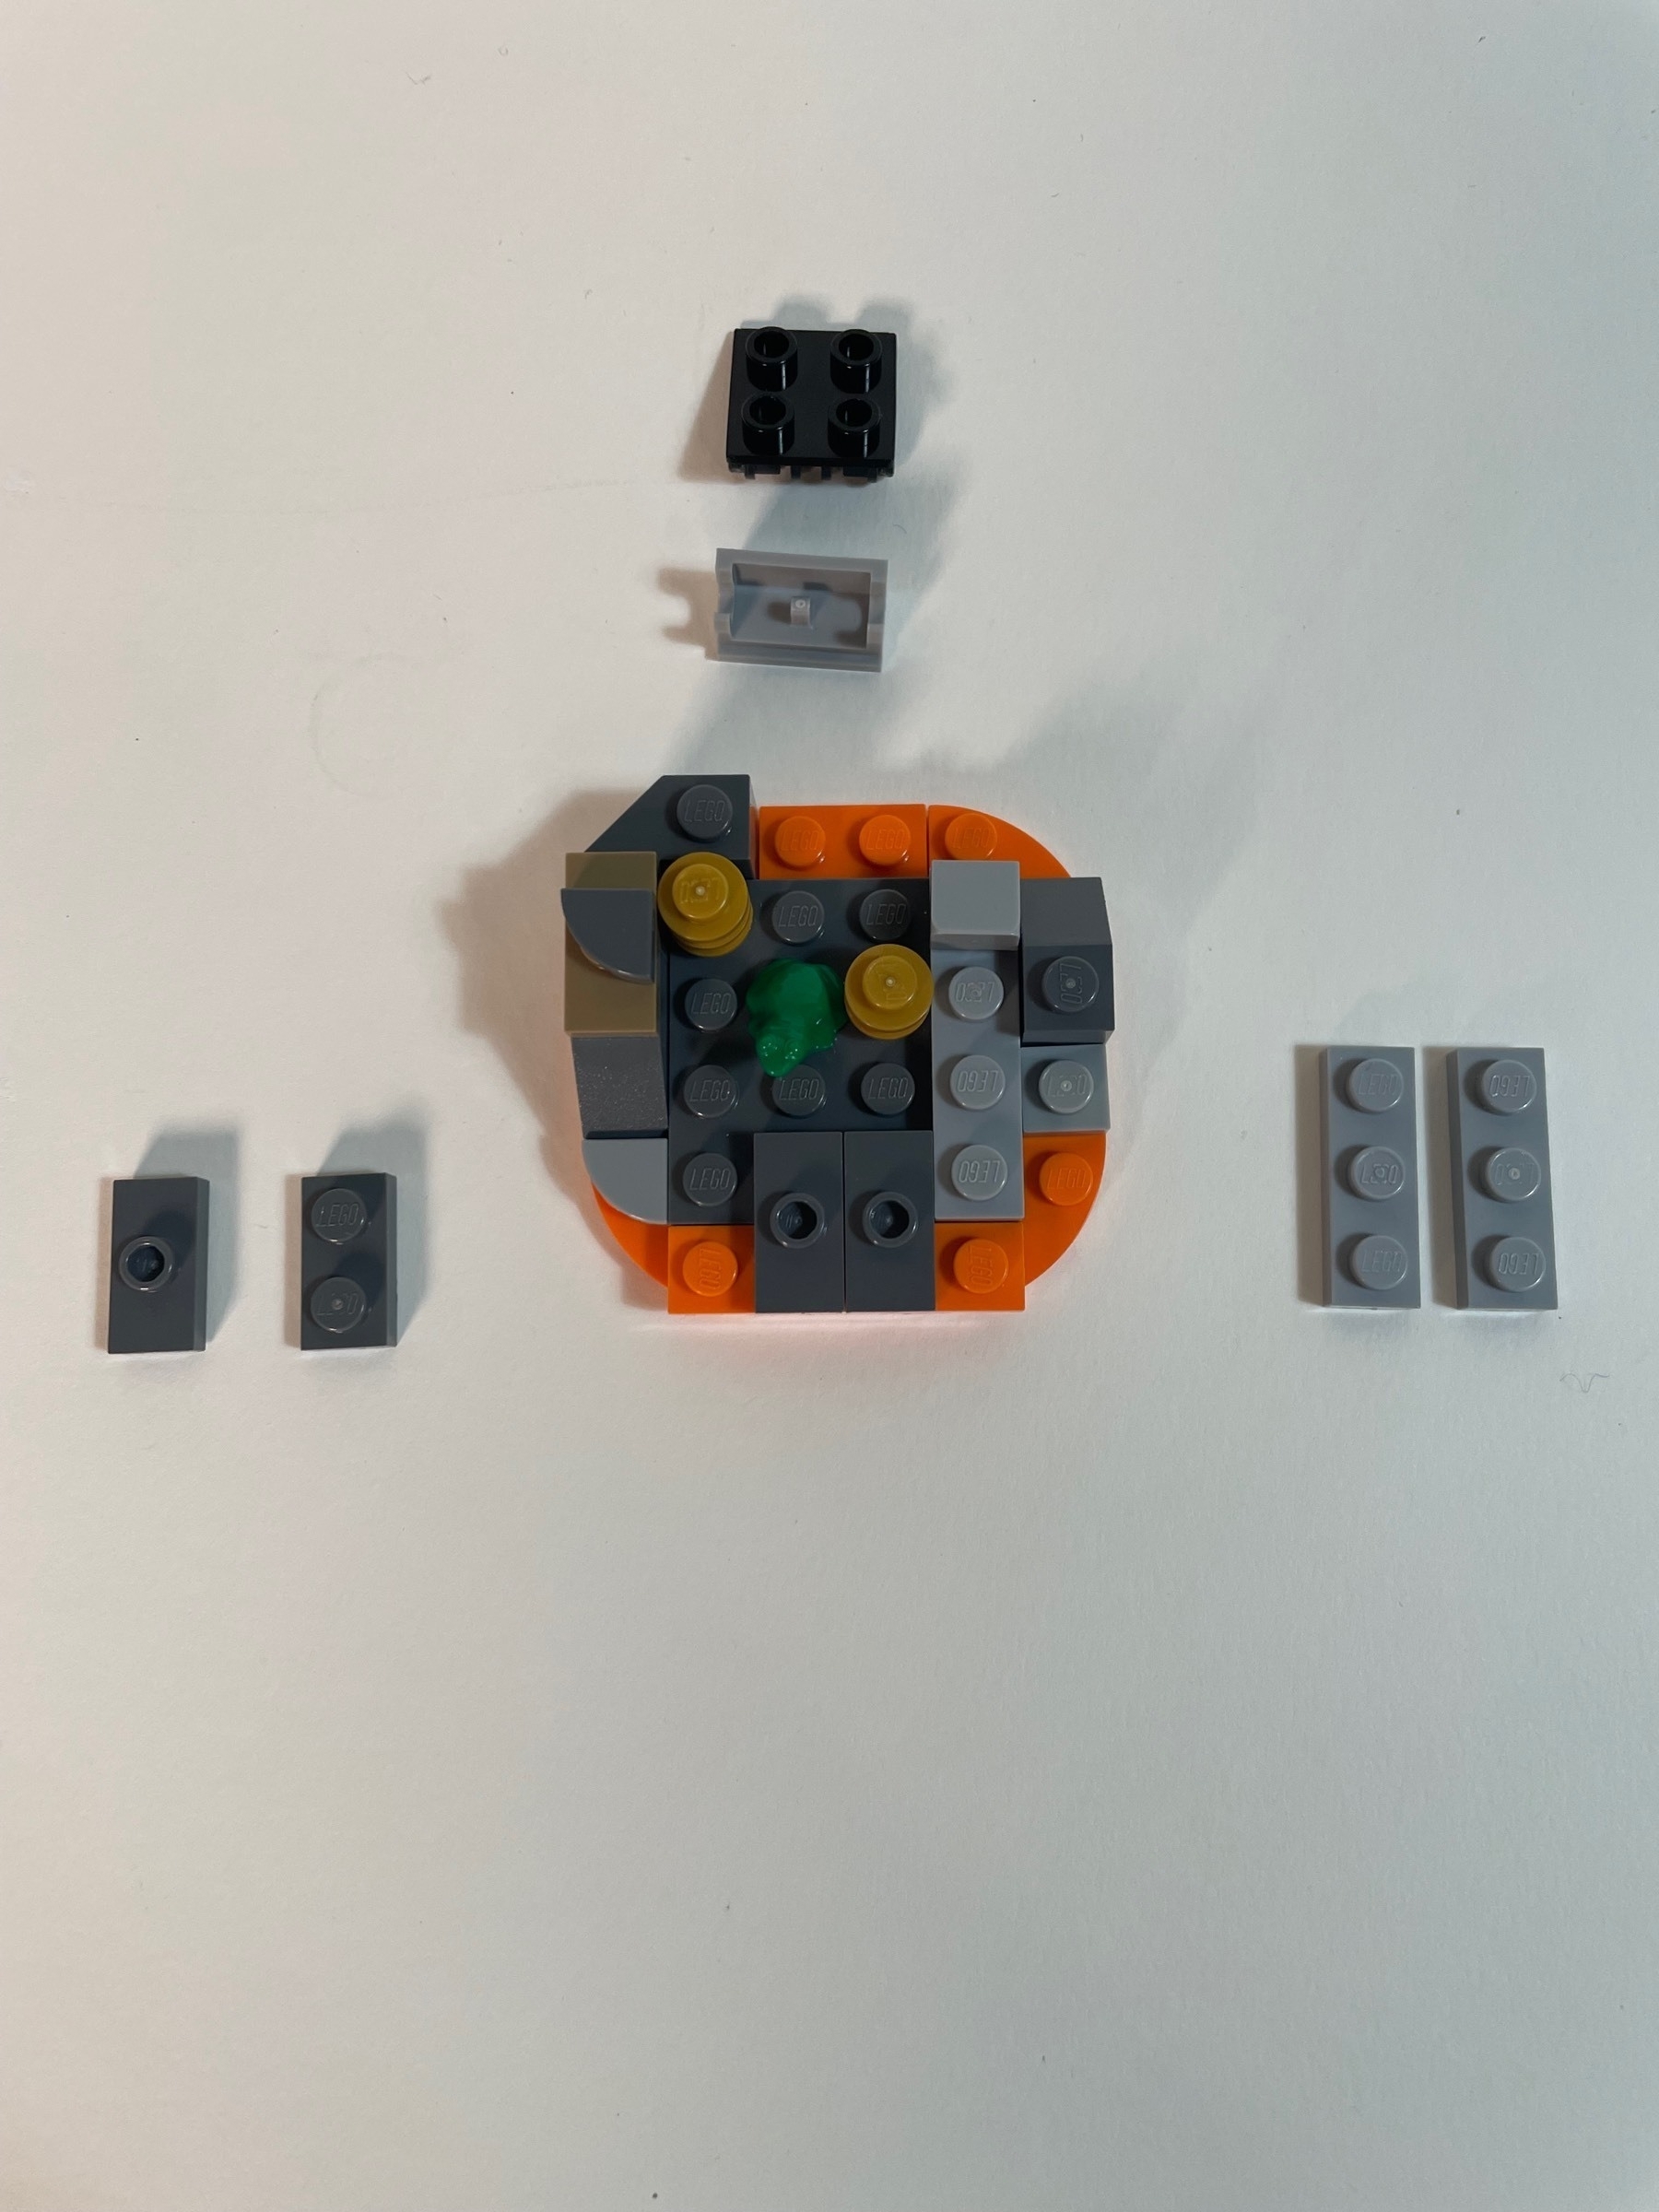
Another important hinge. What is this, some kind of tilted surface?
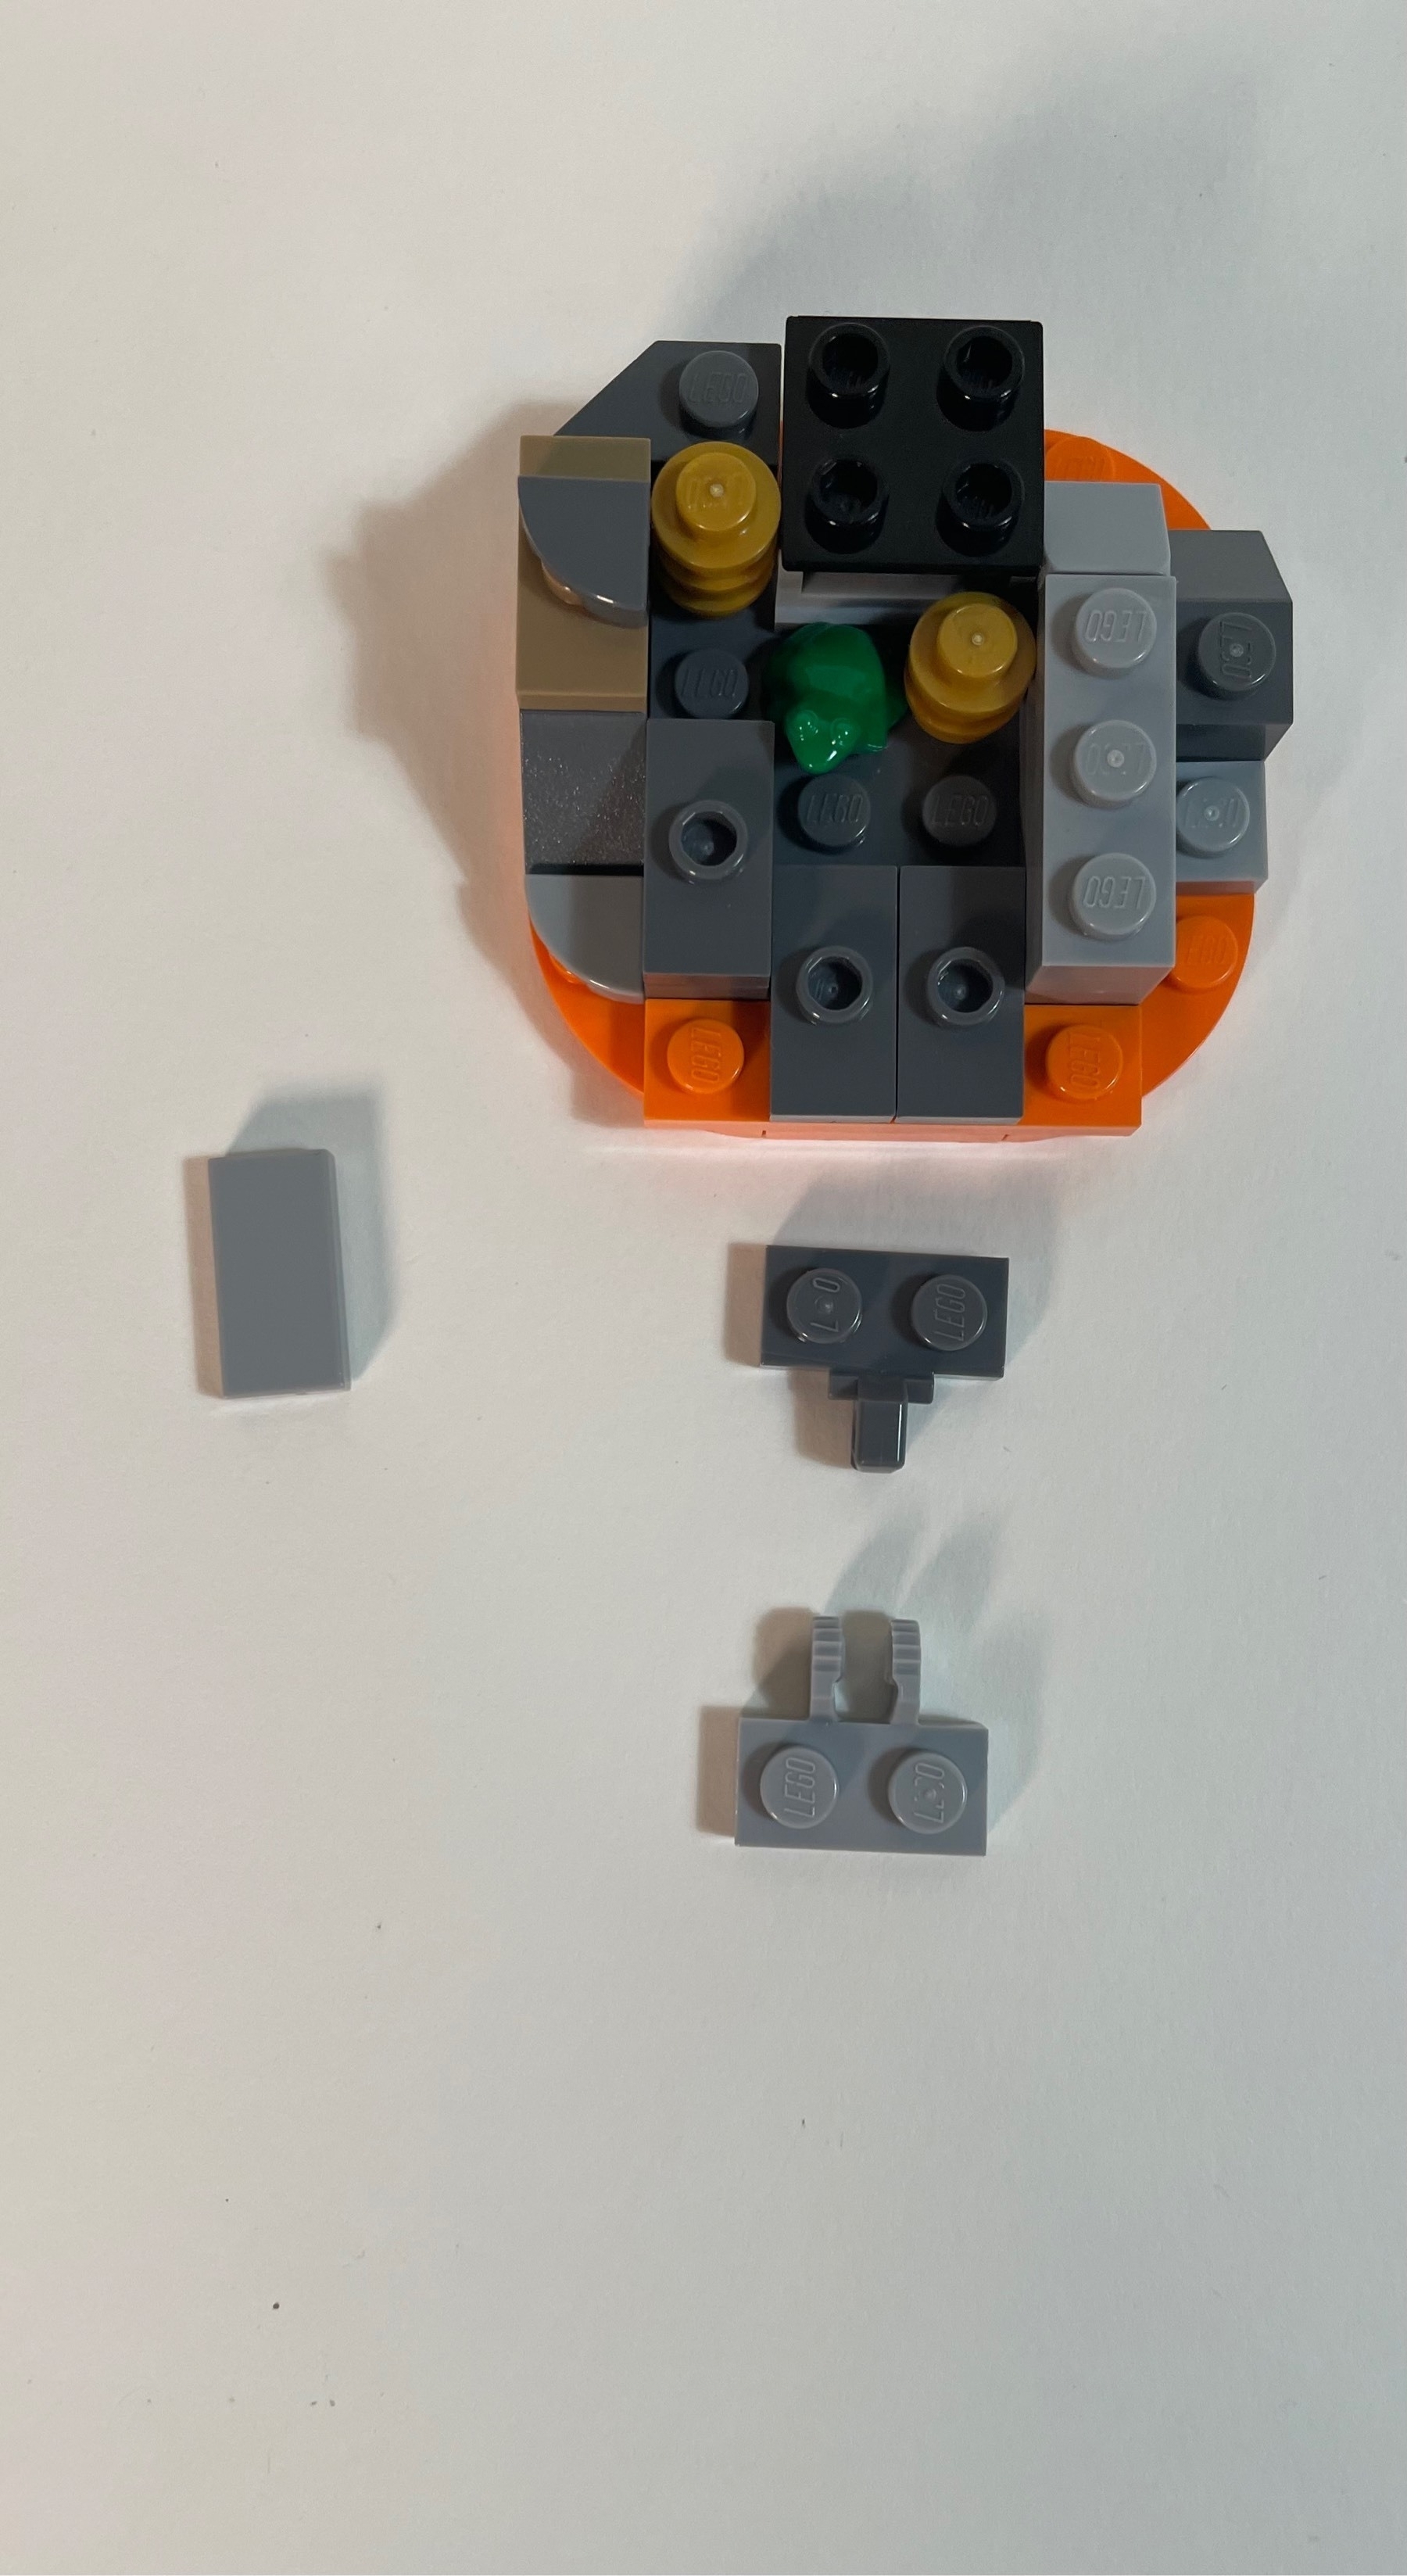
This rock hides the frog.
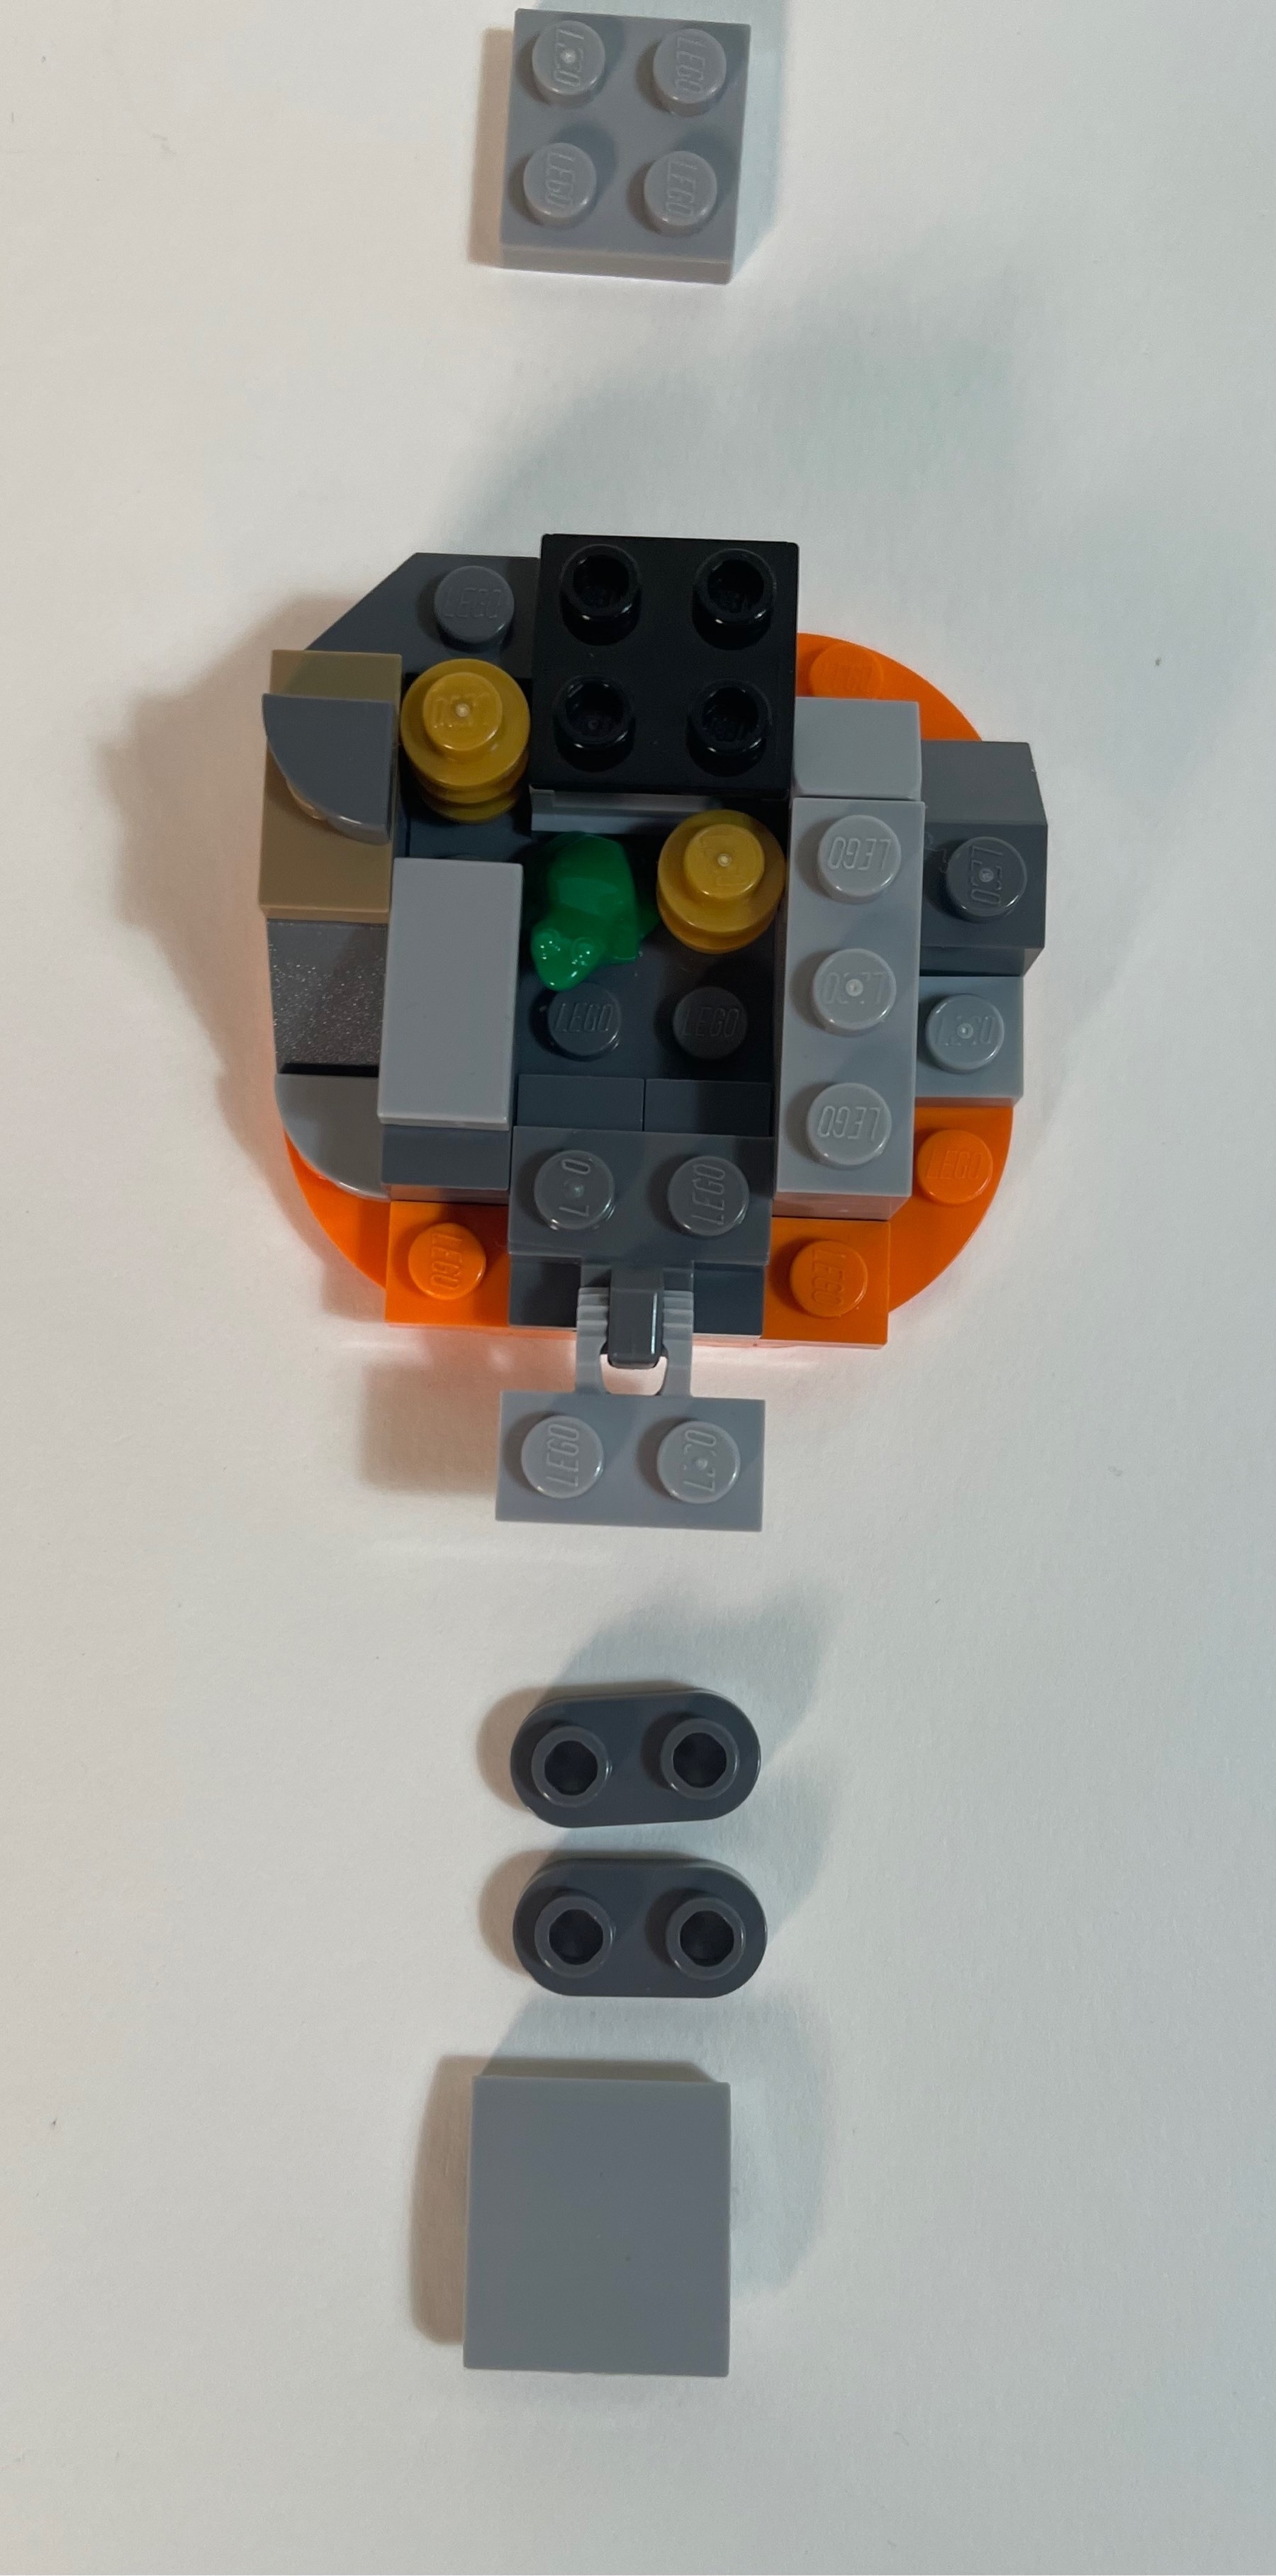
More than half way there!
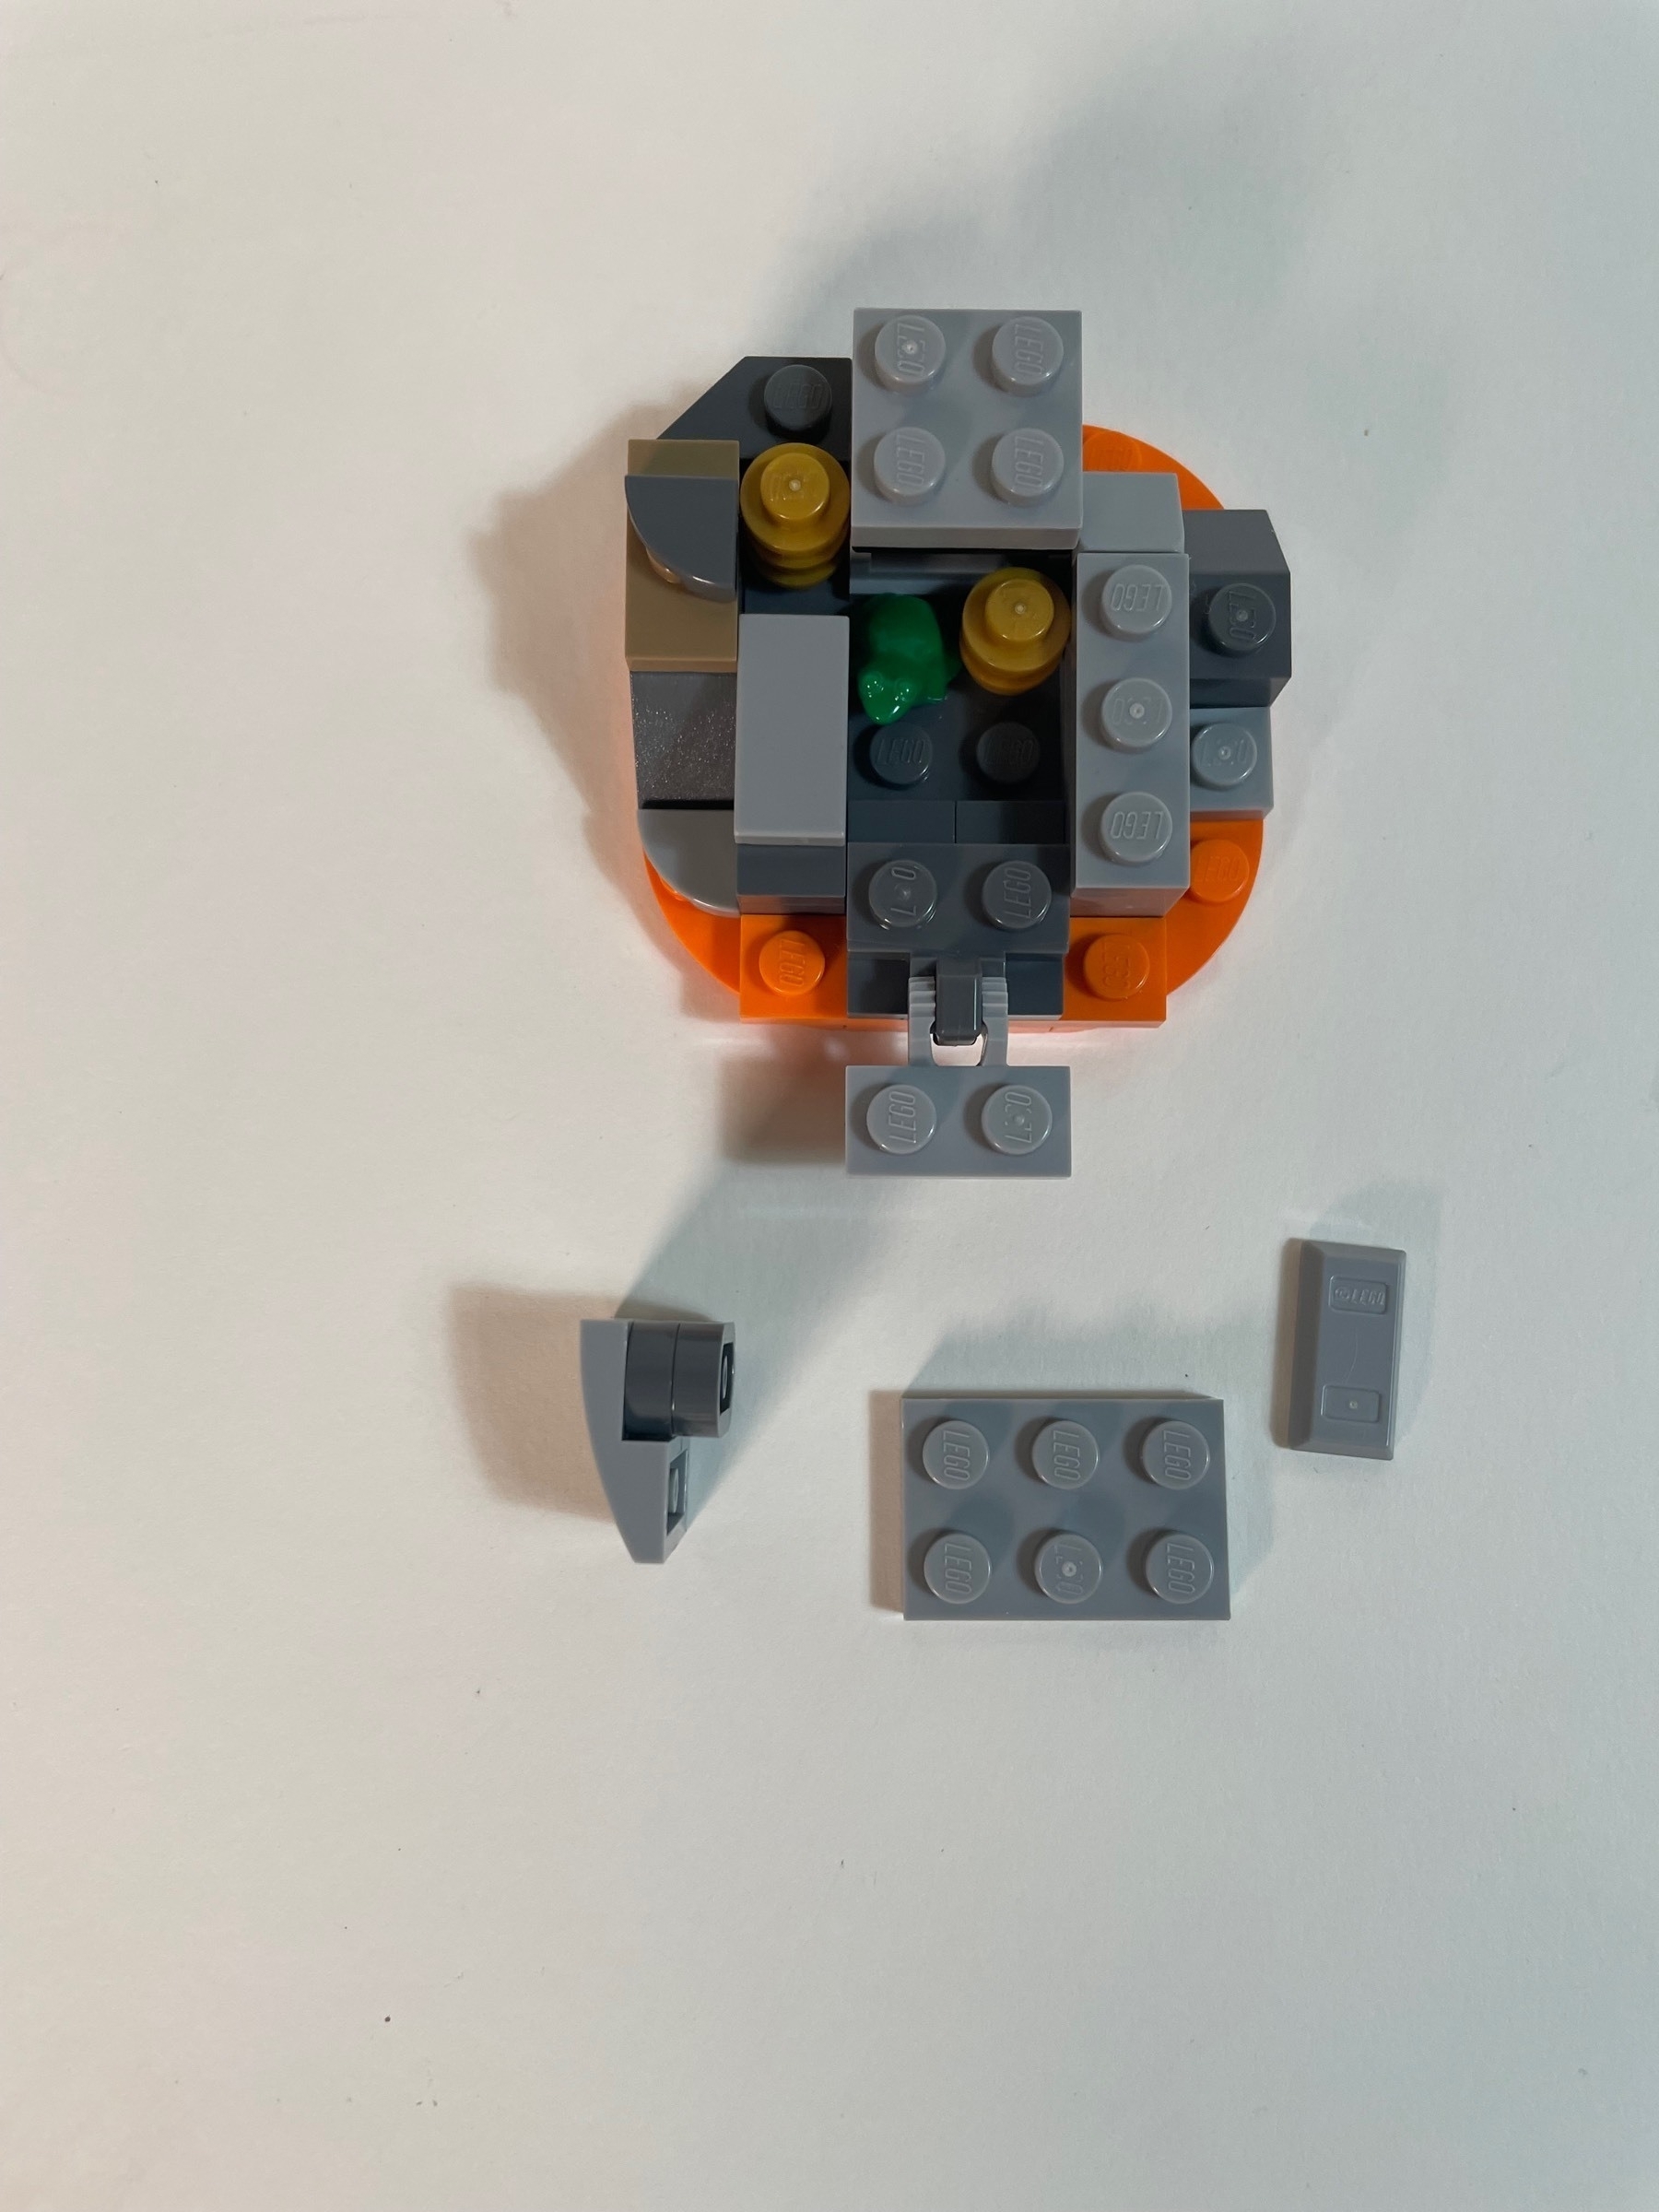
The curved tiles help even out the ground.
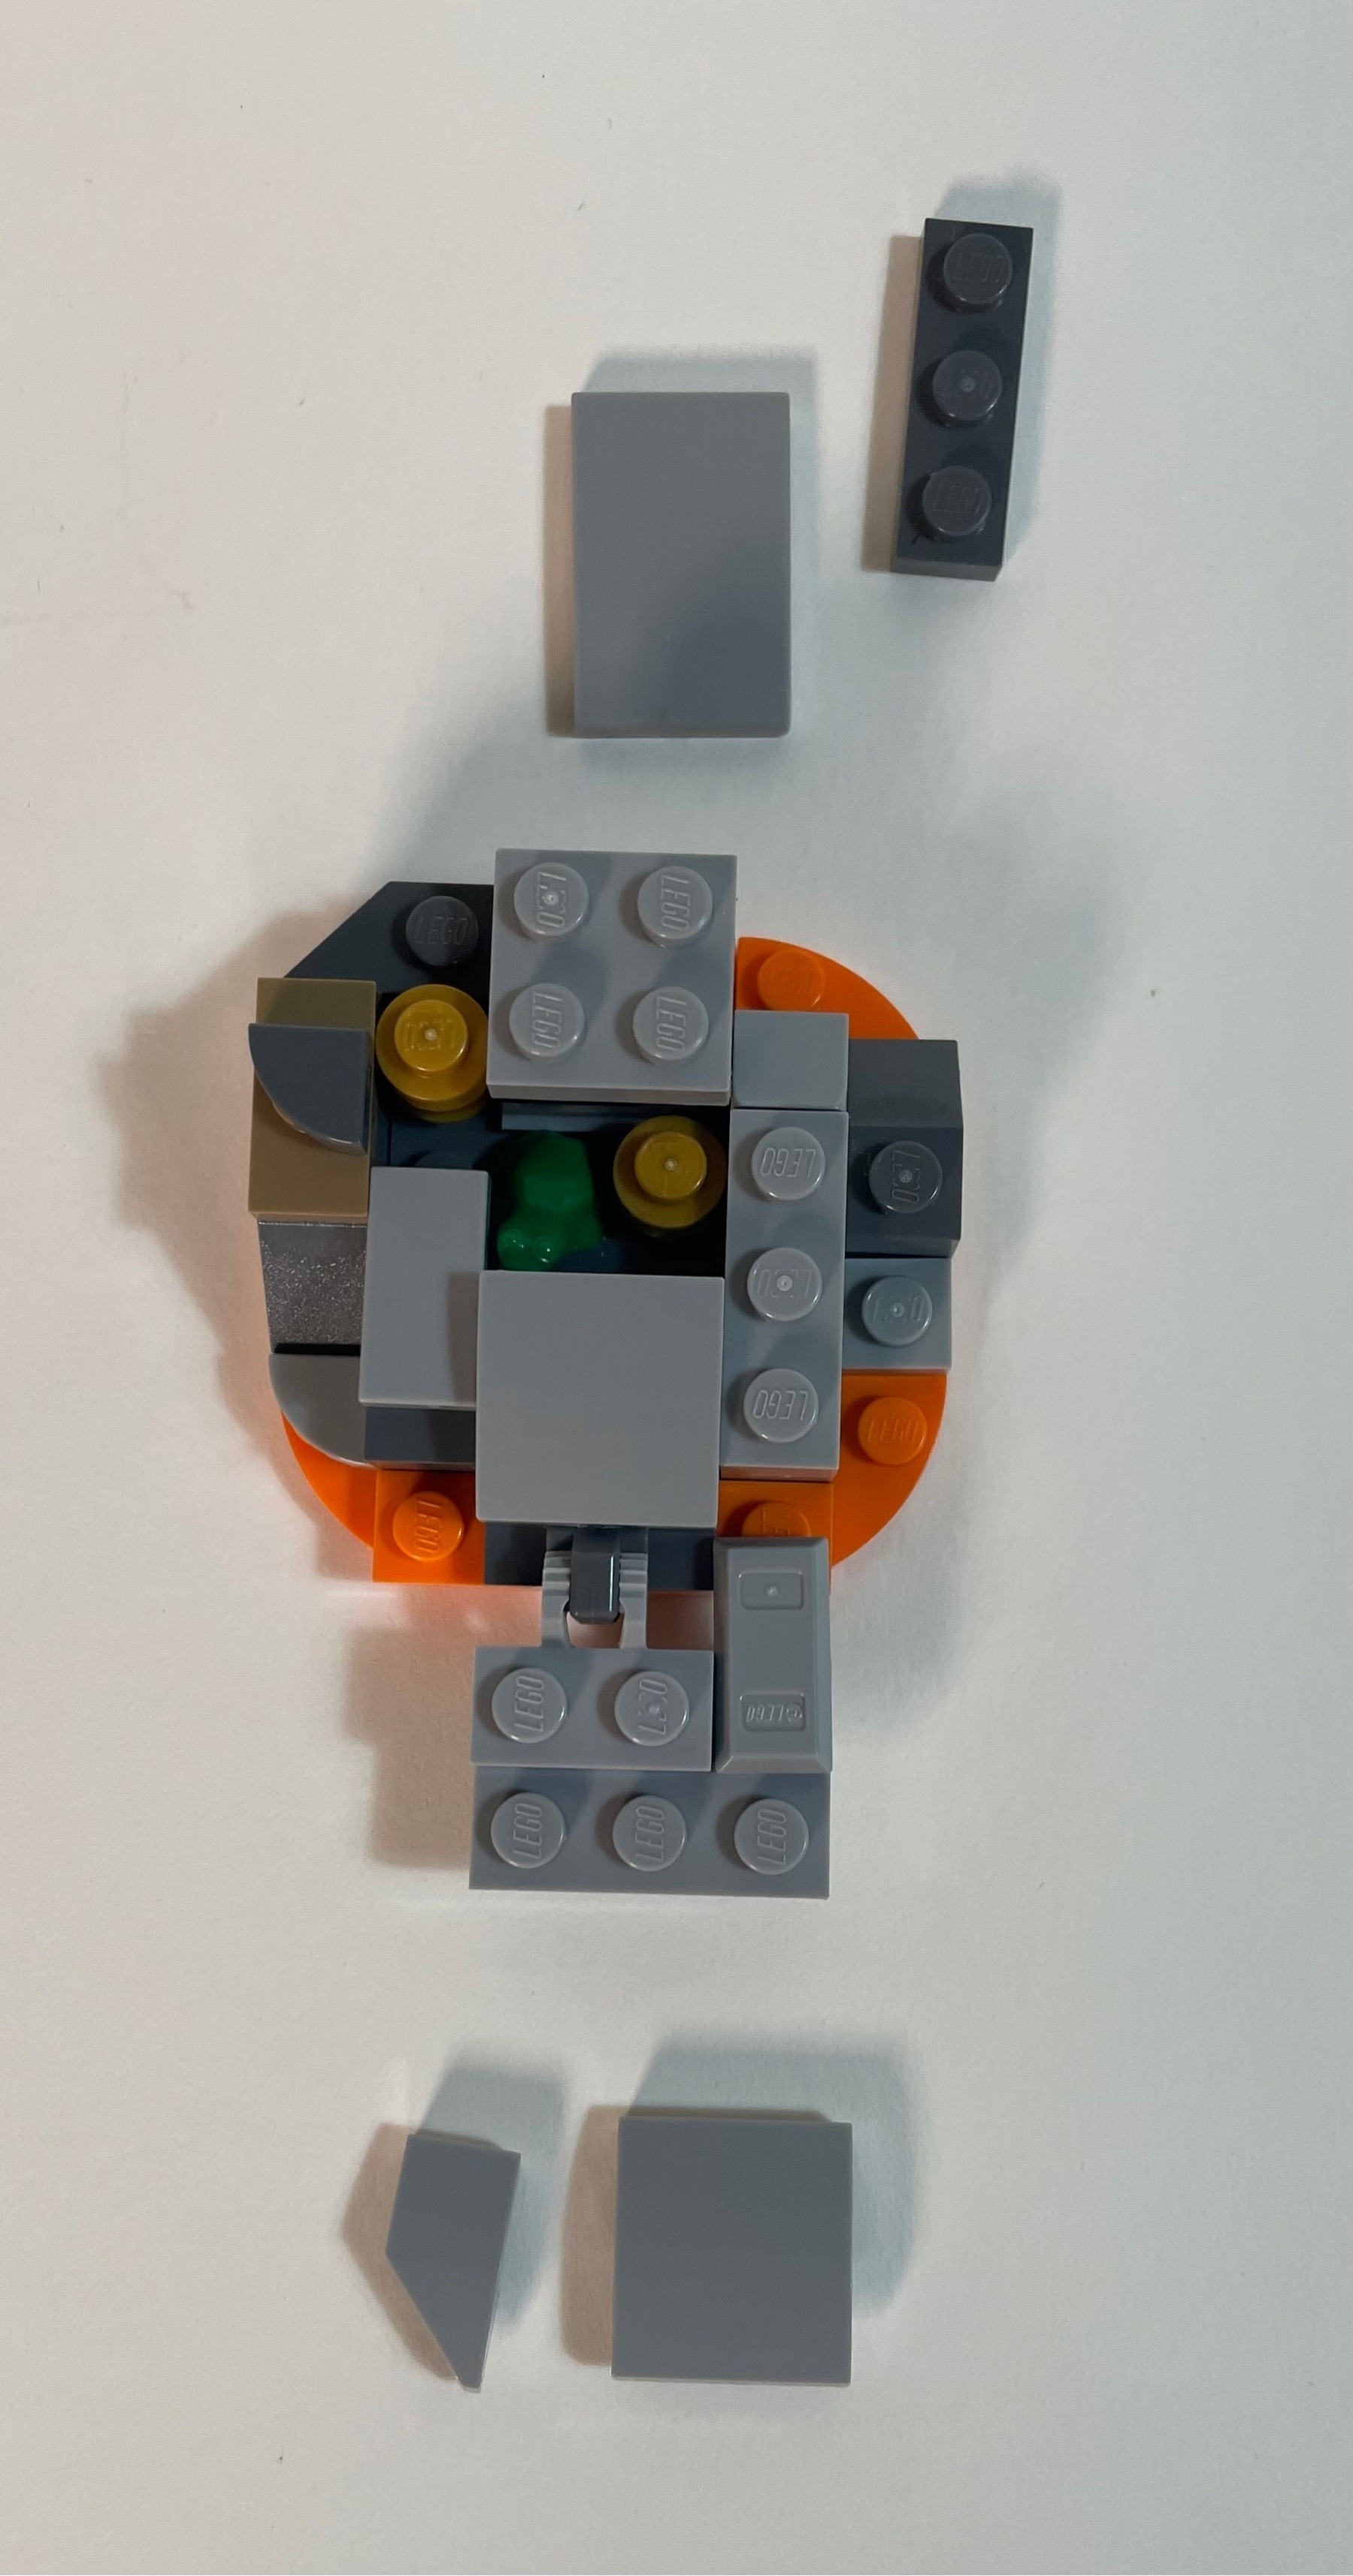
The ramp is going up.
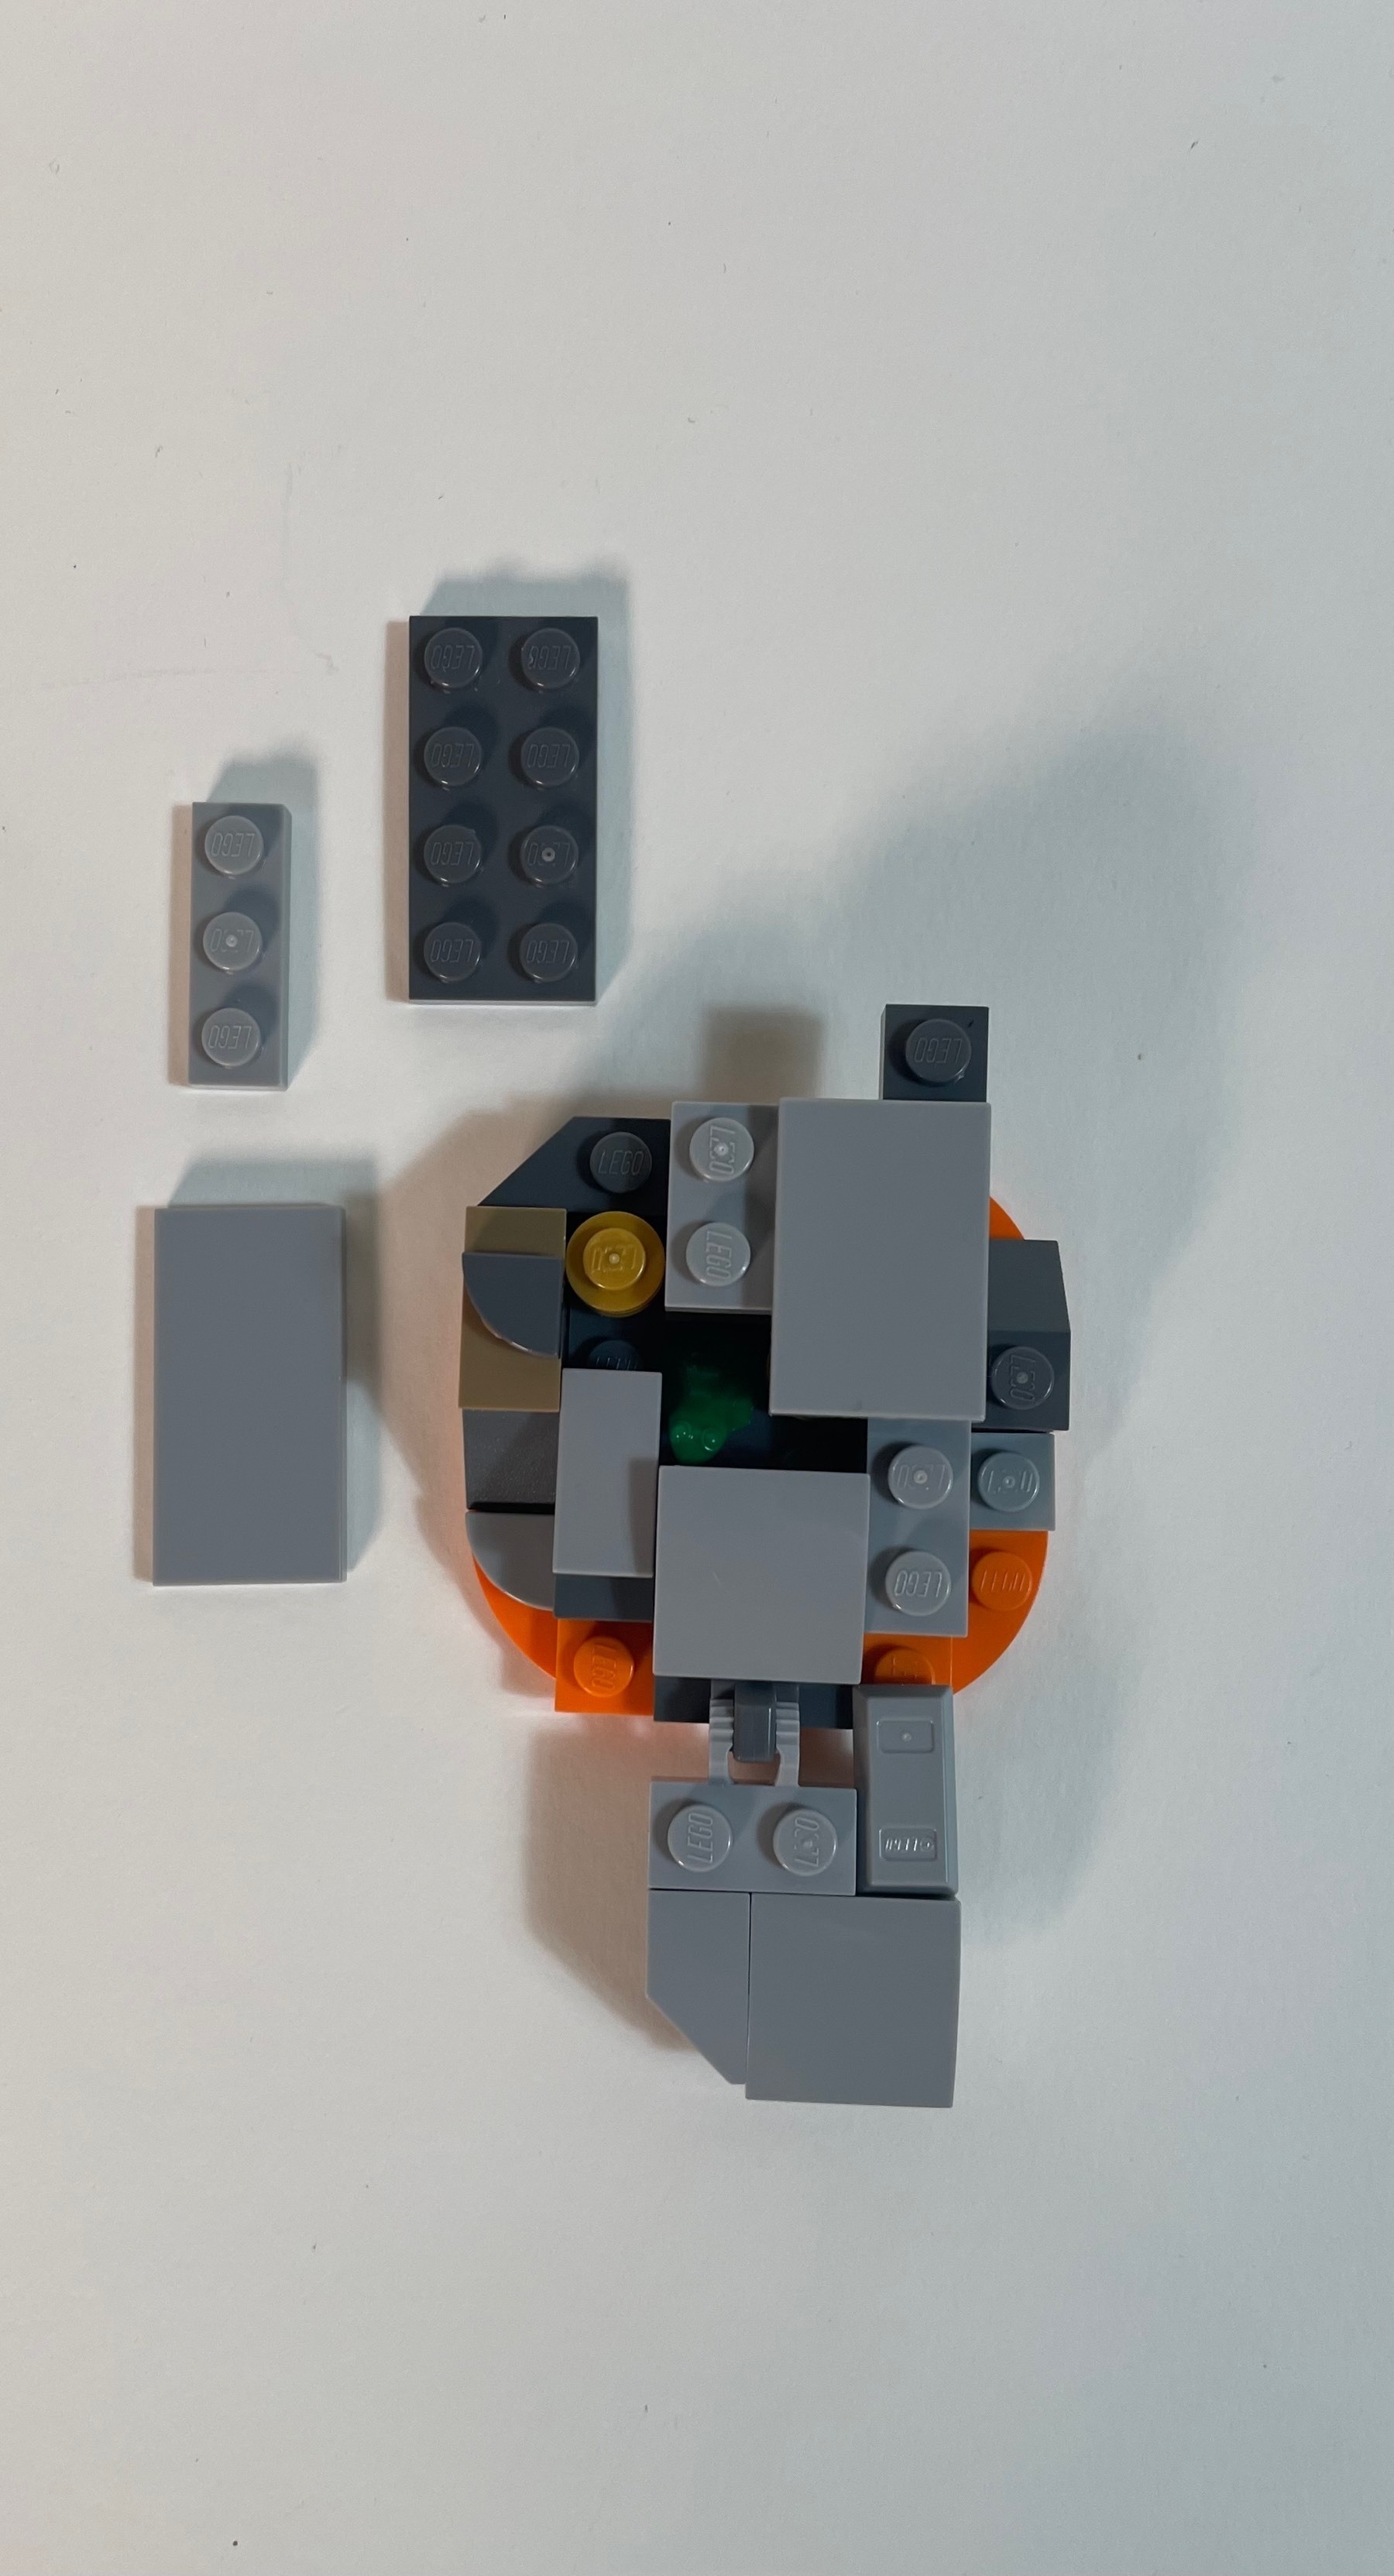
Last pieces!
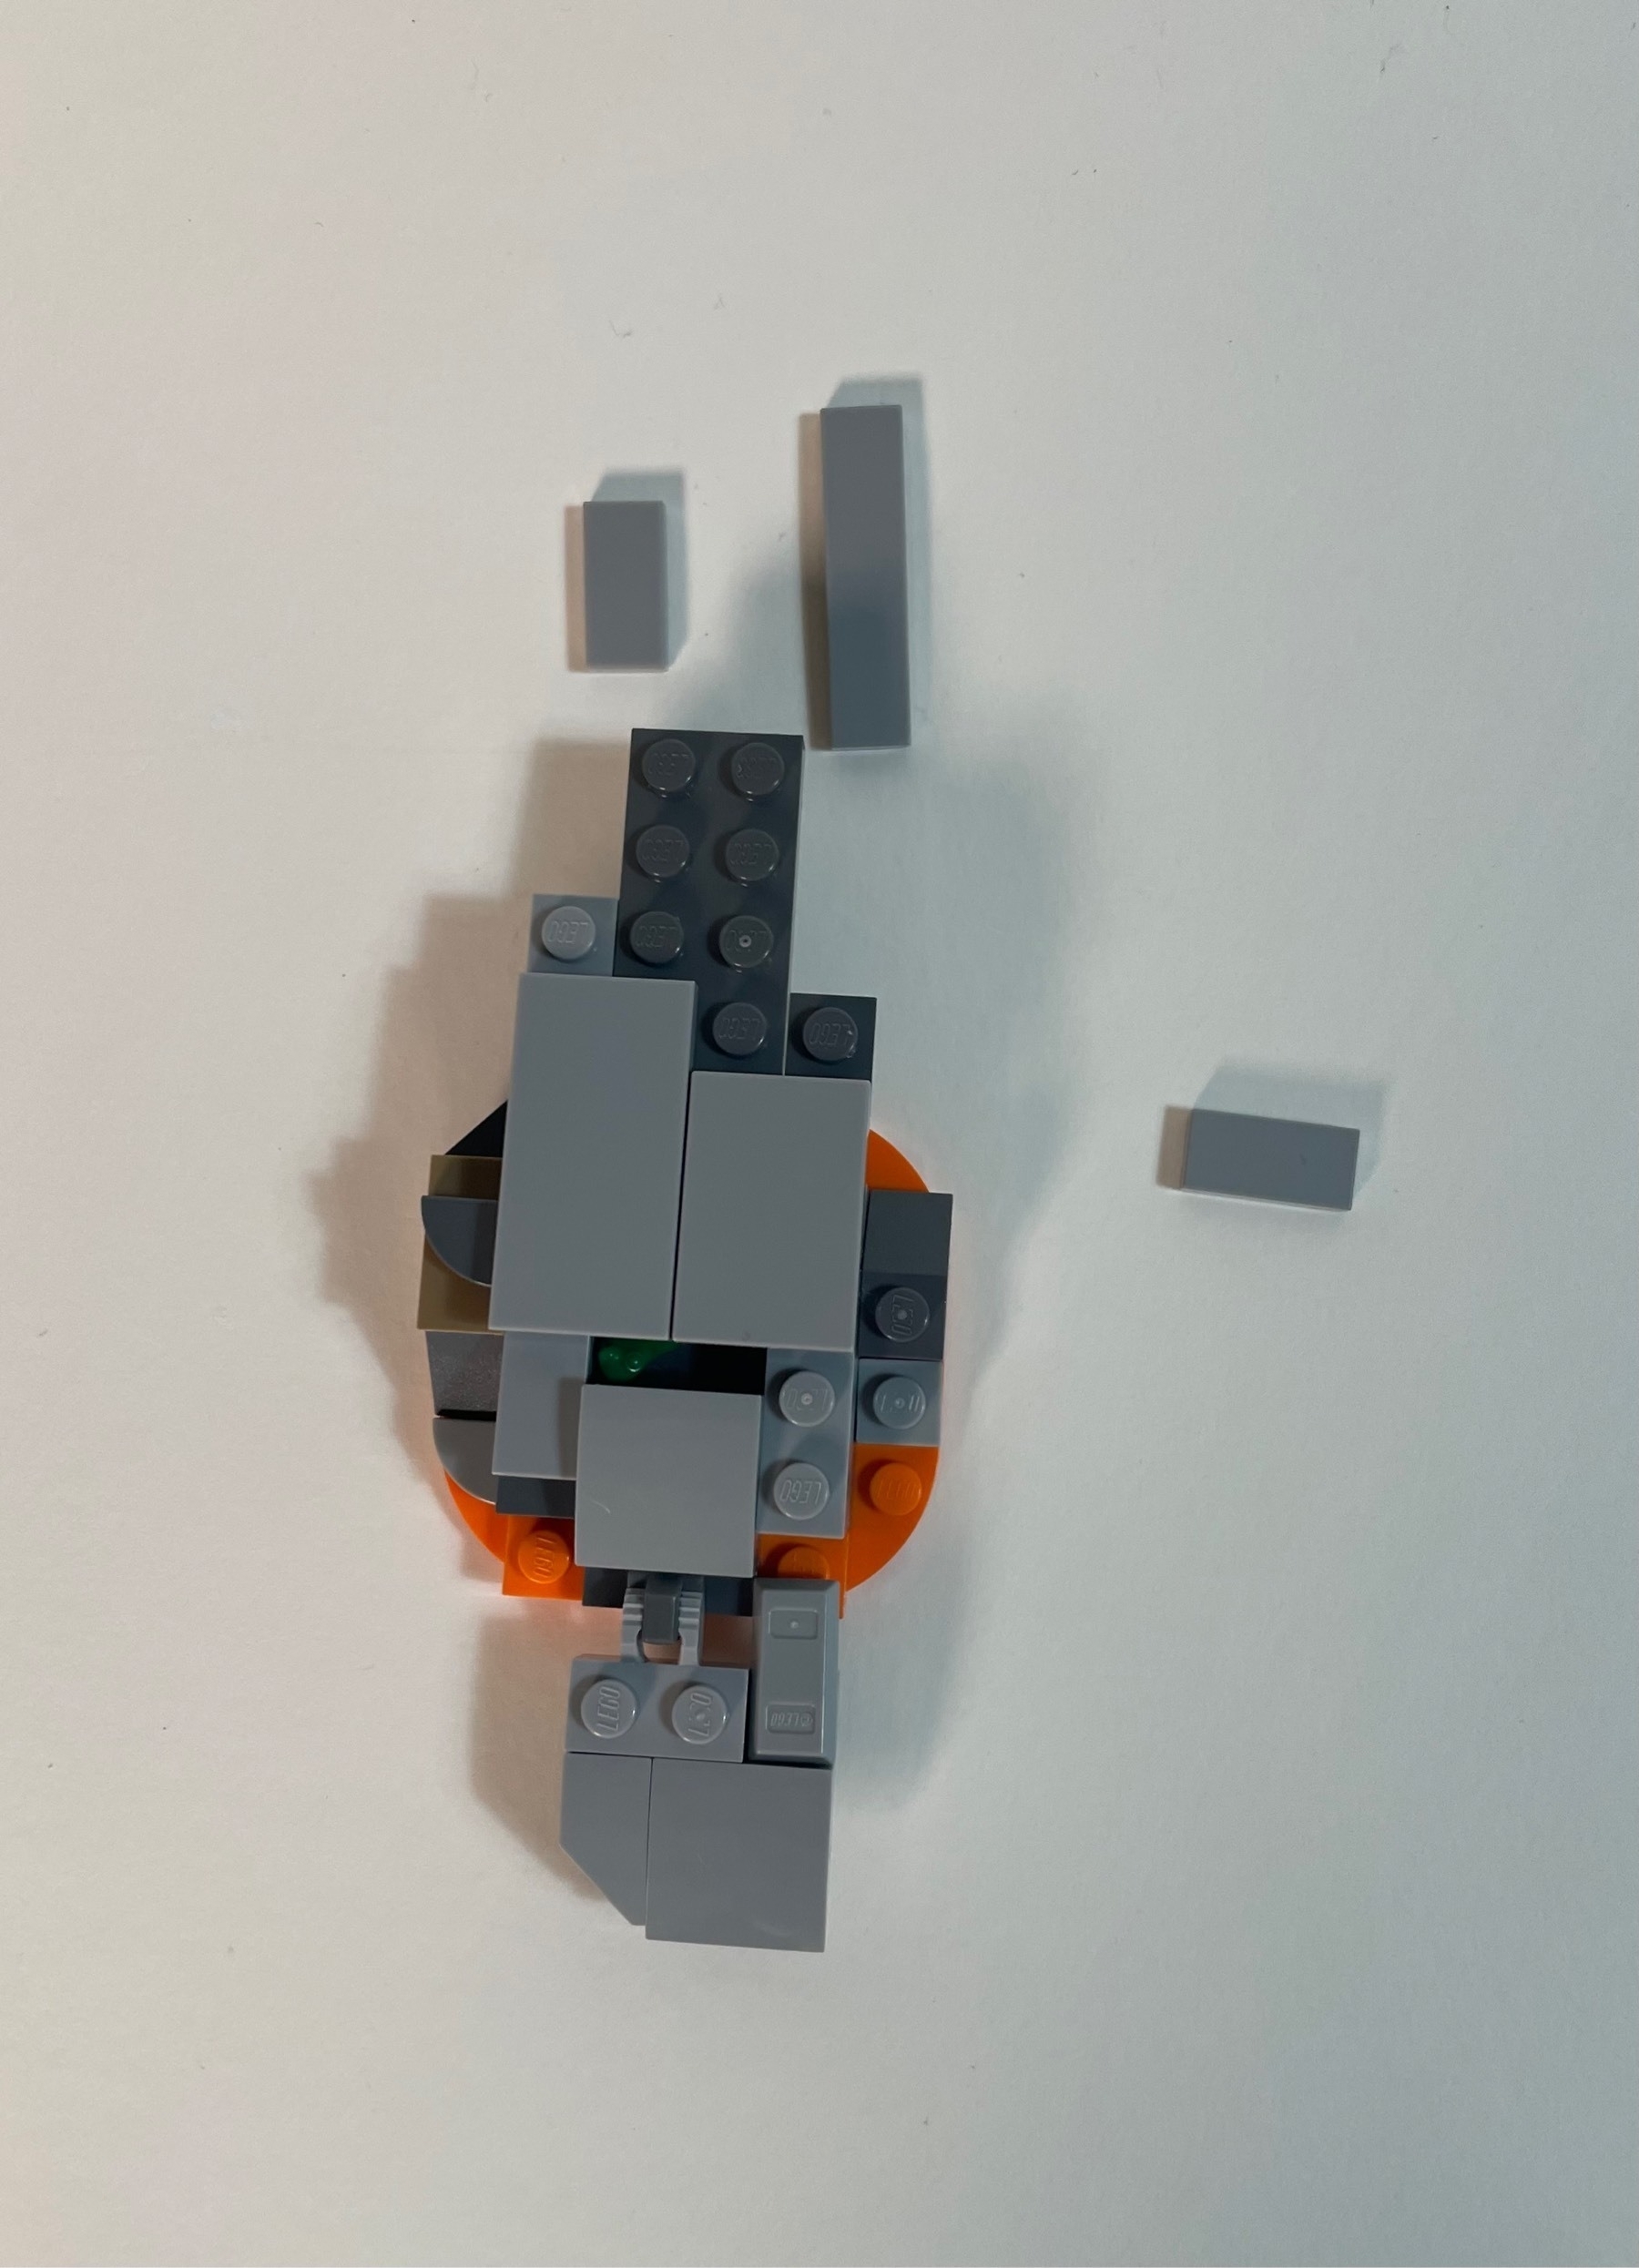
The frog can peek out from the crack in the stones.
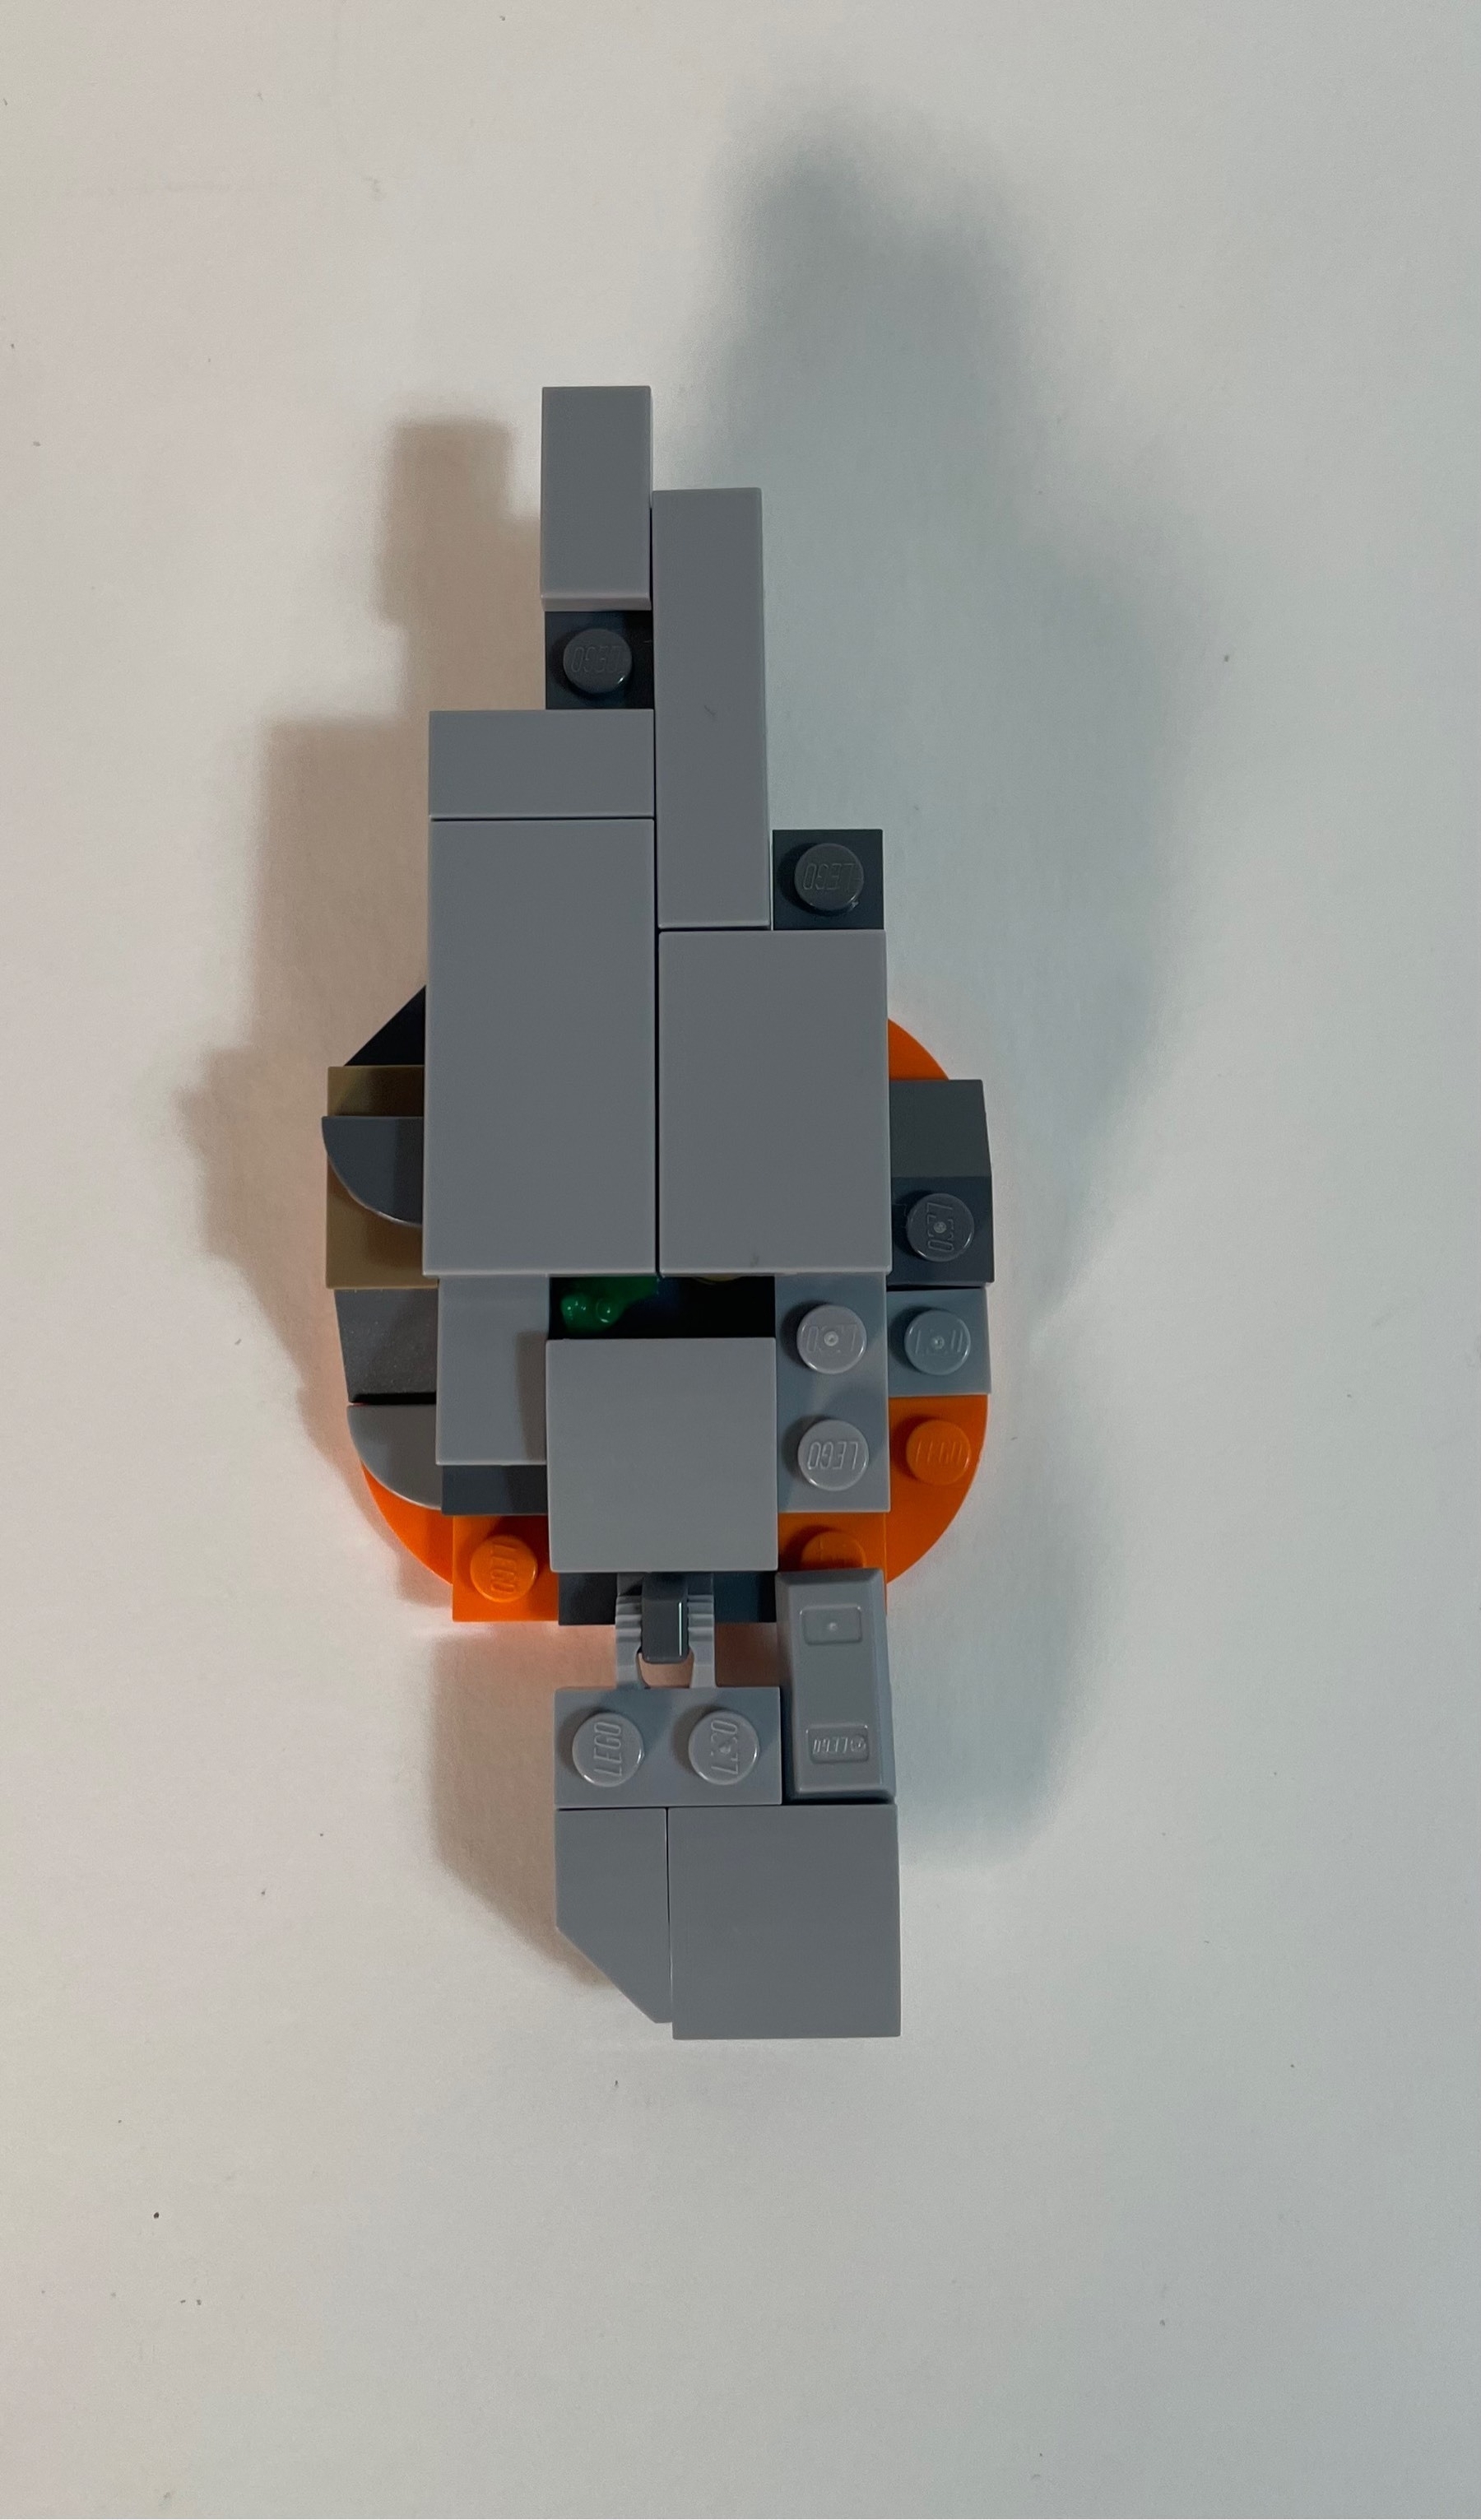
It should look like like this from the side.
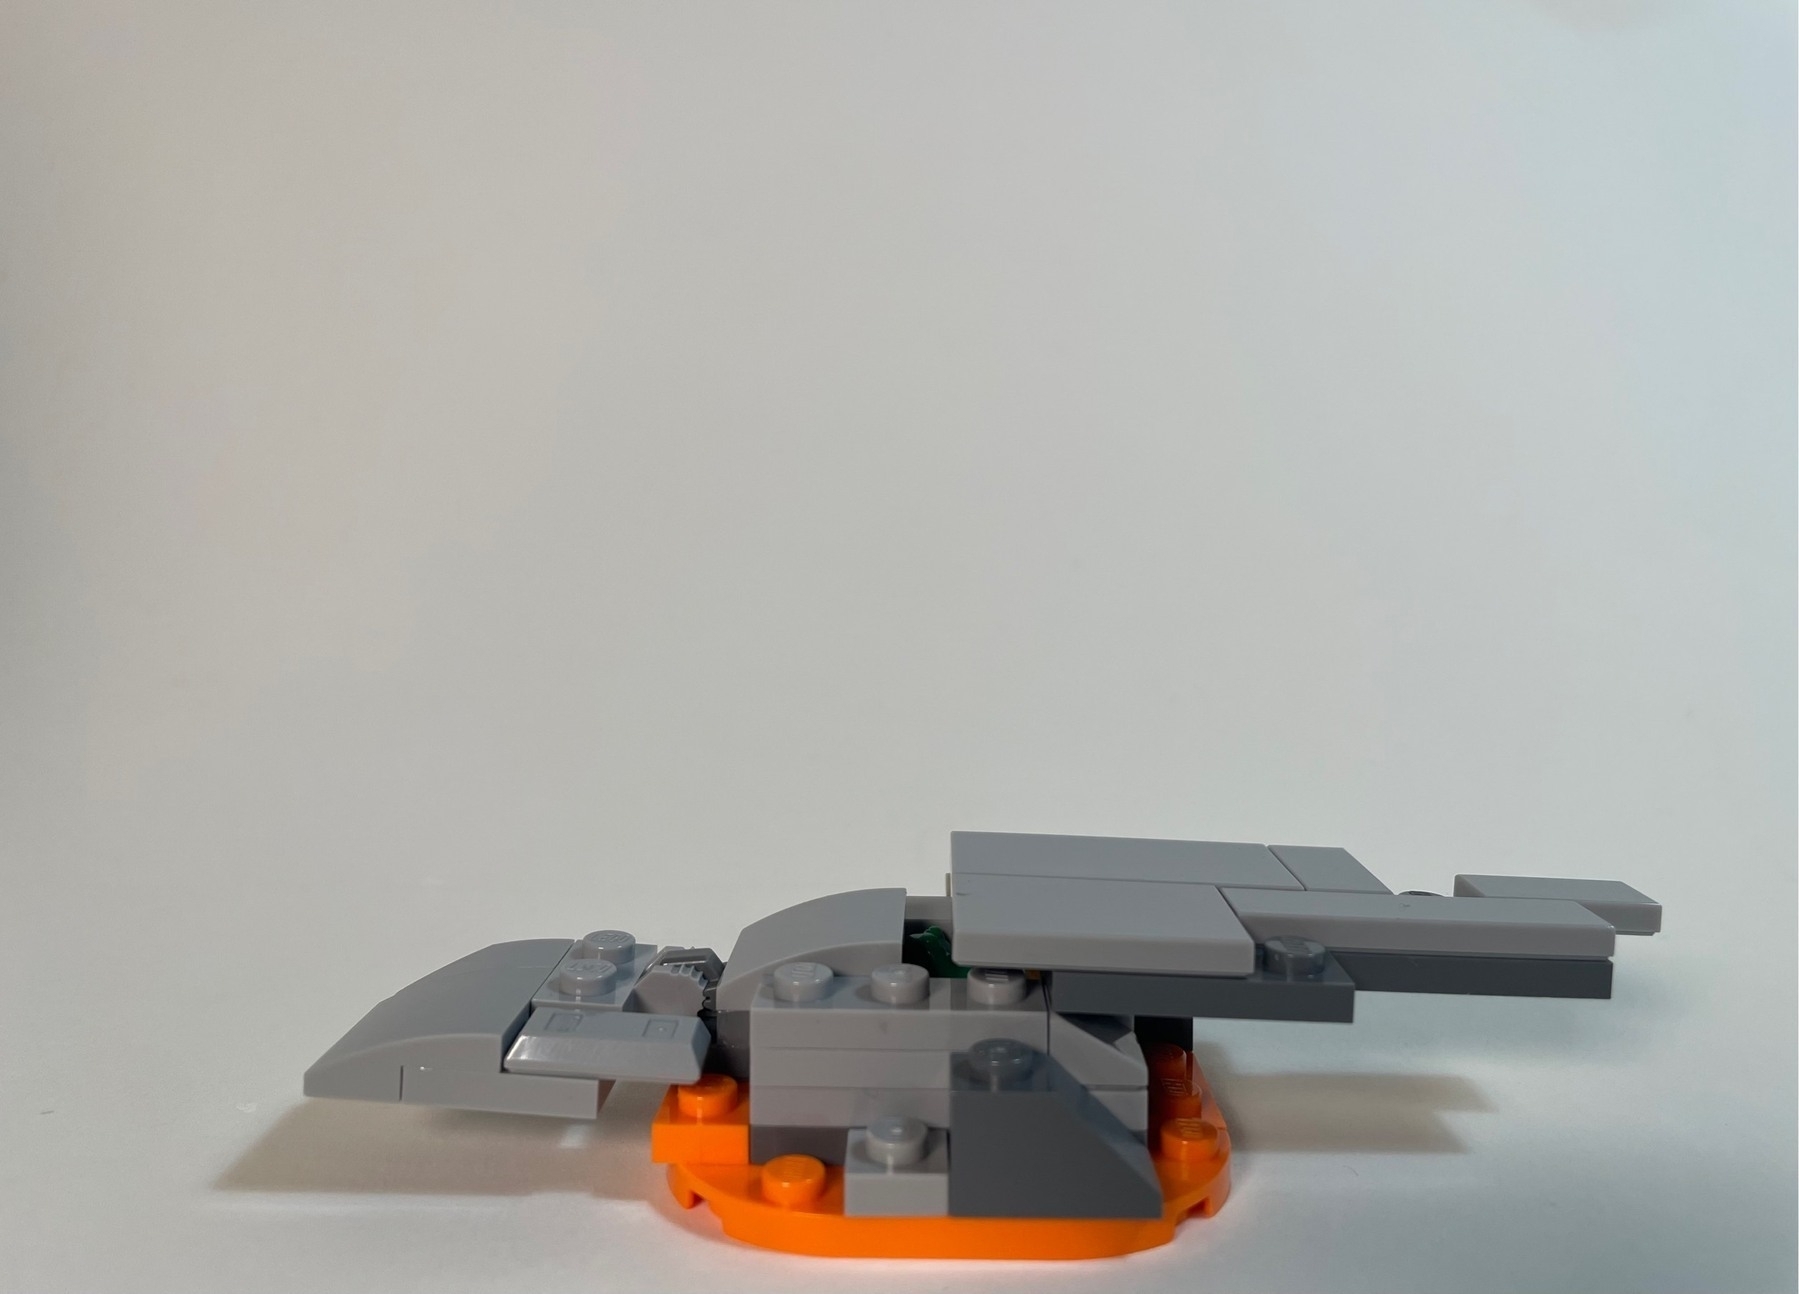
Just tilt the hinges. Now you’re done!
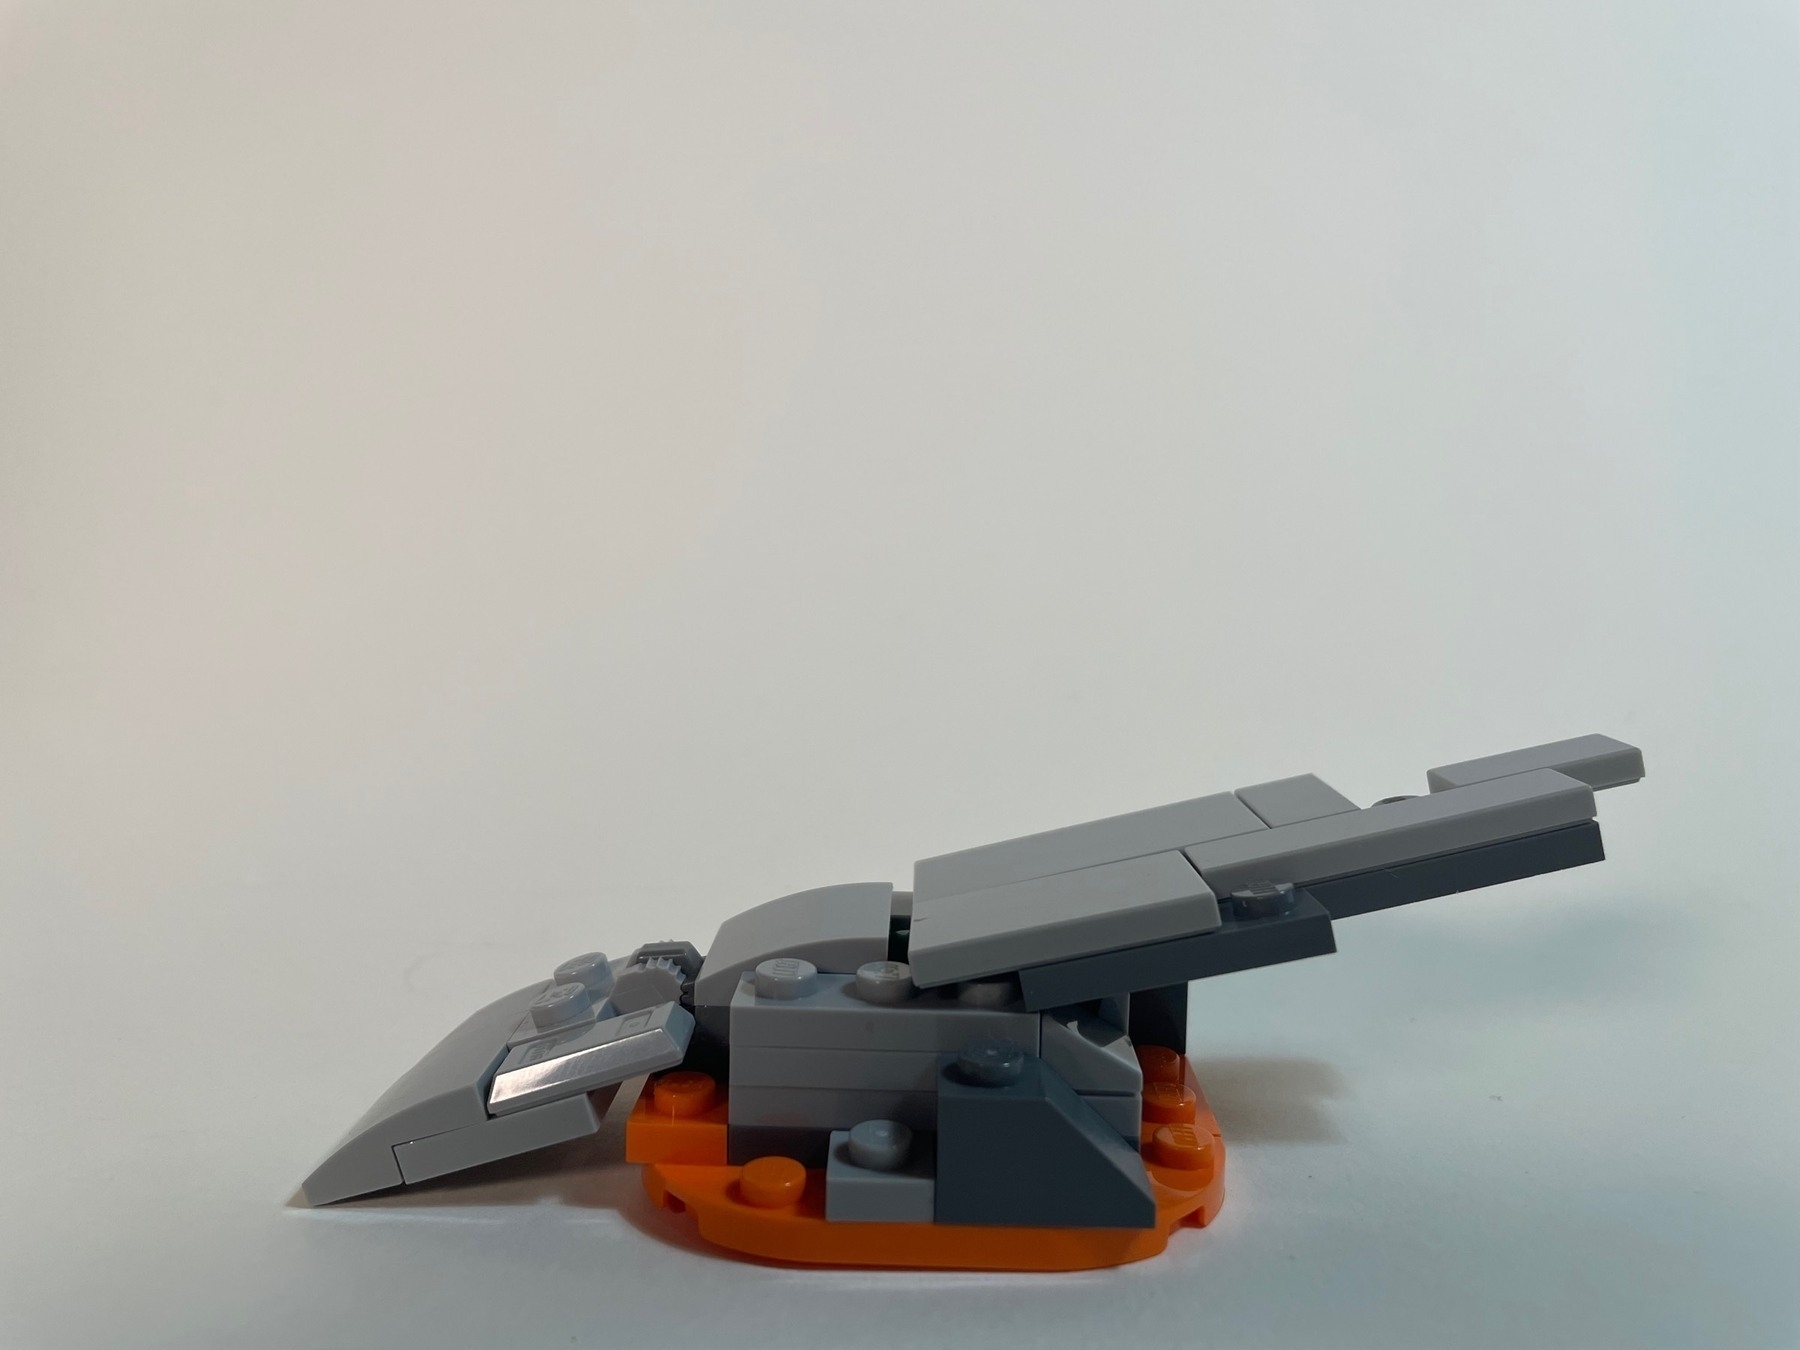
See instructions on how to build the Niffler racer in the previous post. An even bigger ramp is coming soon!
-
LEGO niffler’s racer tutorial
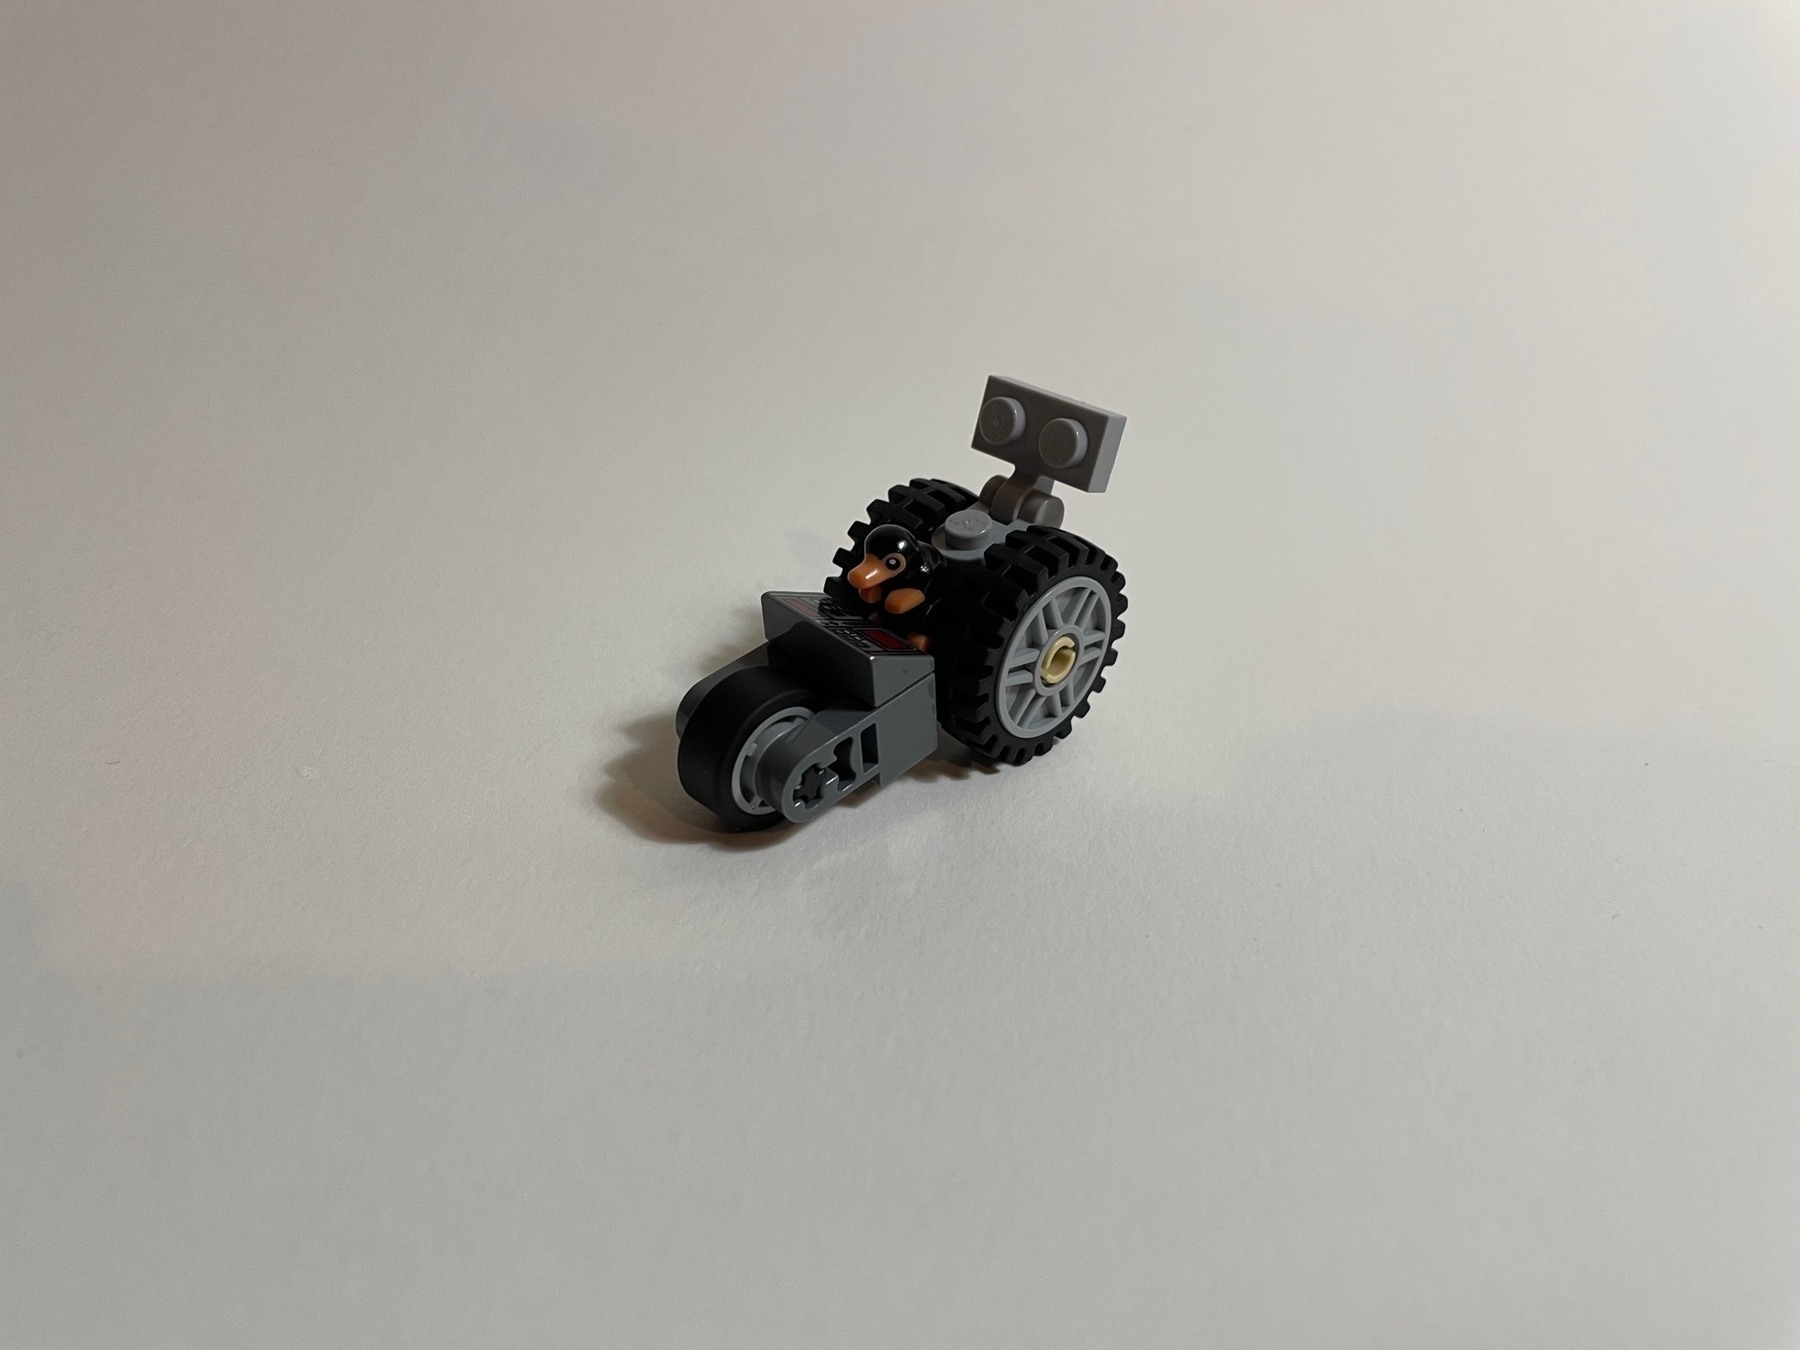
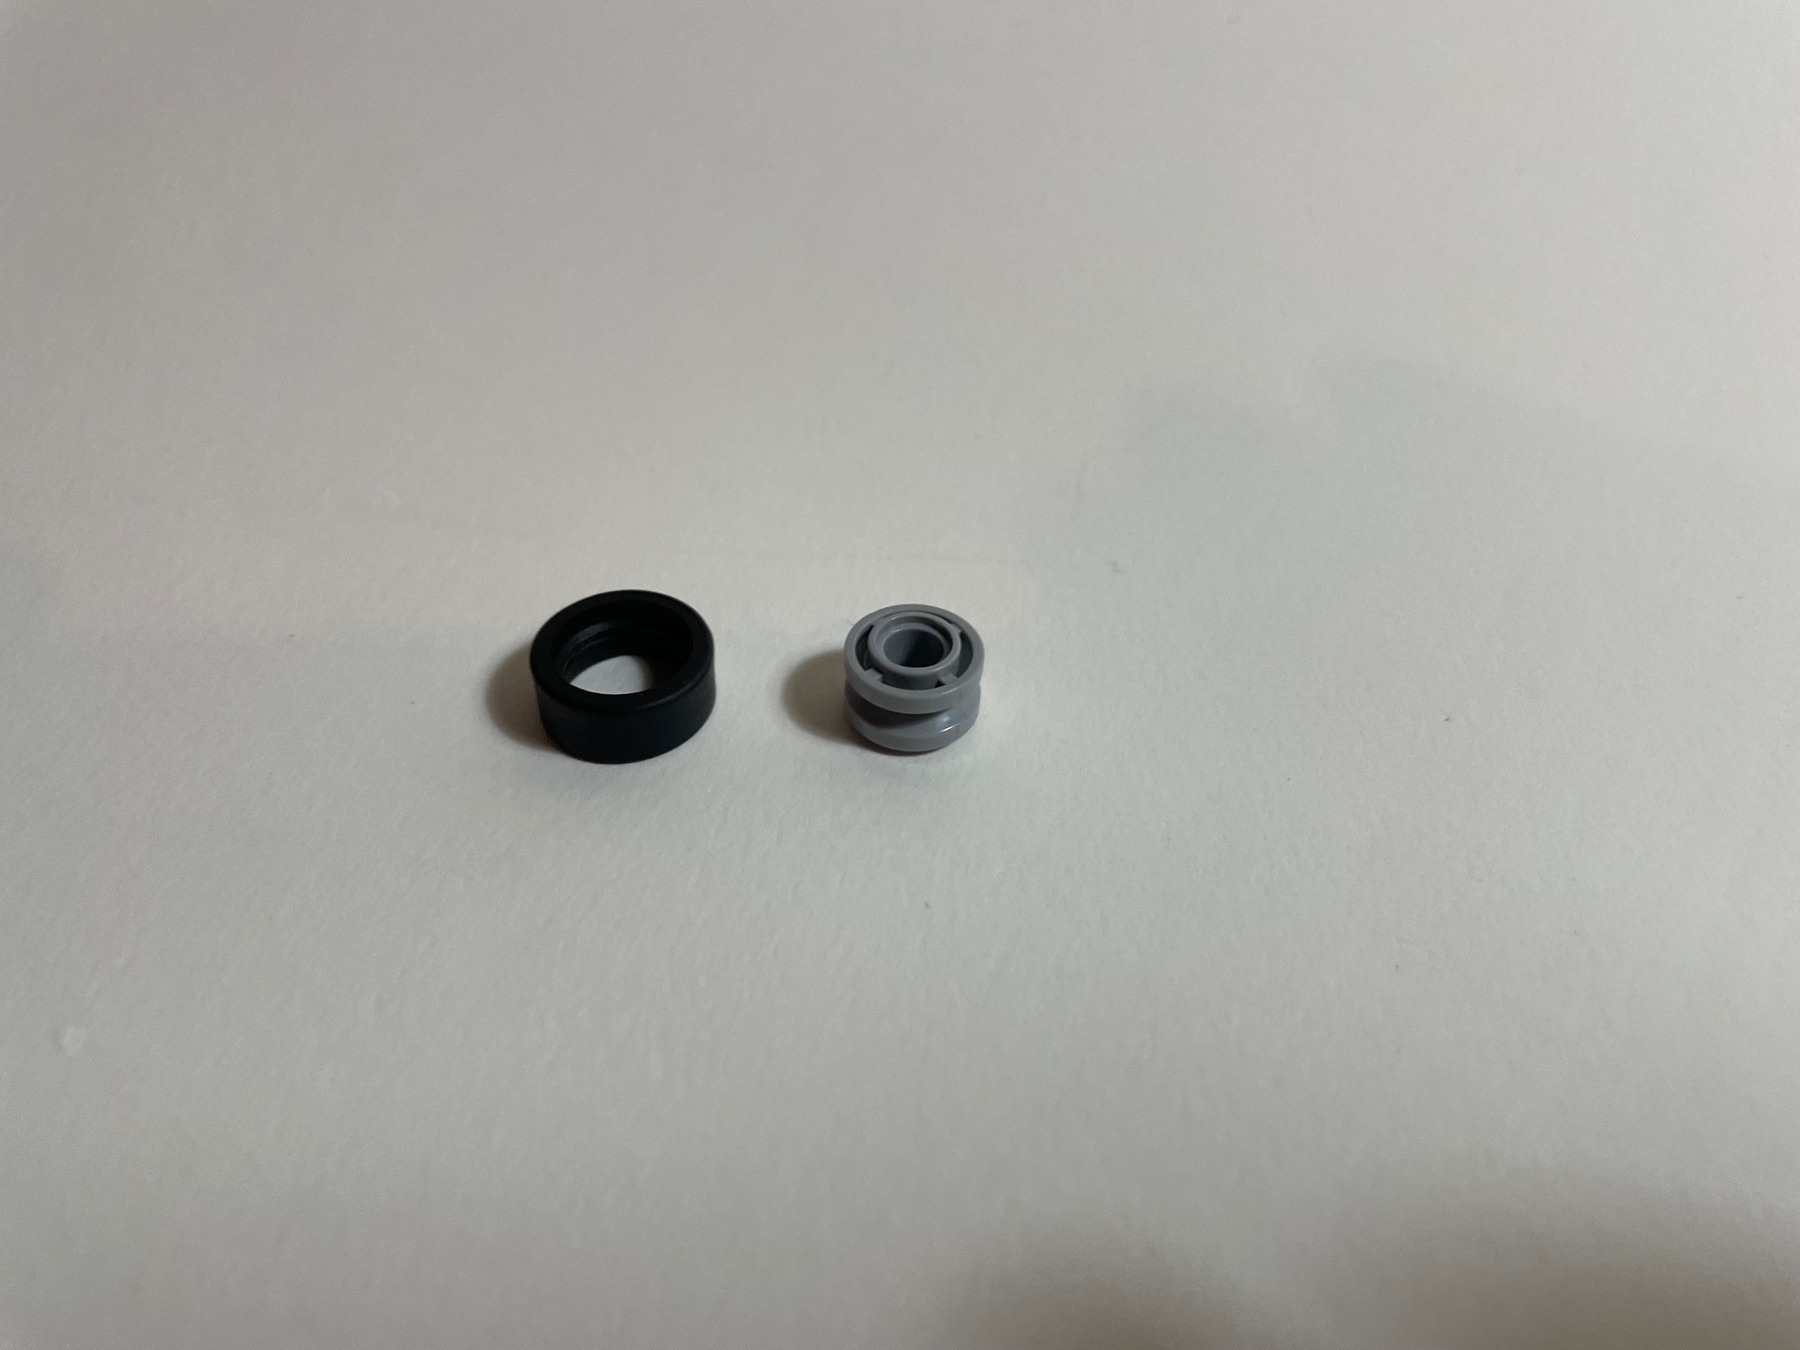
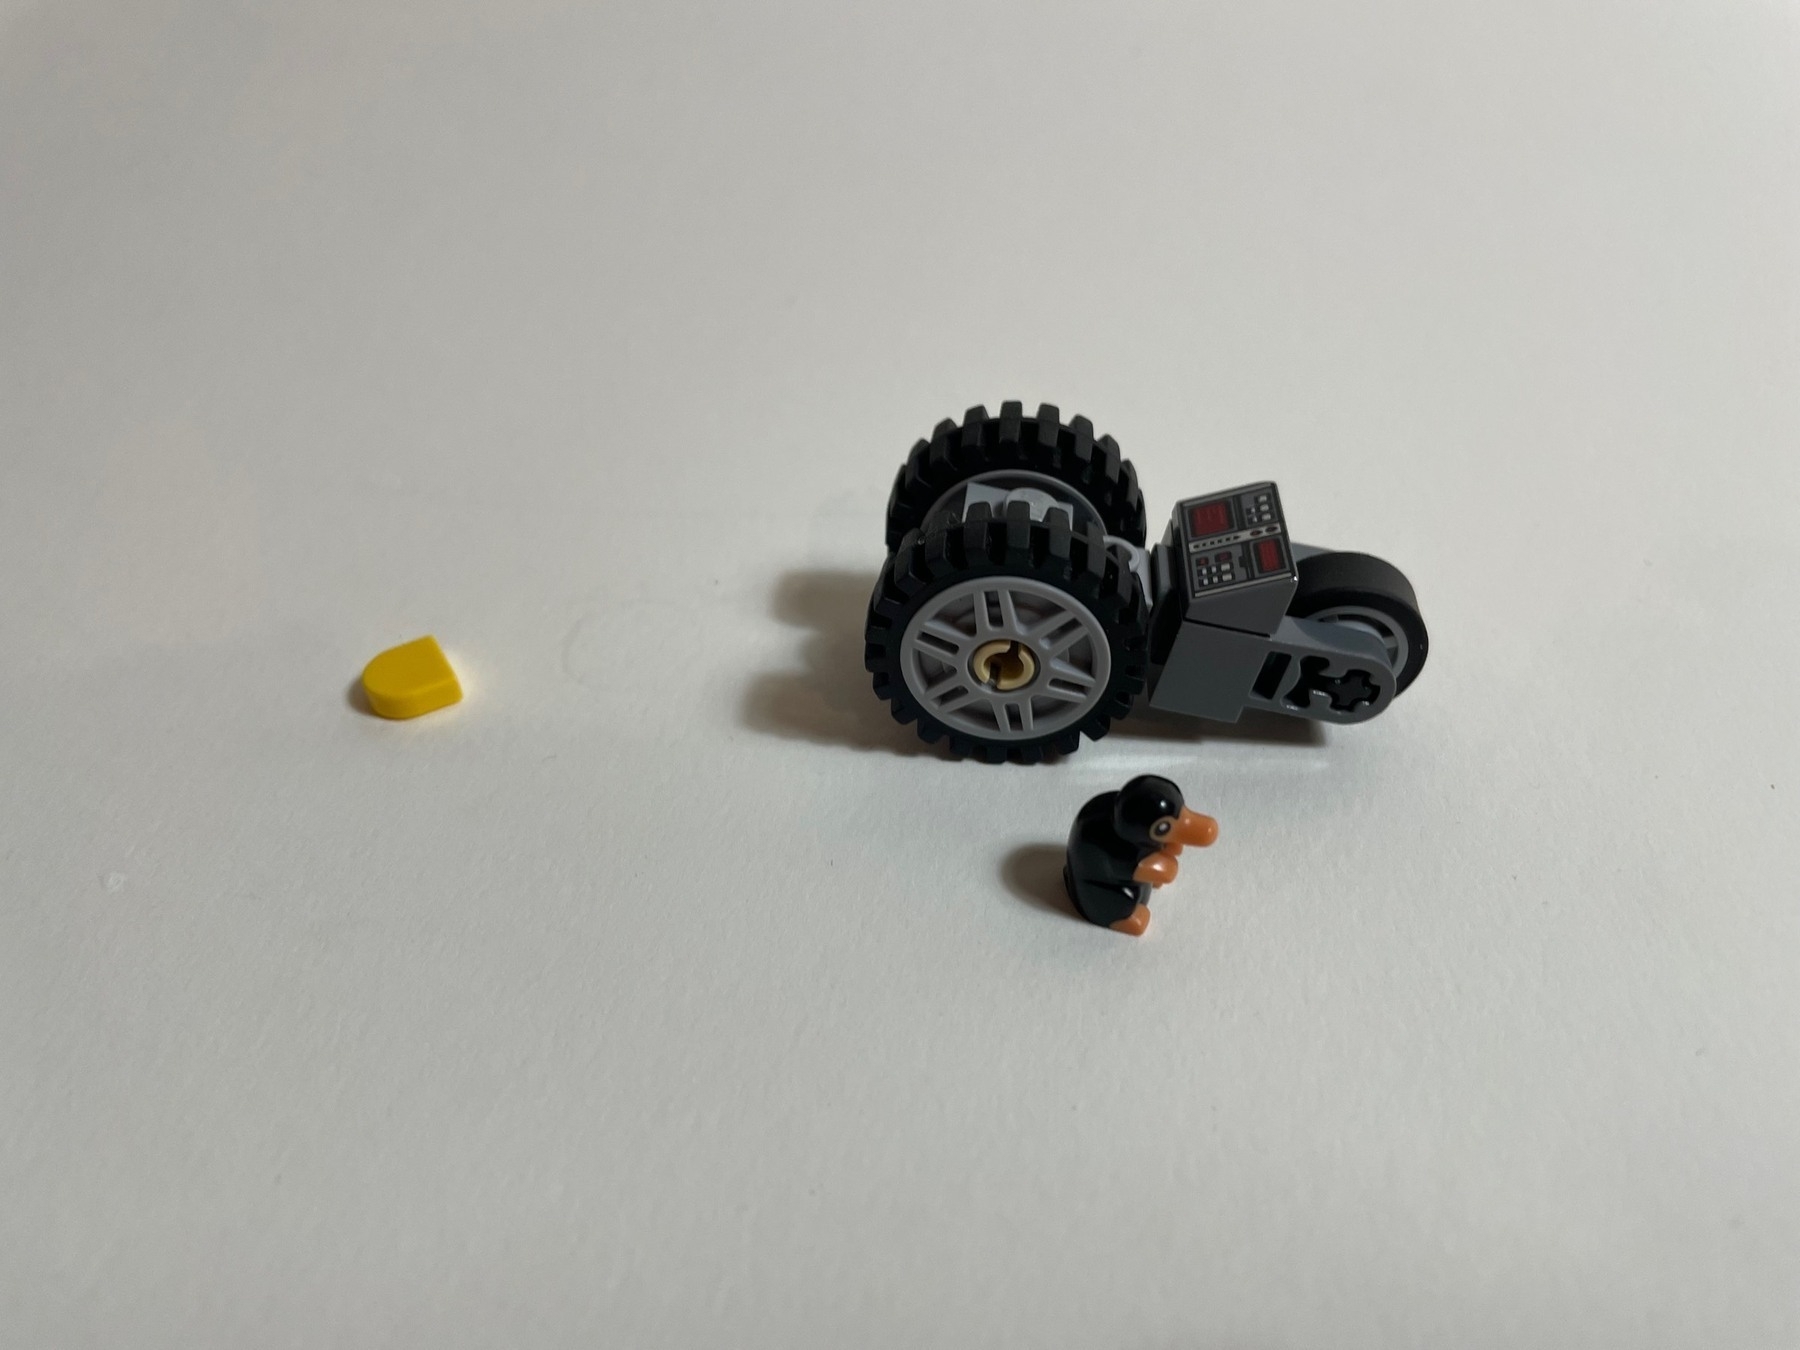
Put together the wheel.
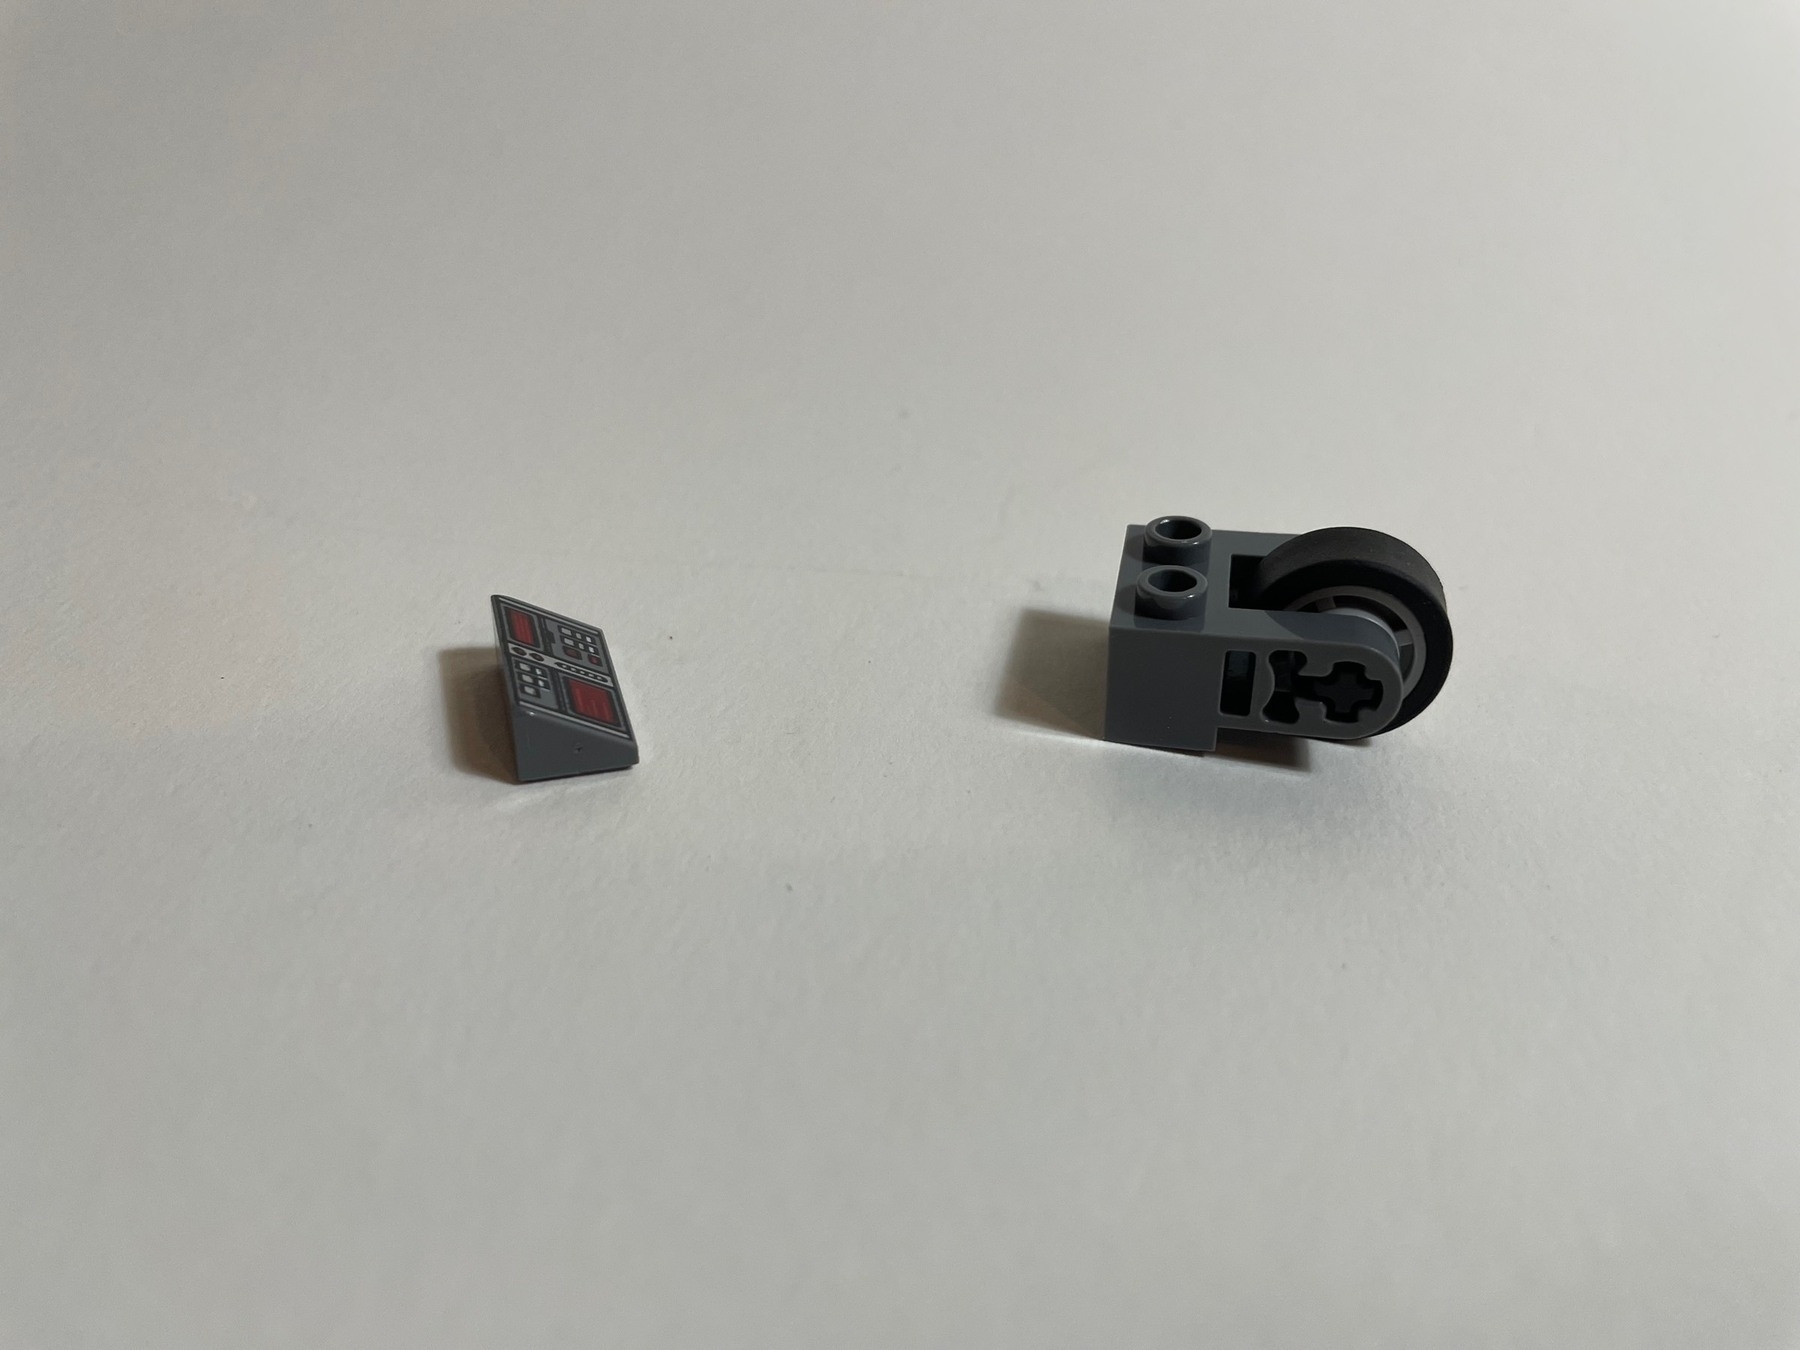
Add the backing.
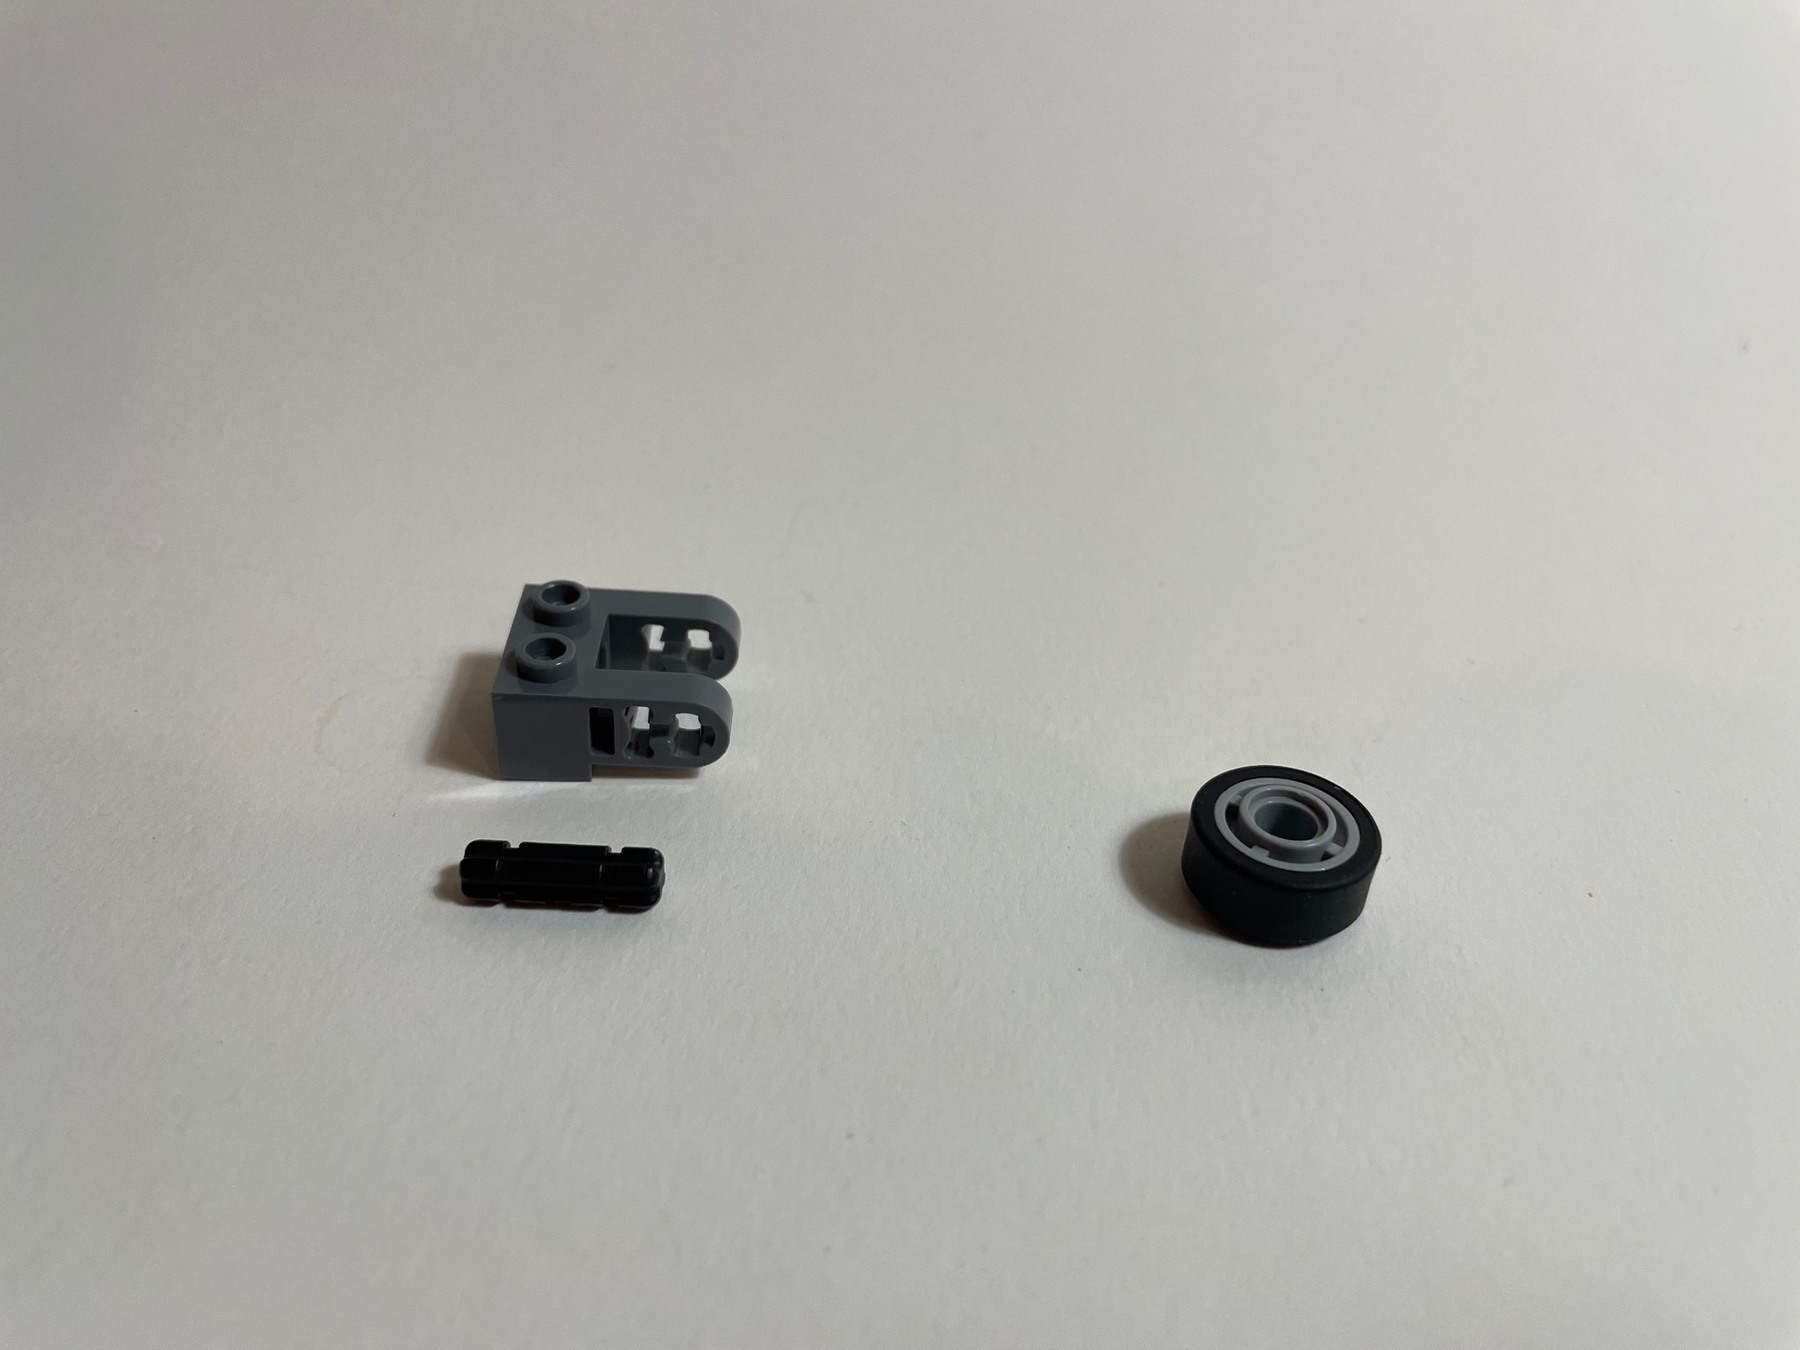
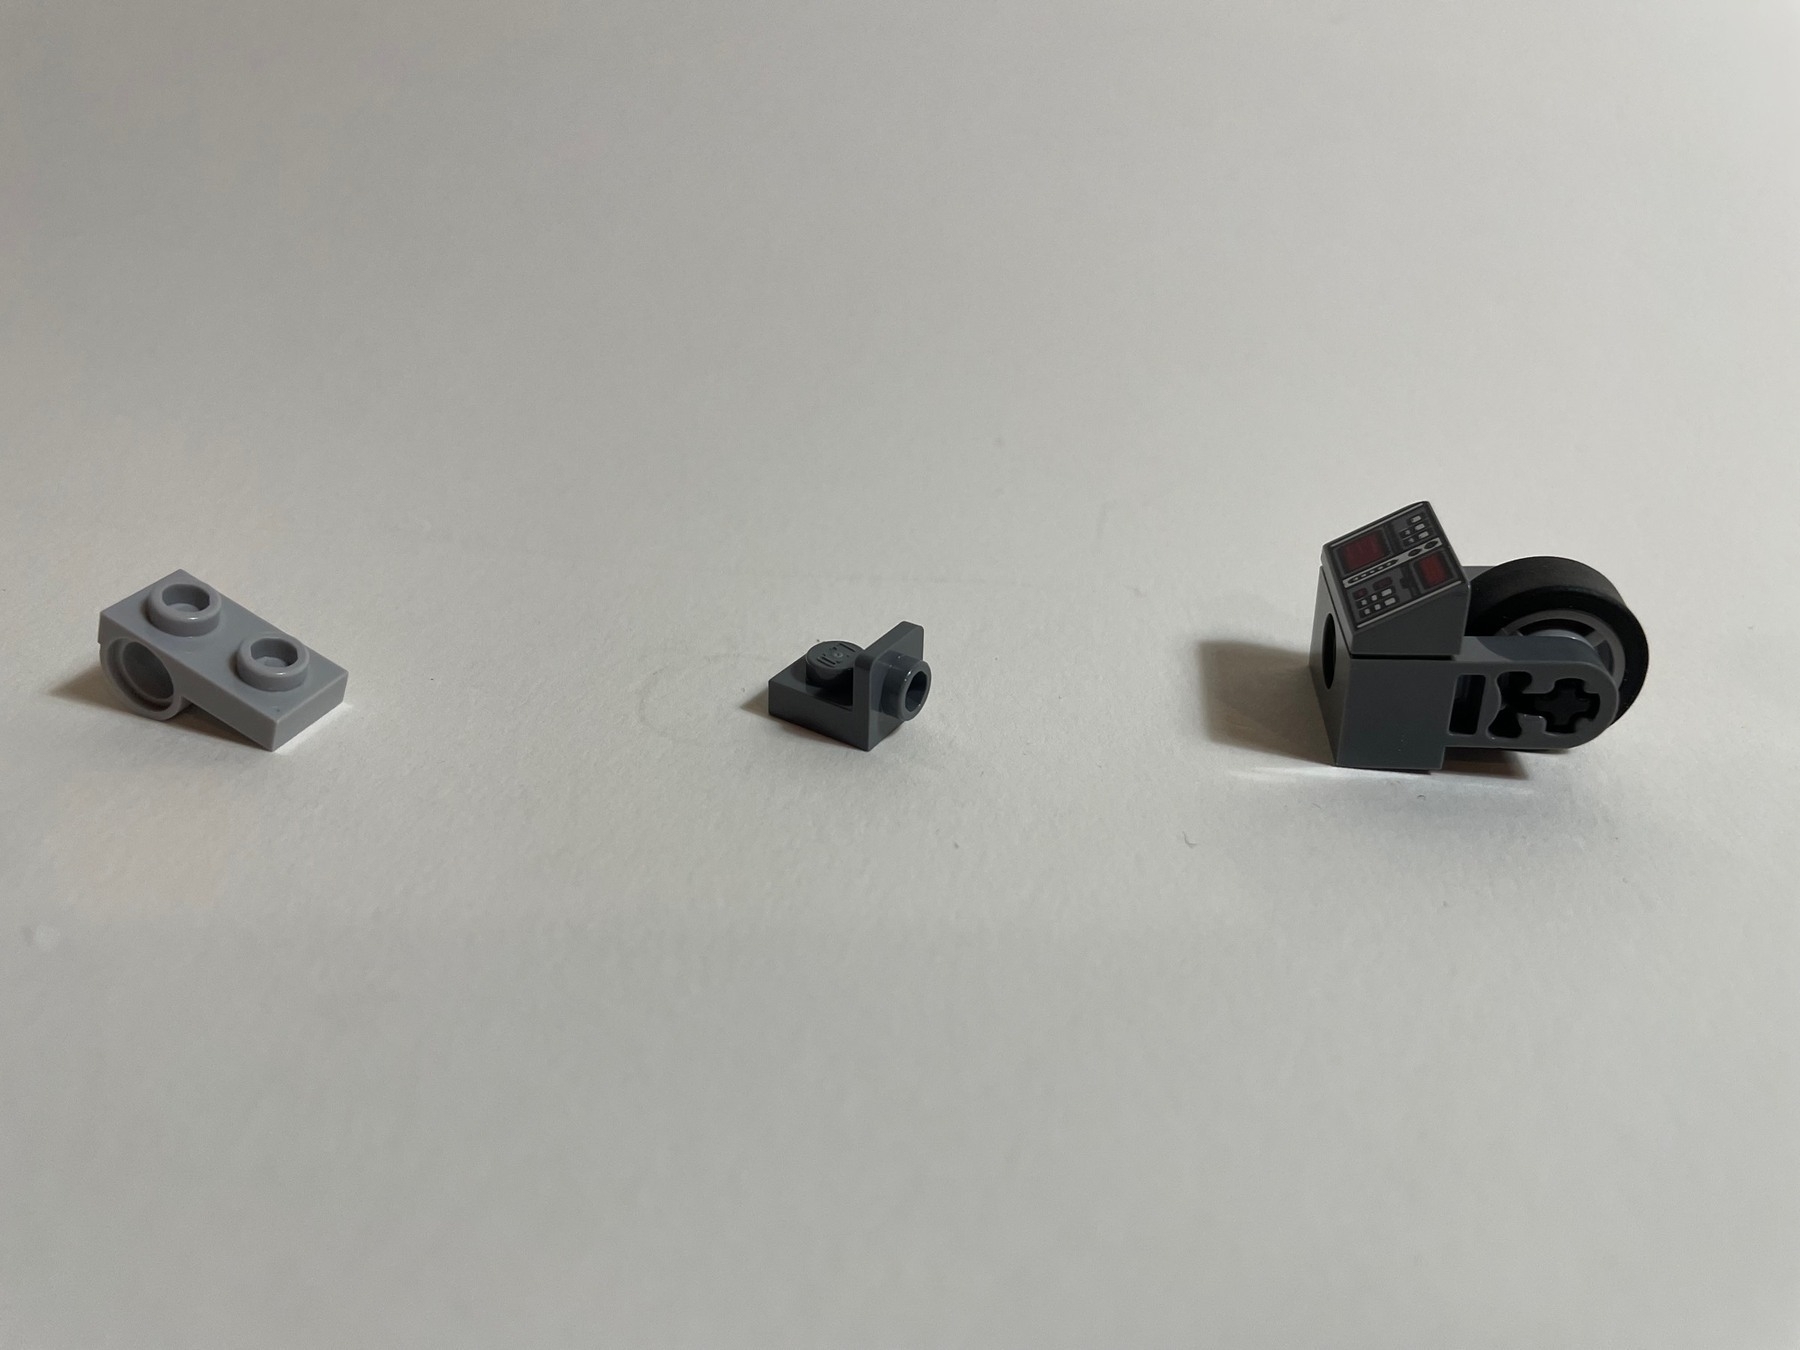
It needs controls!
Start on the back.
Let’s get the last wheels on.
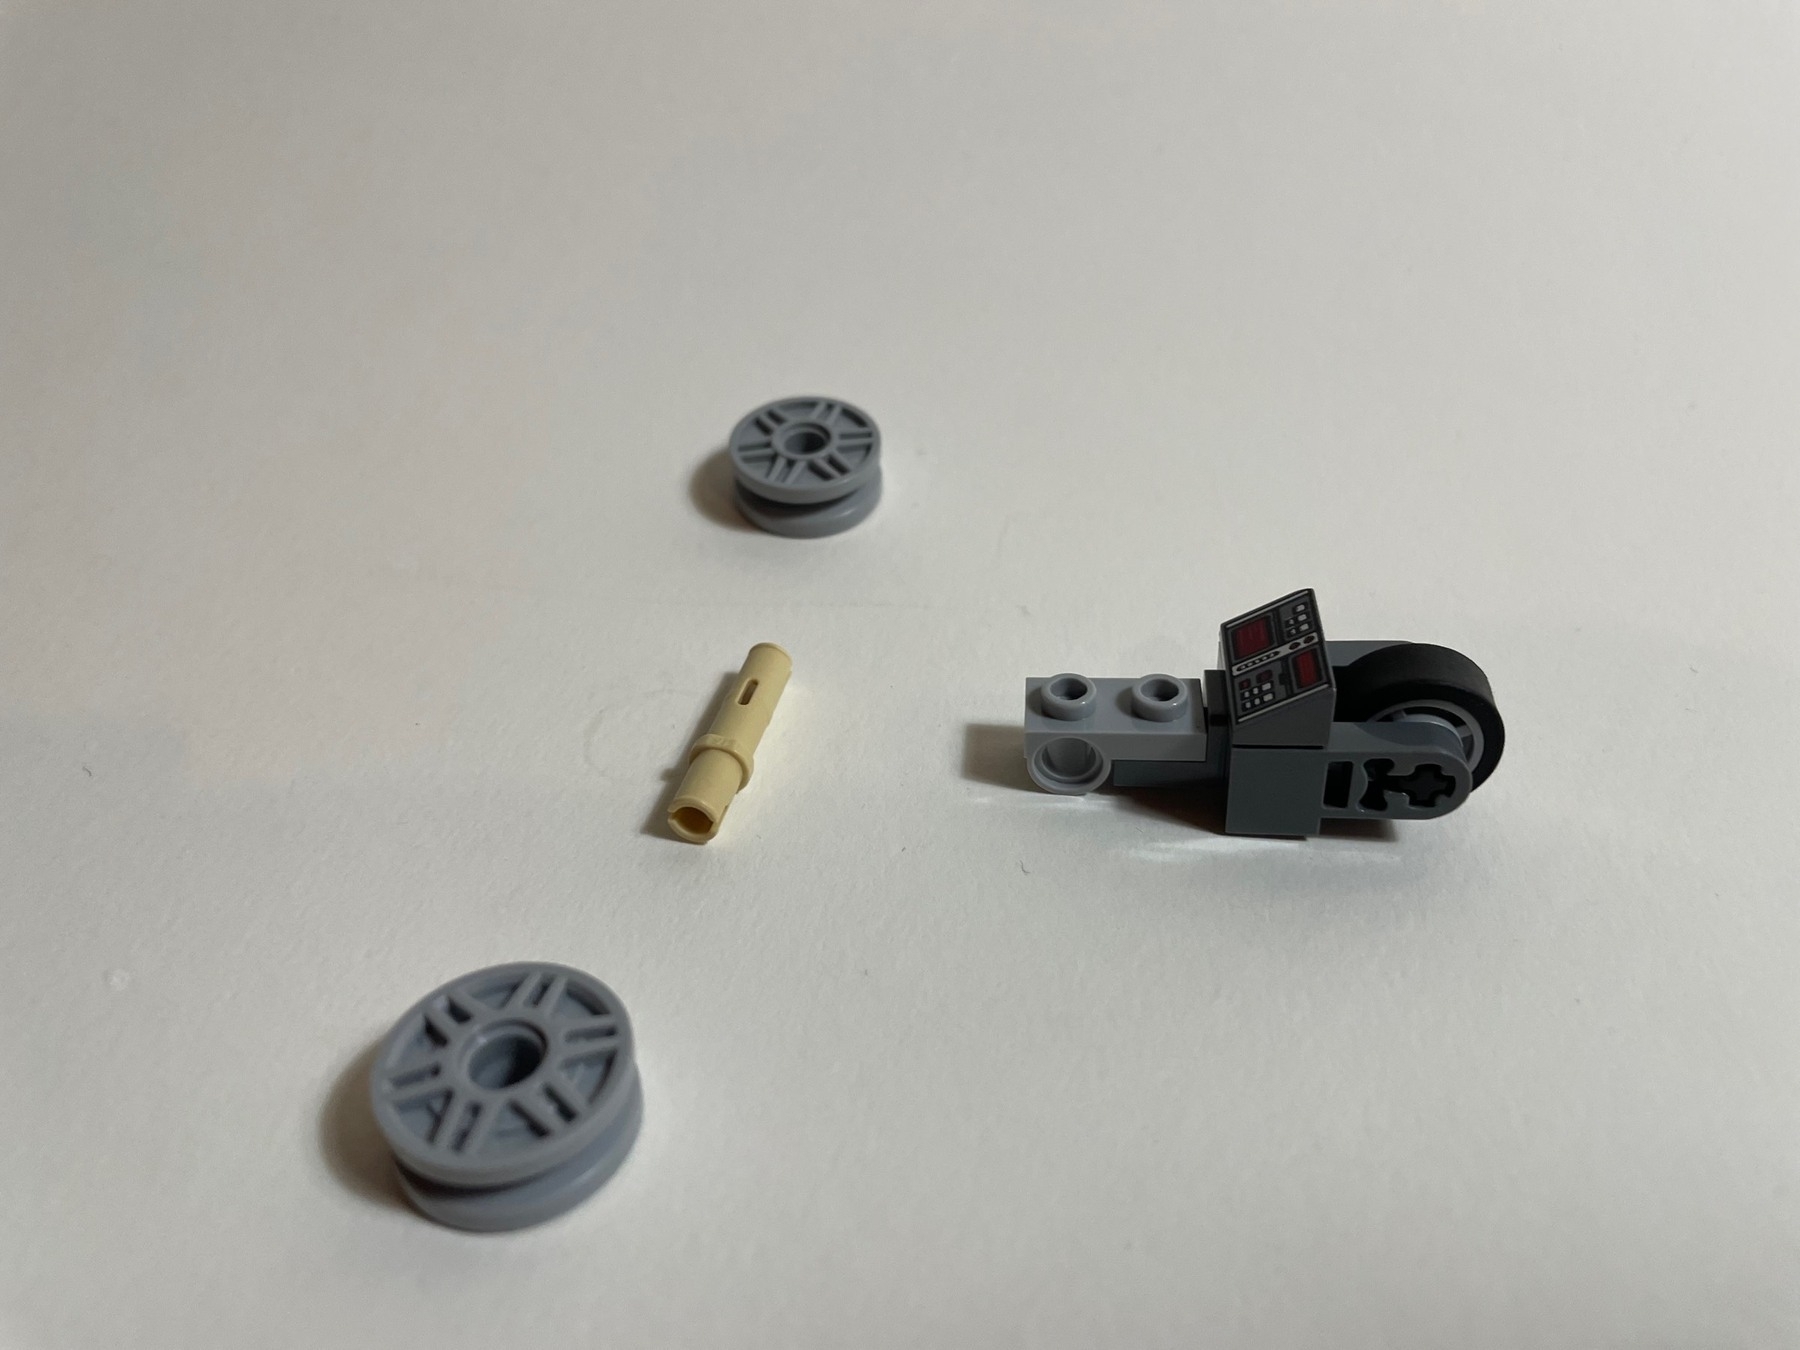
The outside helps with traction.
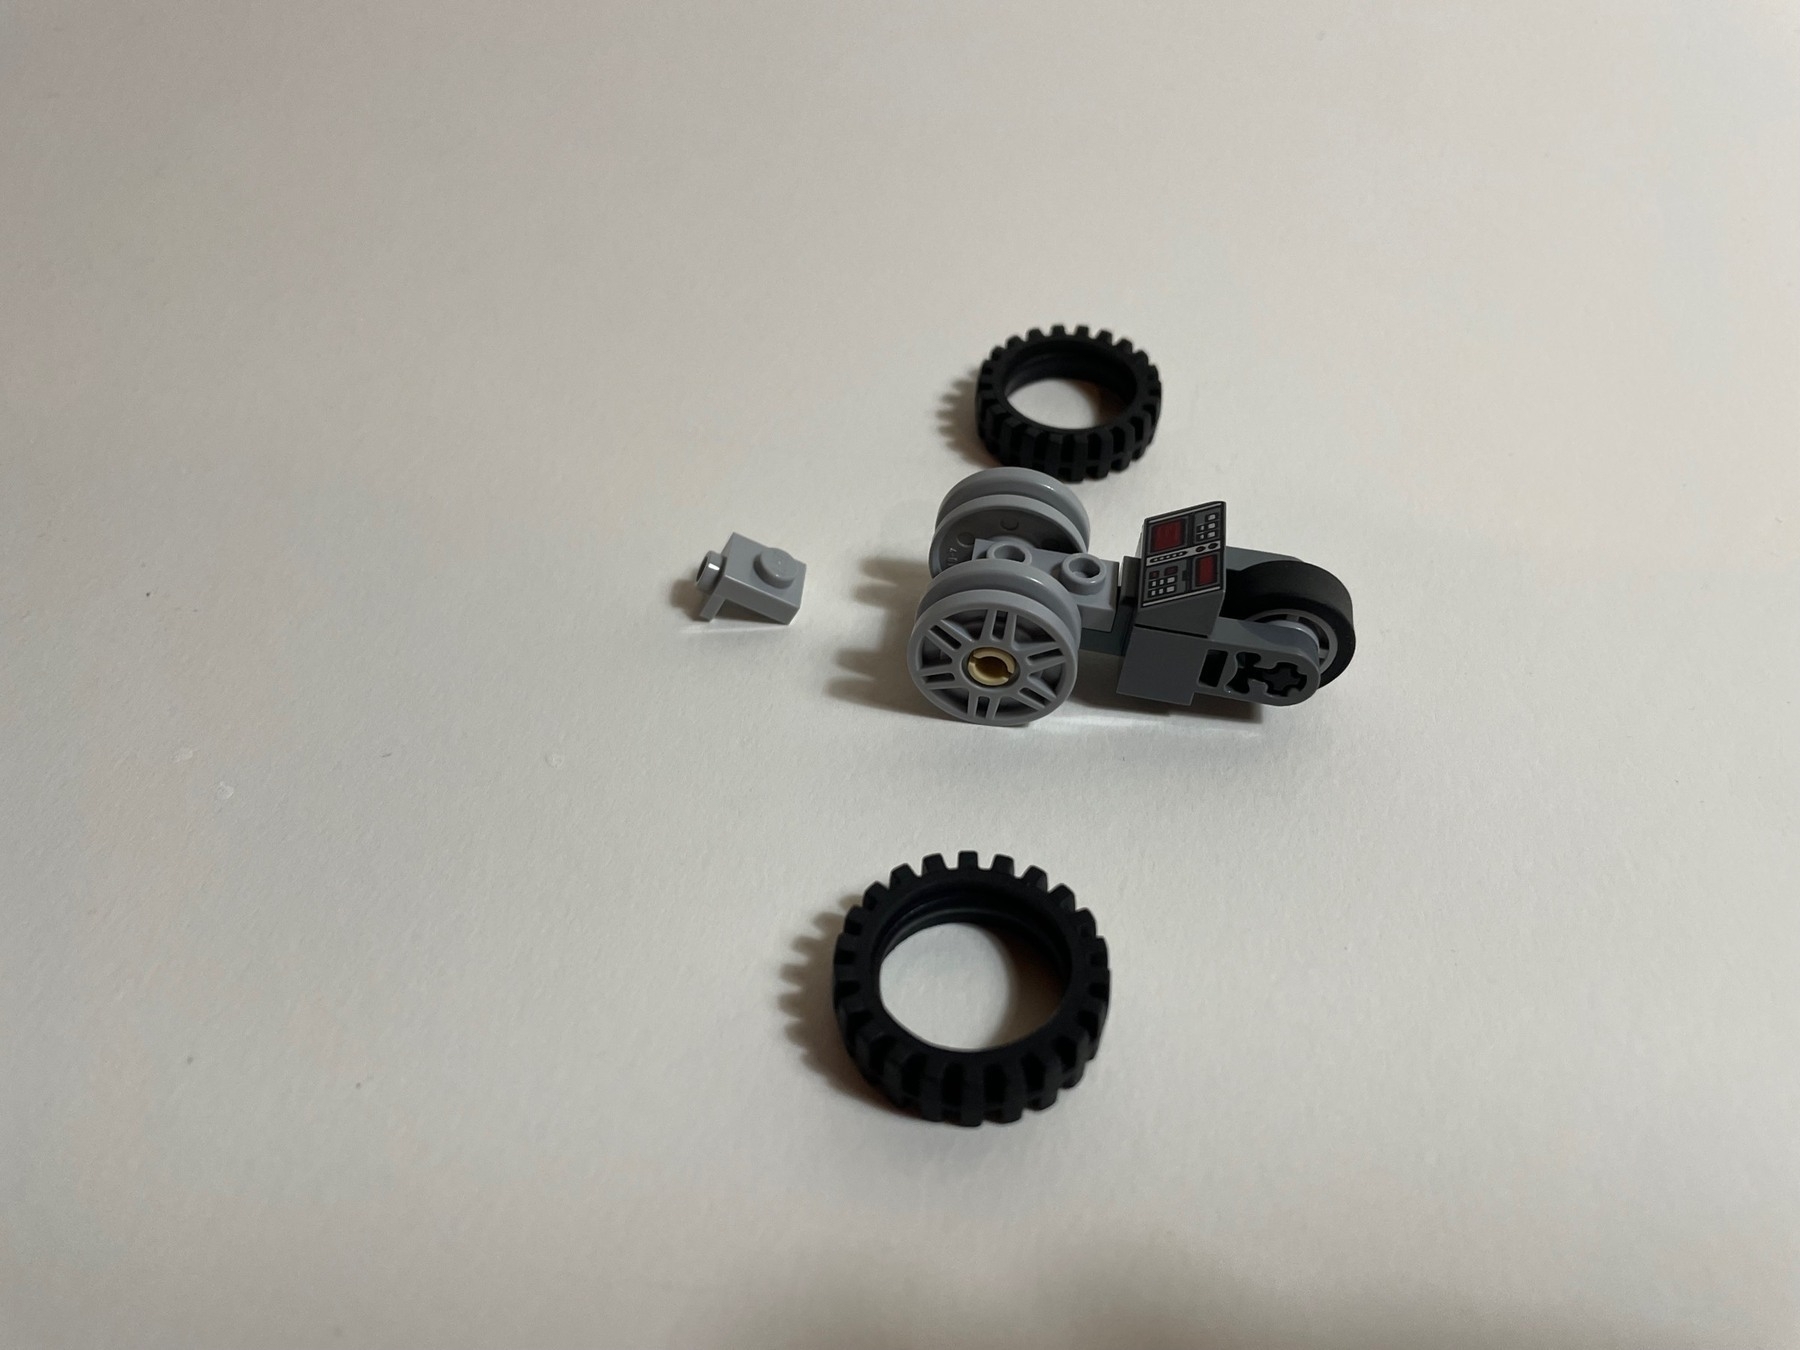
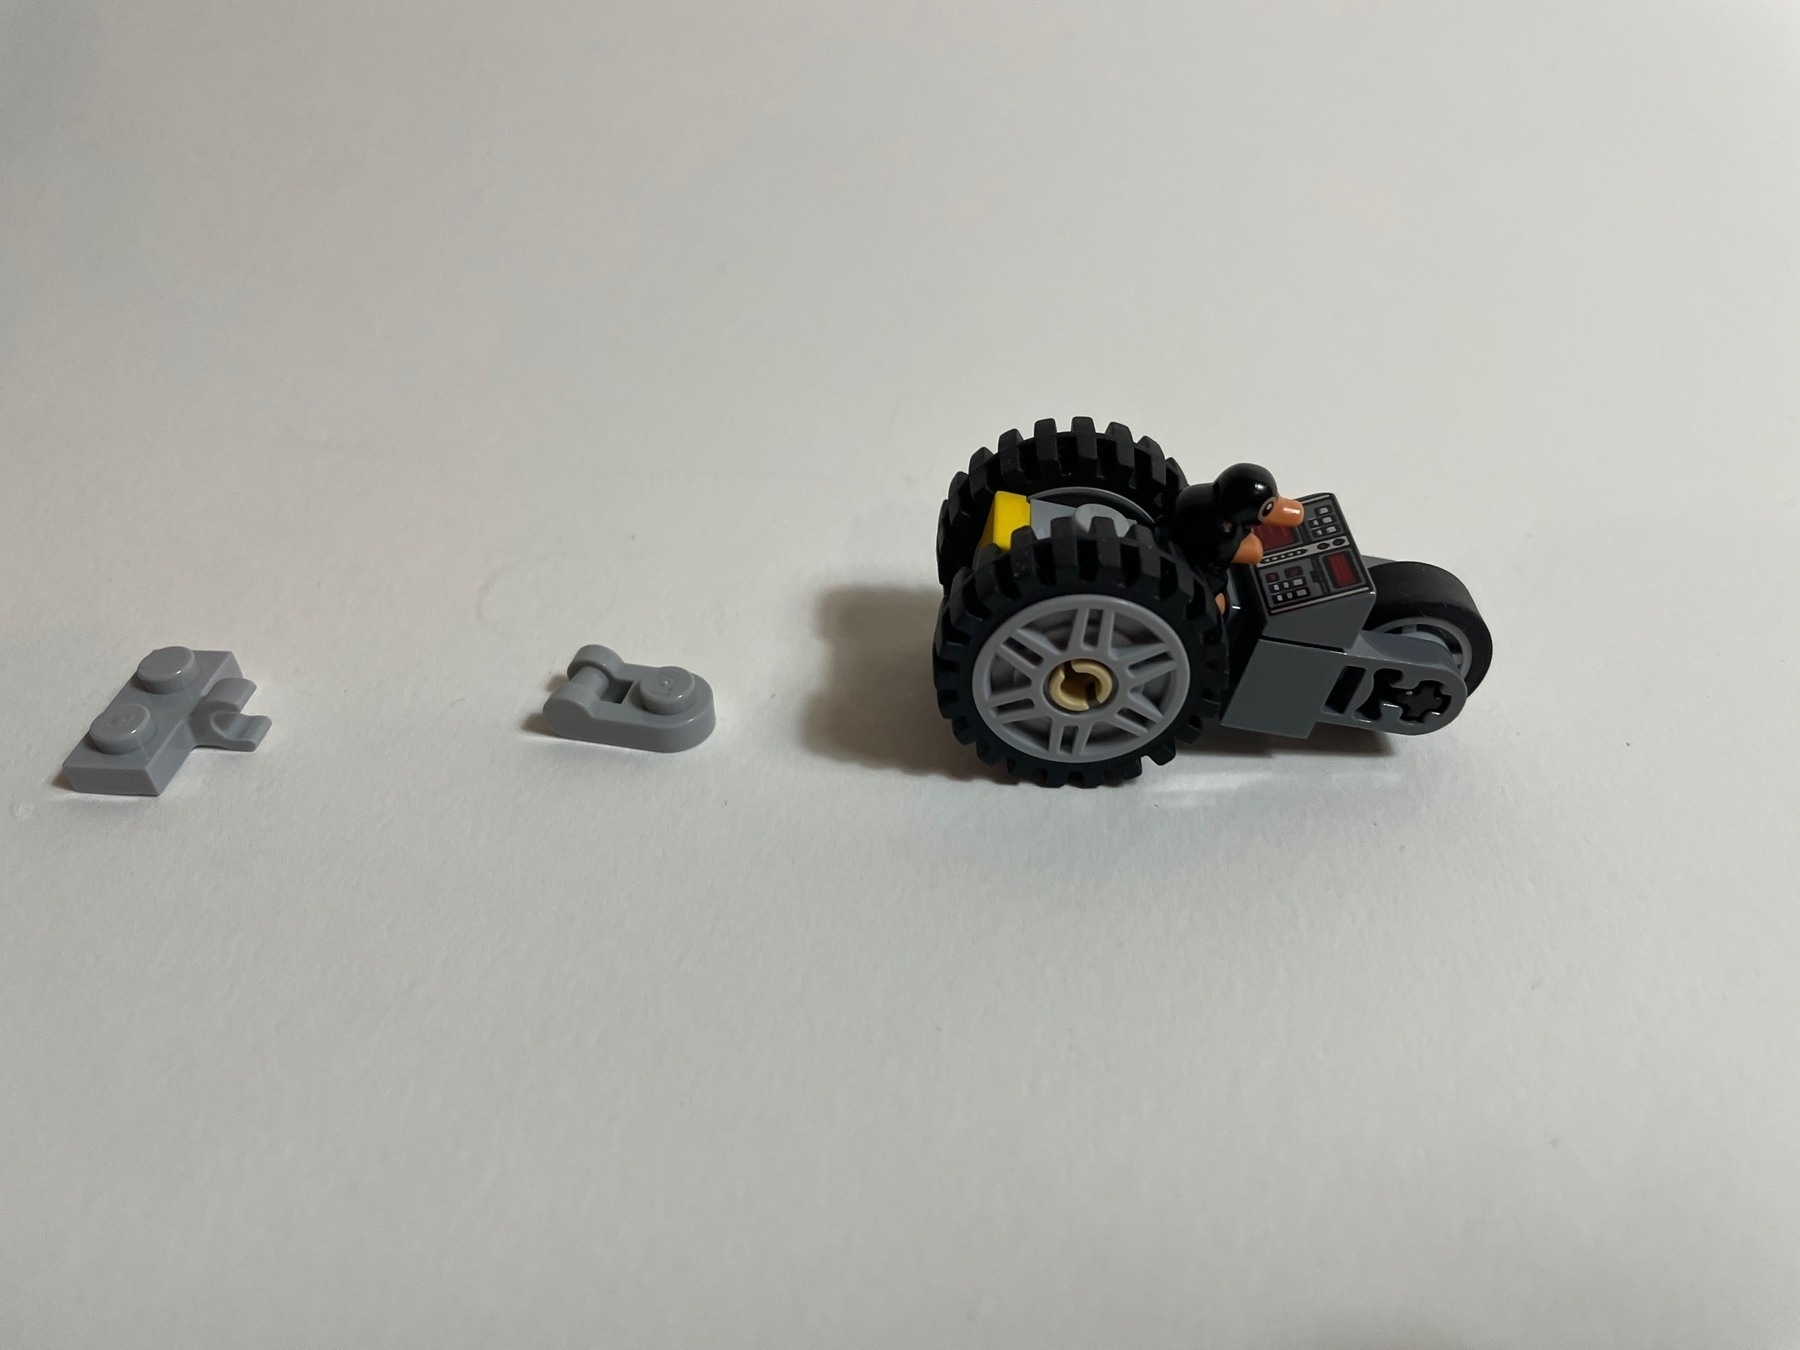
Add the racer!
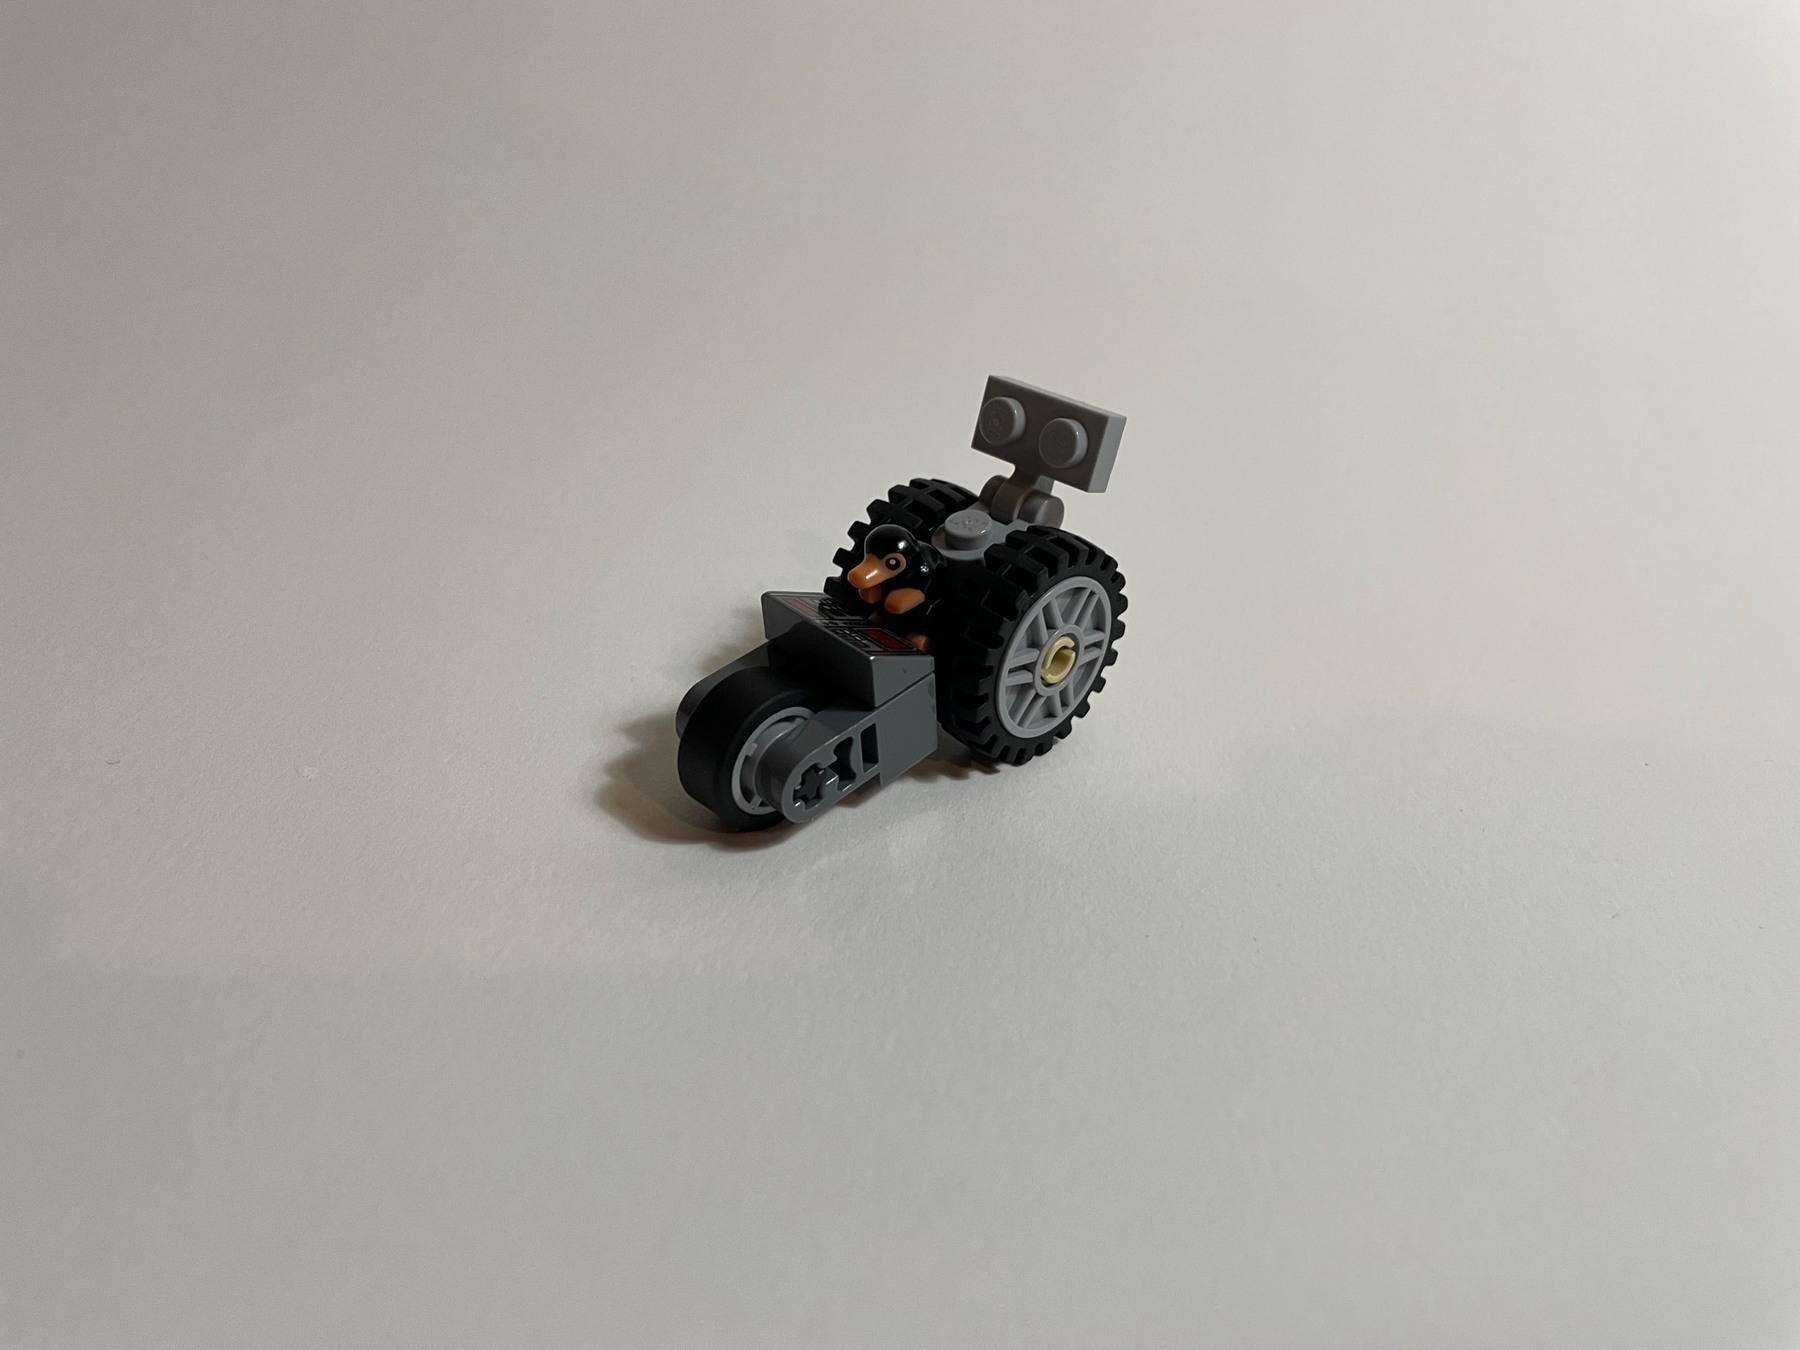
The finishing touch is the spoiler.
All done! I hope you had fun!
-
Yoshi, Yoshi yosh Yoshi!
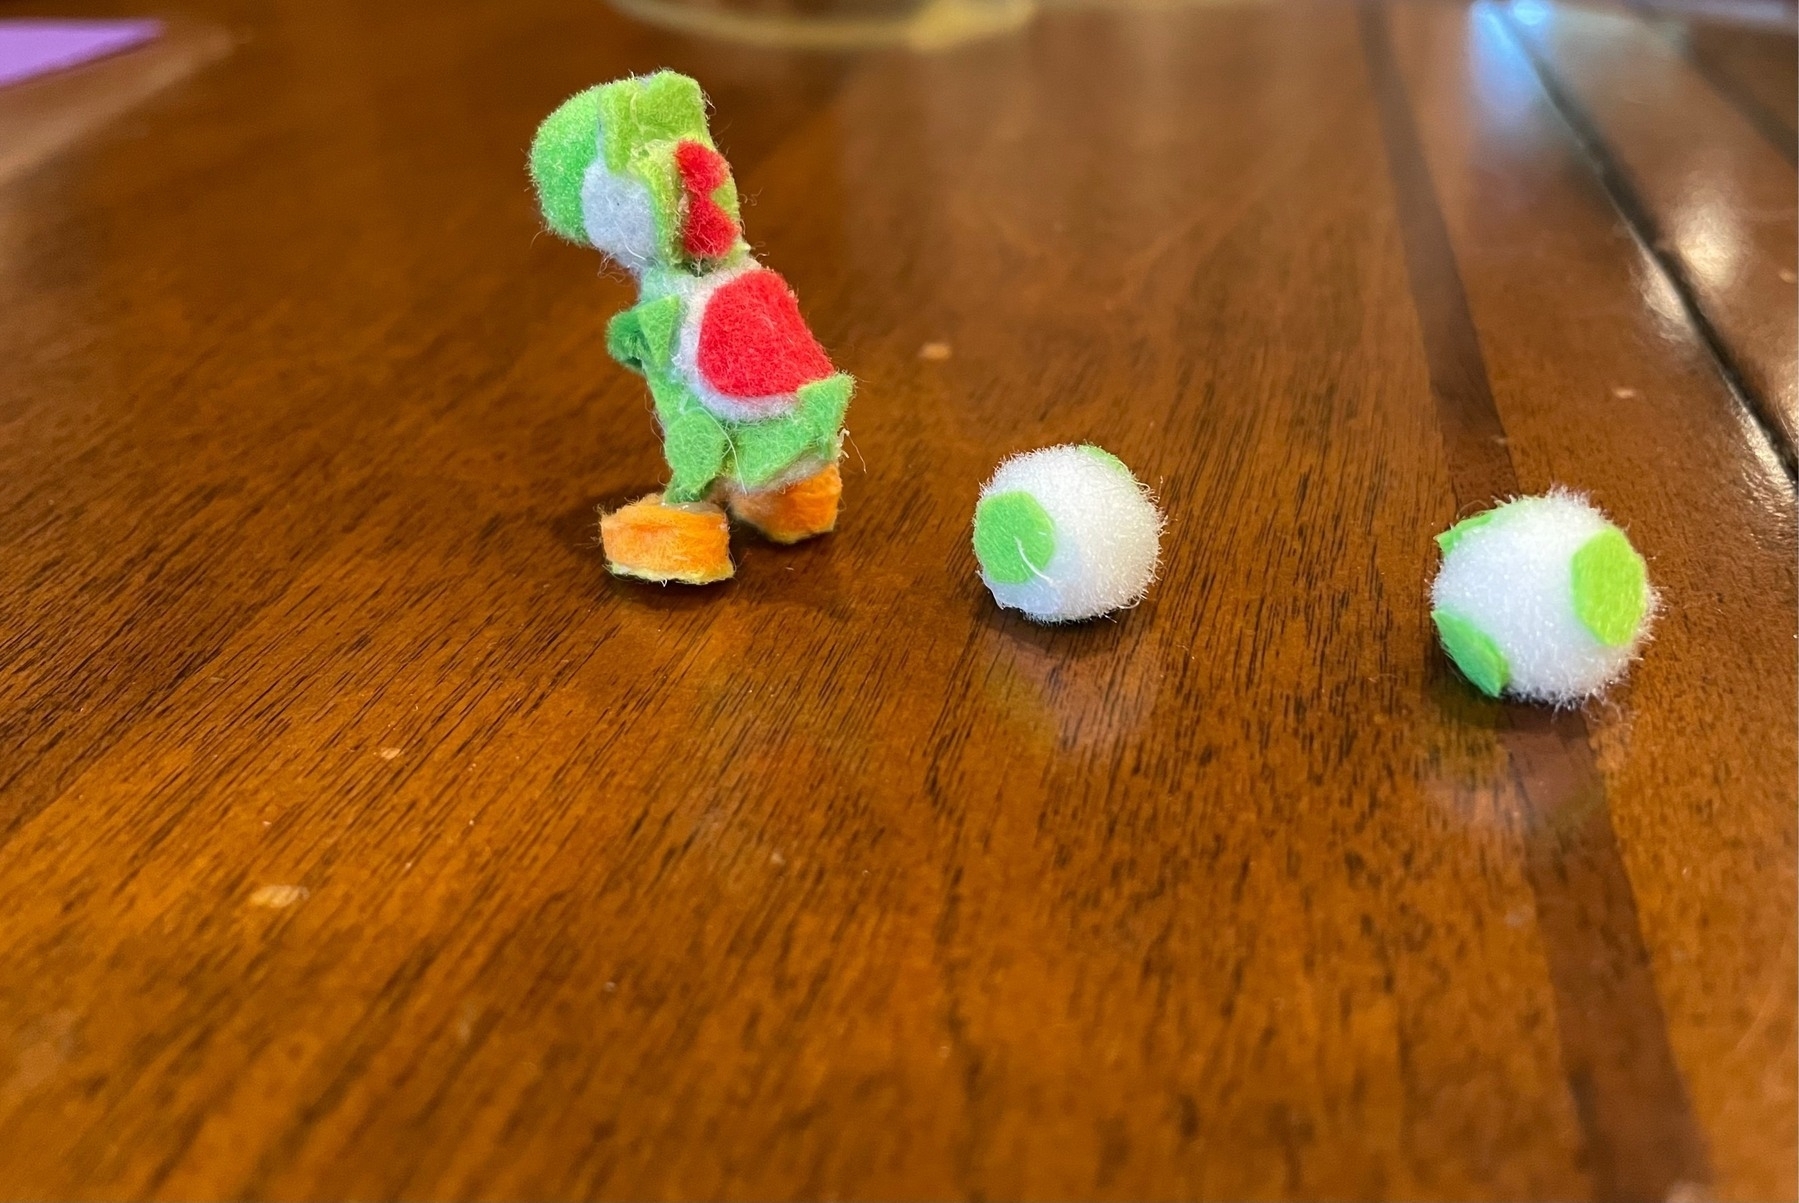
Yosh.
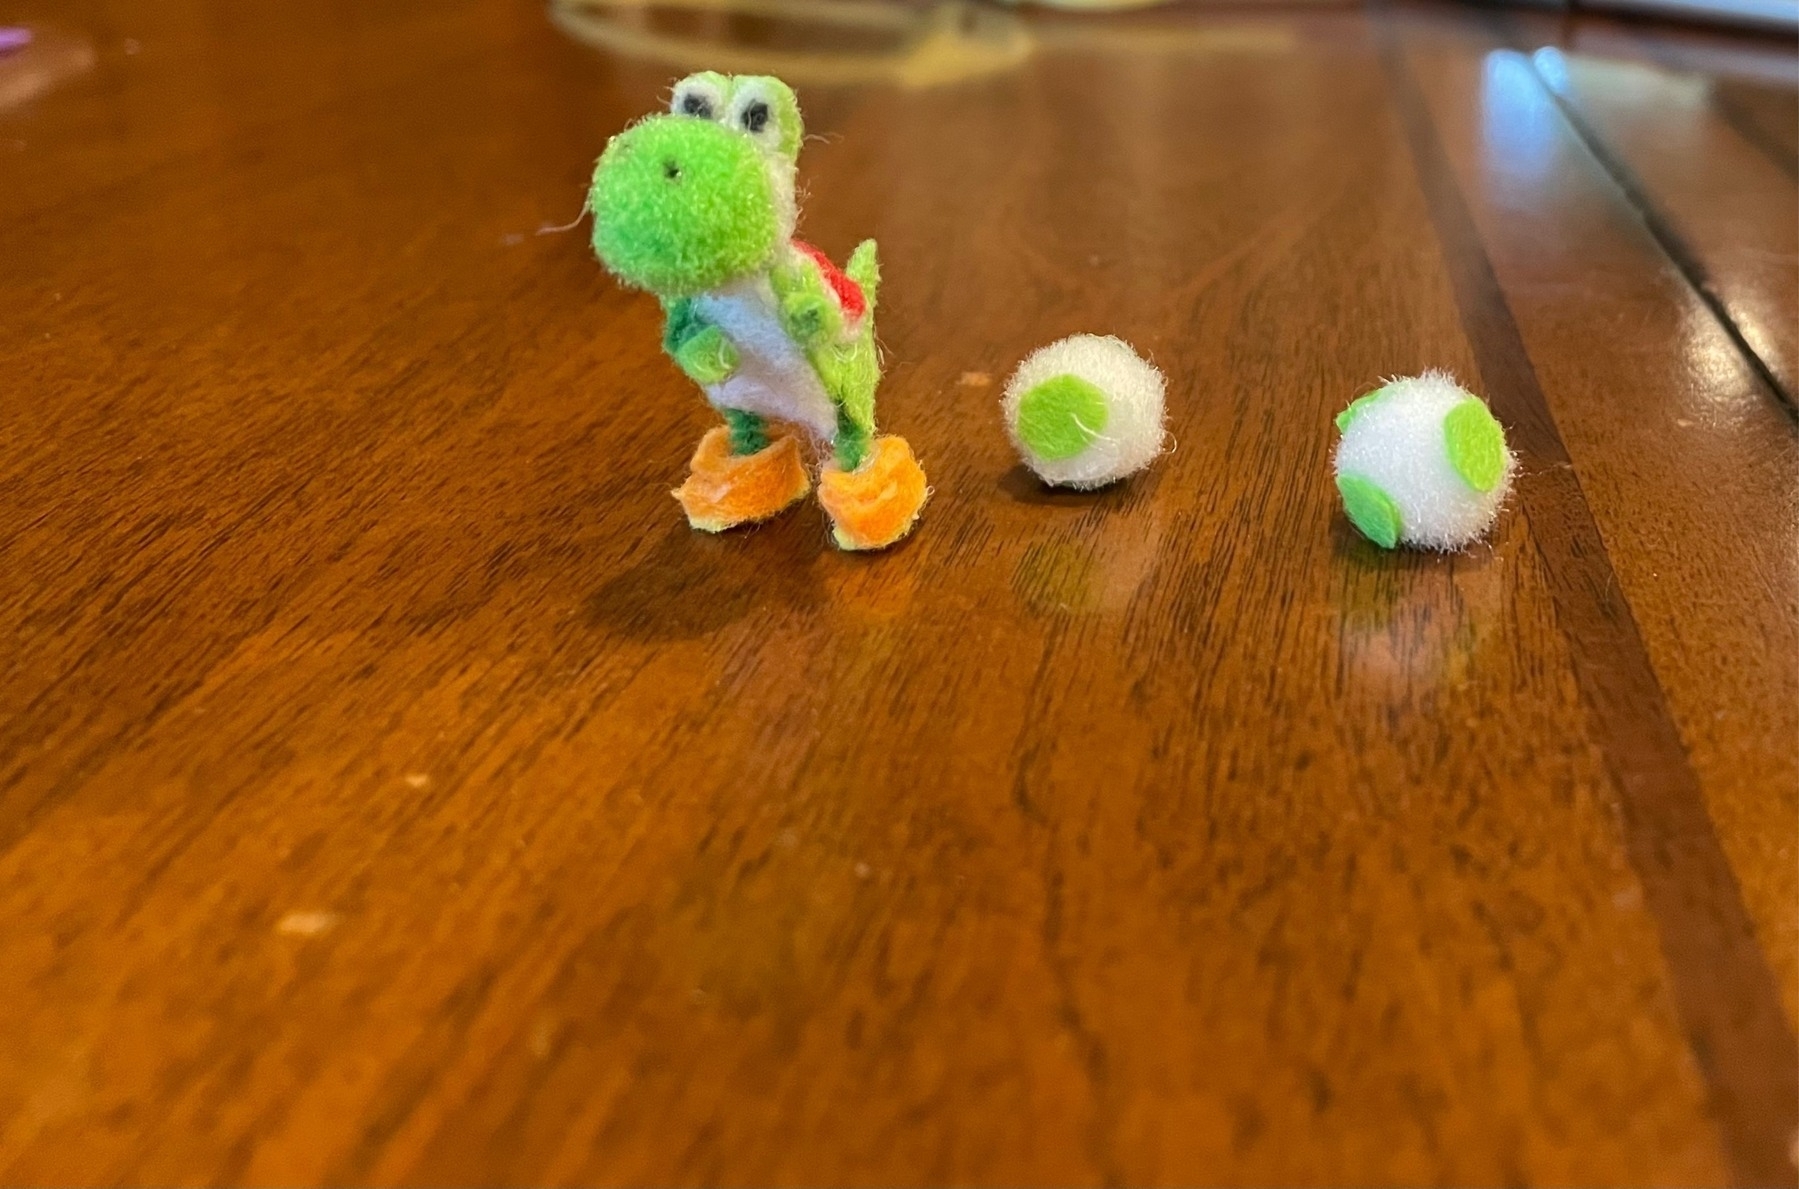
Yosh Yoshi Yosh!
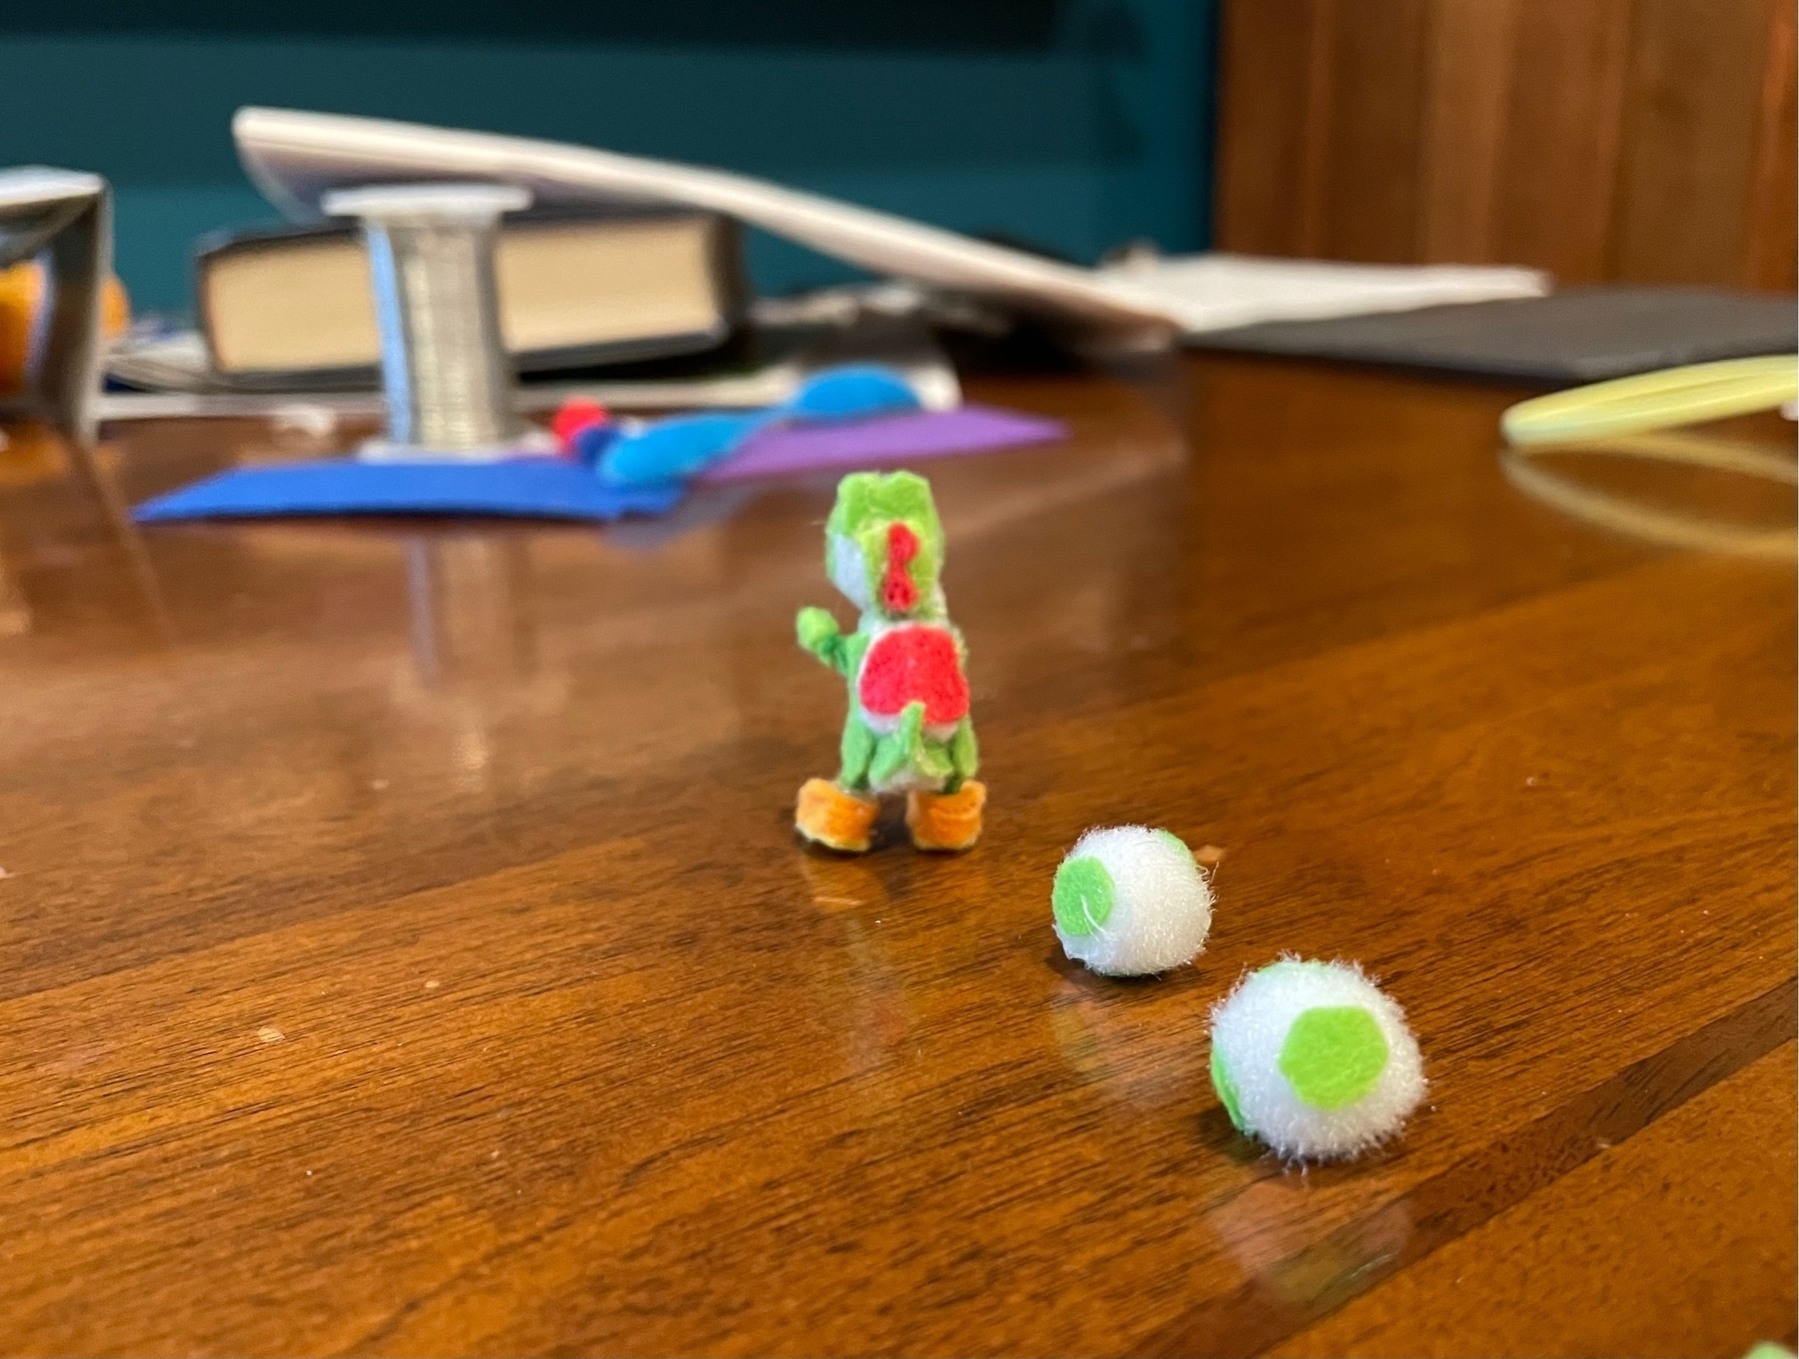
Yoshi?
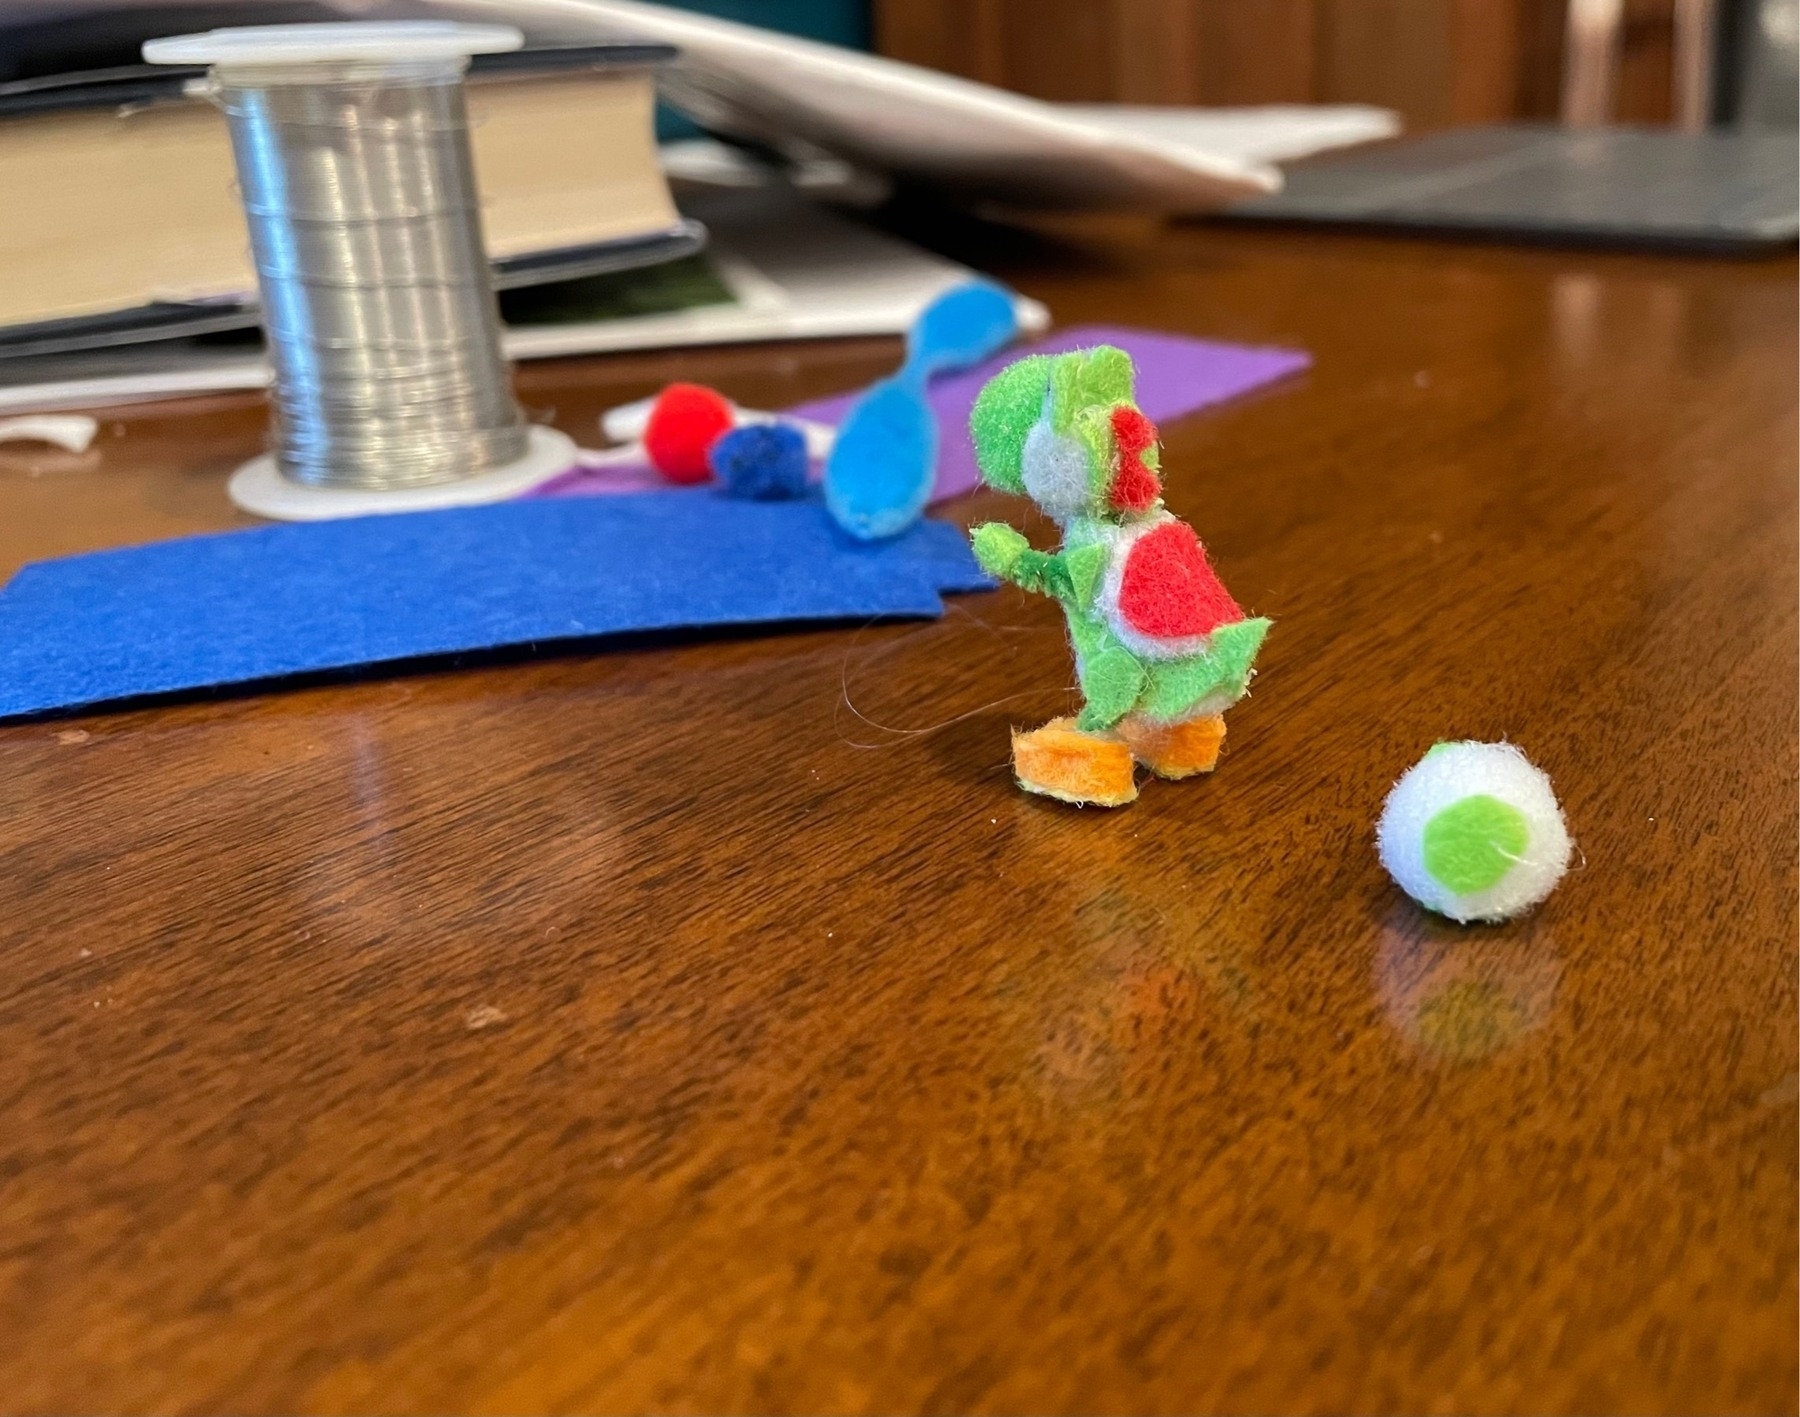
Osh!?!
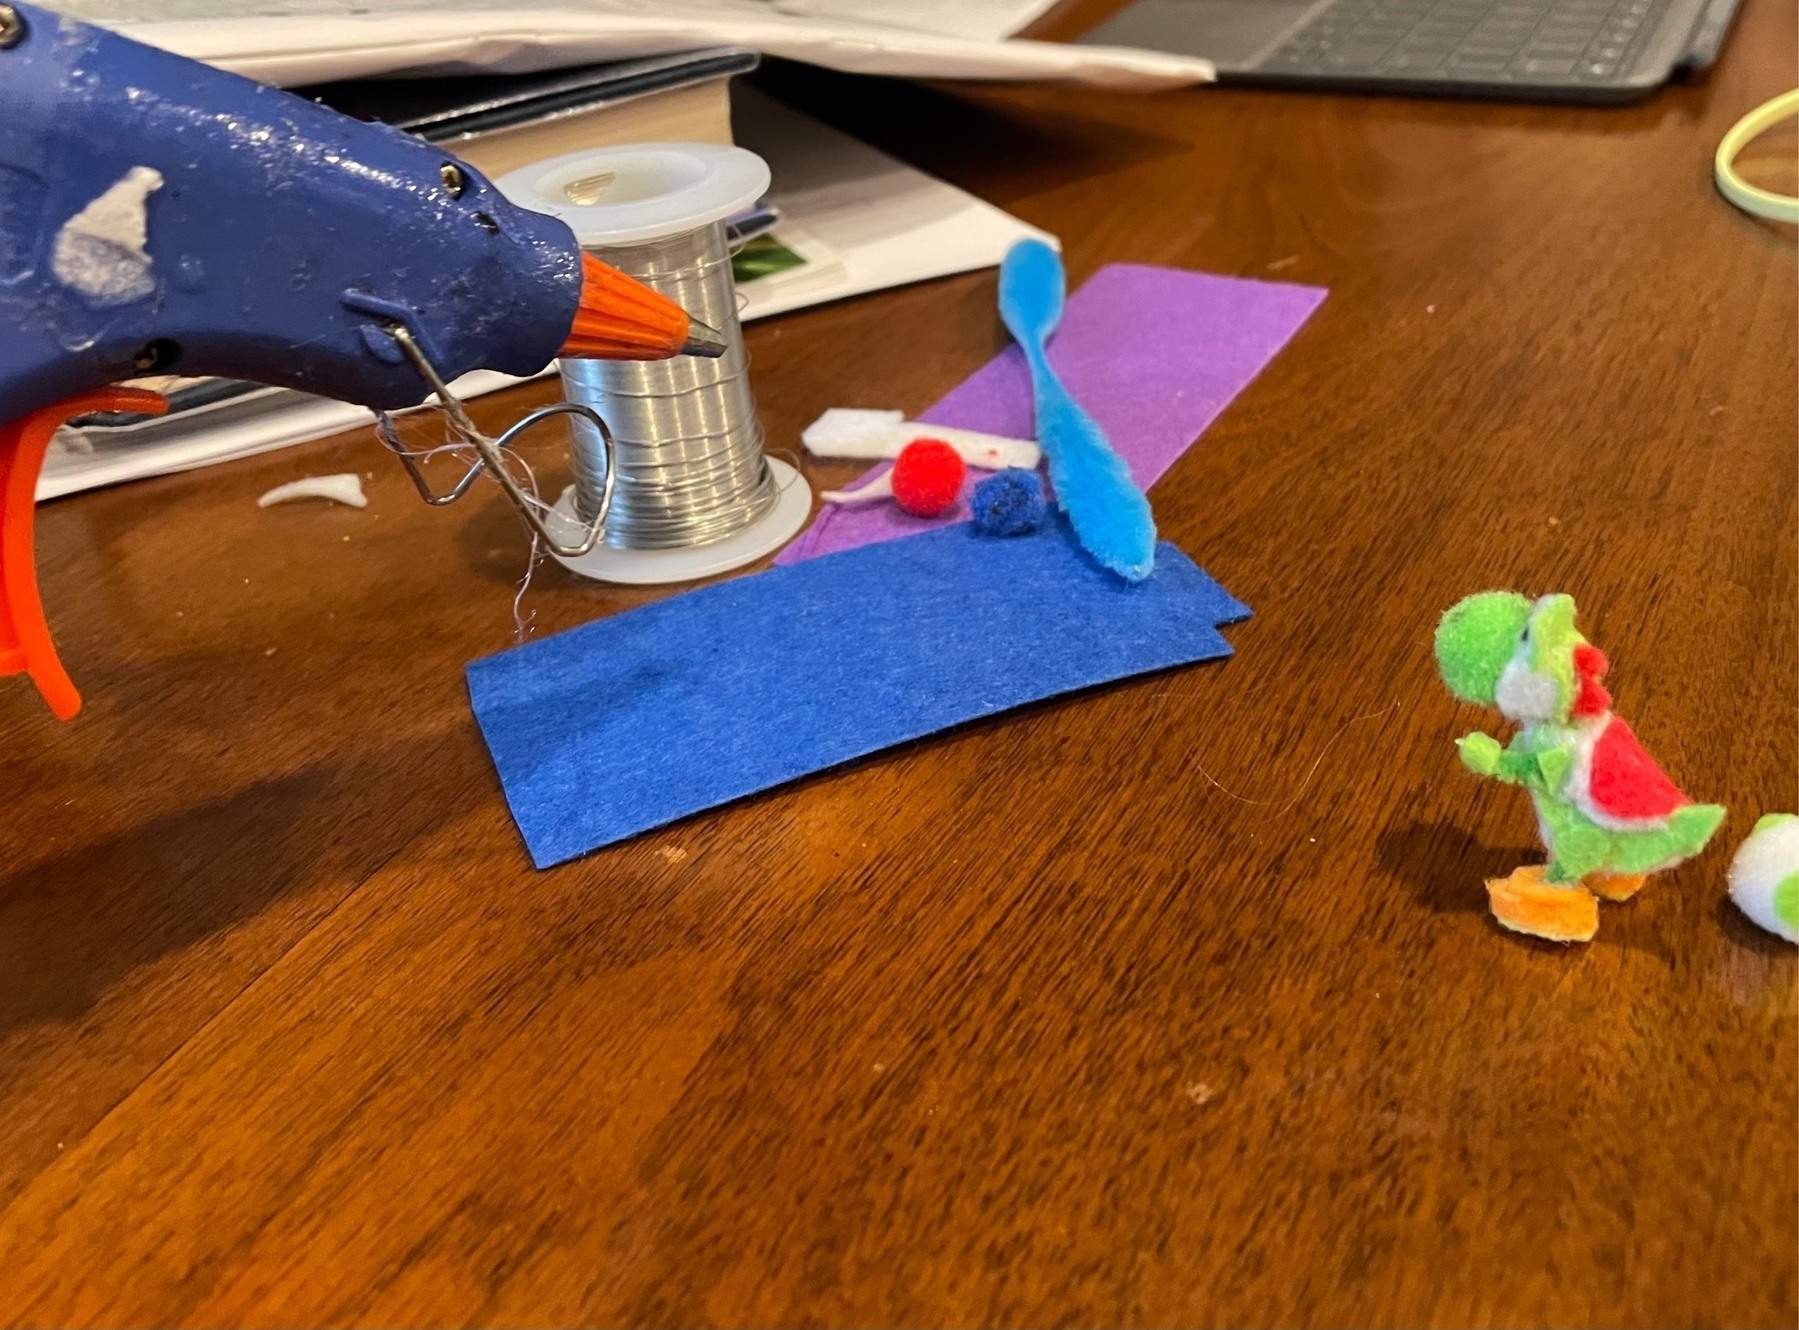
Yoshi!?!
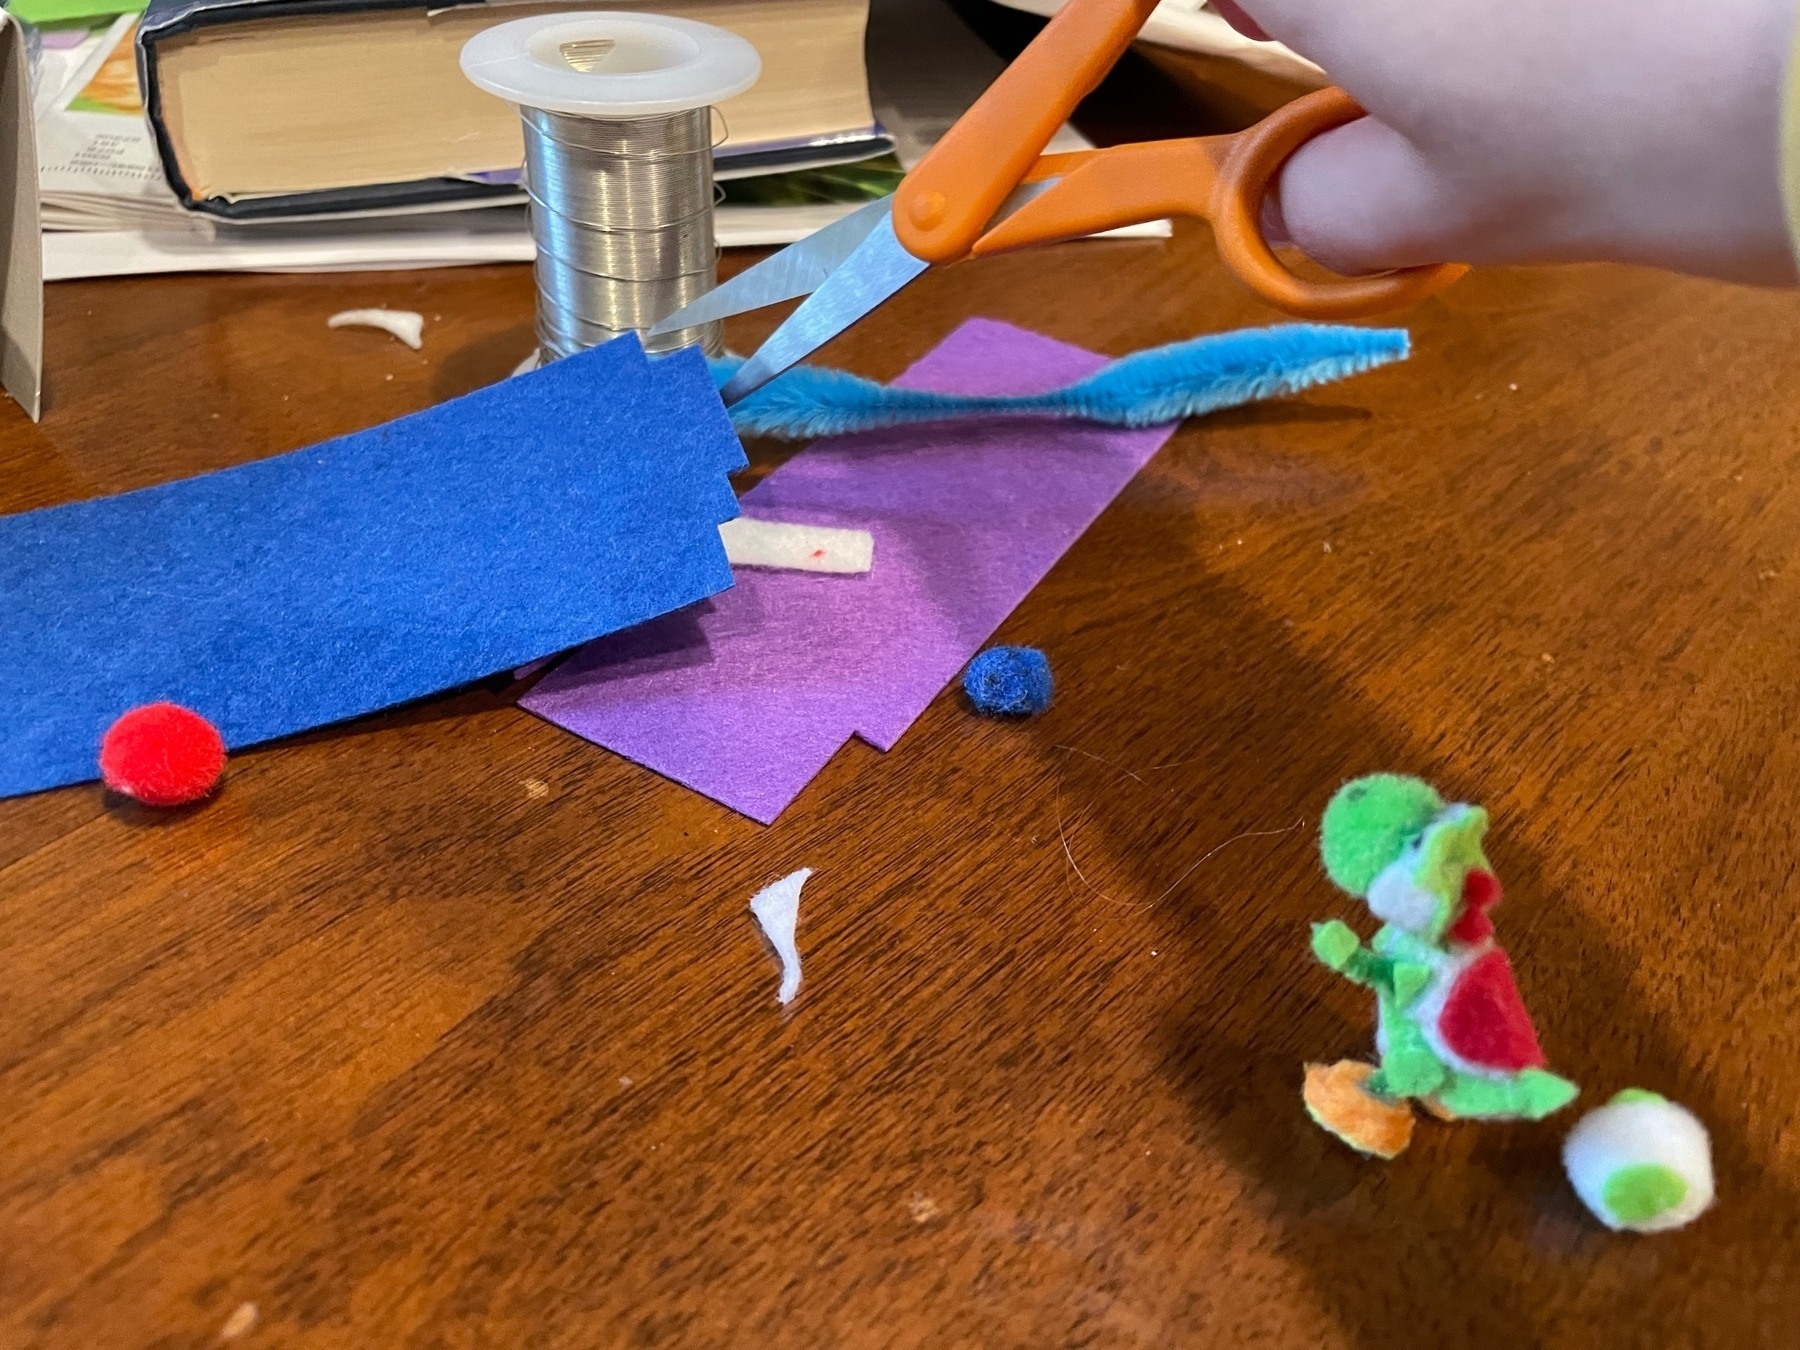
Yoshi!!!
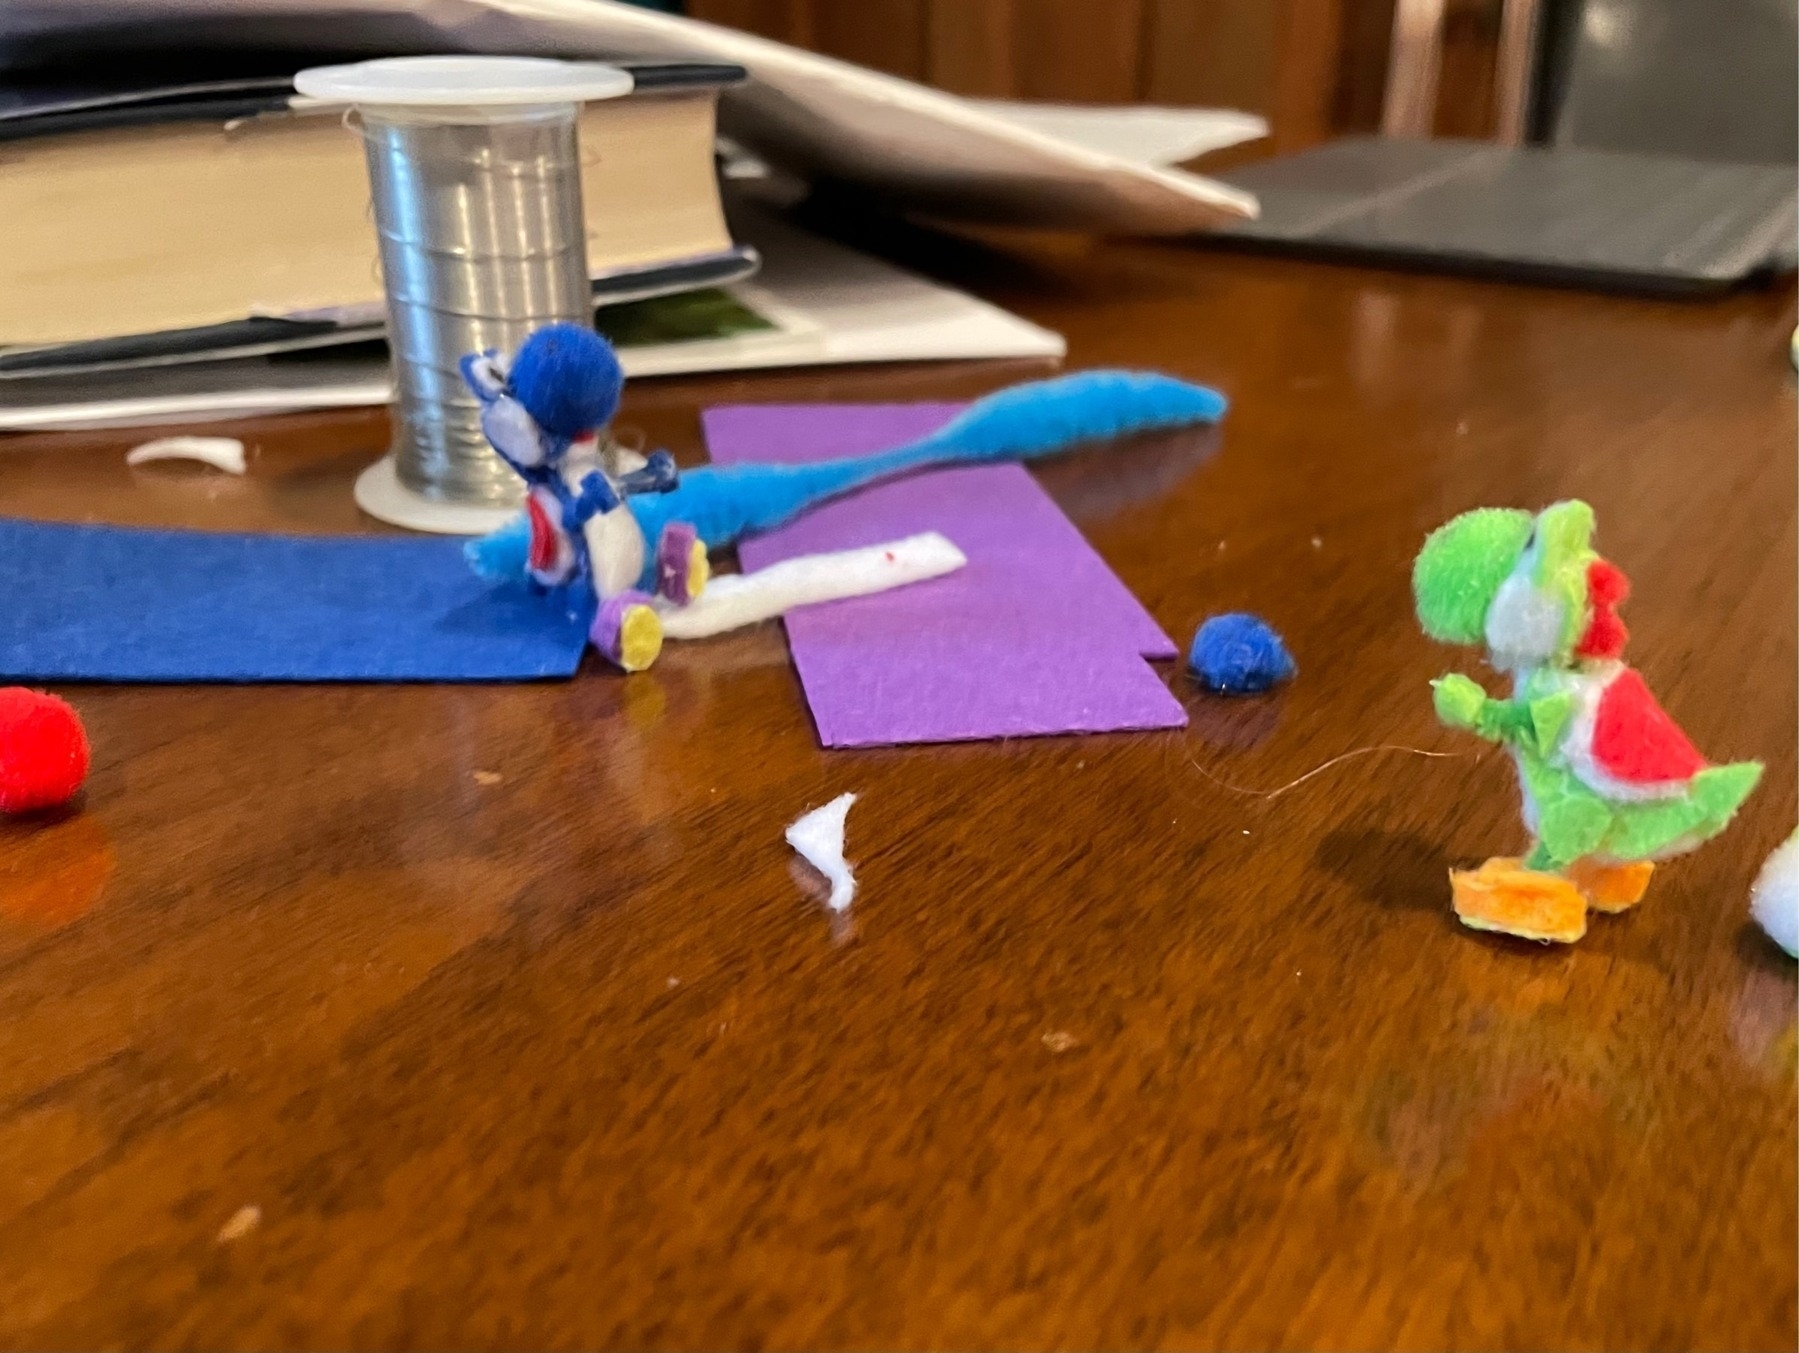
Yosh Oshi!
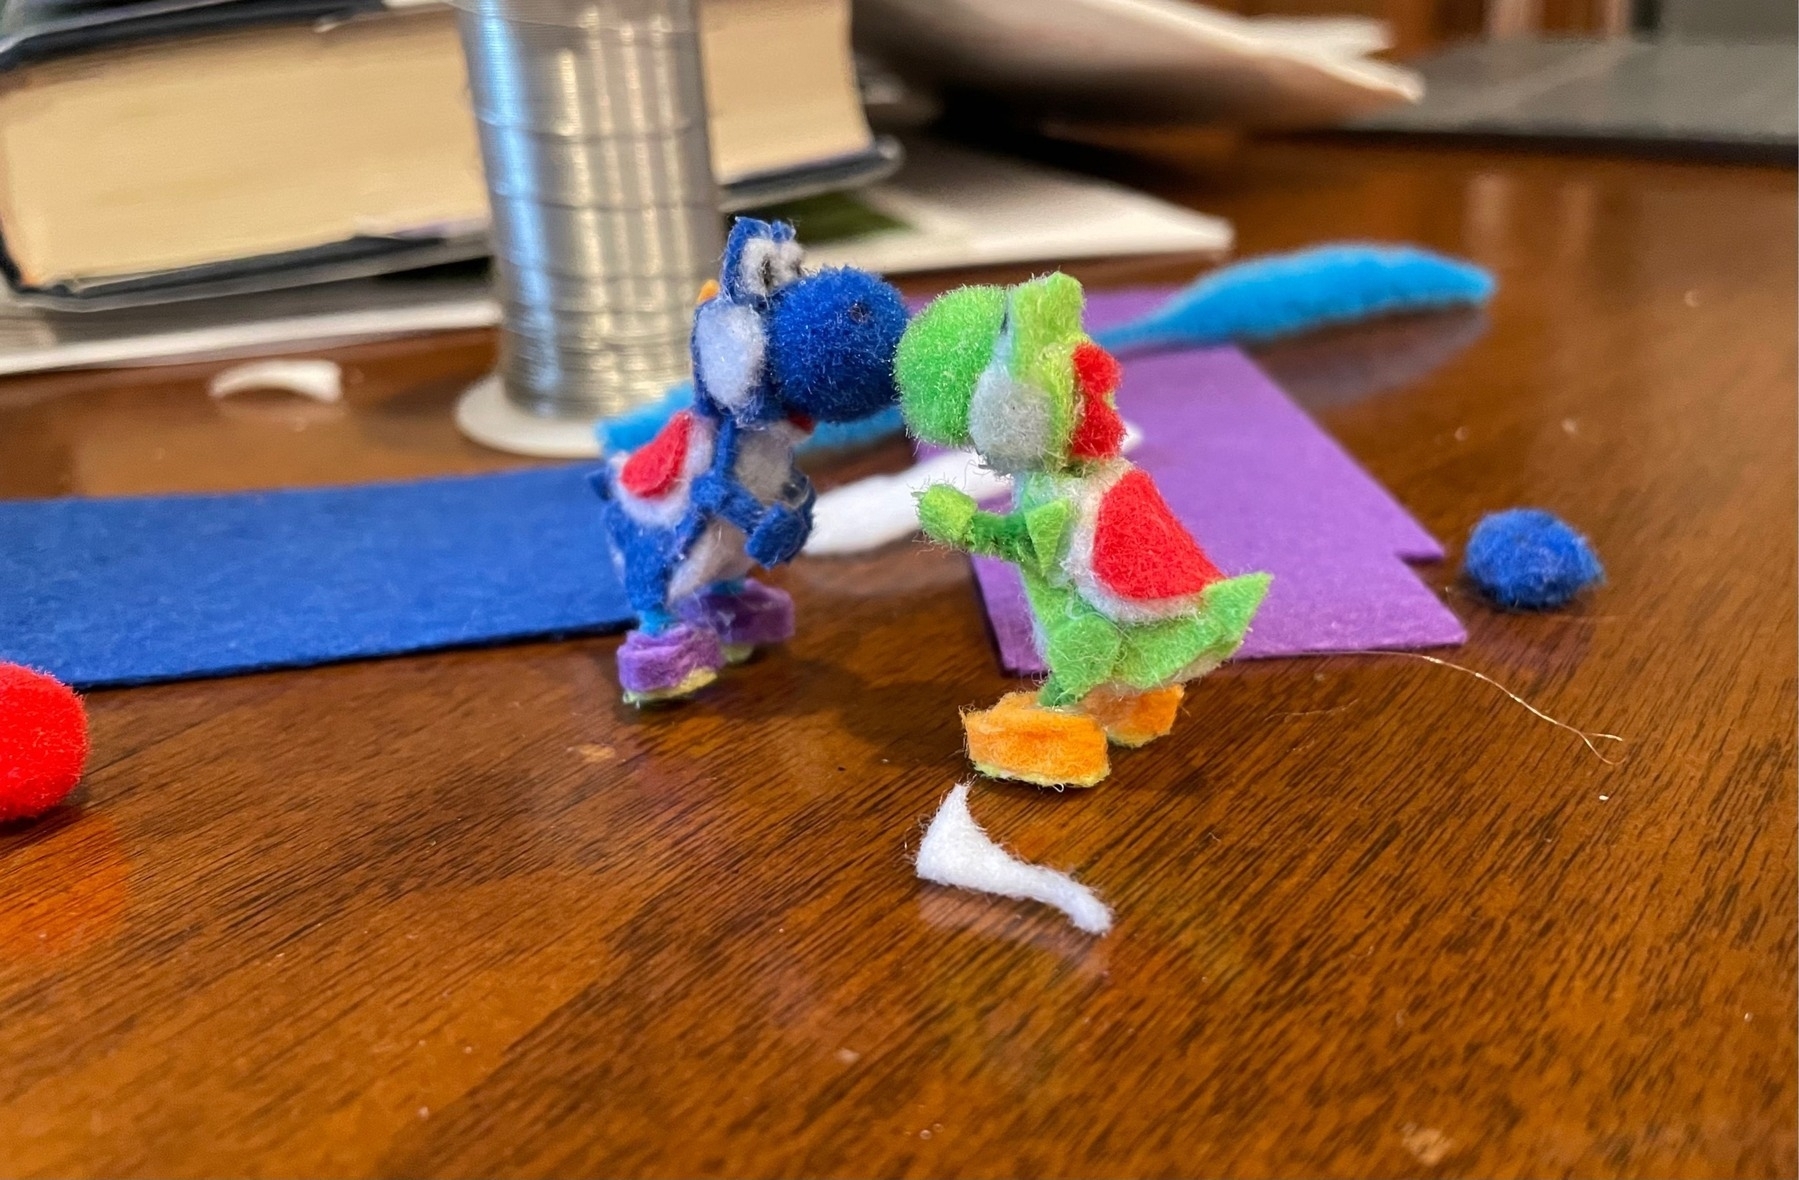
Shluurp
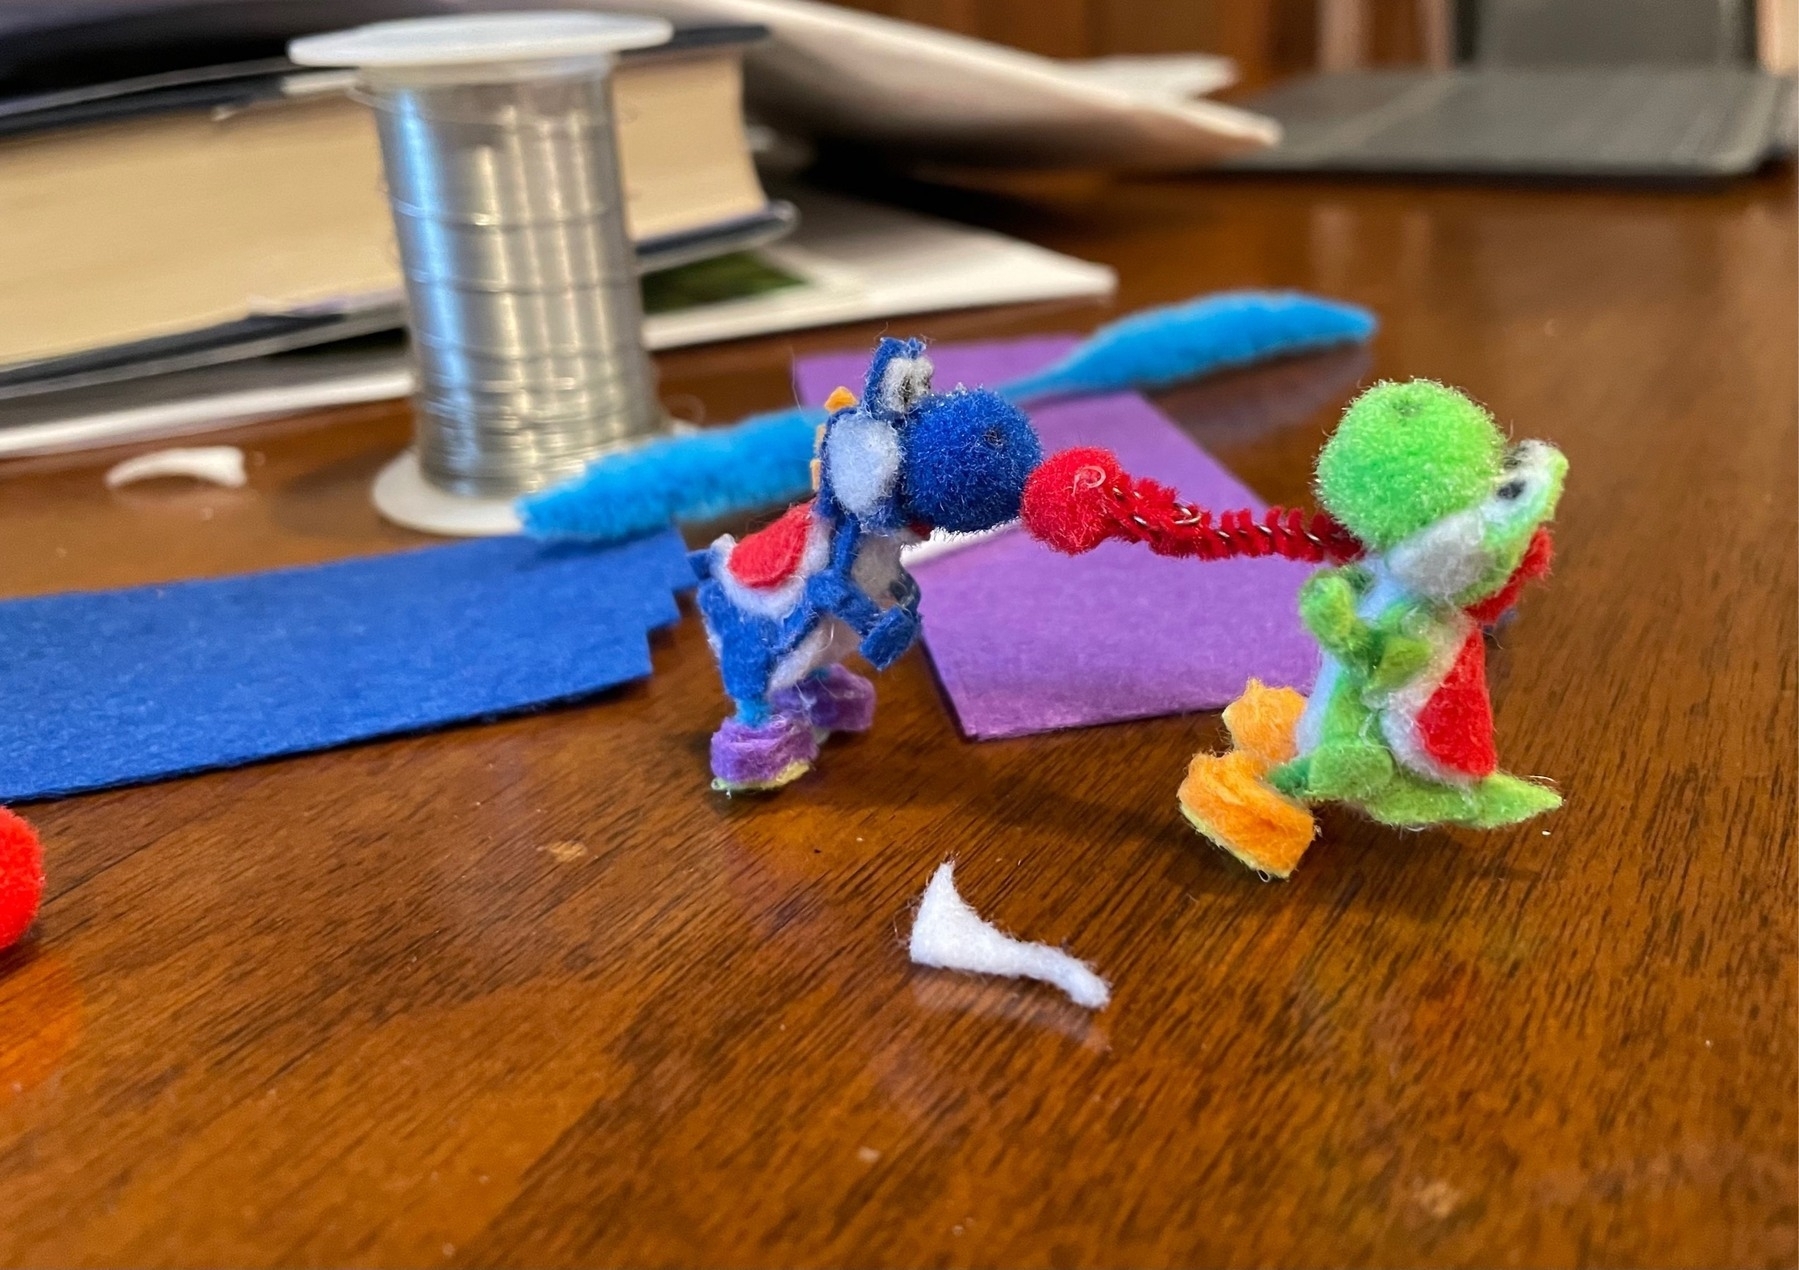
Shlp
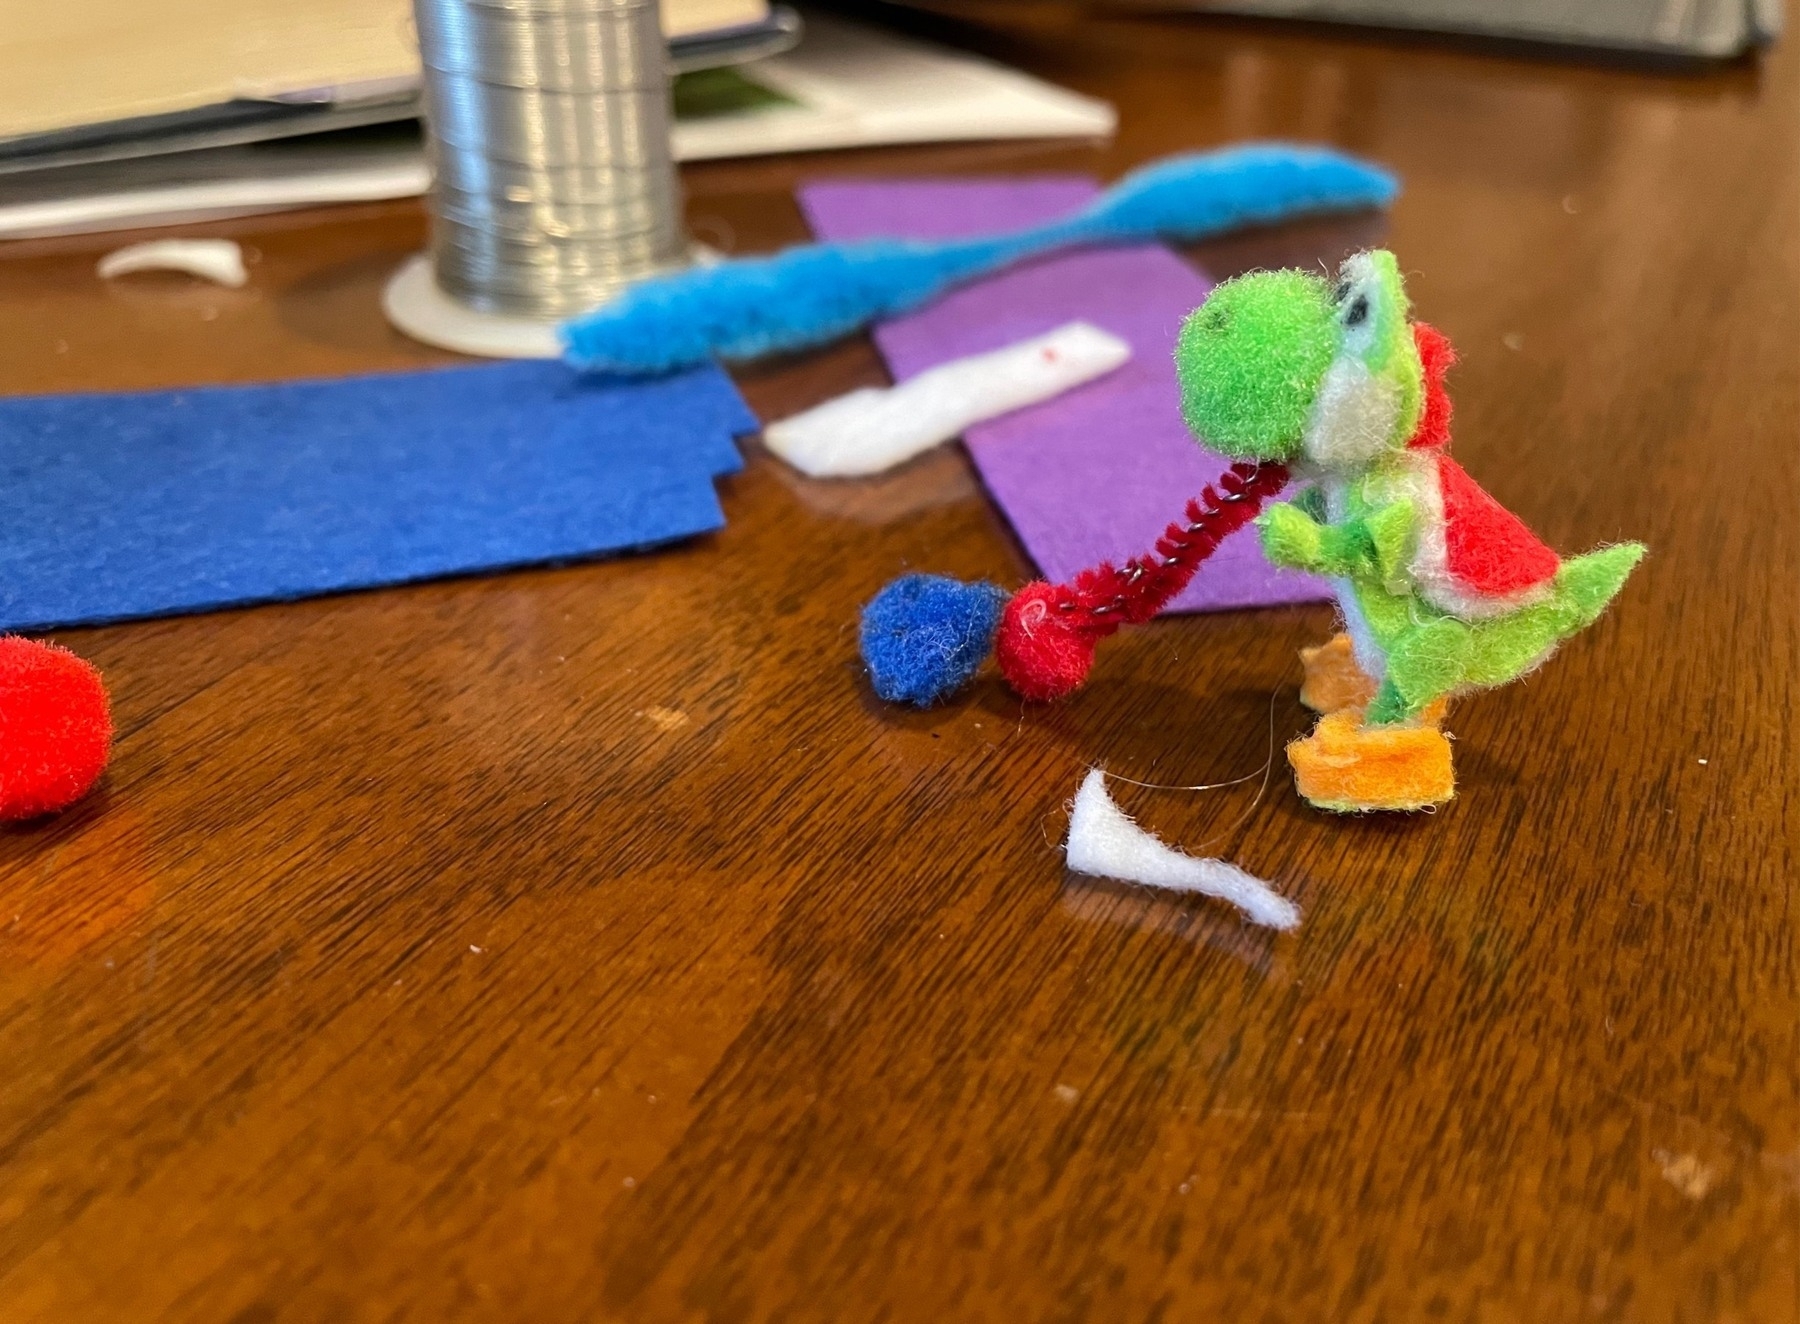
yosh
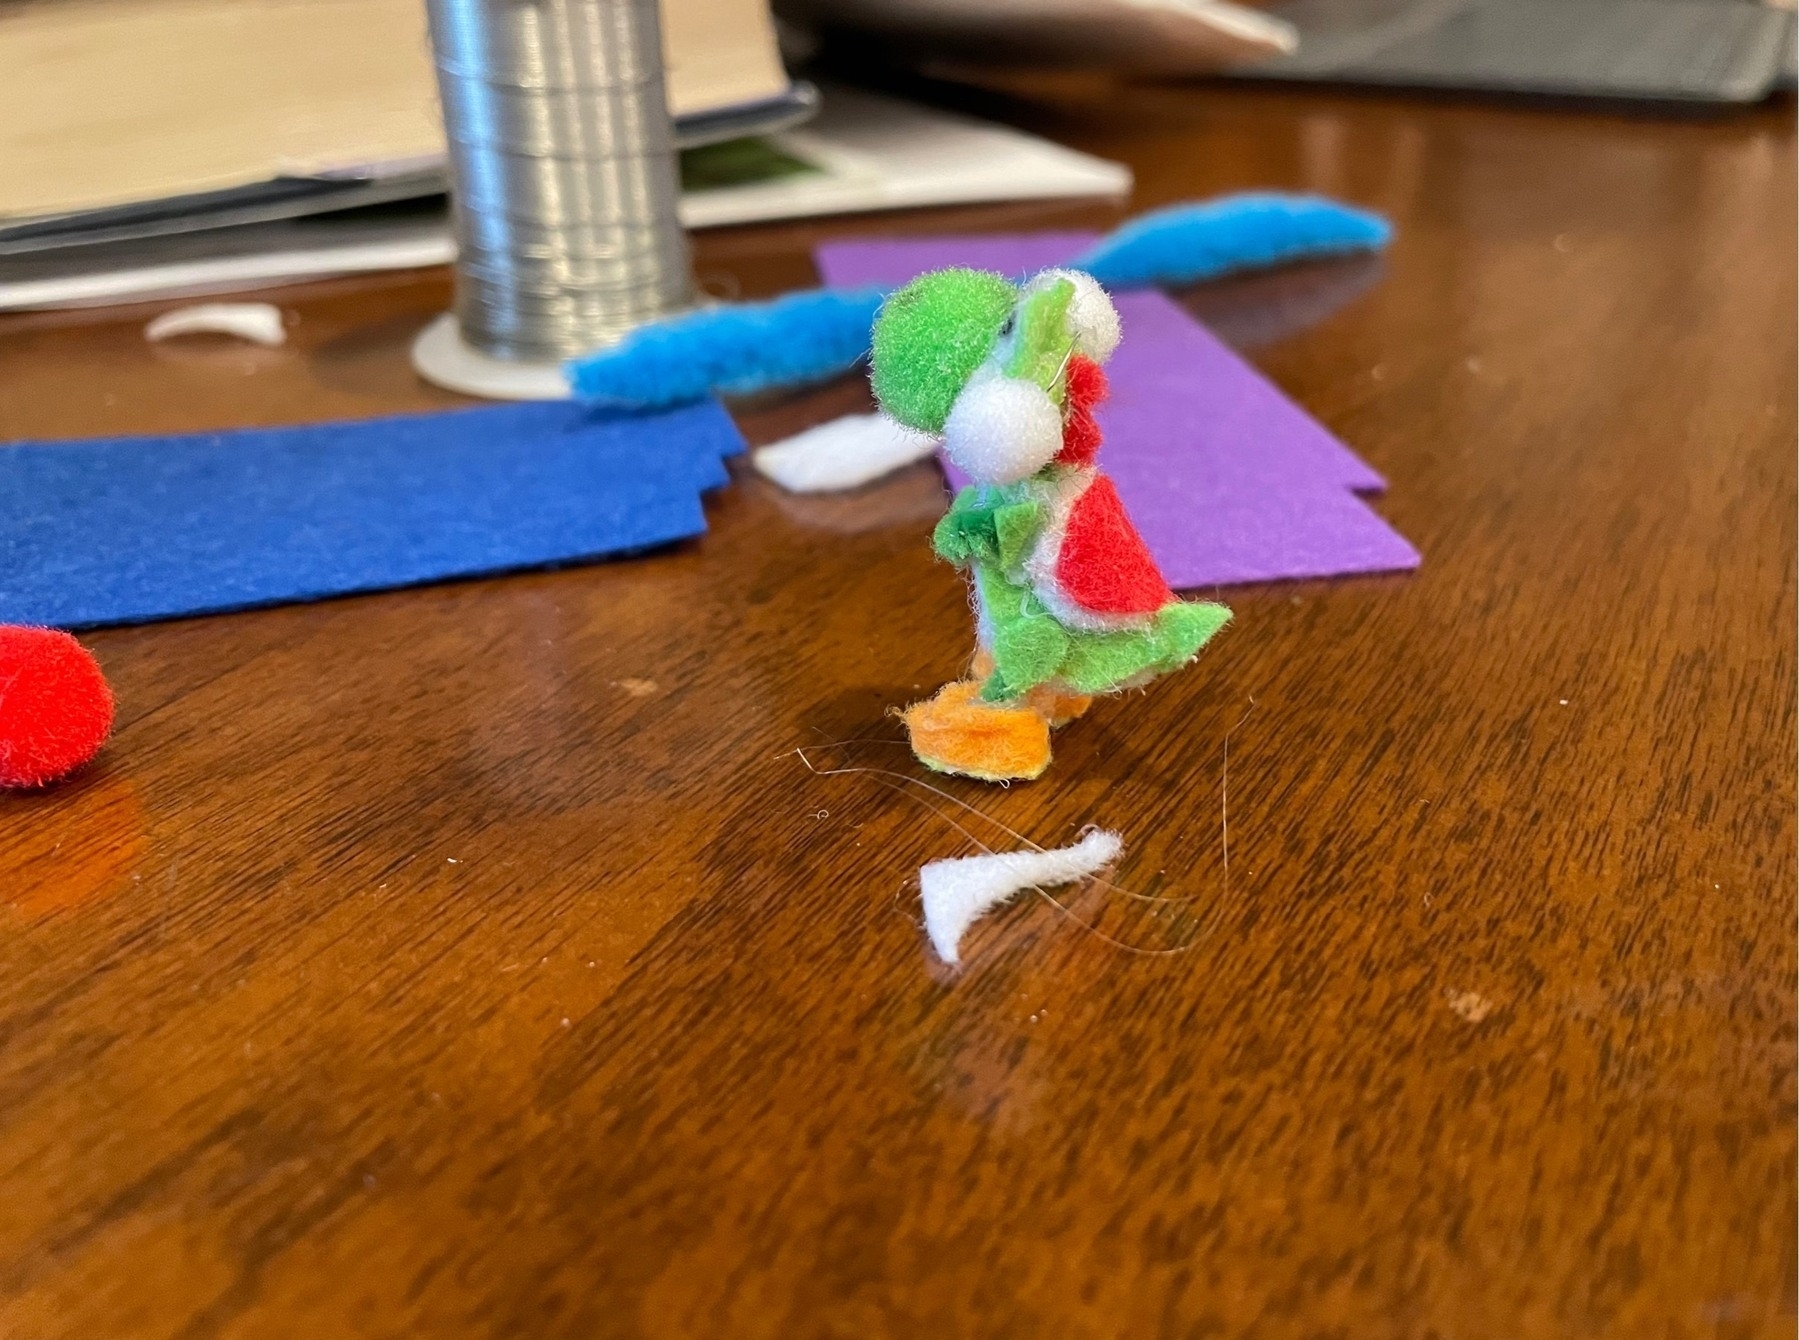
Yoshi!
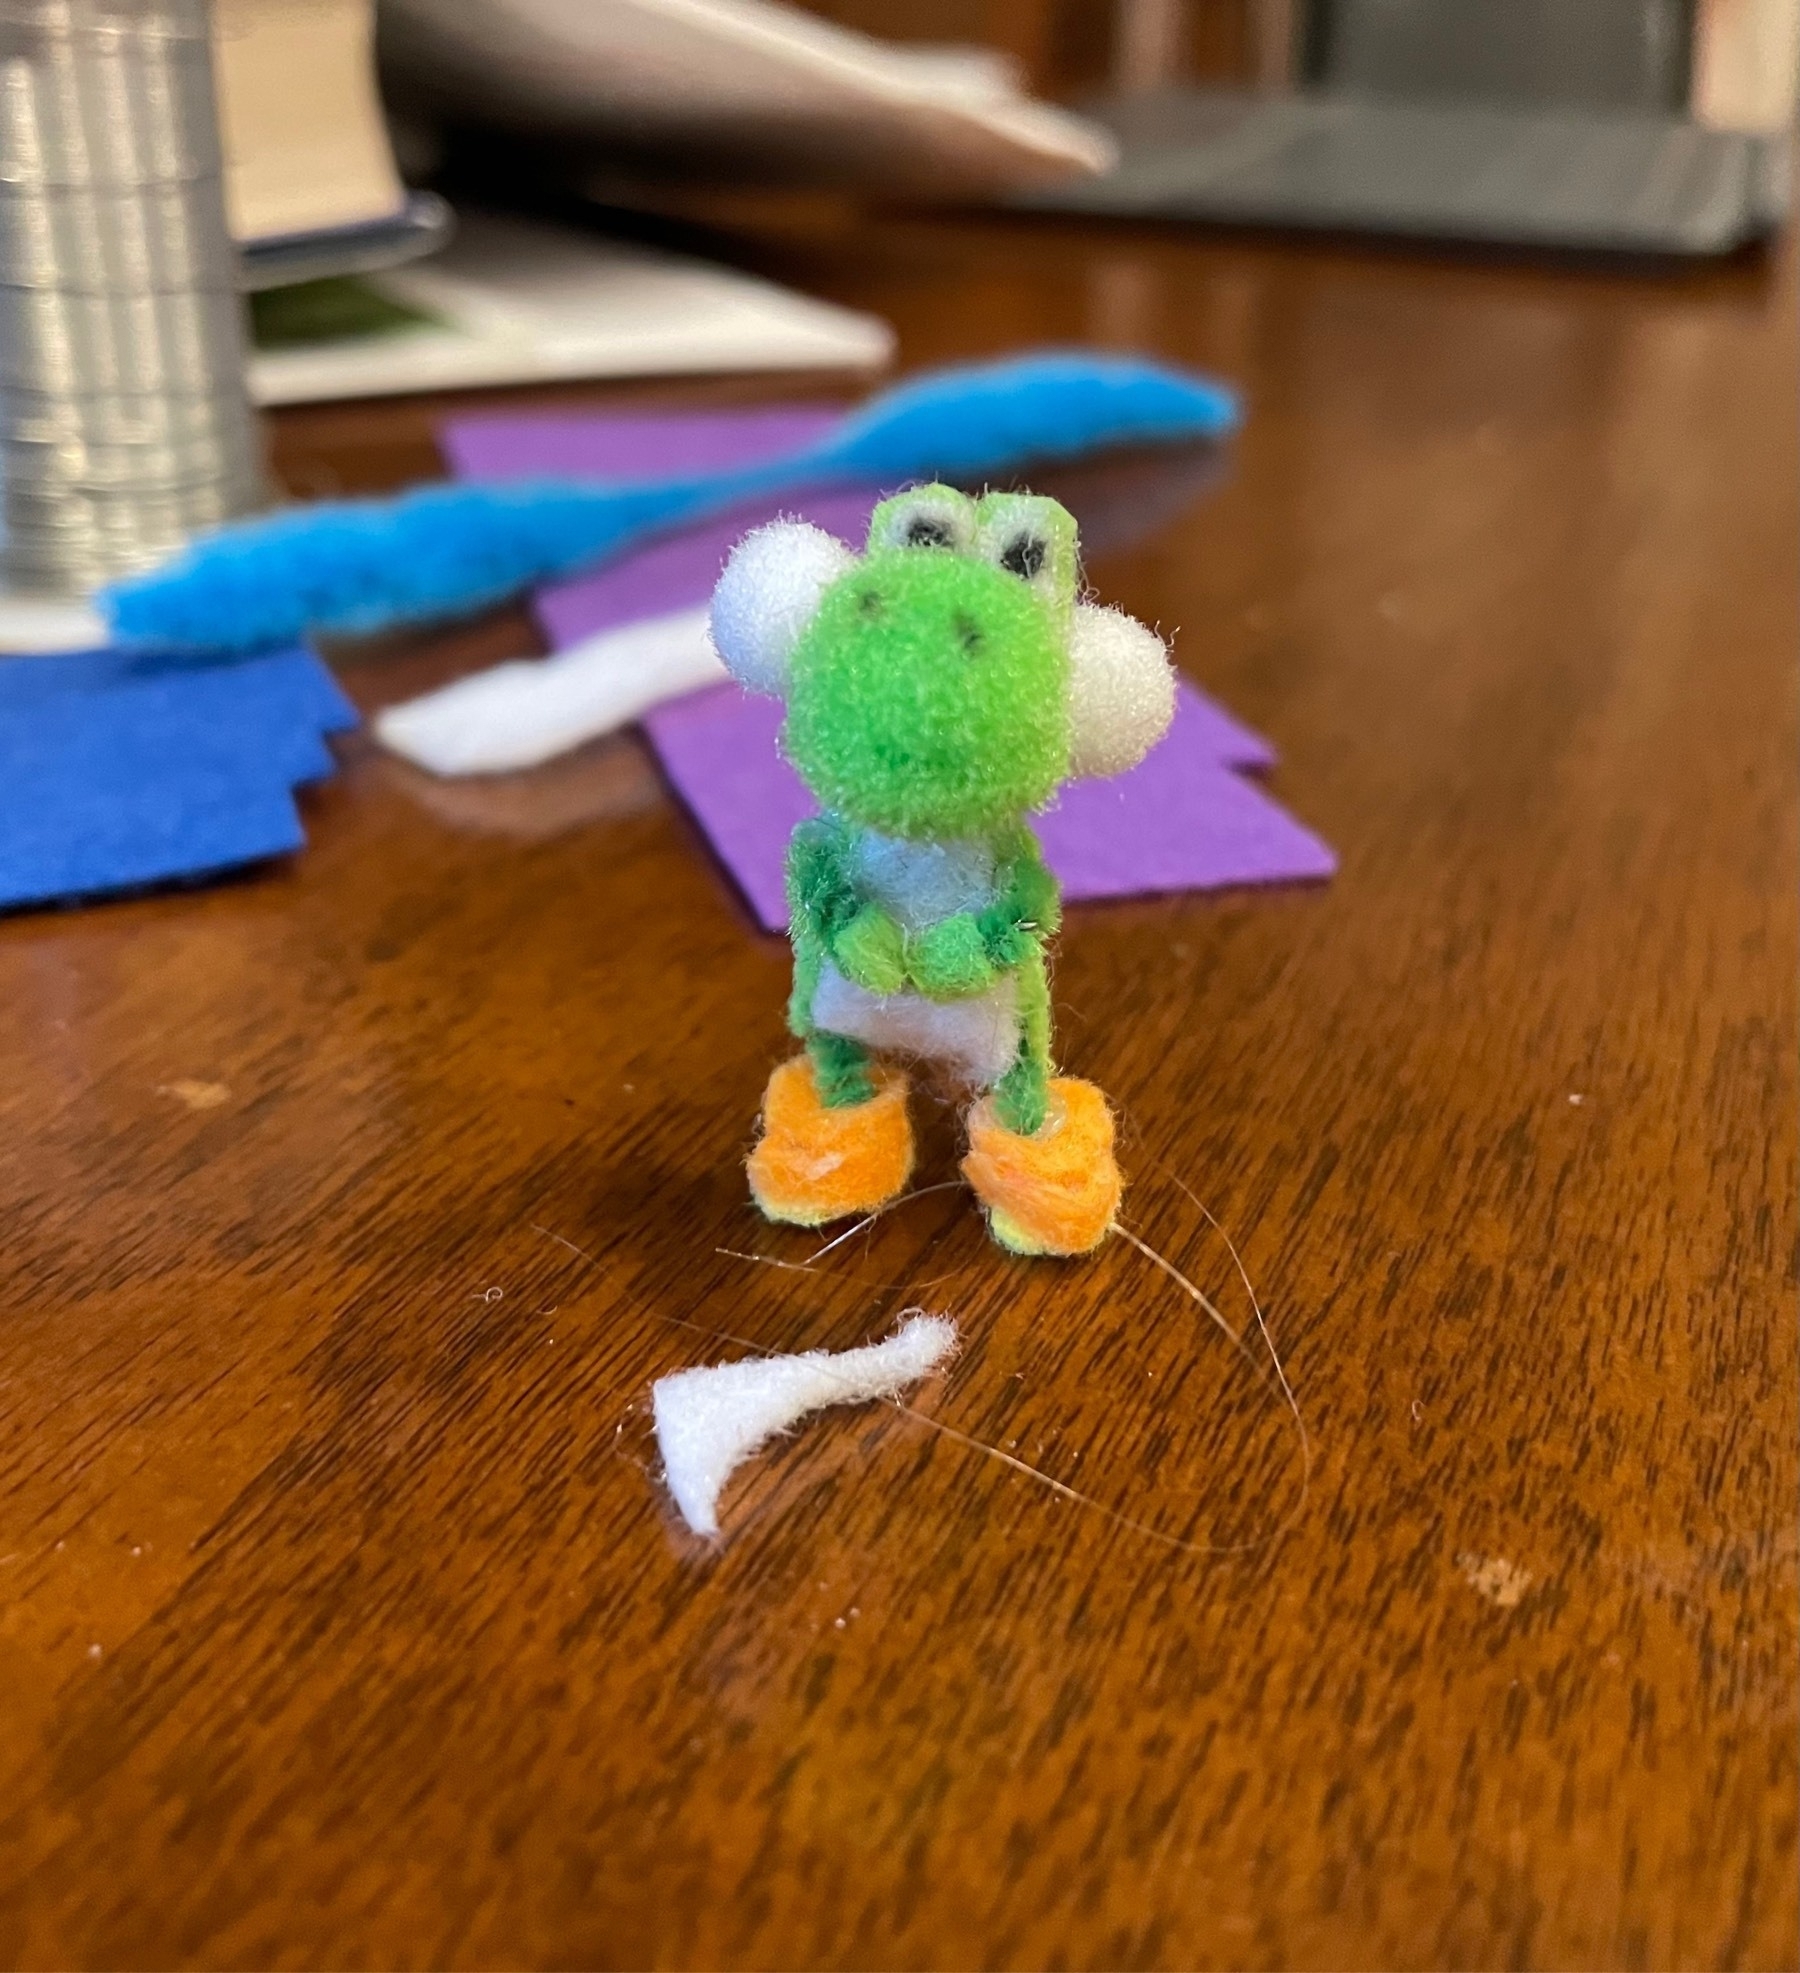
plrp
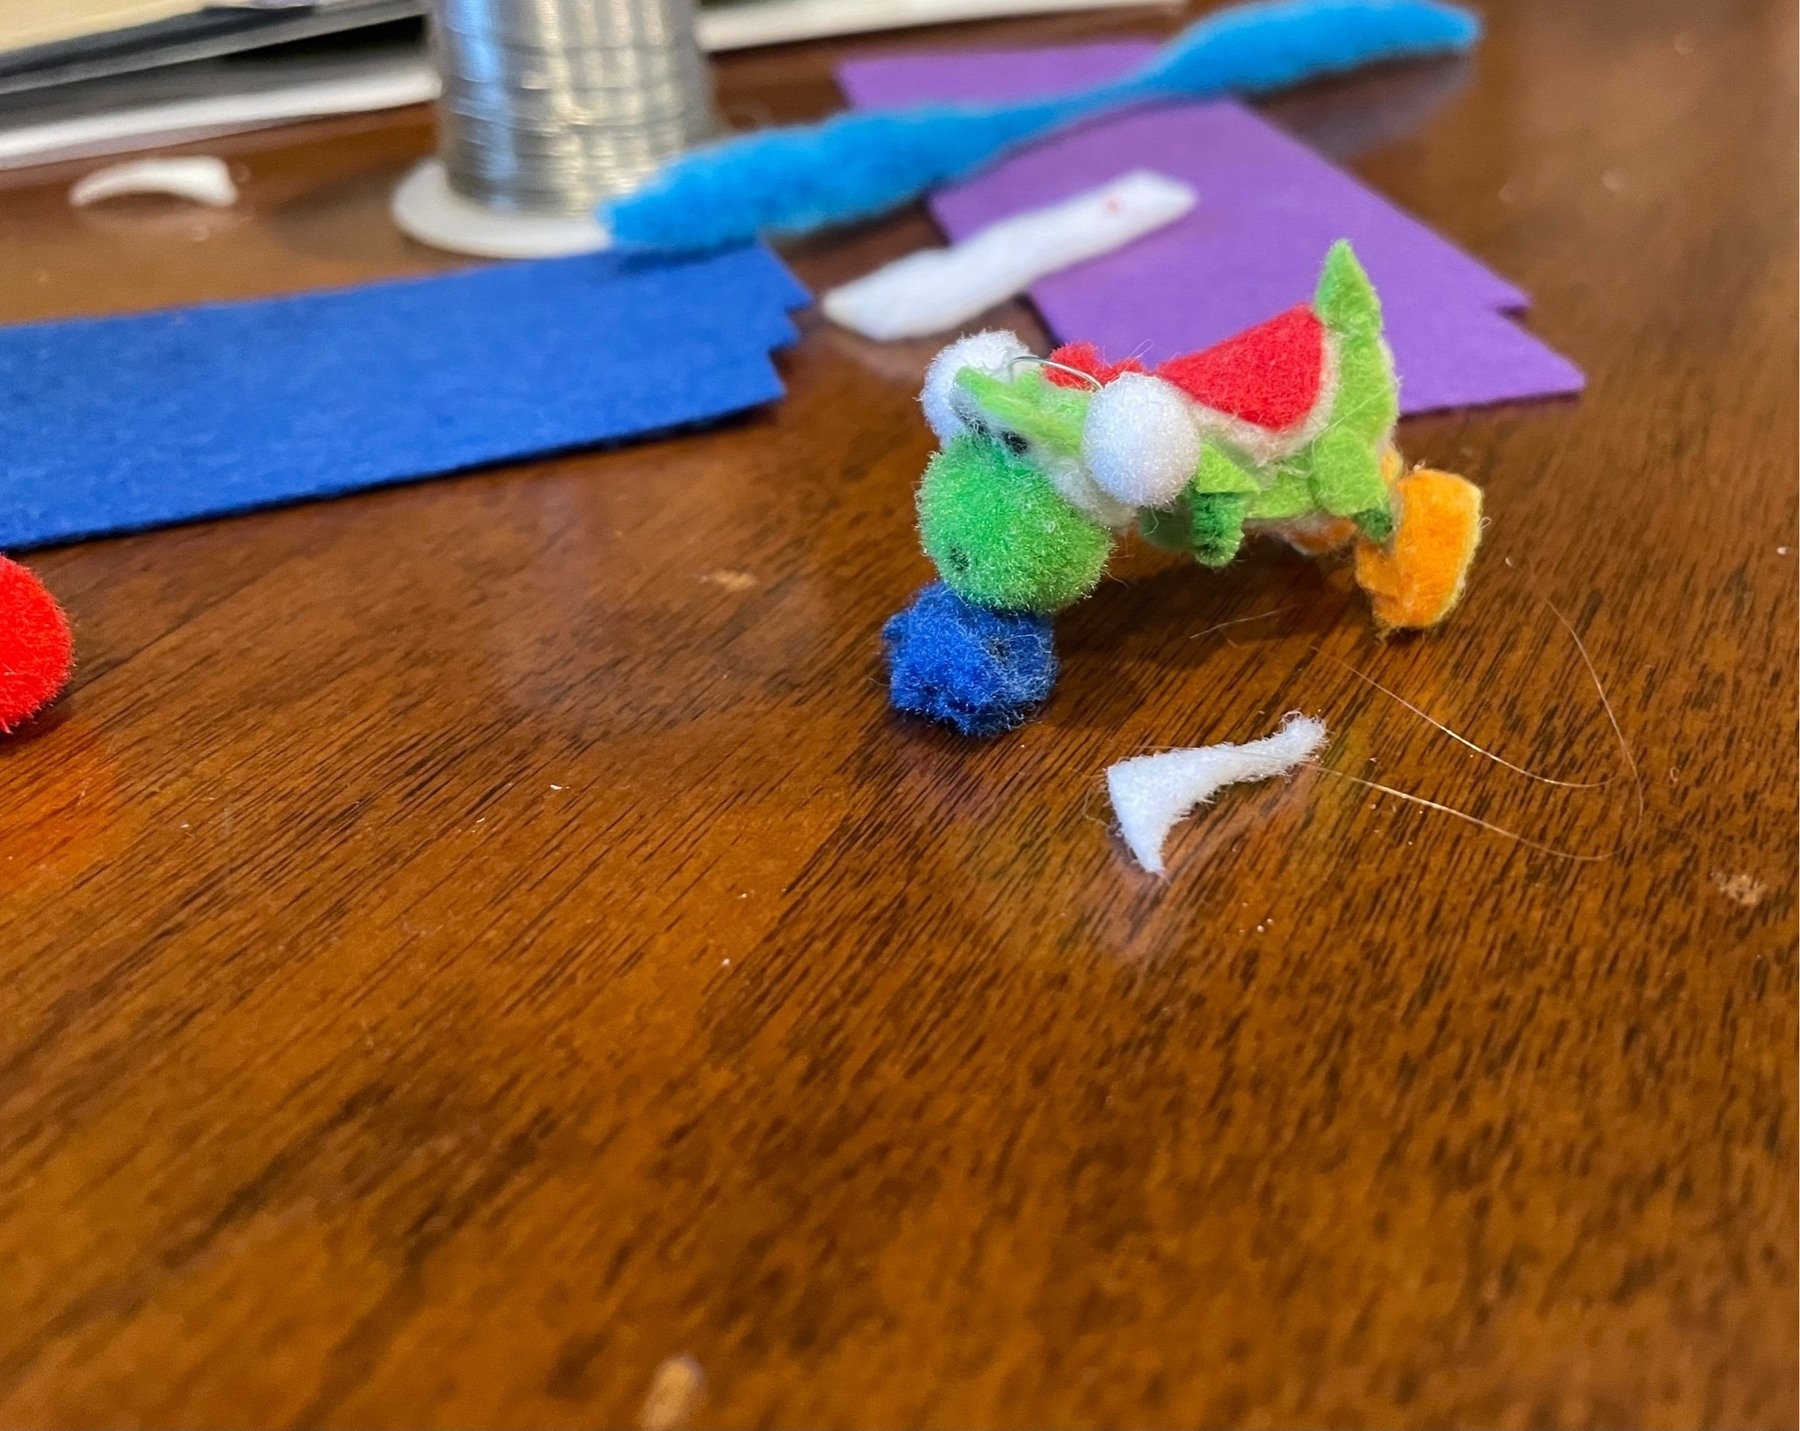
Yosh Yoshi Osh.
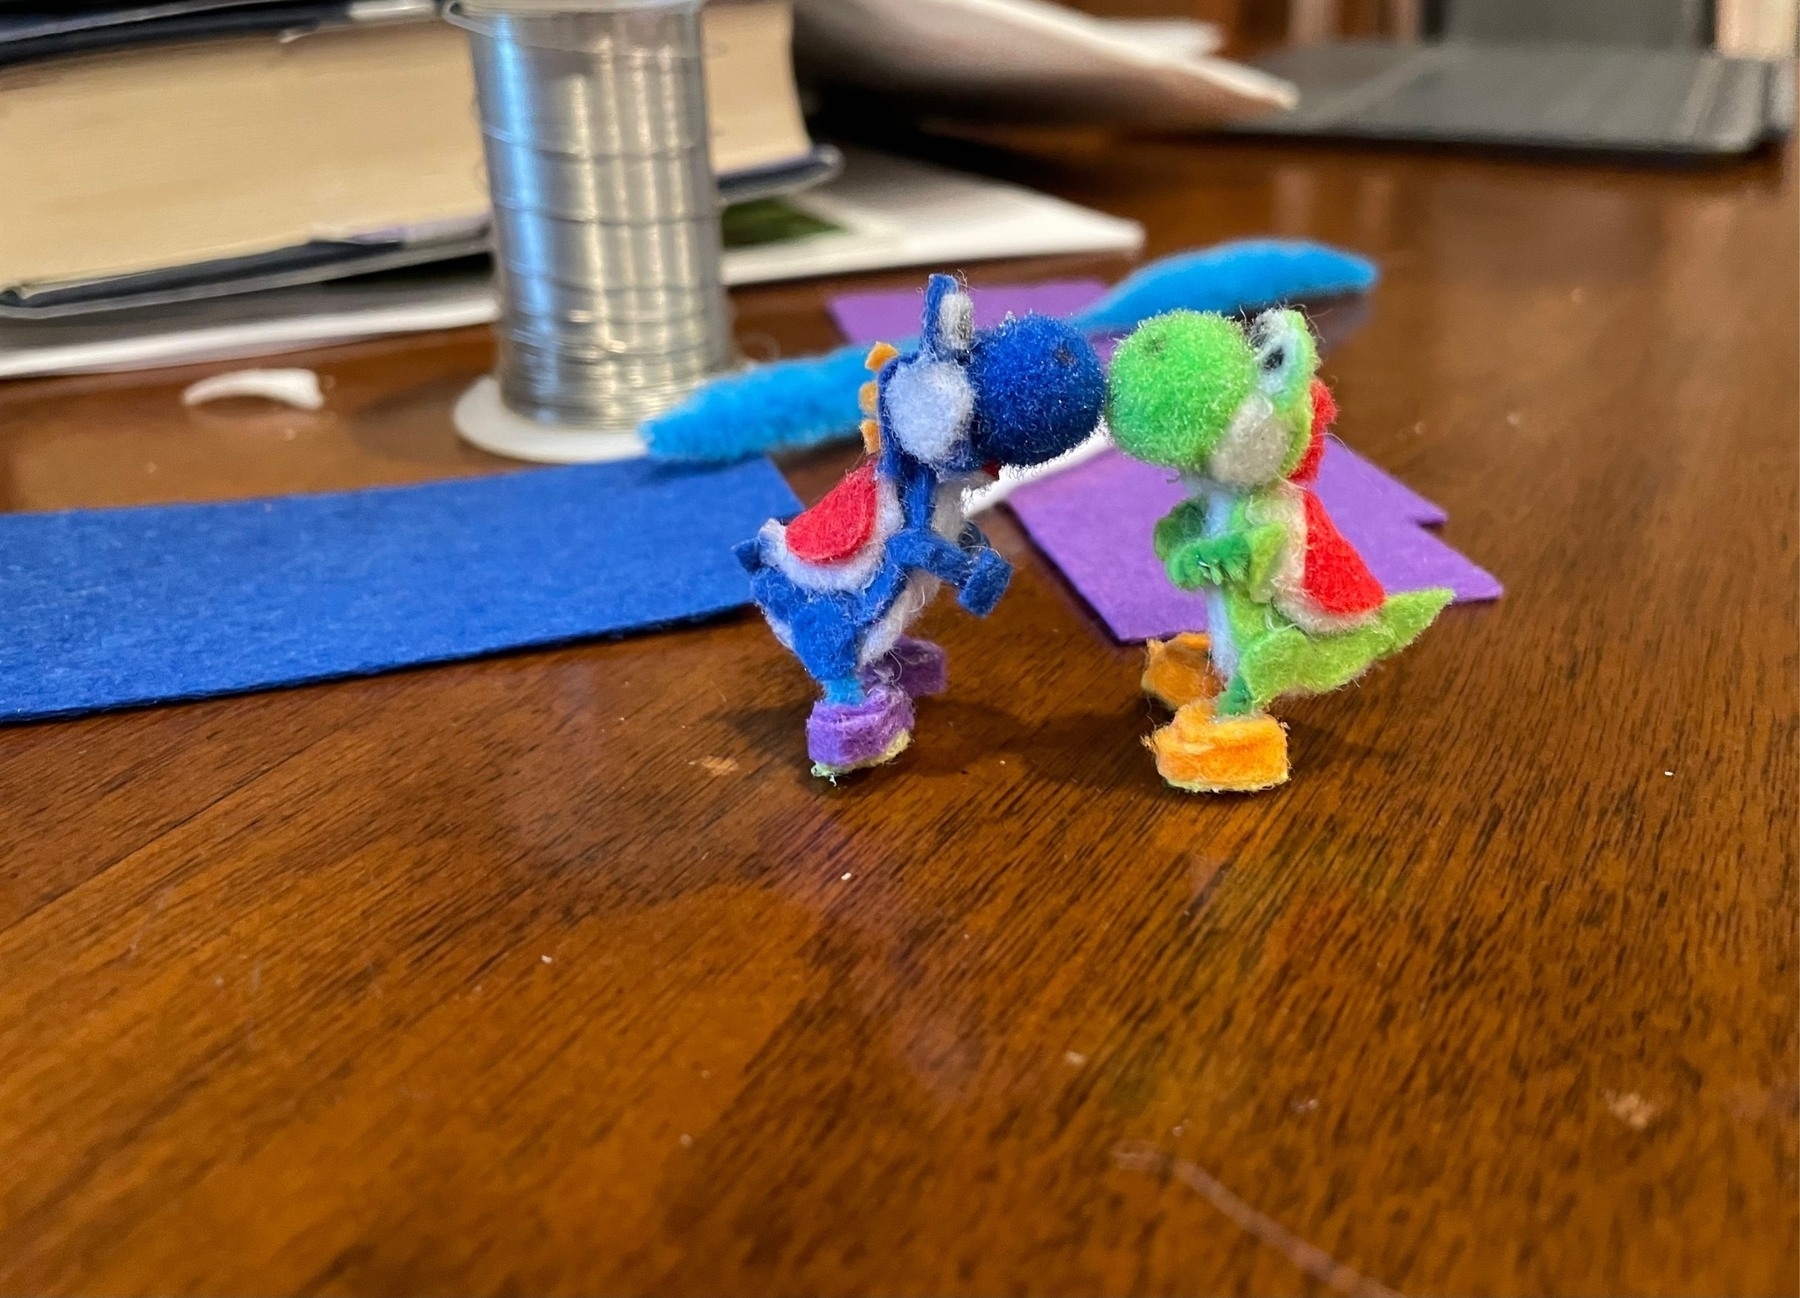
Osh?
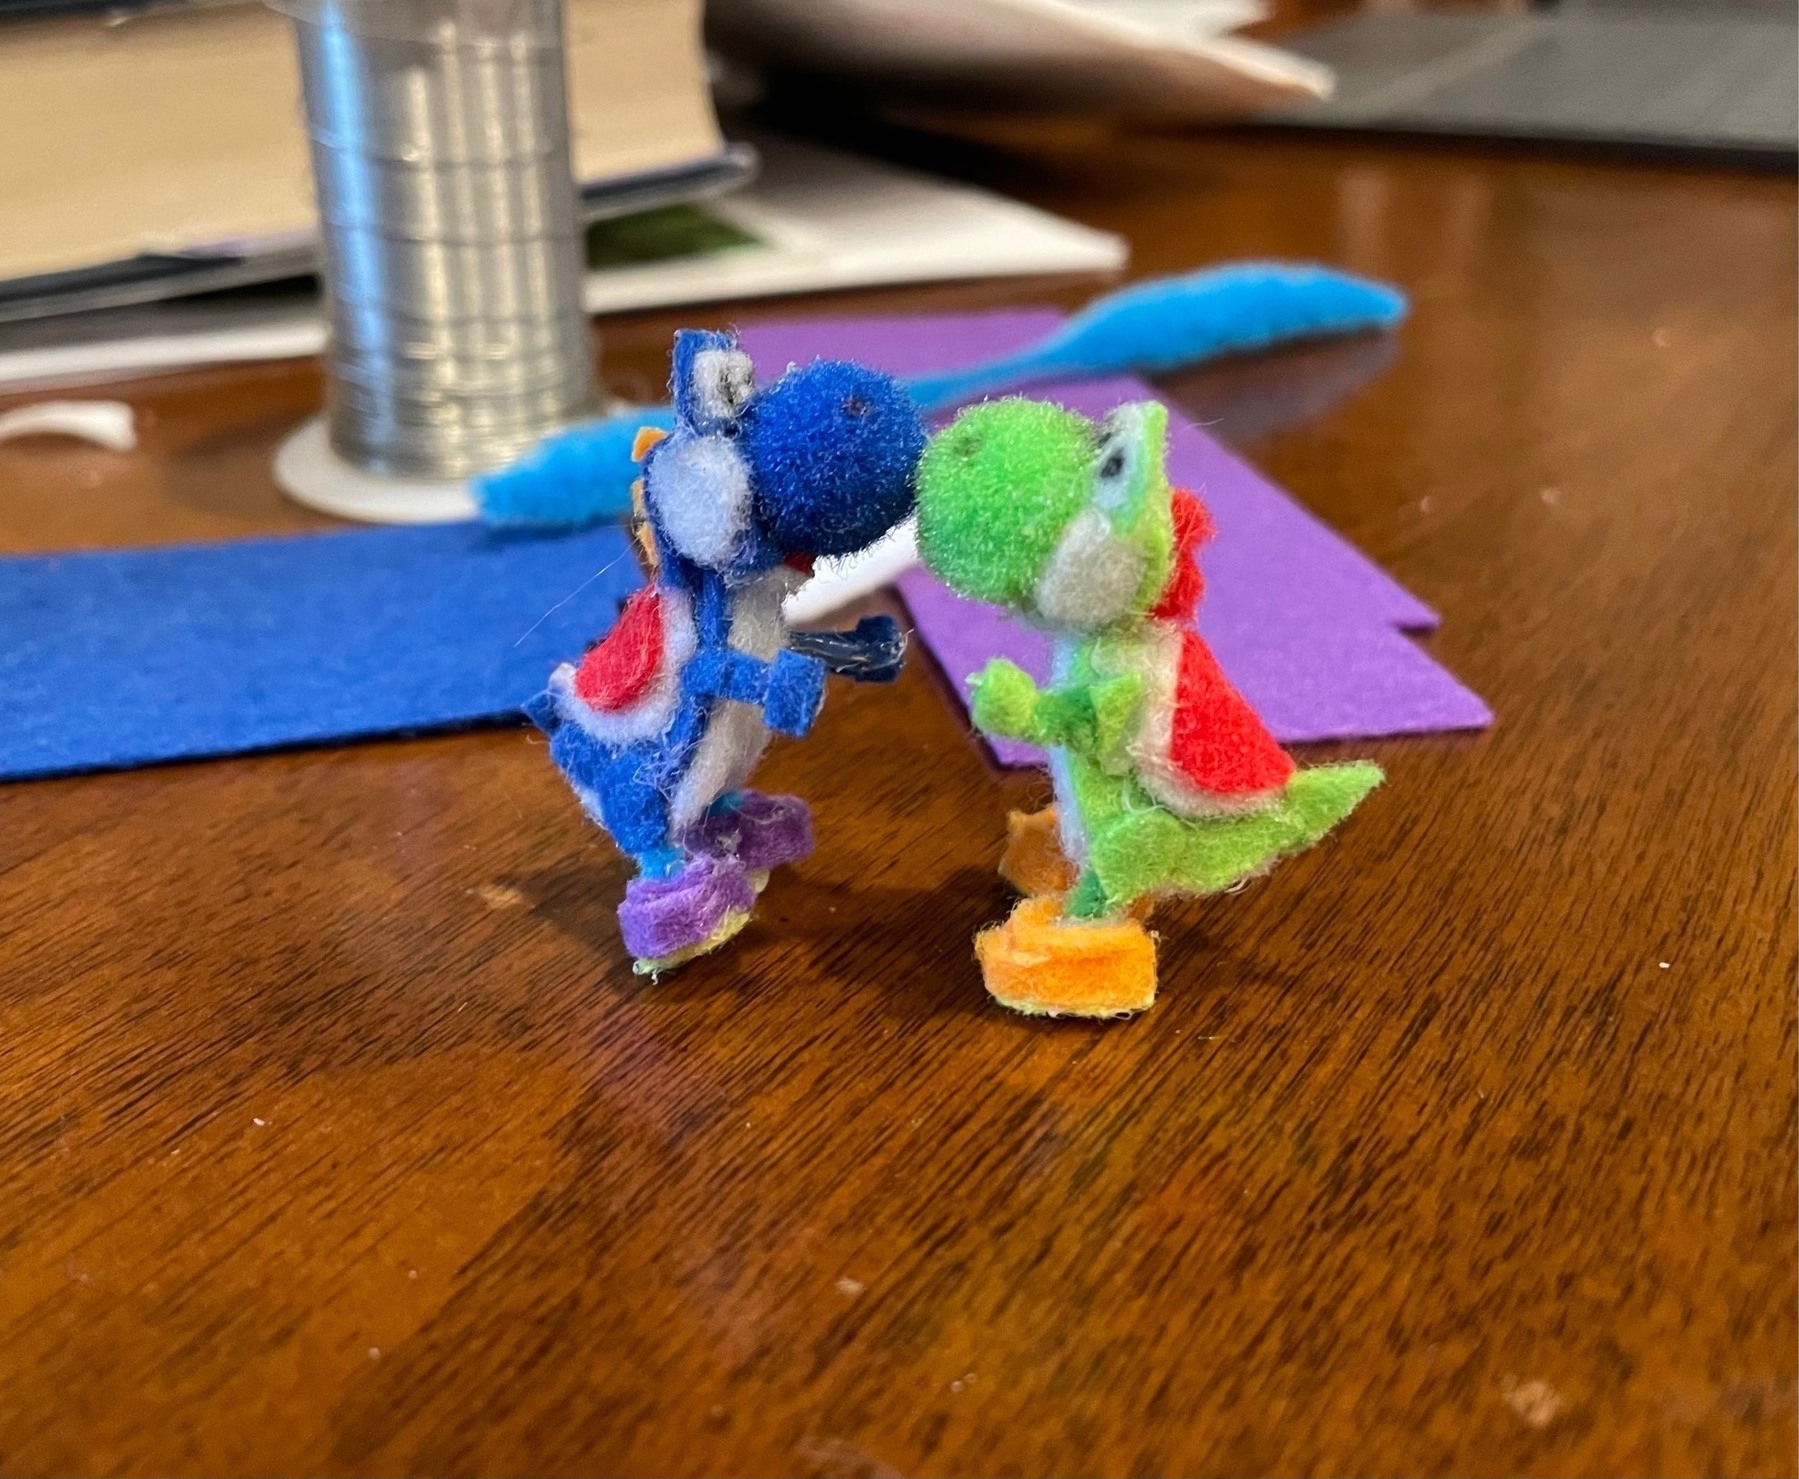
Yoshi Yosh!
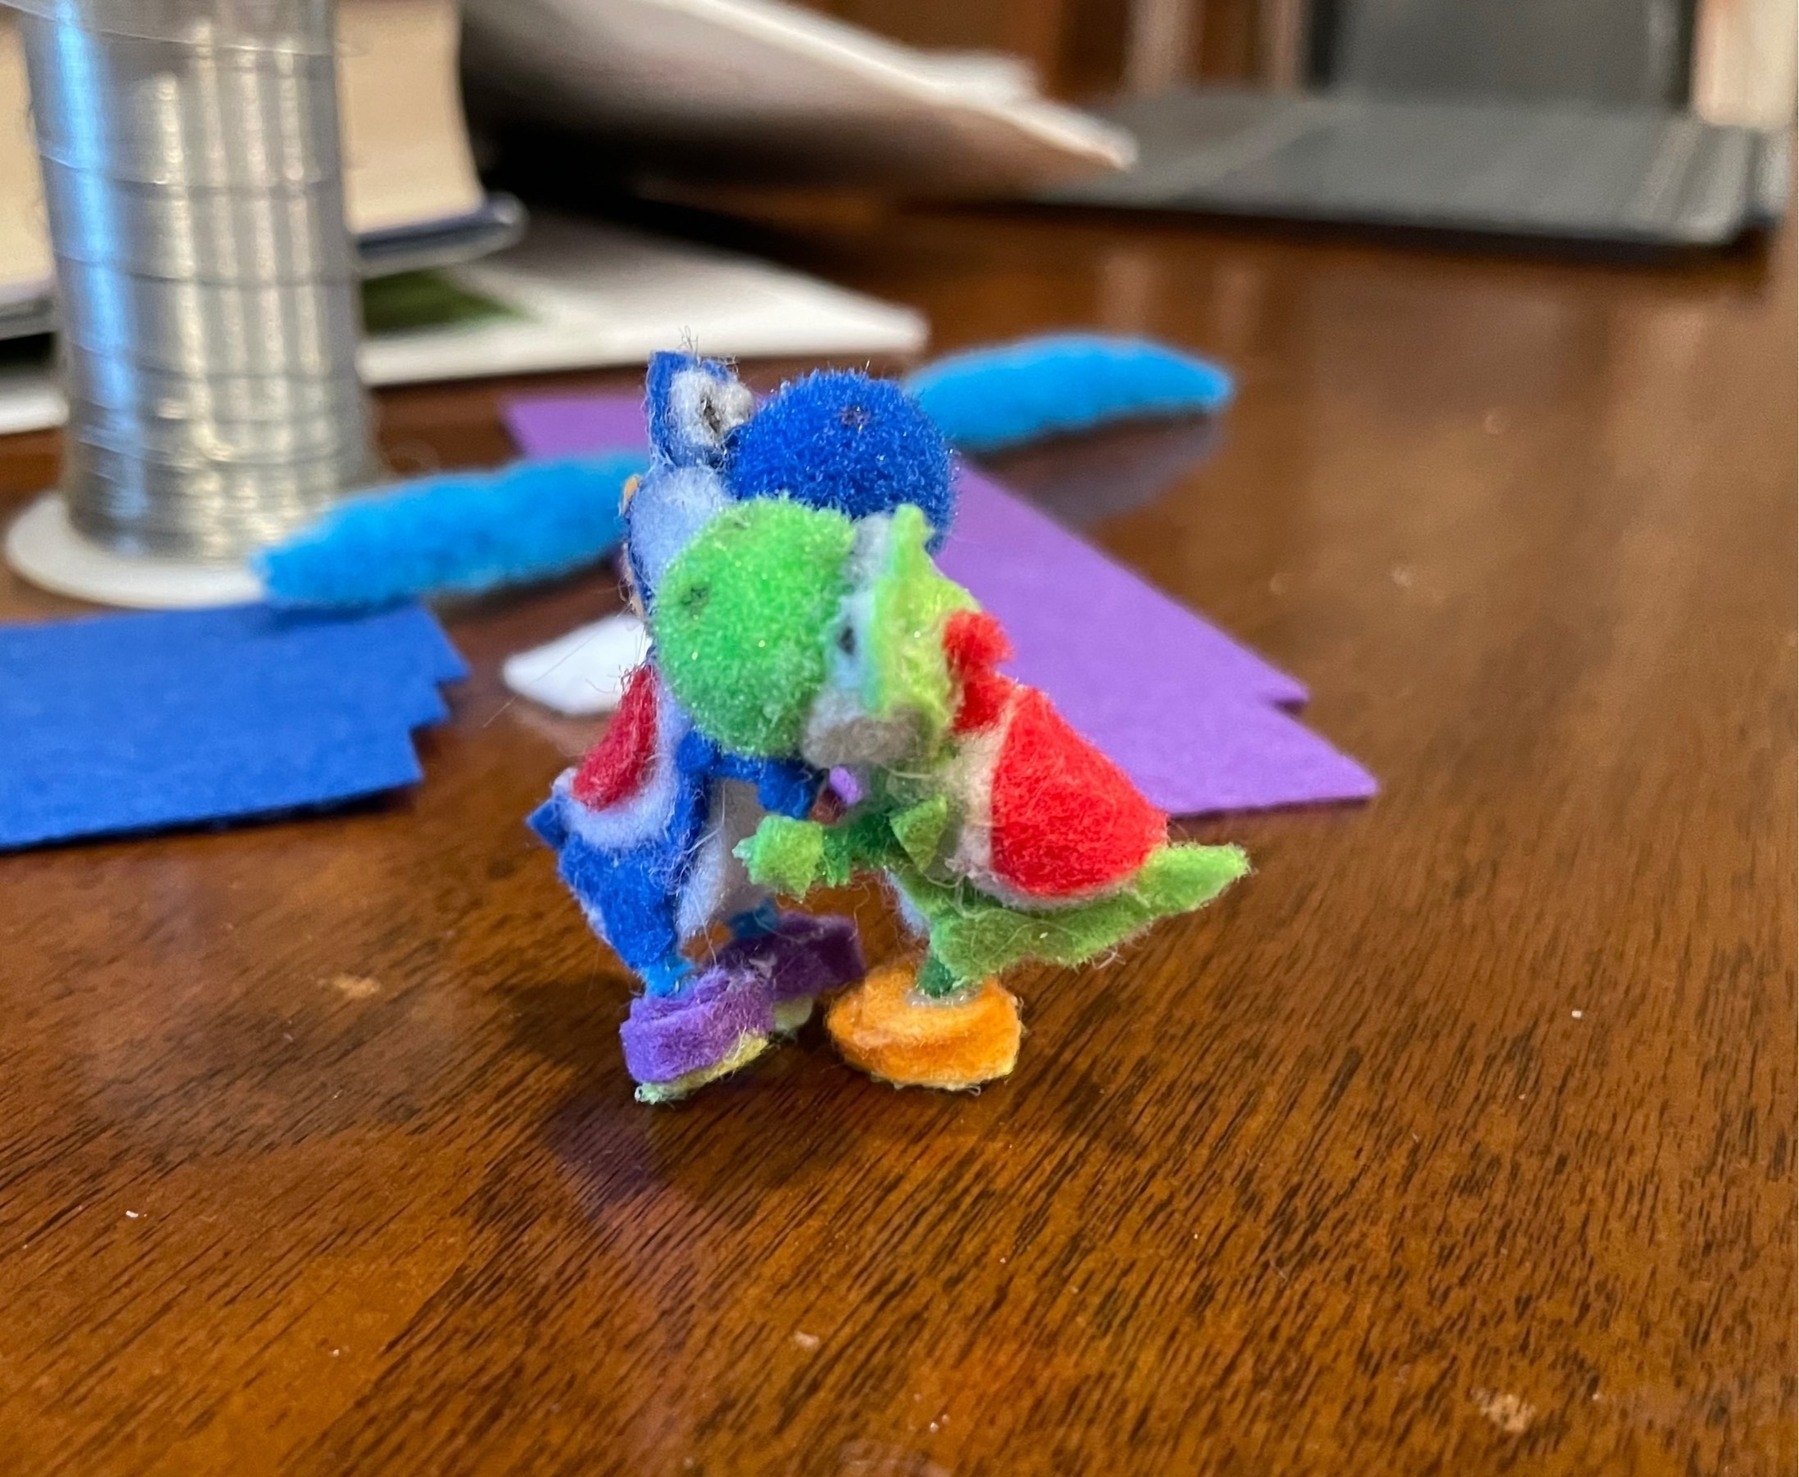
Yoshiii!
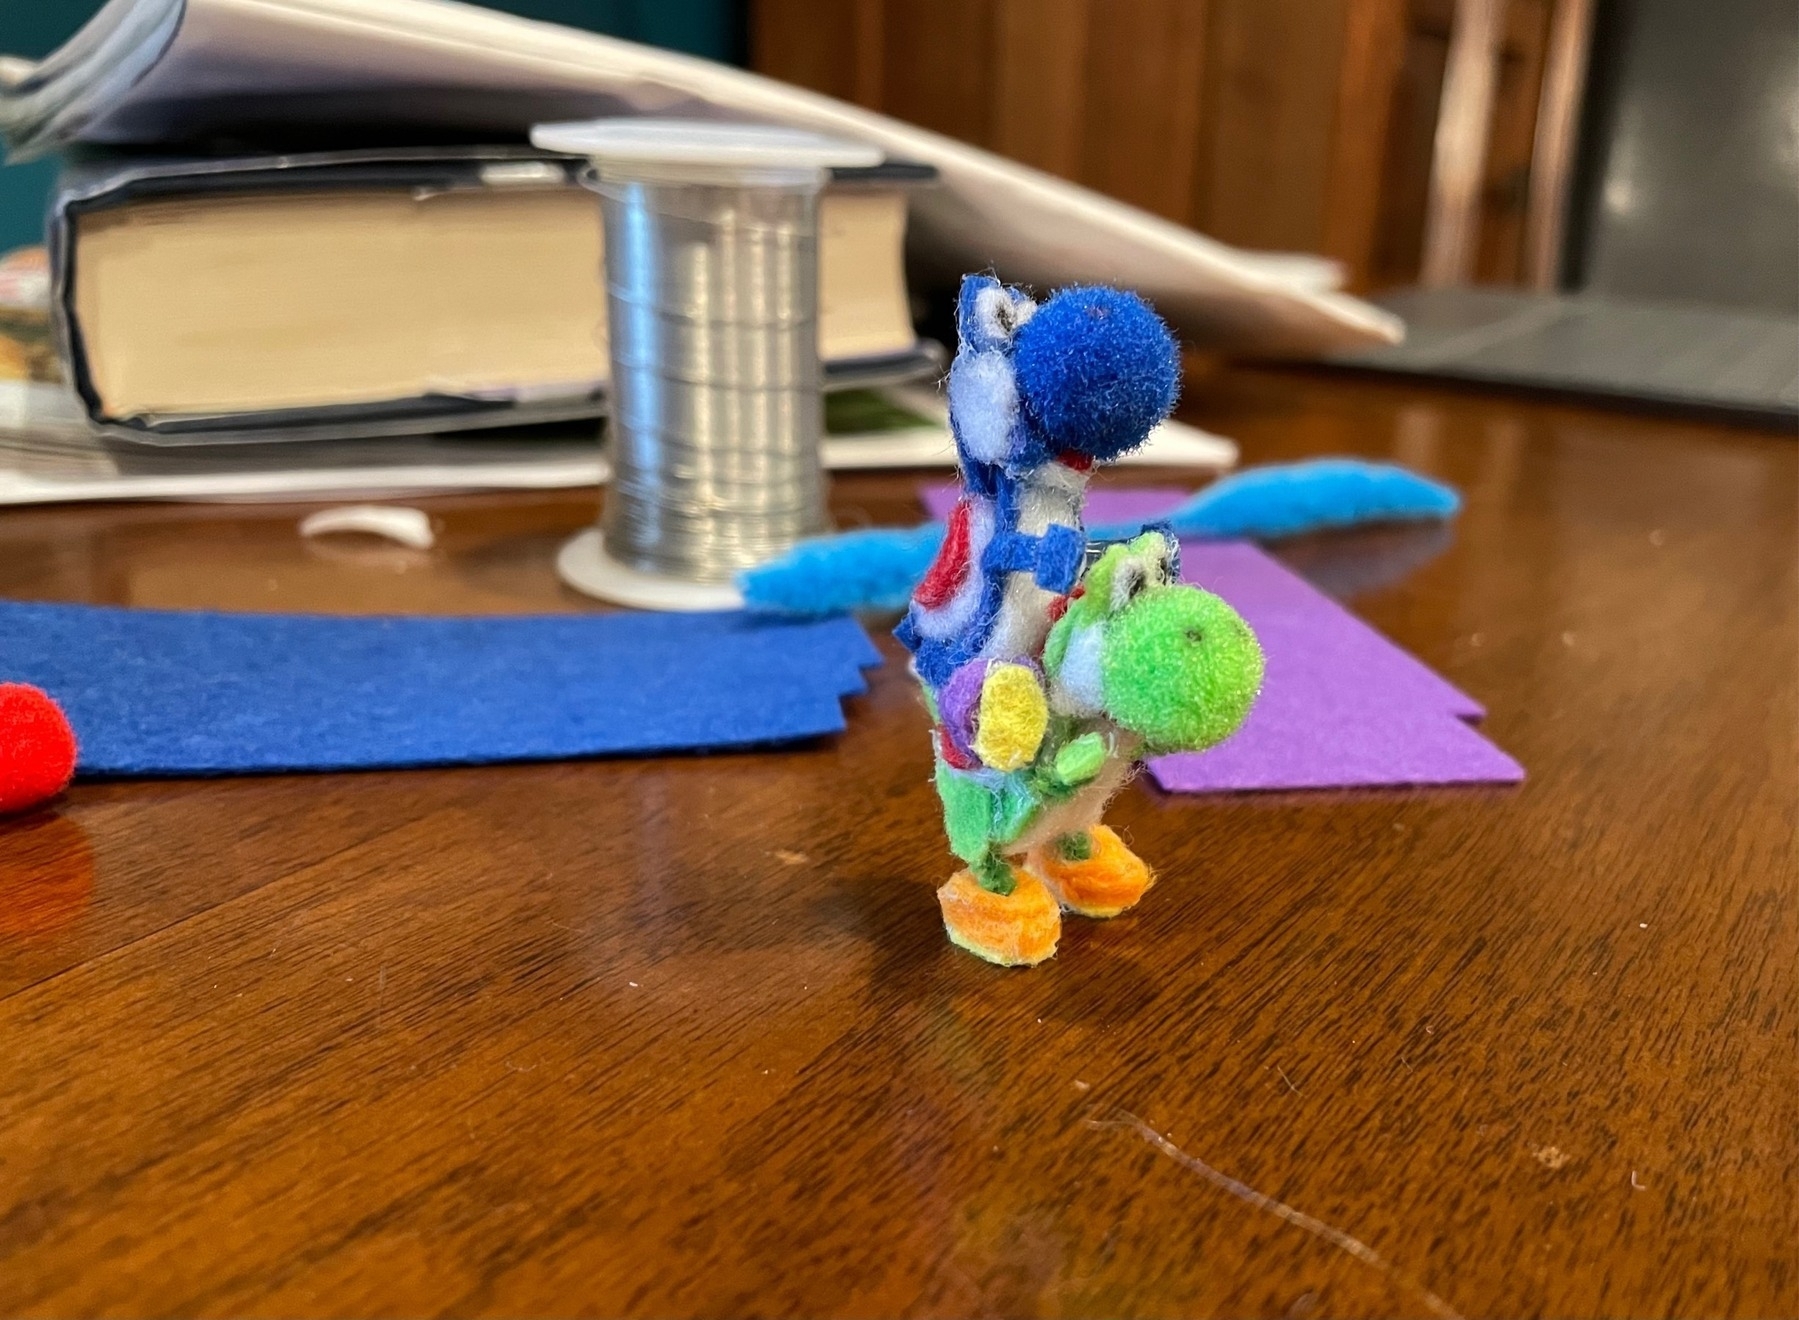
Yosh
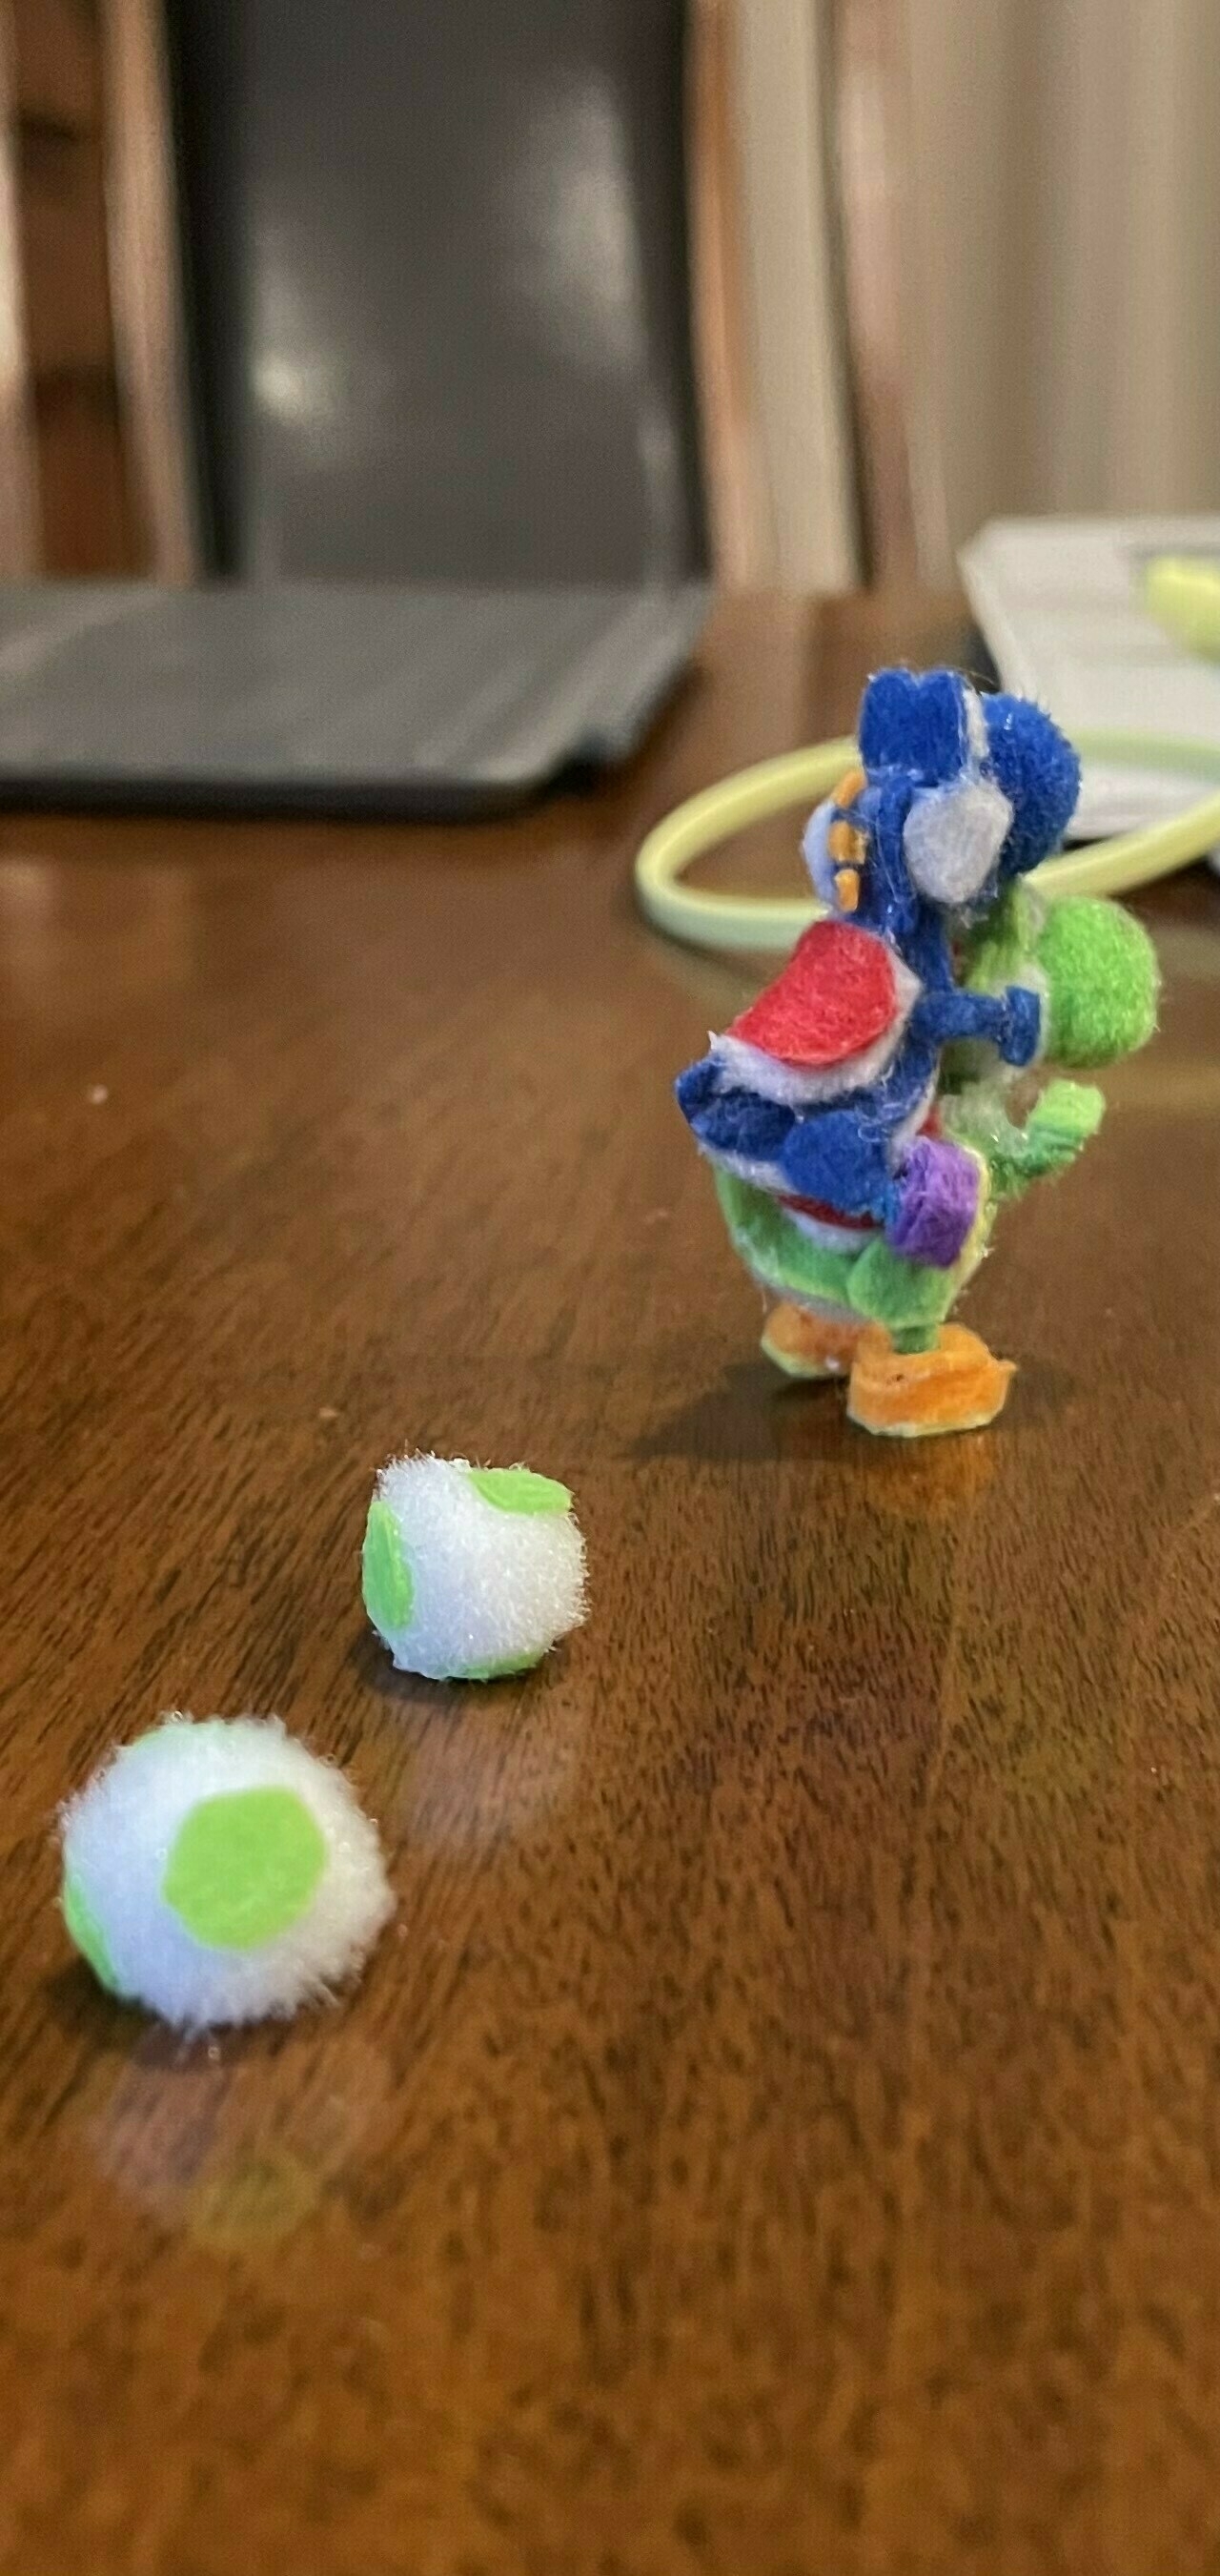
Yosh Yoshi.
-
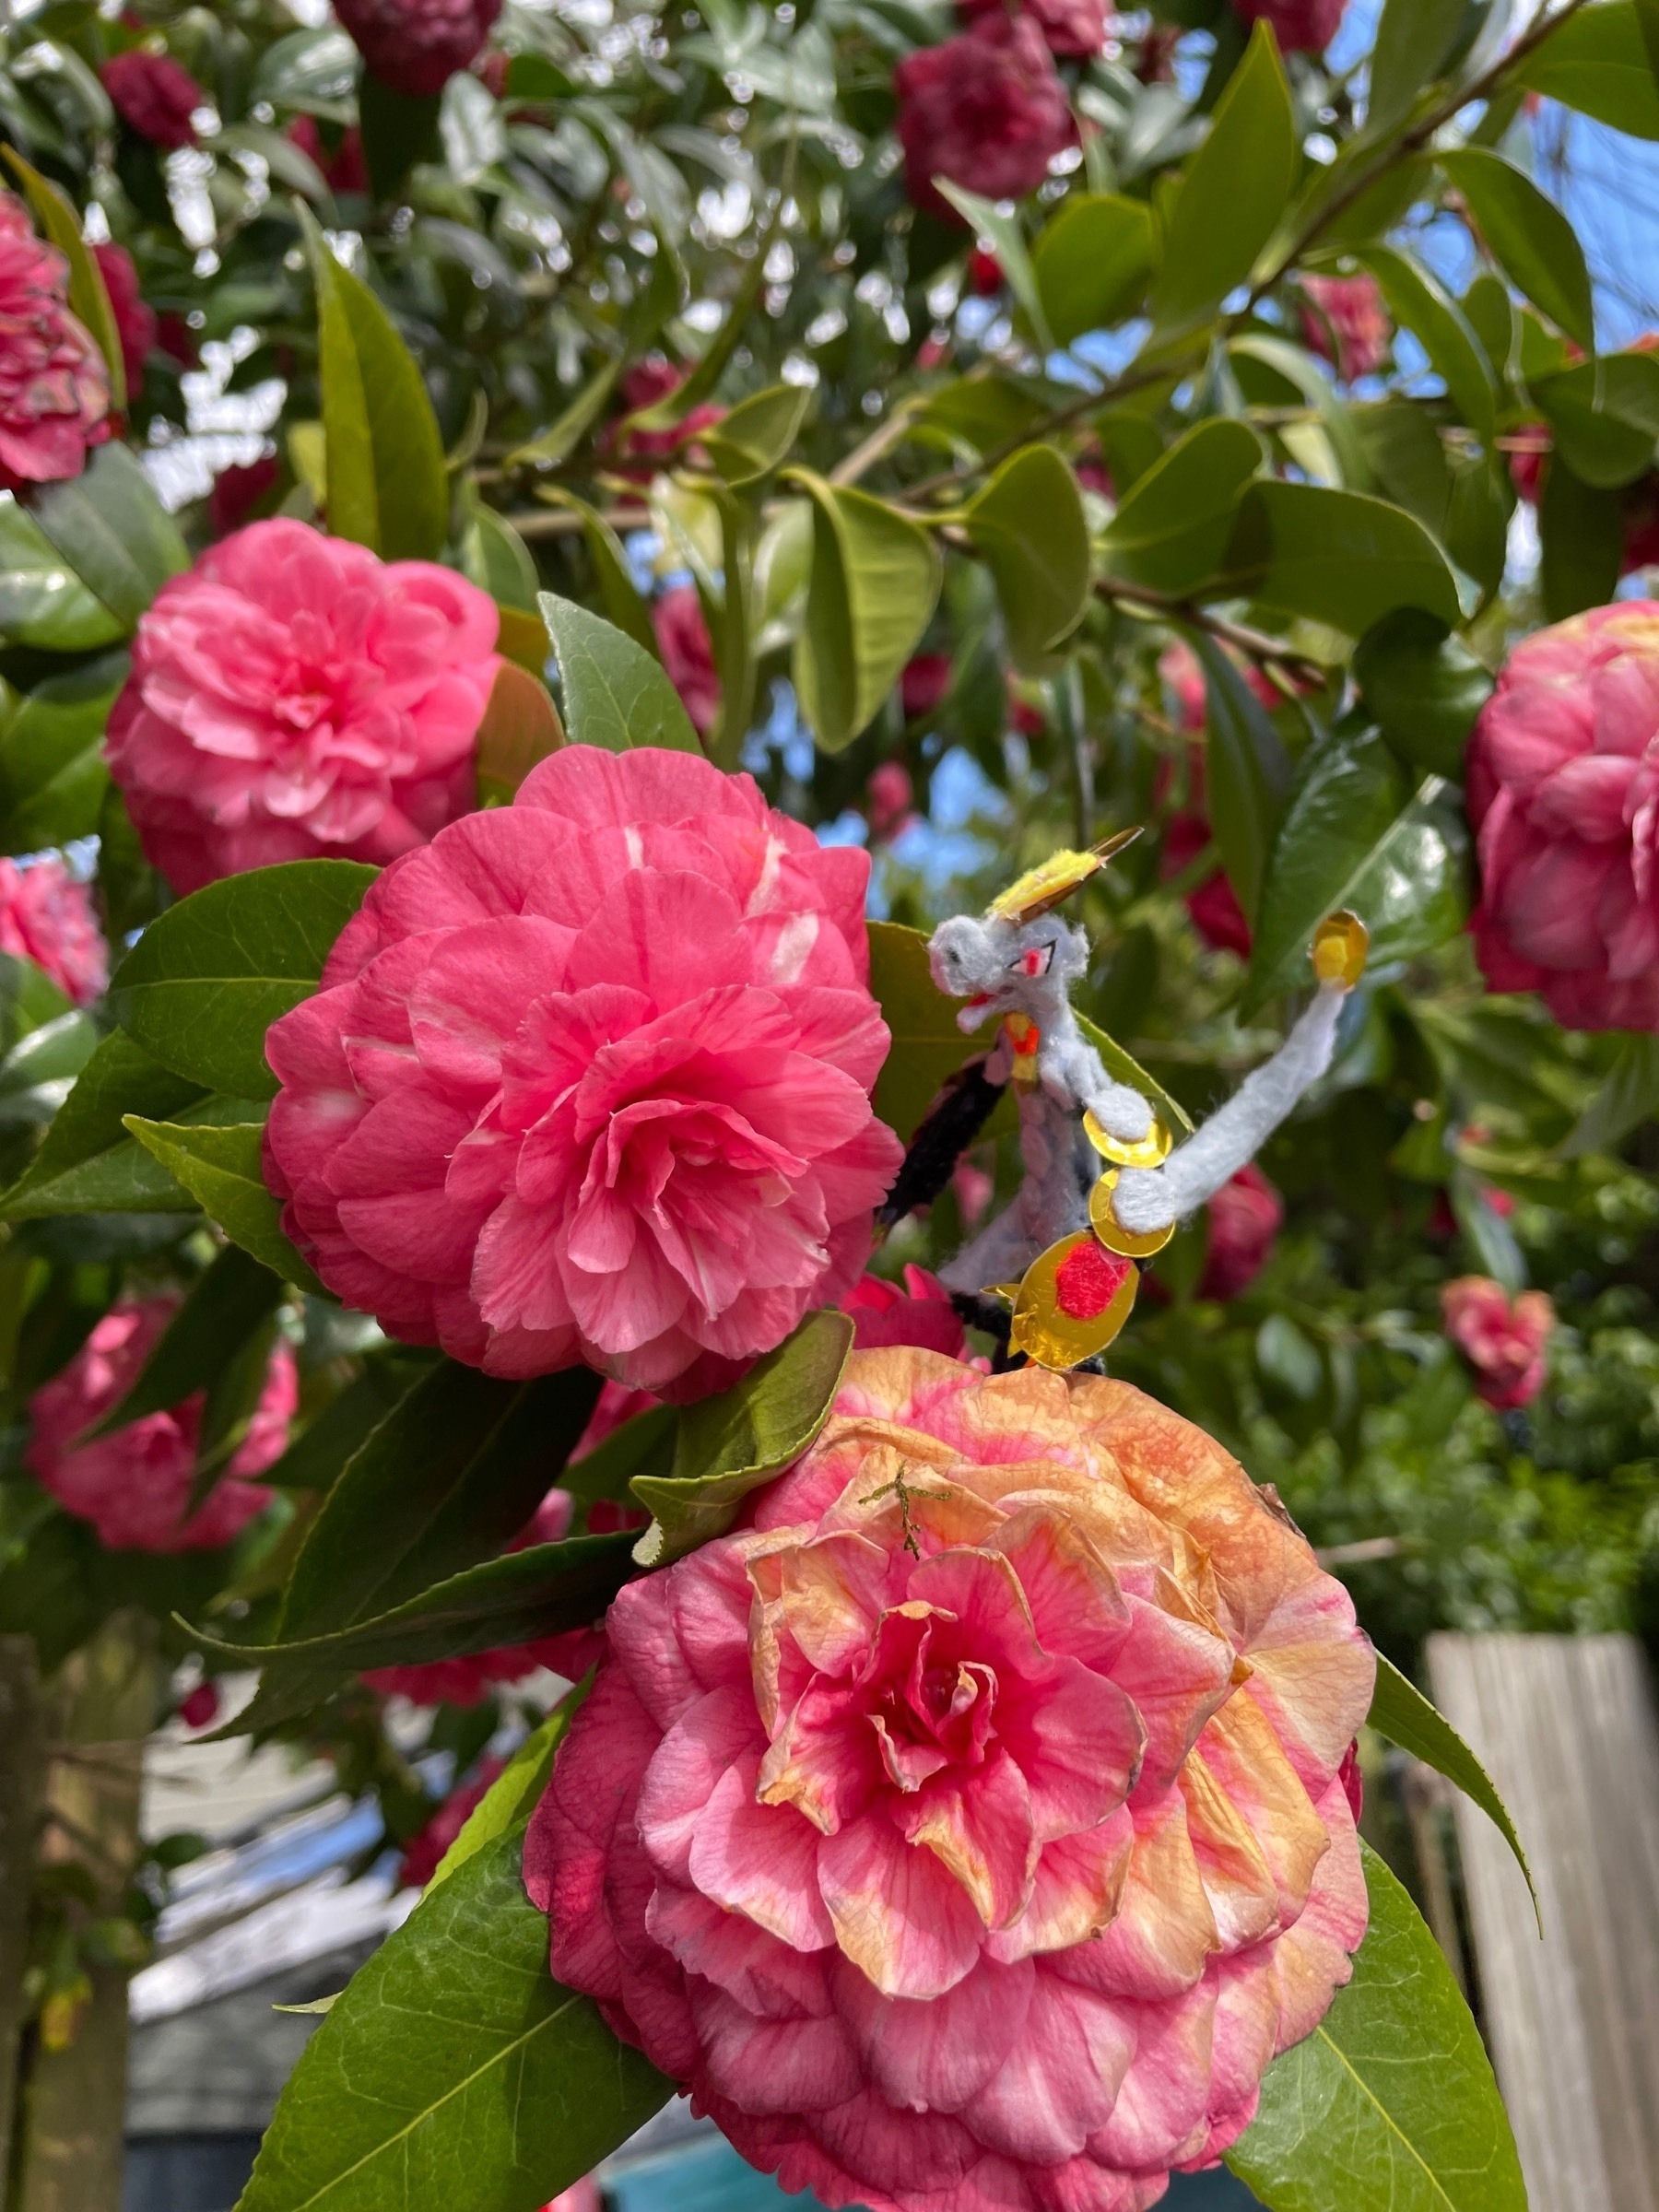
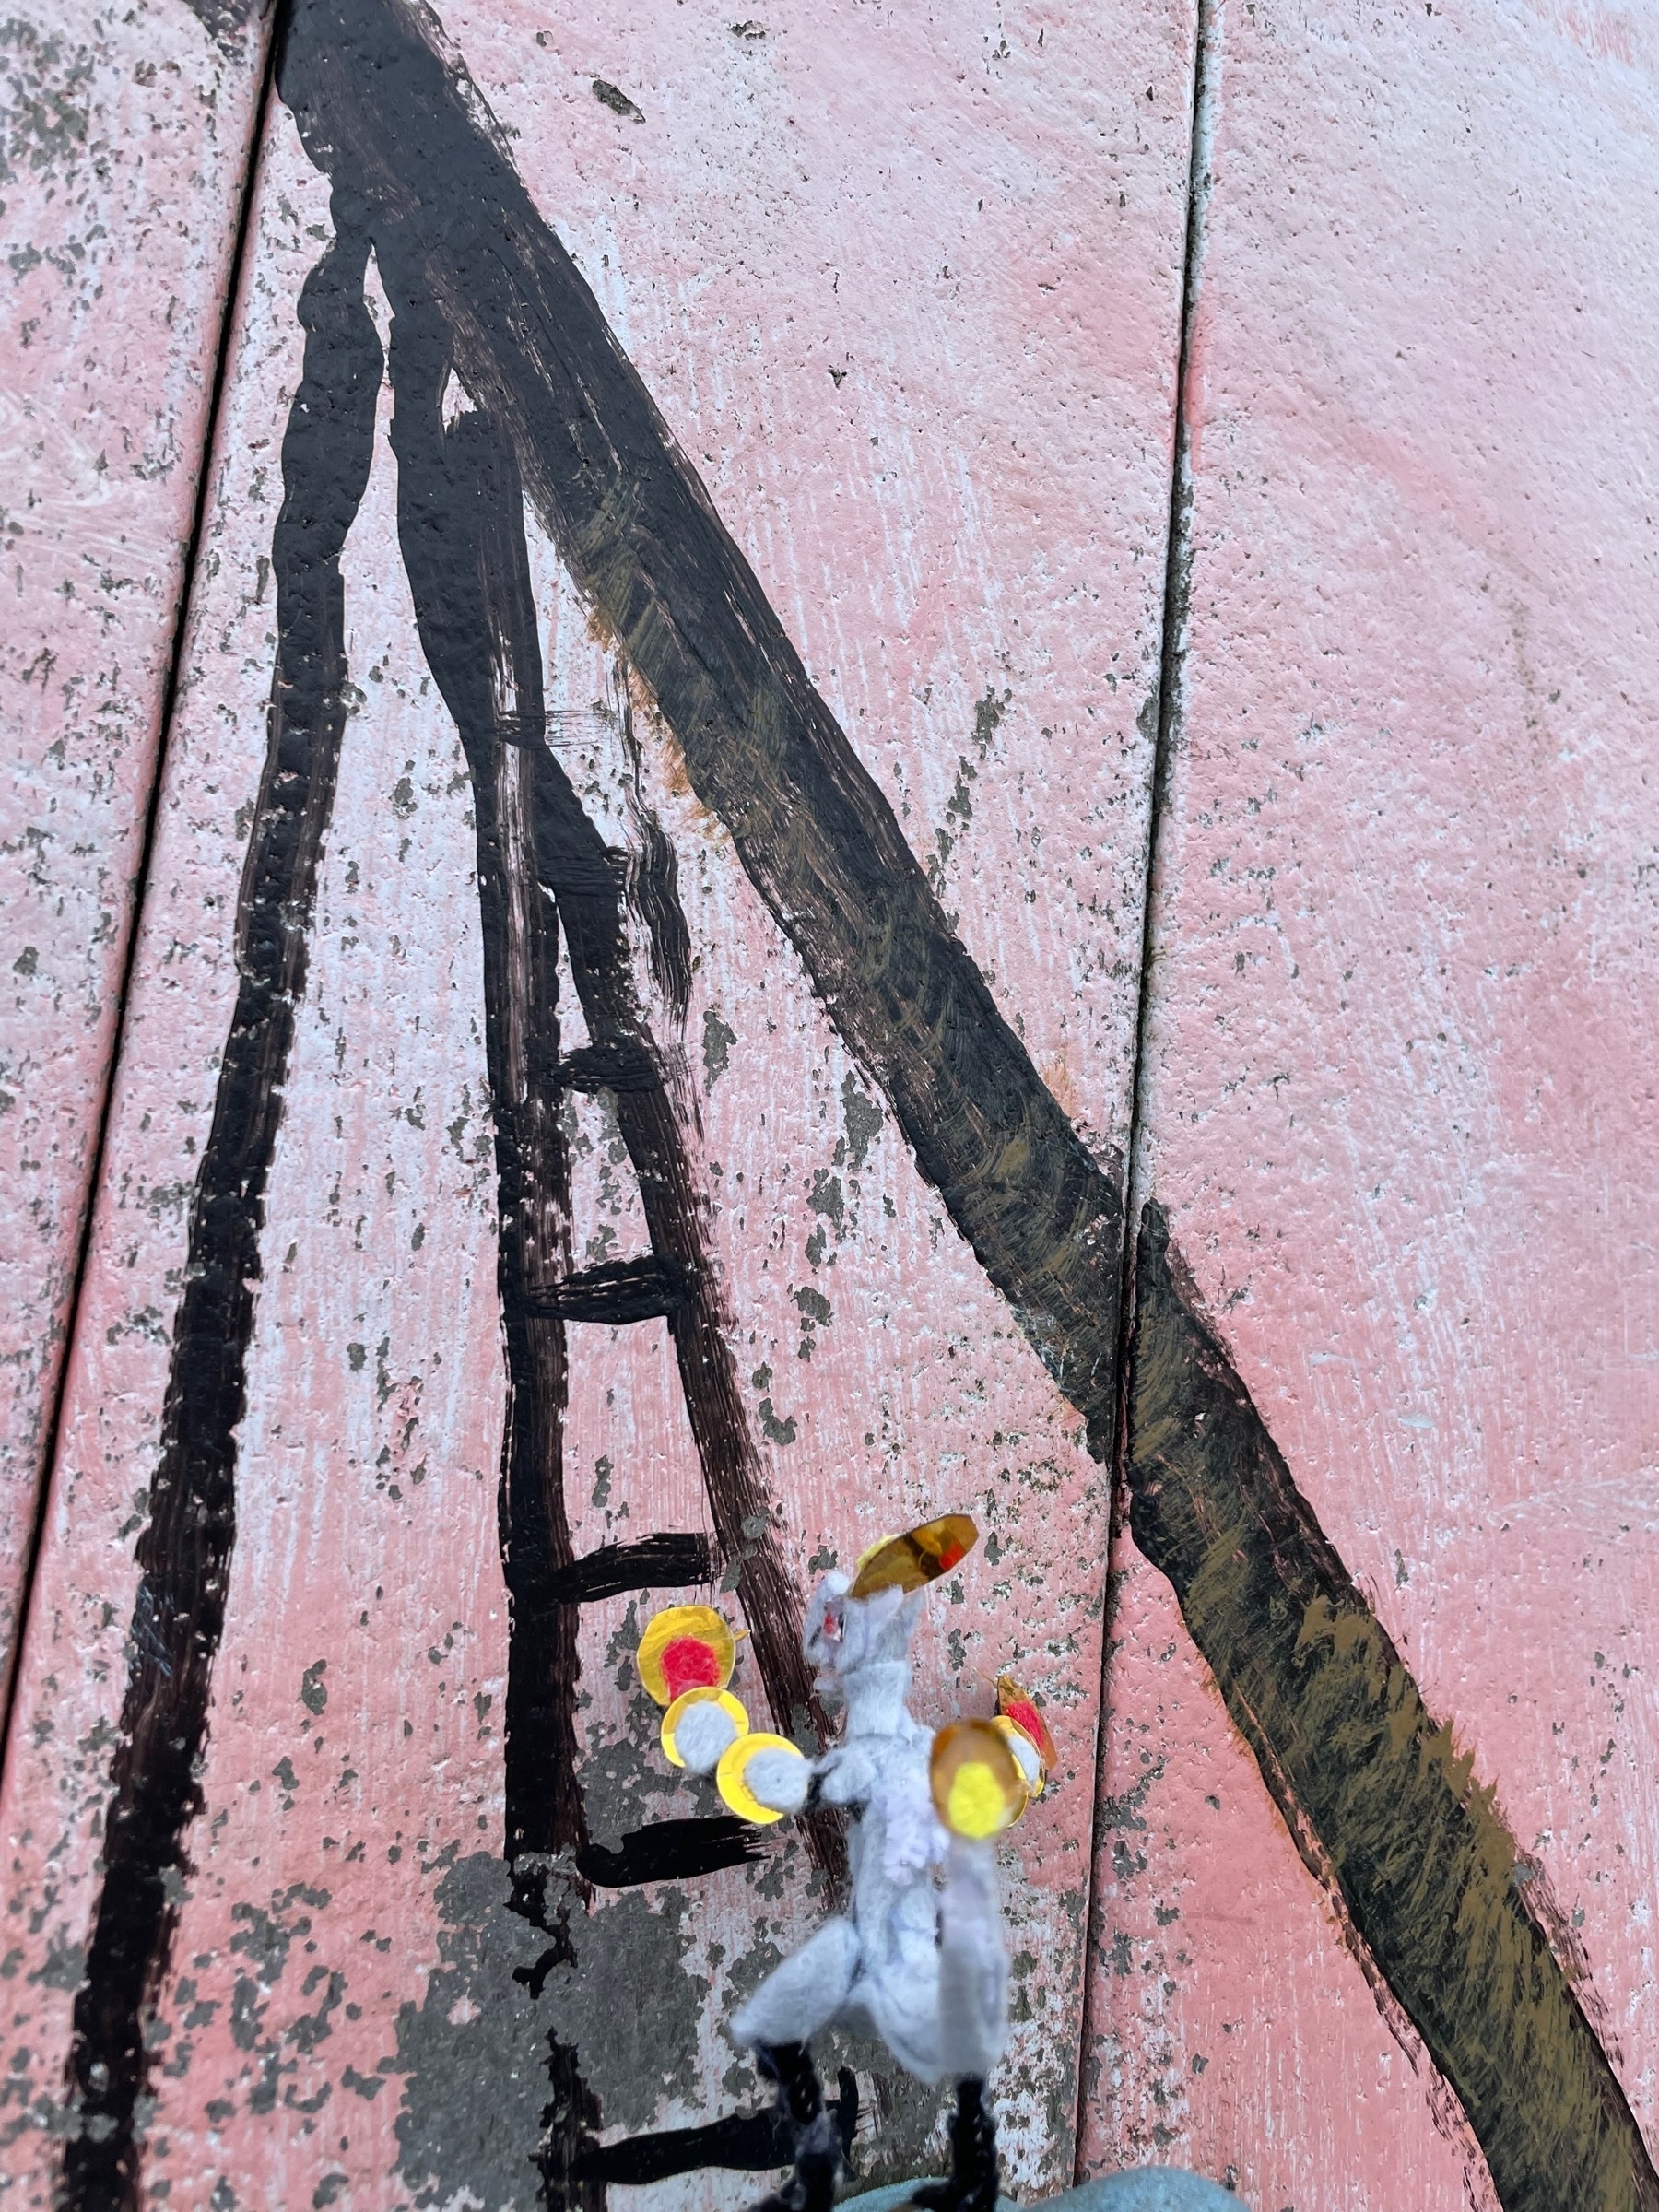
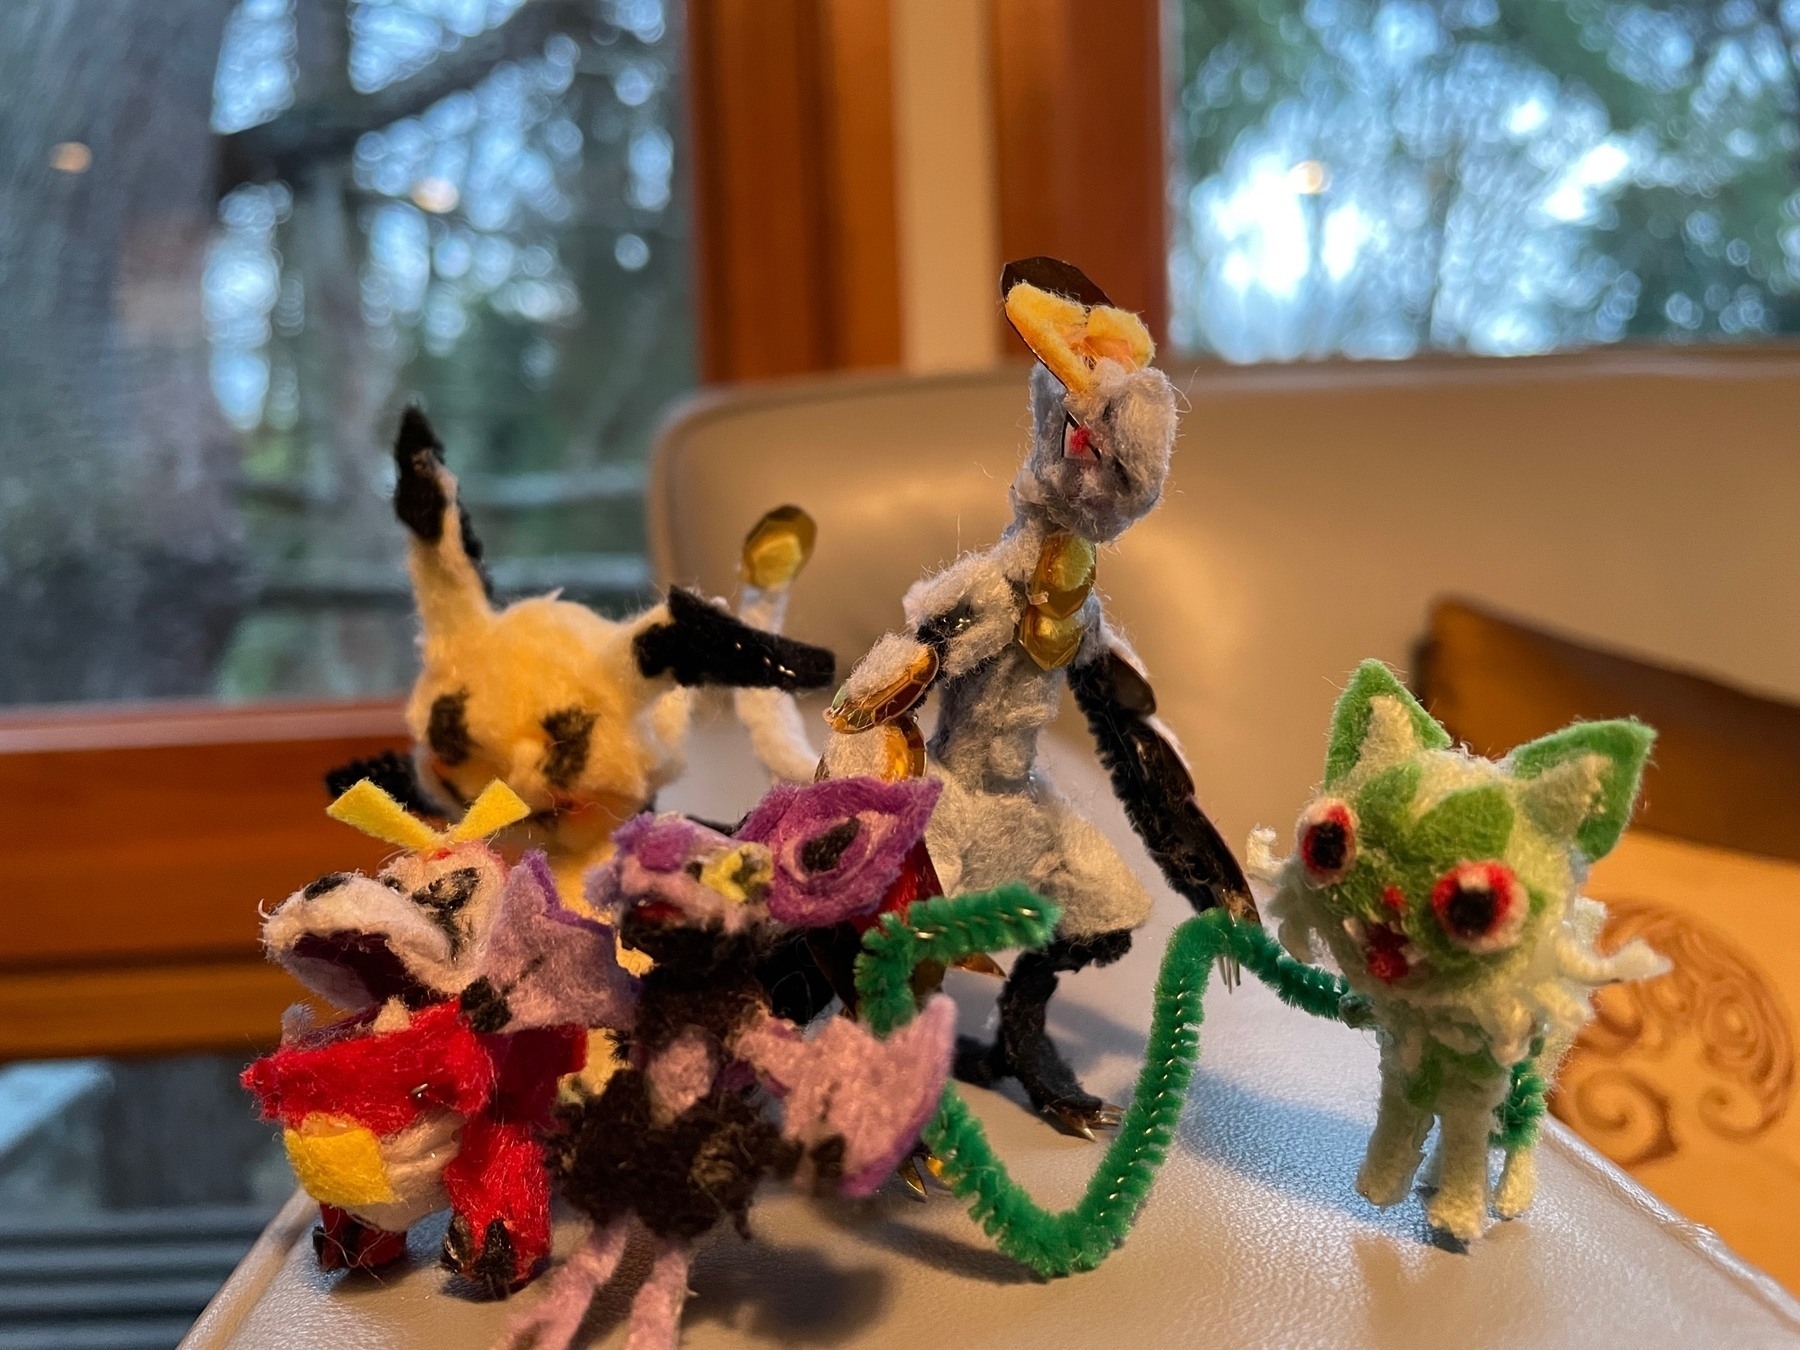
Photoshoot with Haki the Hakomo-o
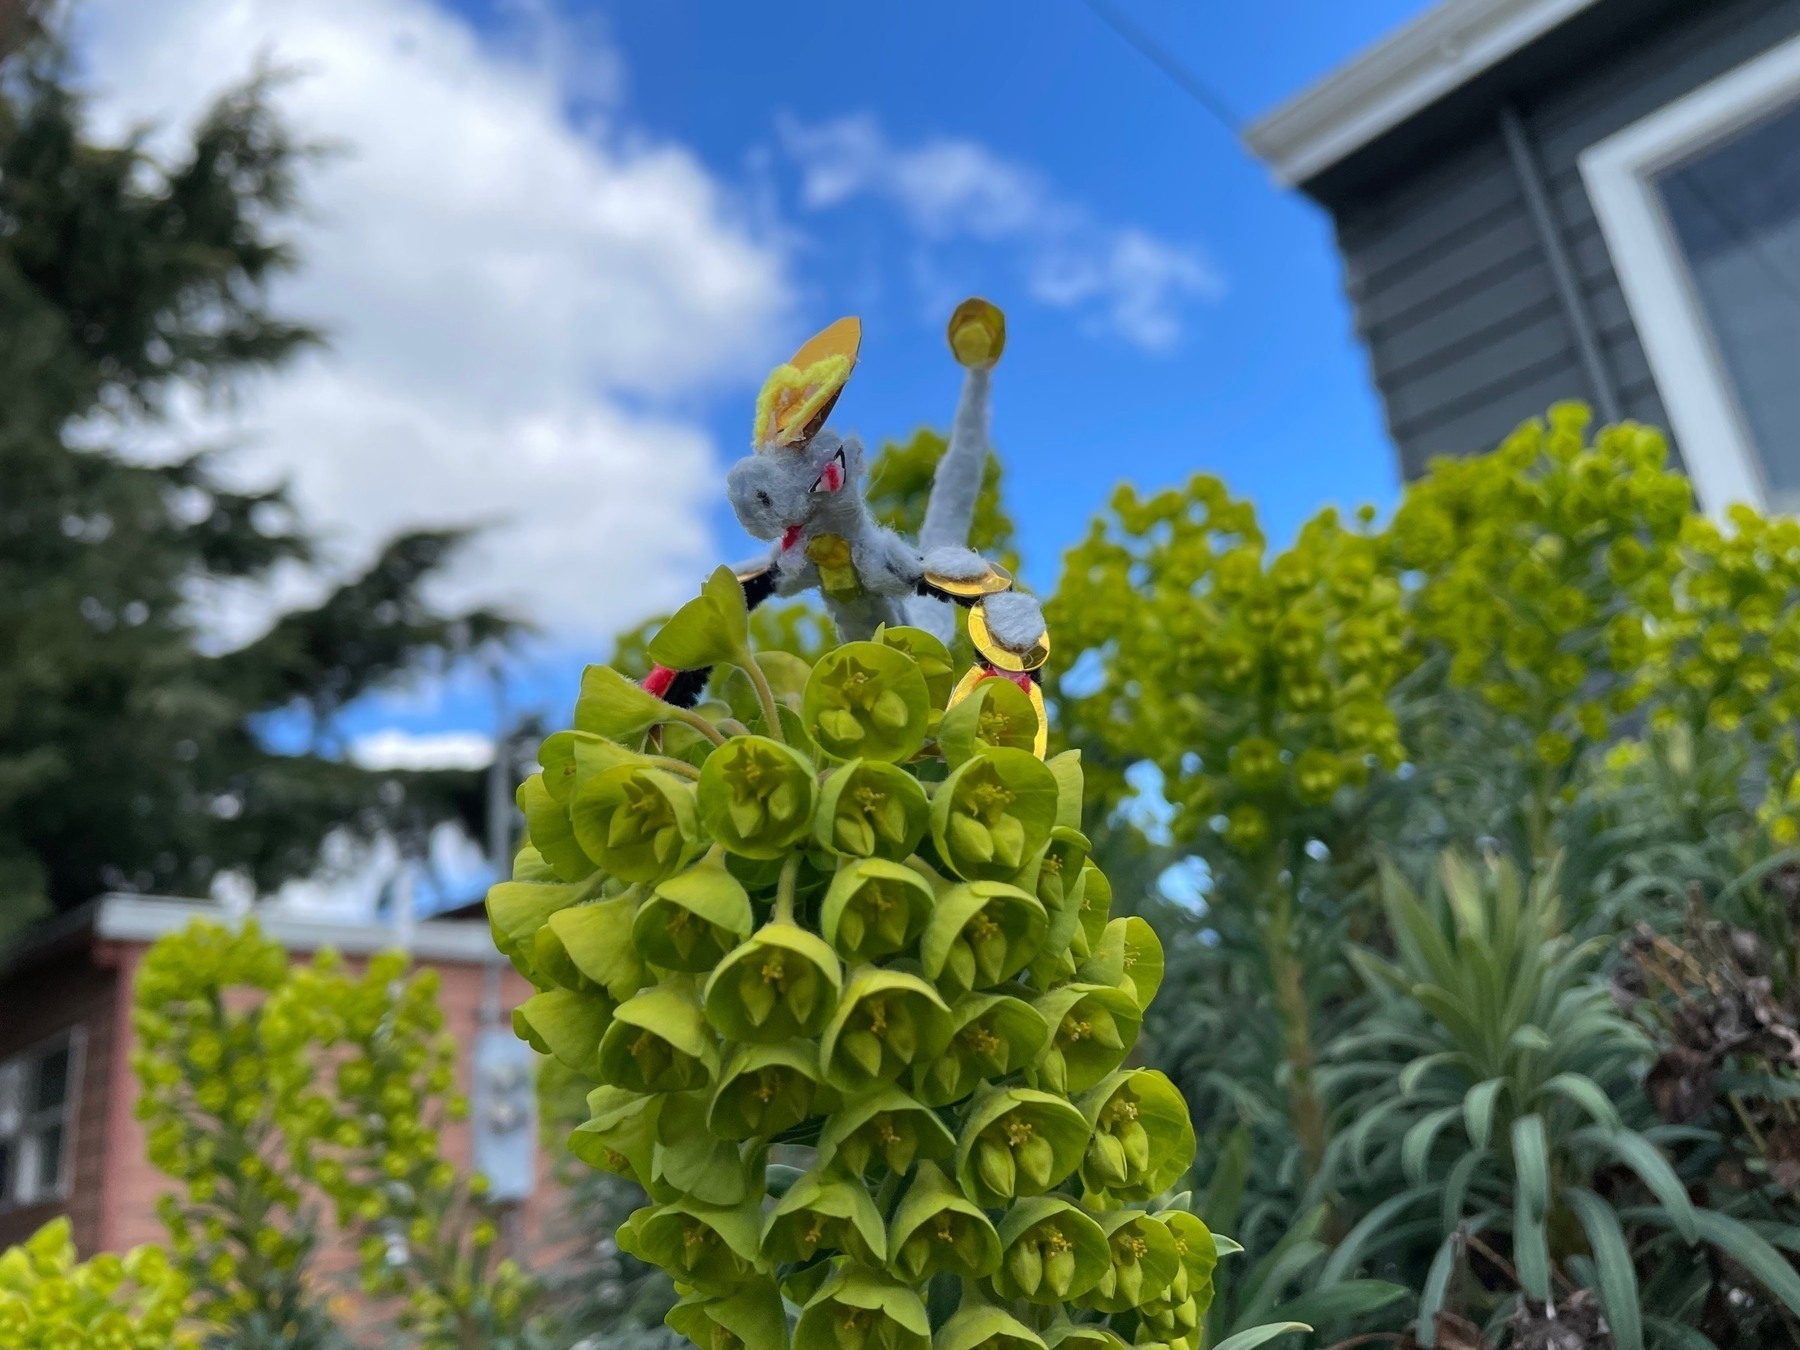
Fun in the sun
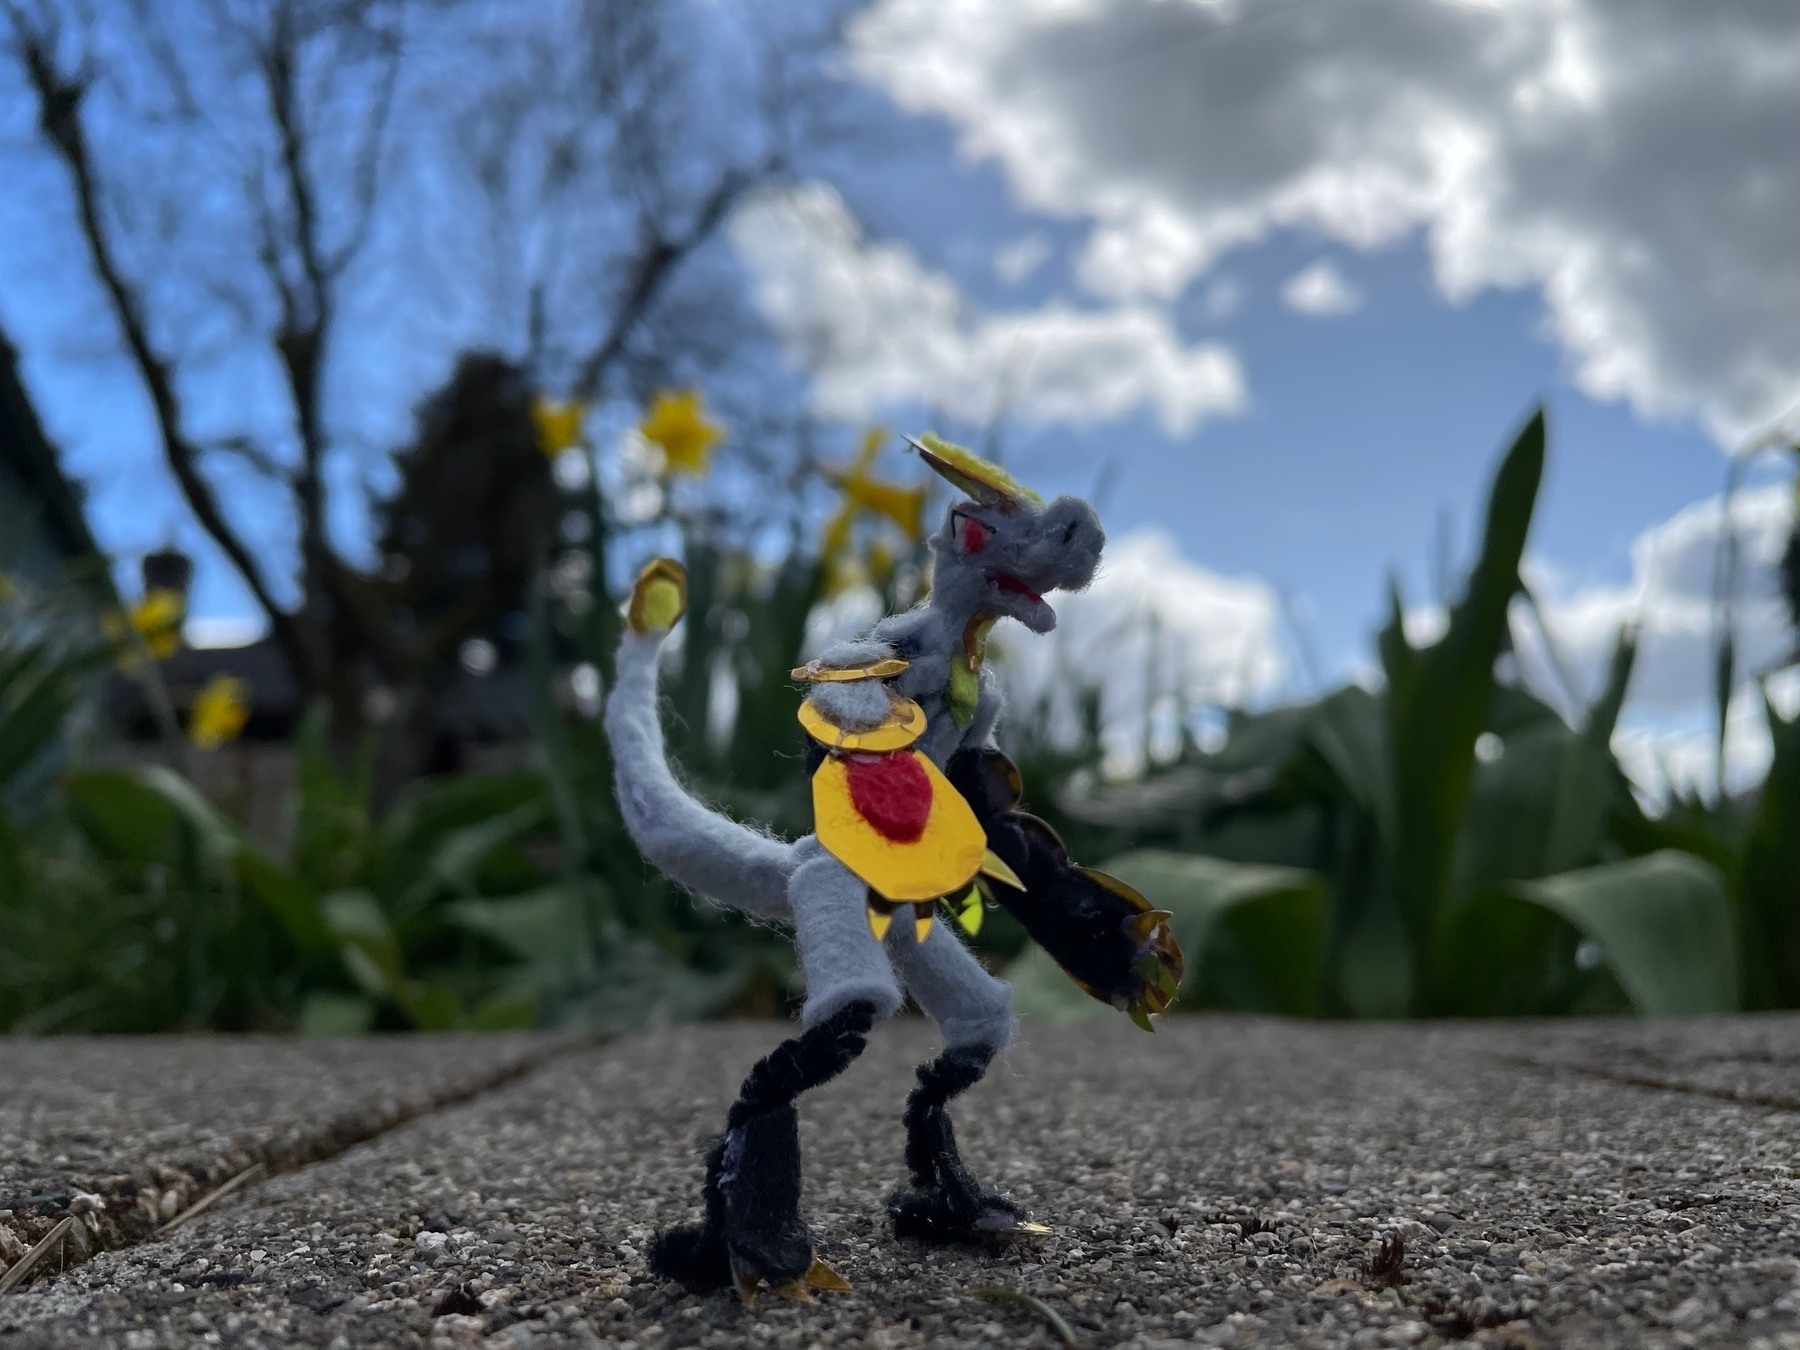
Beautiful flowers!
Climbing the cliff
Chilling with friends
Trapped in the grass!
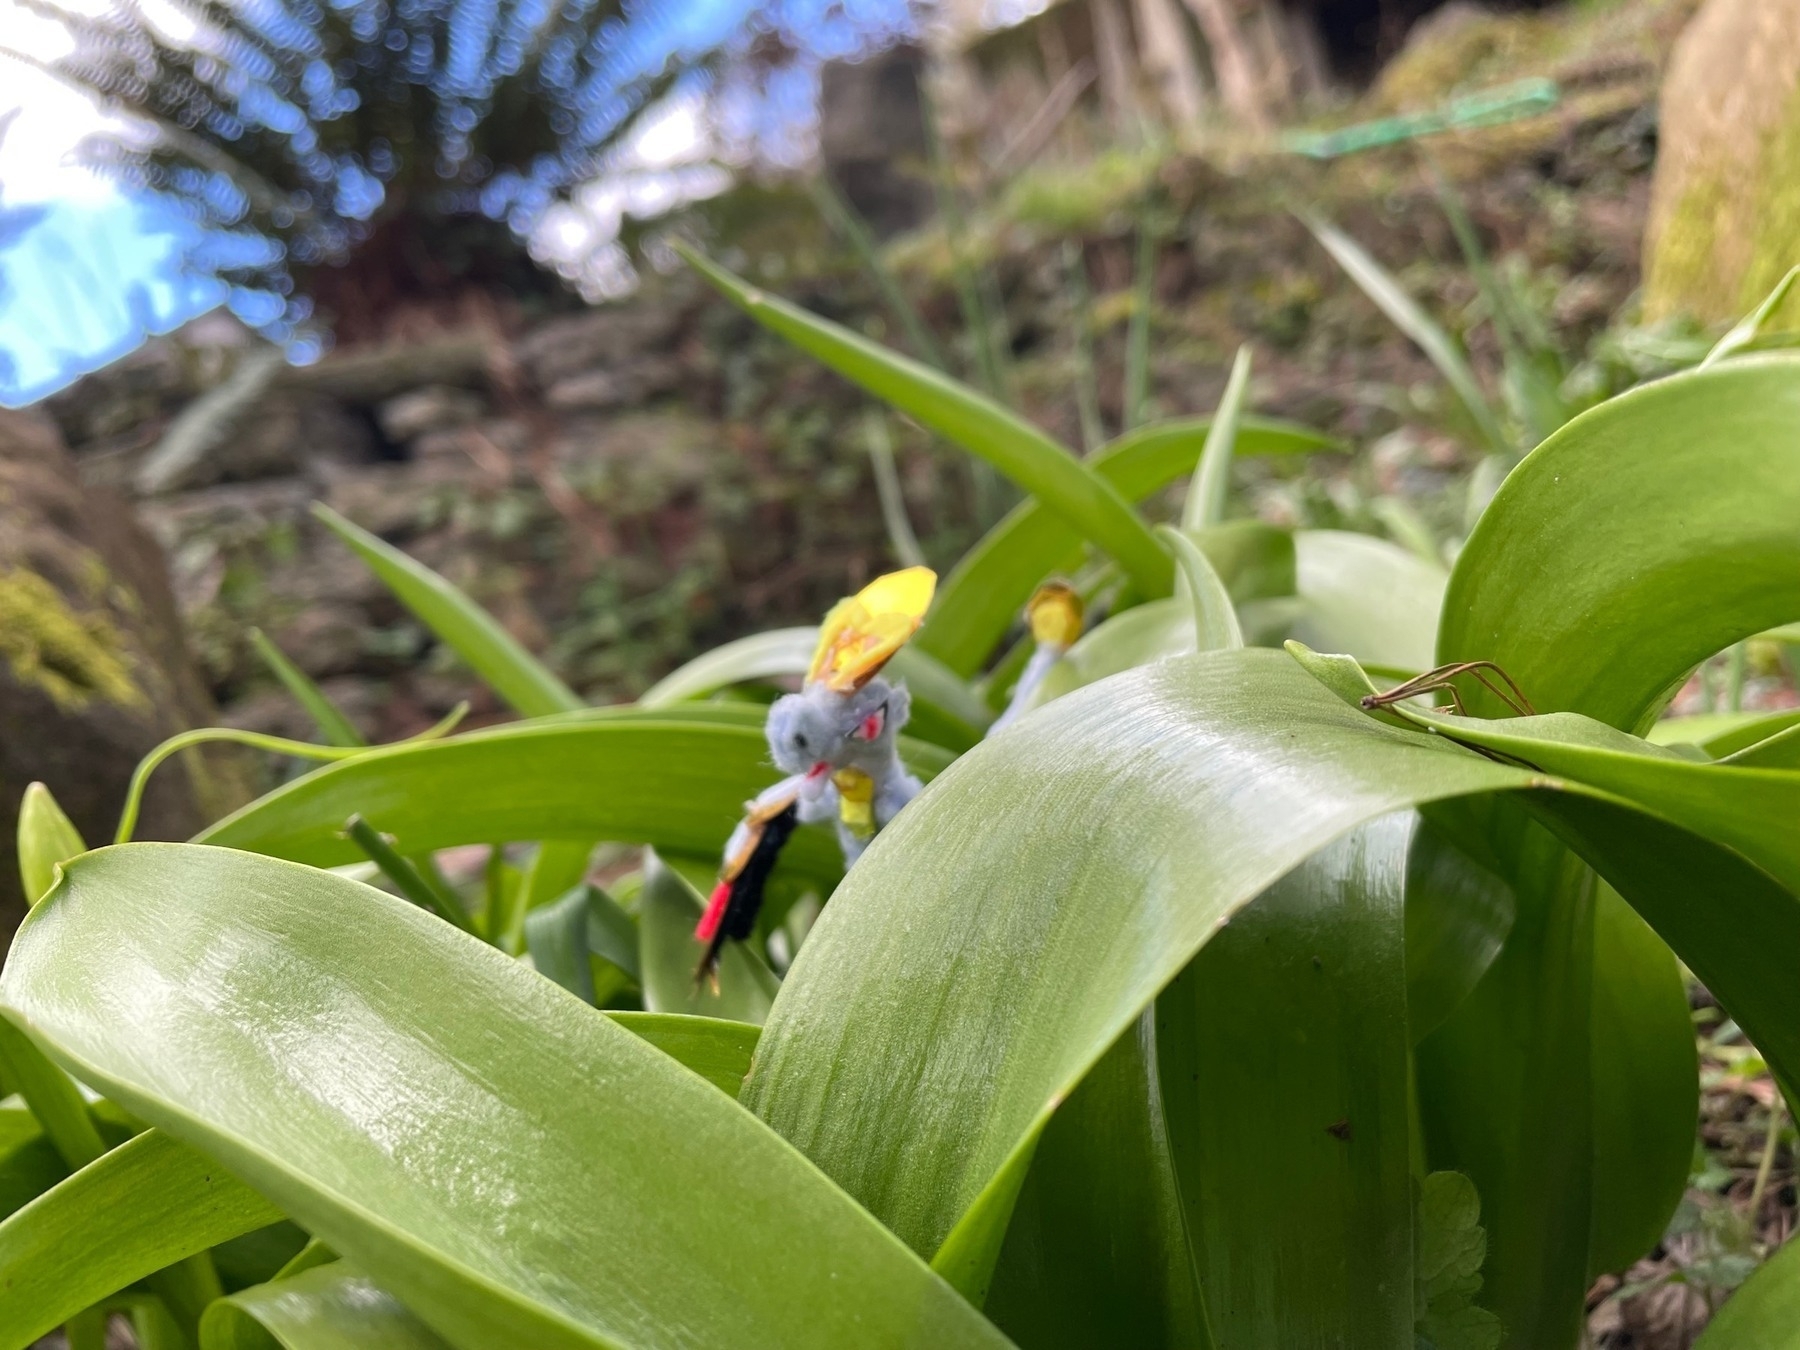
Hello world!
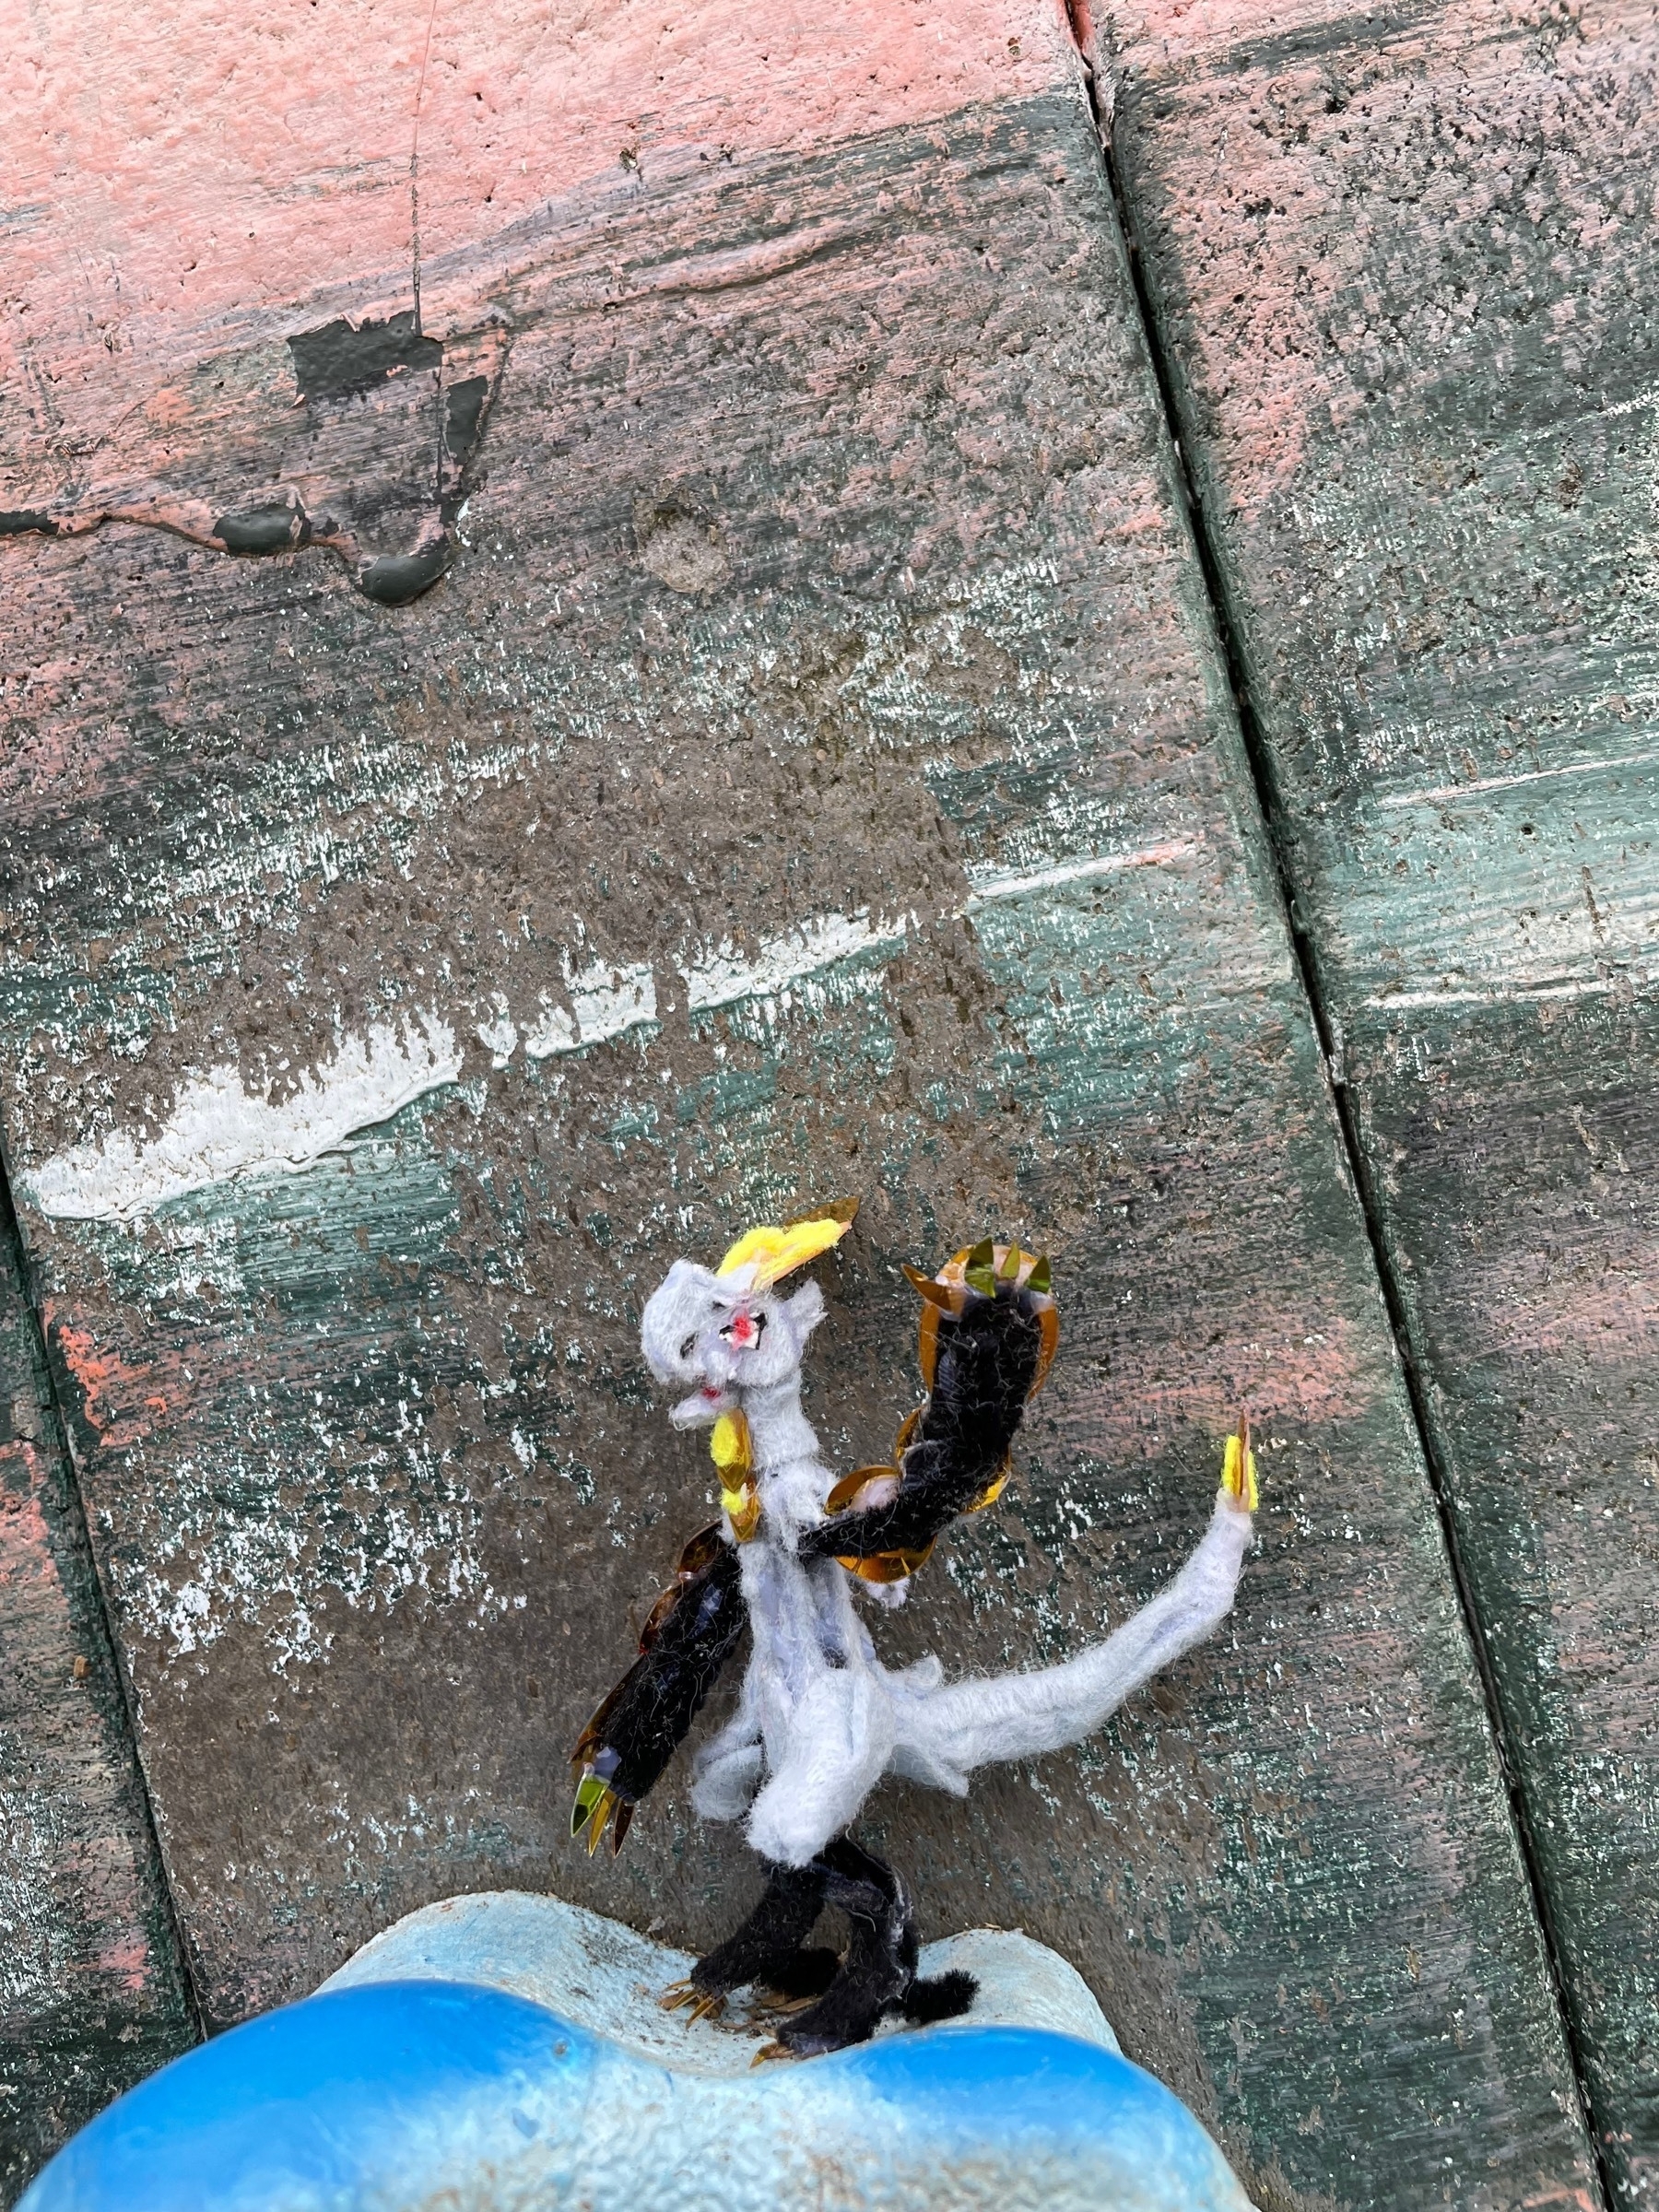
-
The spaceship Kumquat
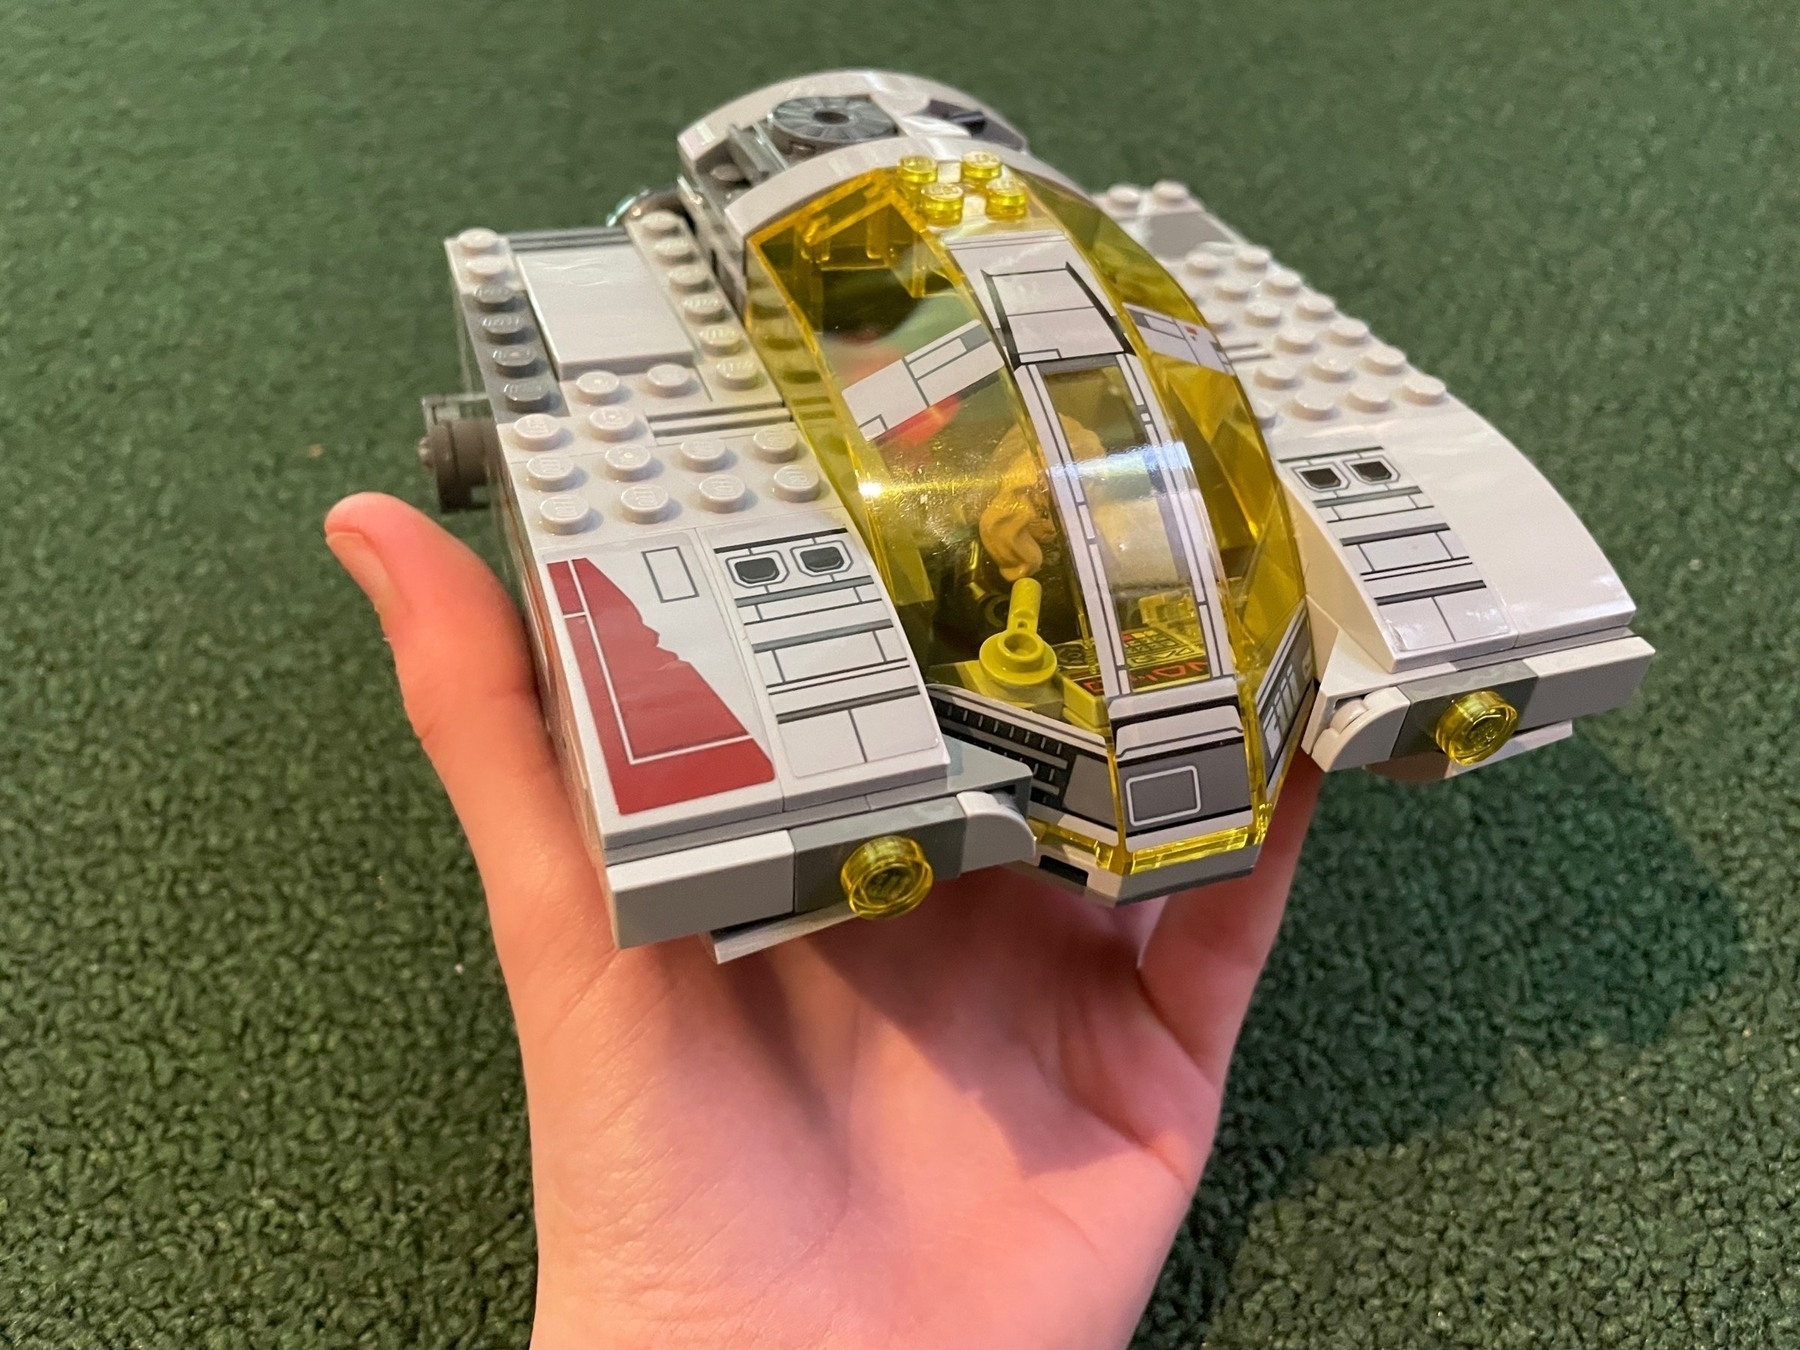
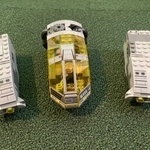
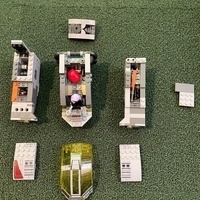
It can split apart into three smaller ships: the weapons pod, the main crew pod, and the storage pod.
The storage pod holds various accessories.
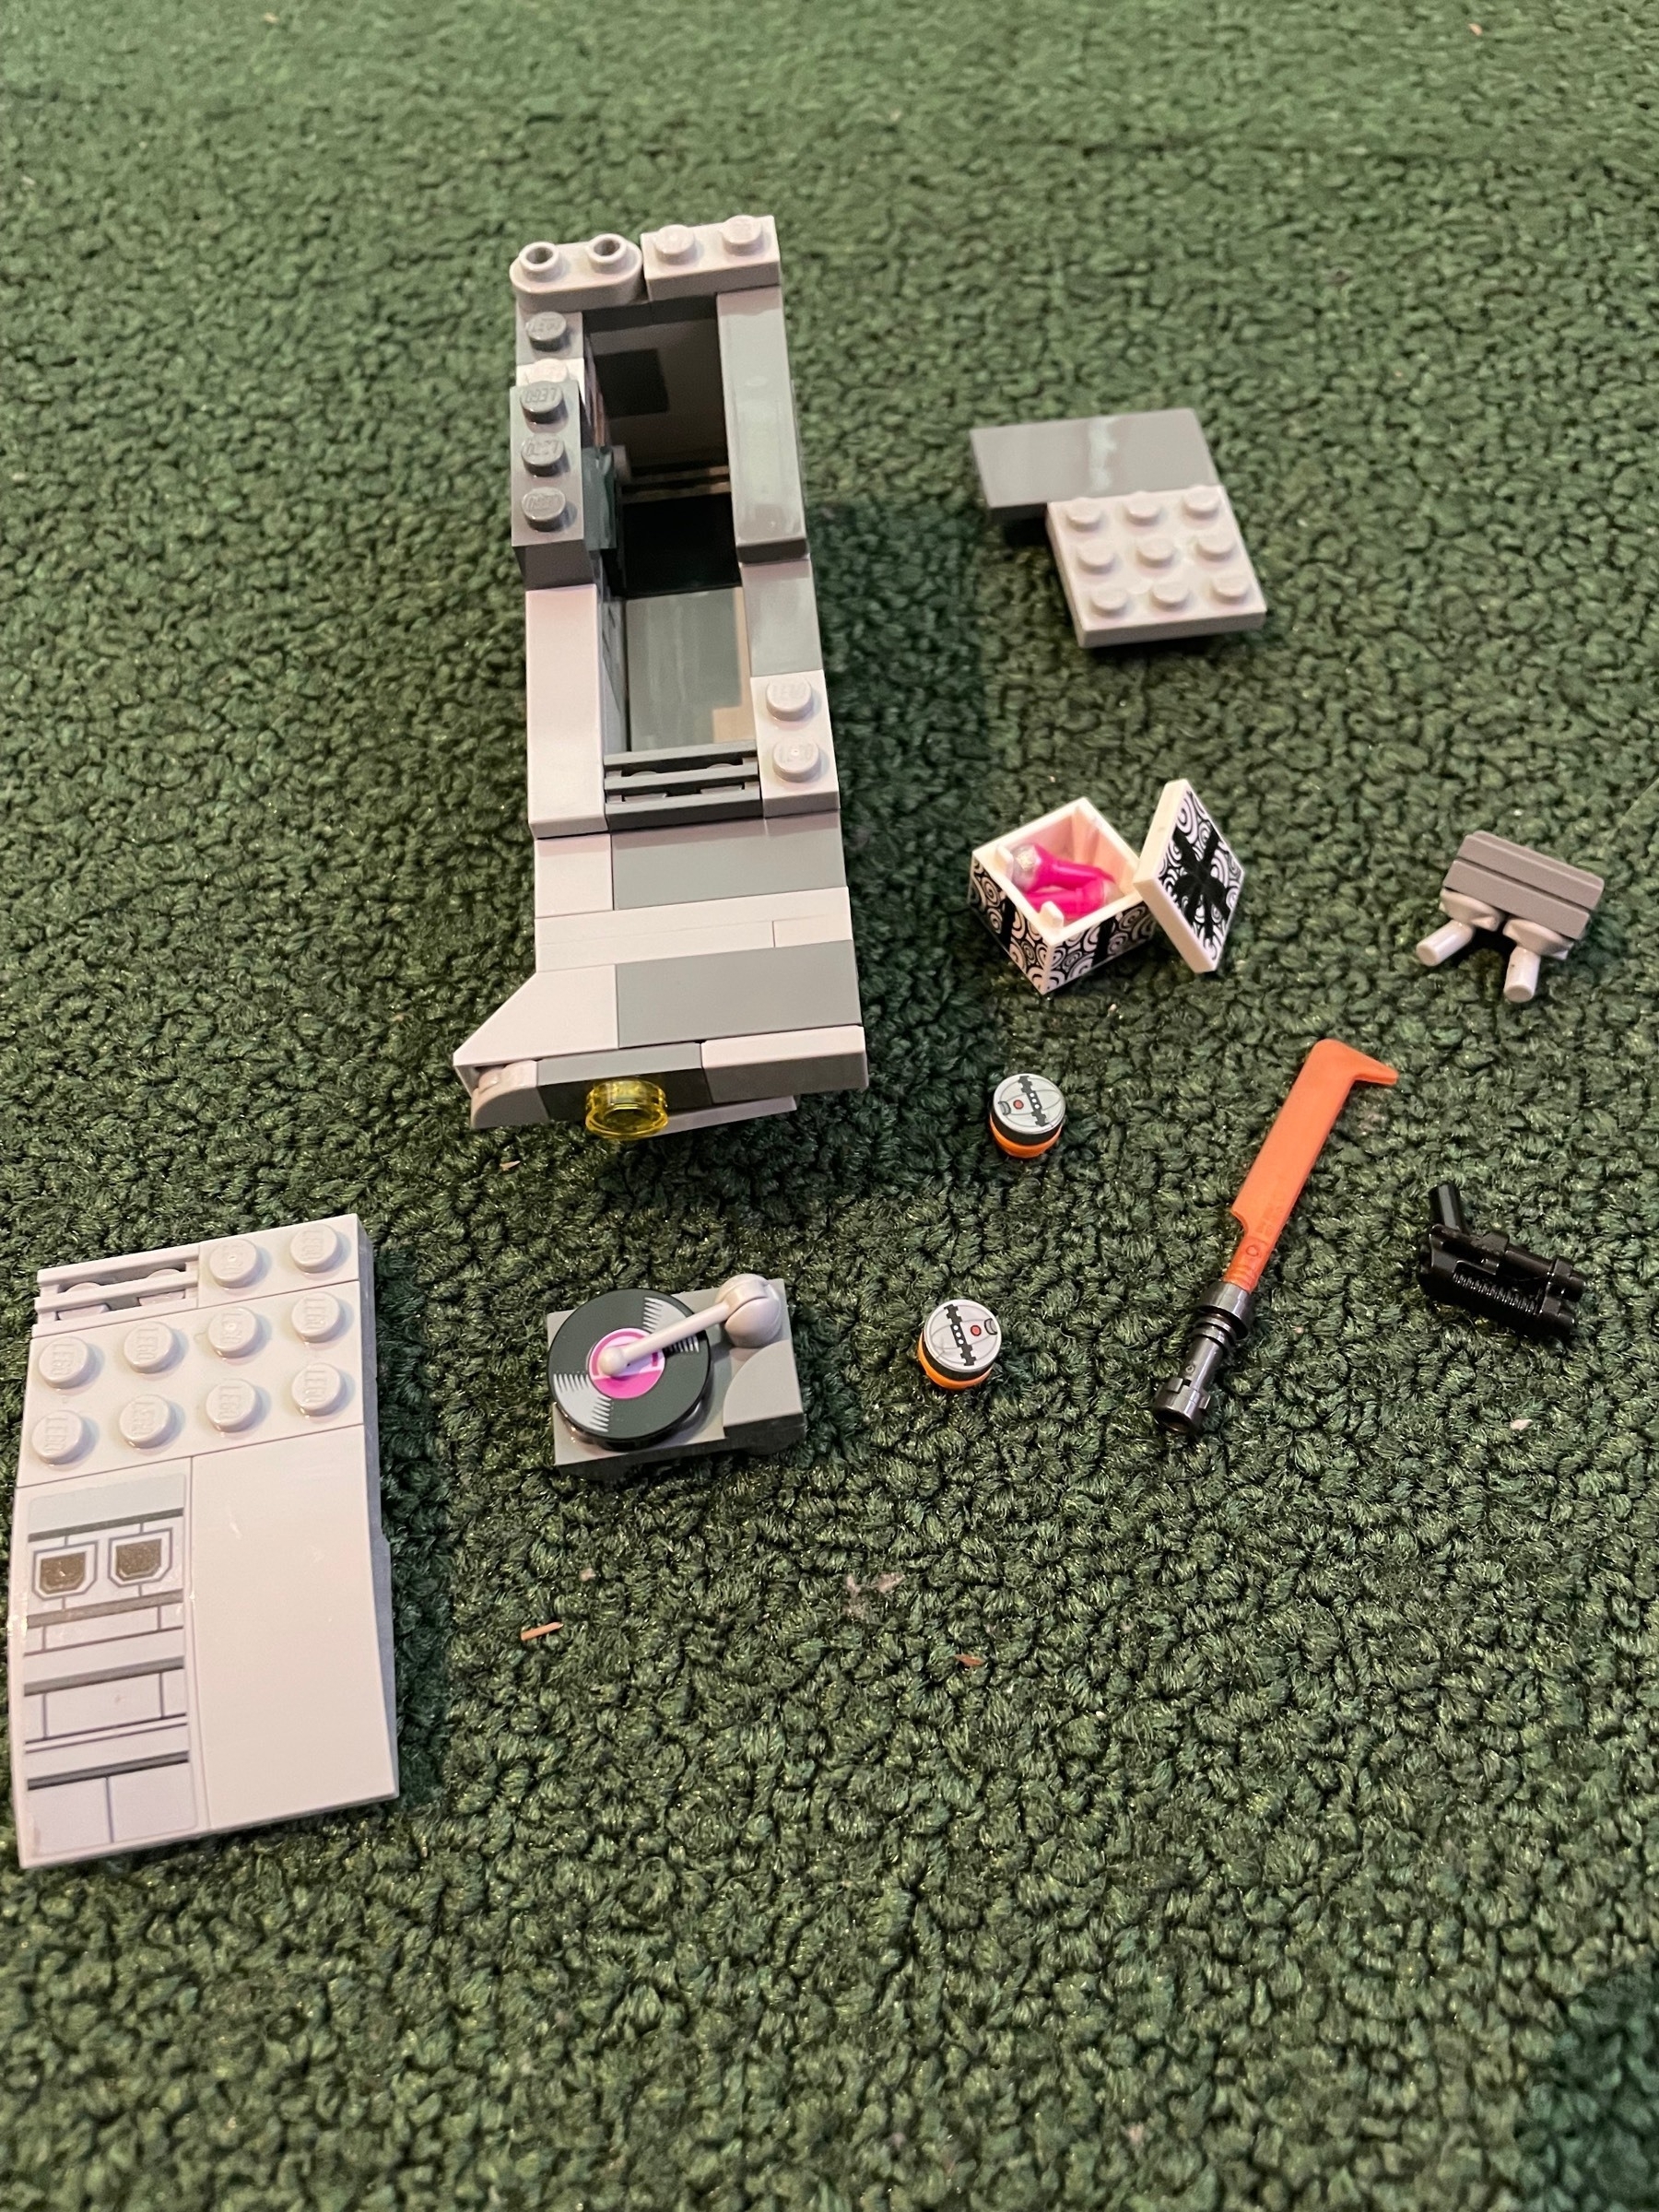
The Kumquat’s crew is formed of the human Emile Ross and the niffler Golden Delicious. Golden Delicious mans the weapons pod in a small compartment, and Emile pilots the ship.
-
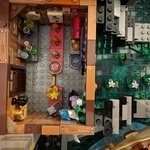
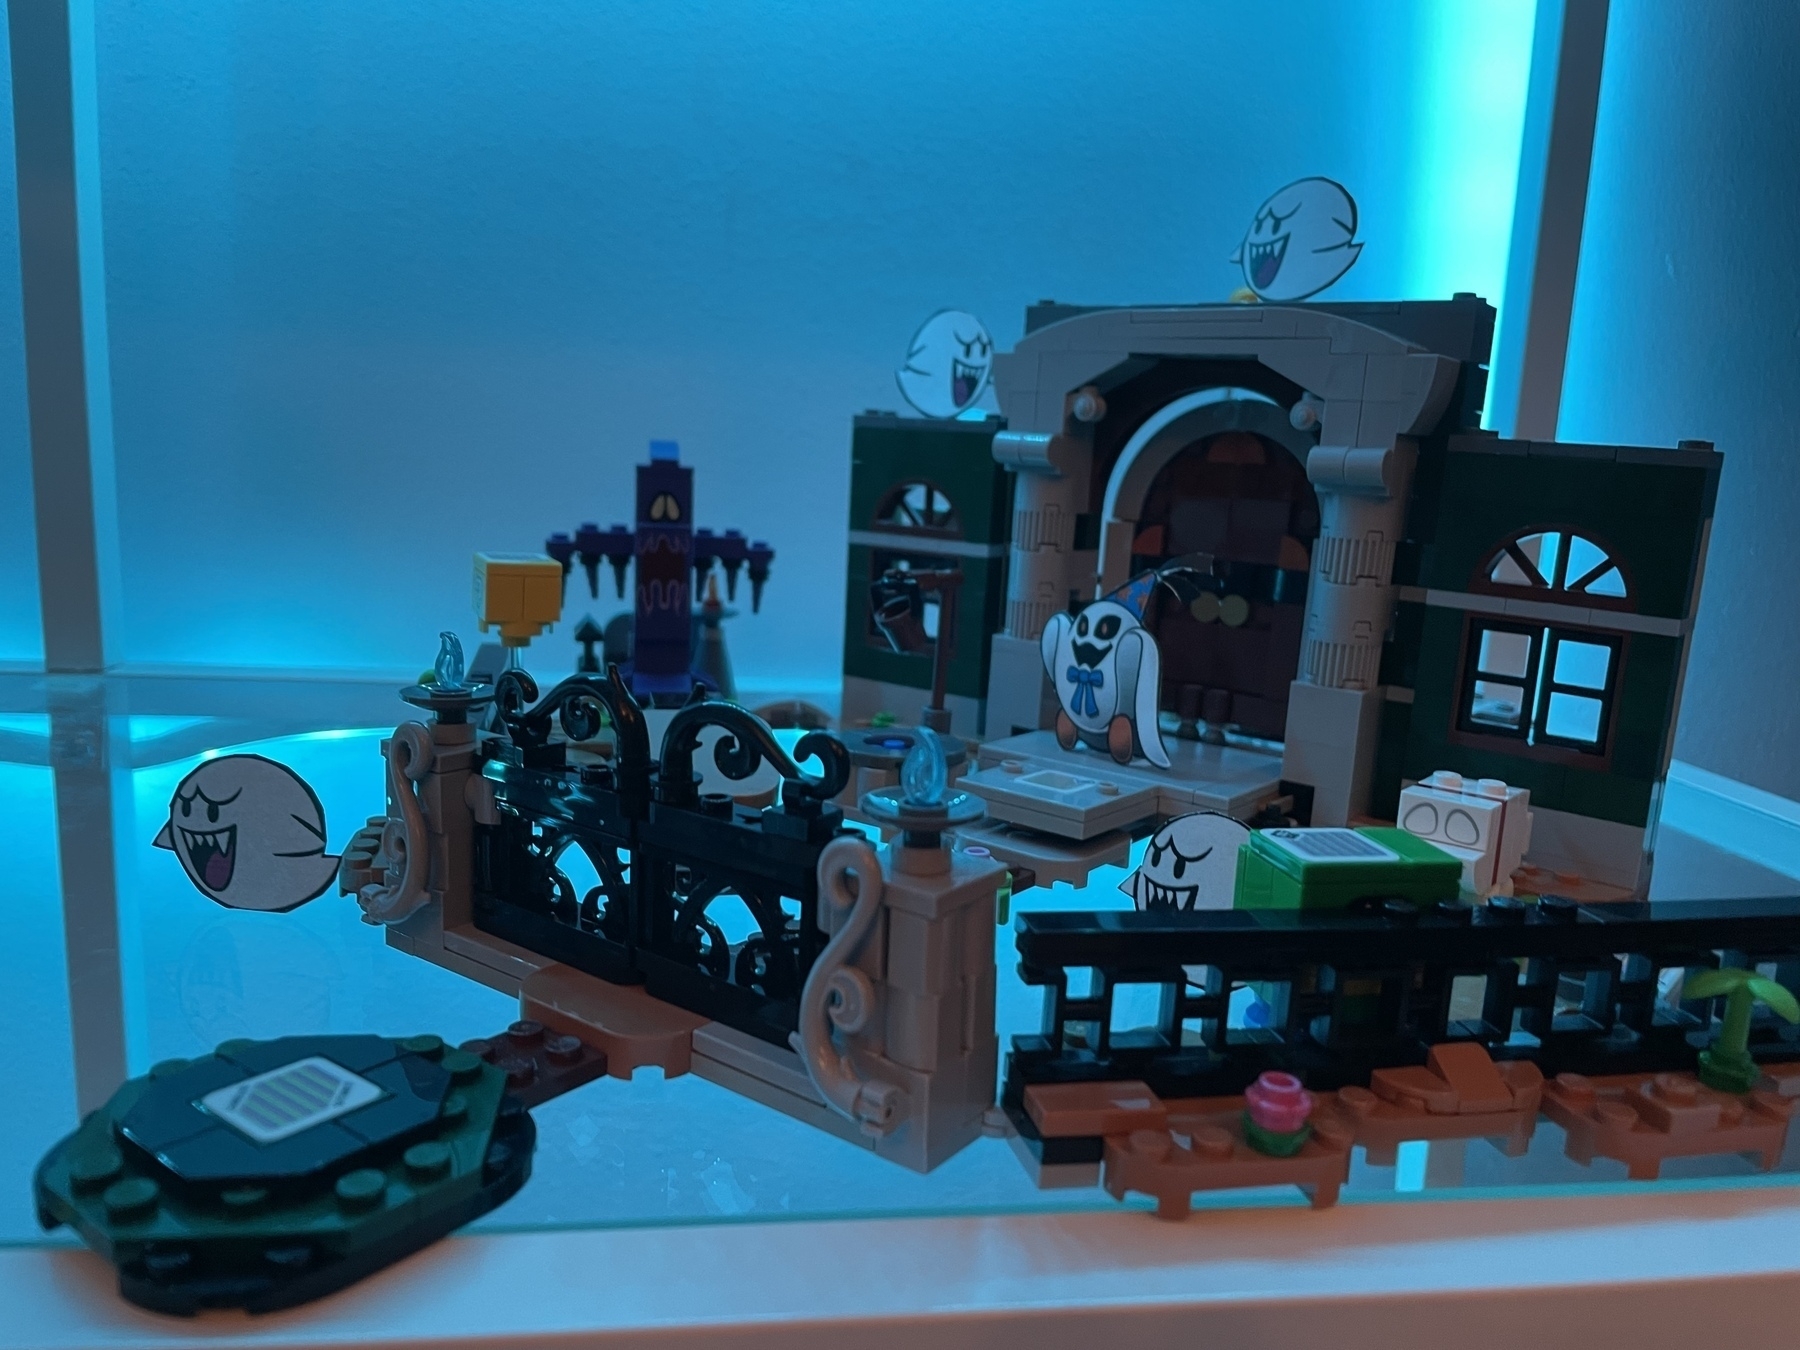
Modified Luigi’s Mansion Entryway expansion set.
-
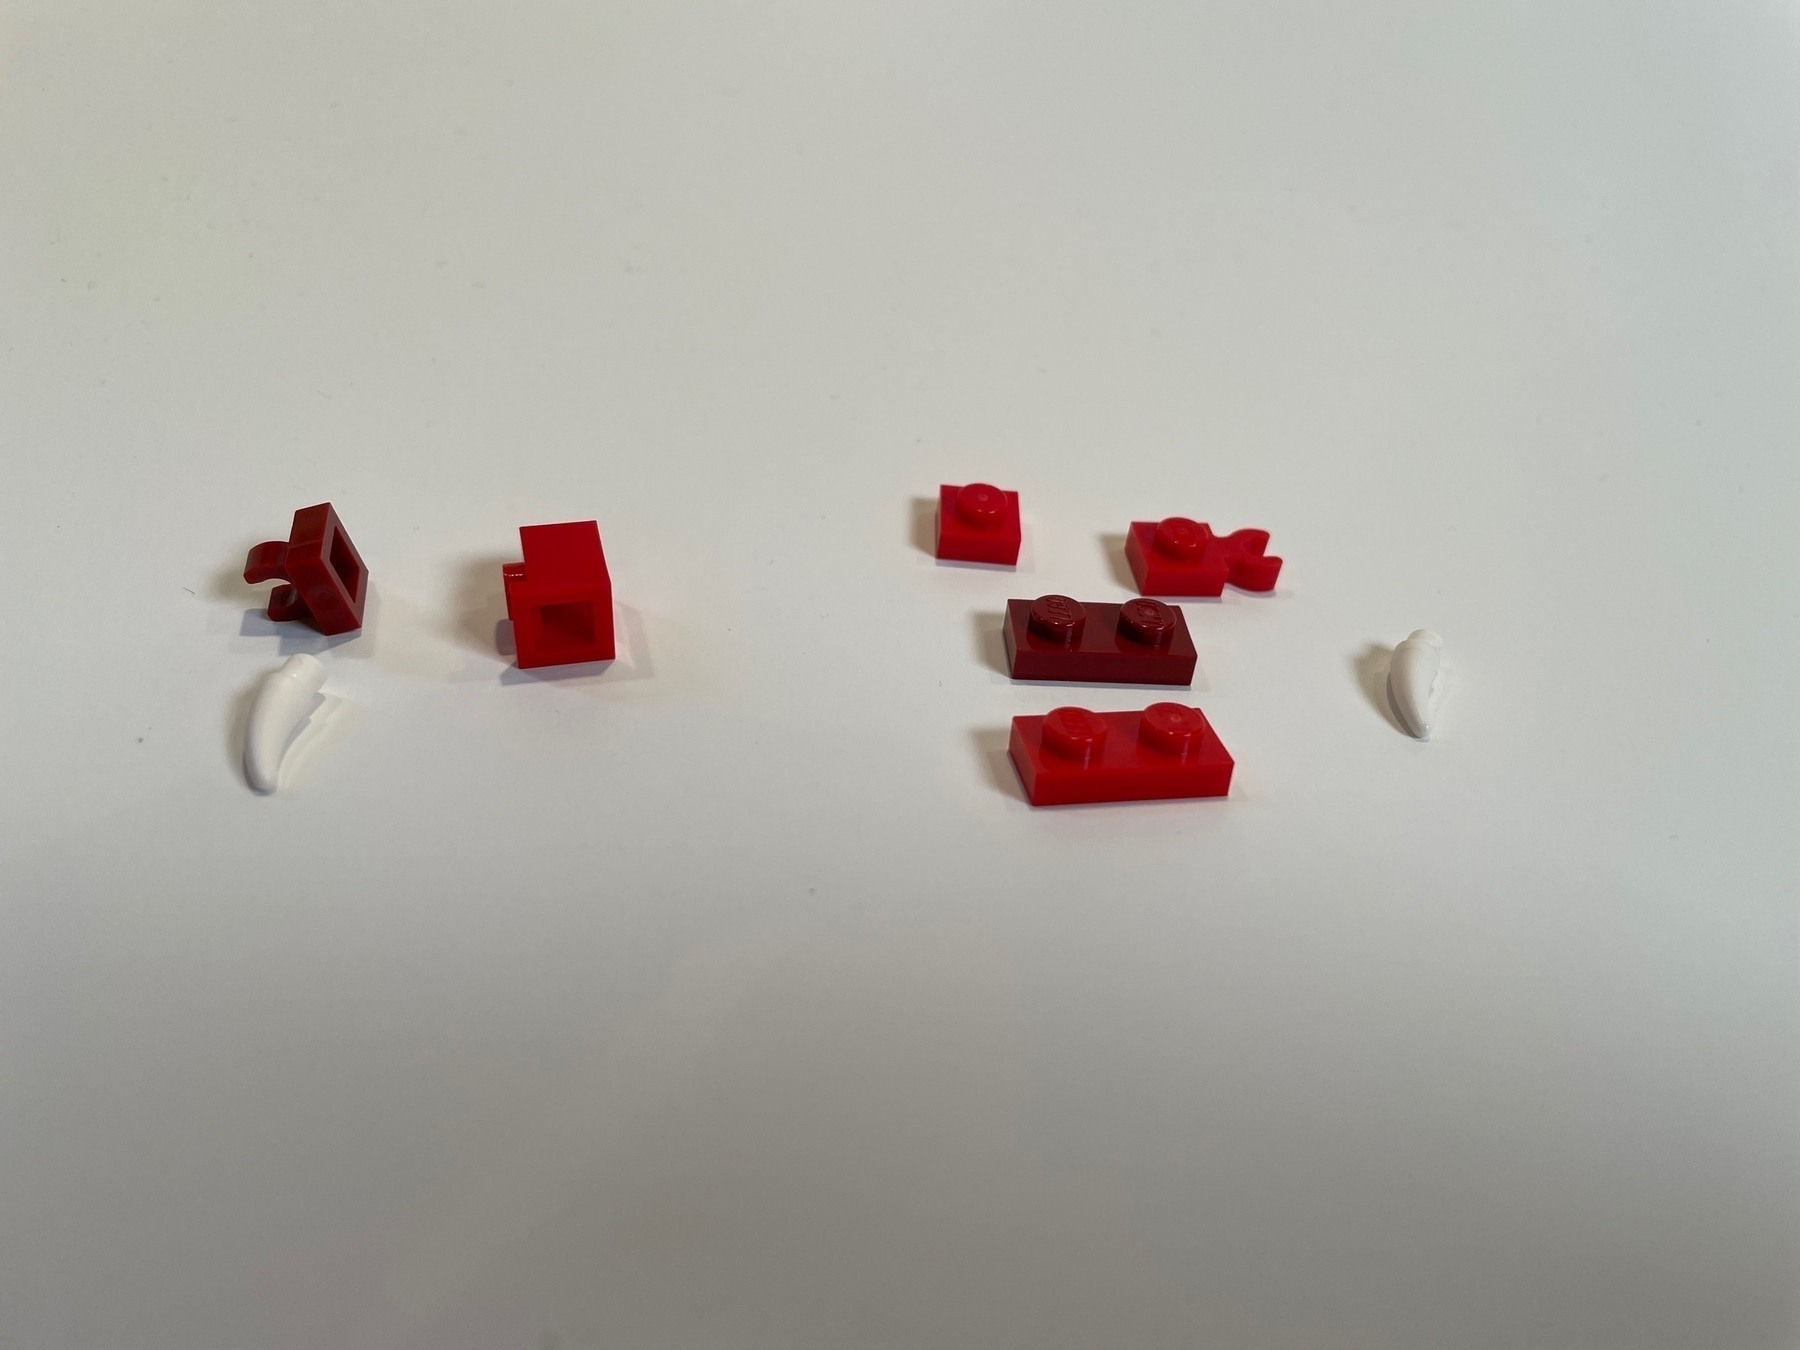
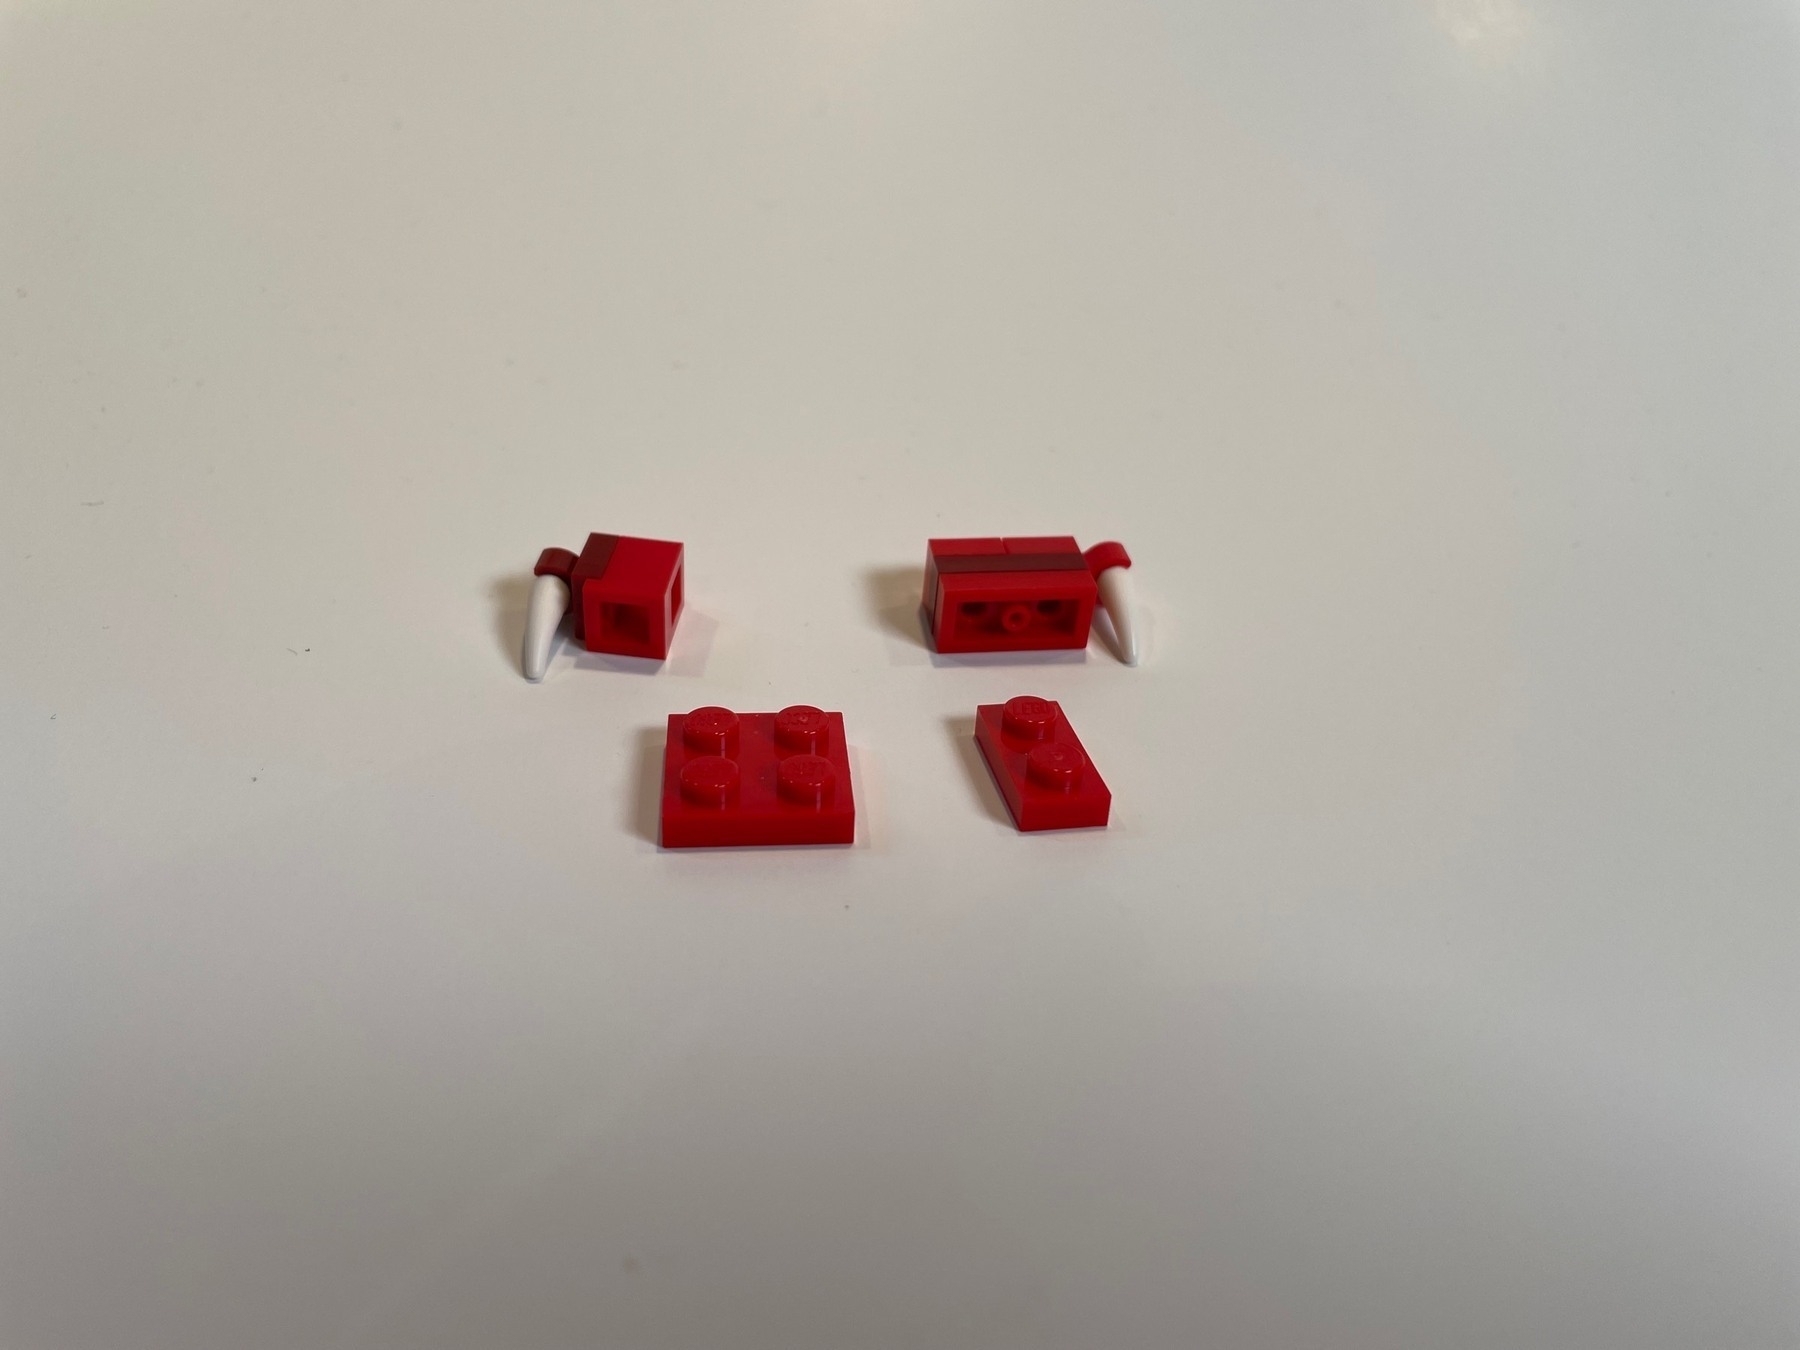
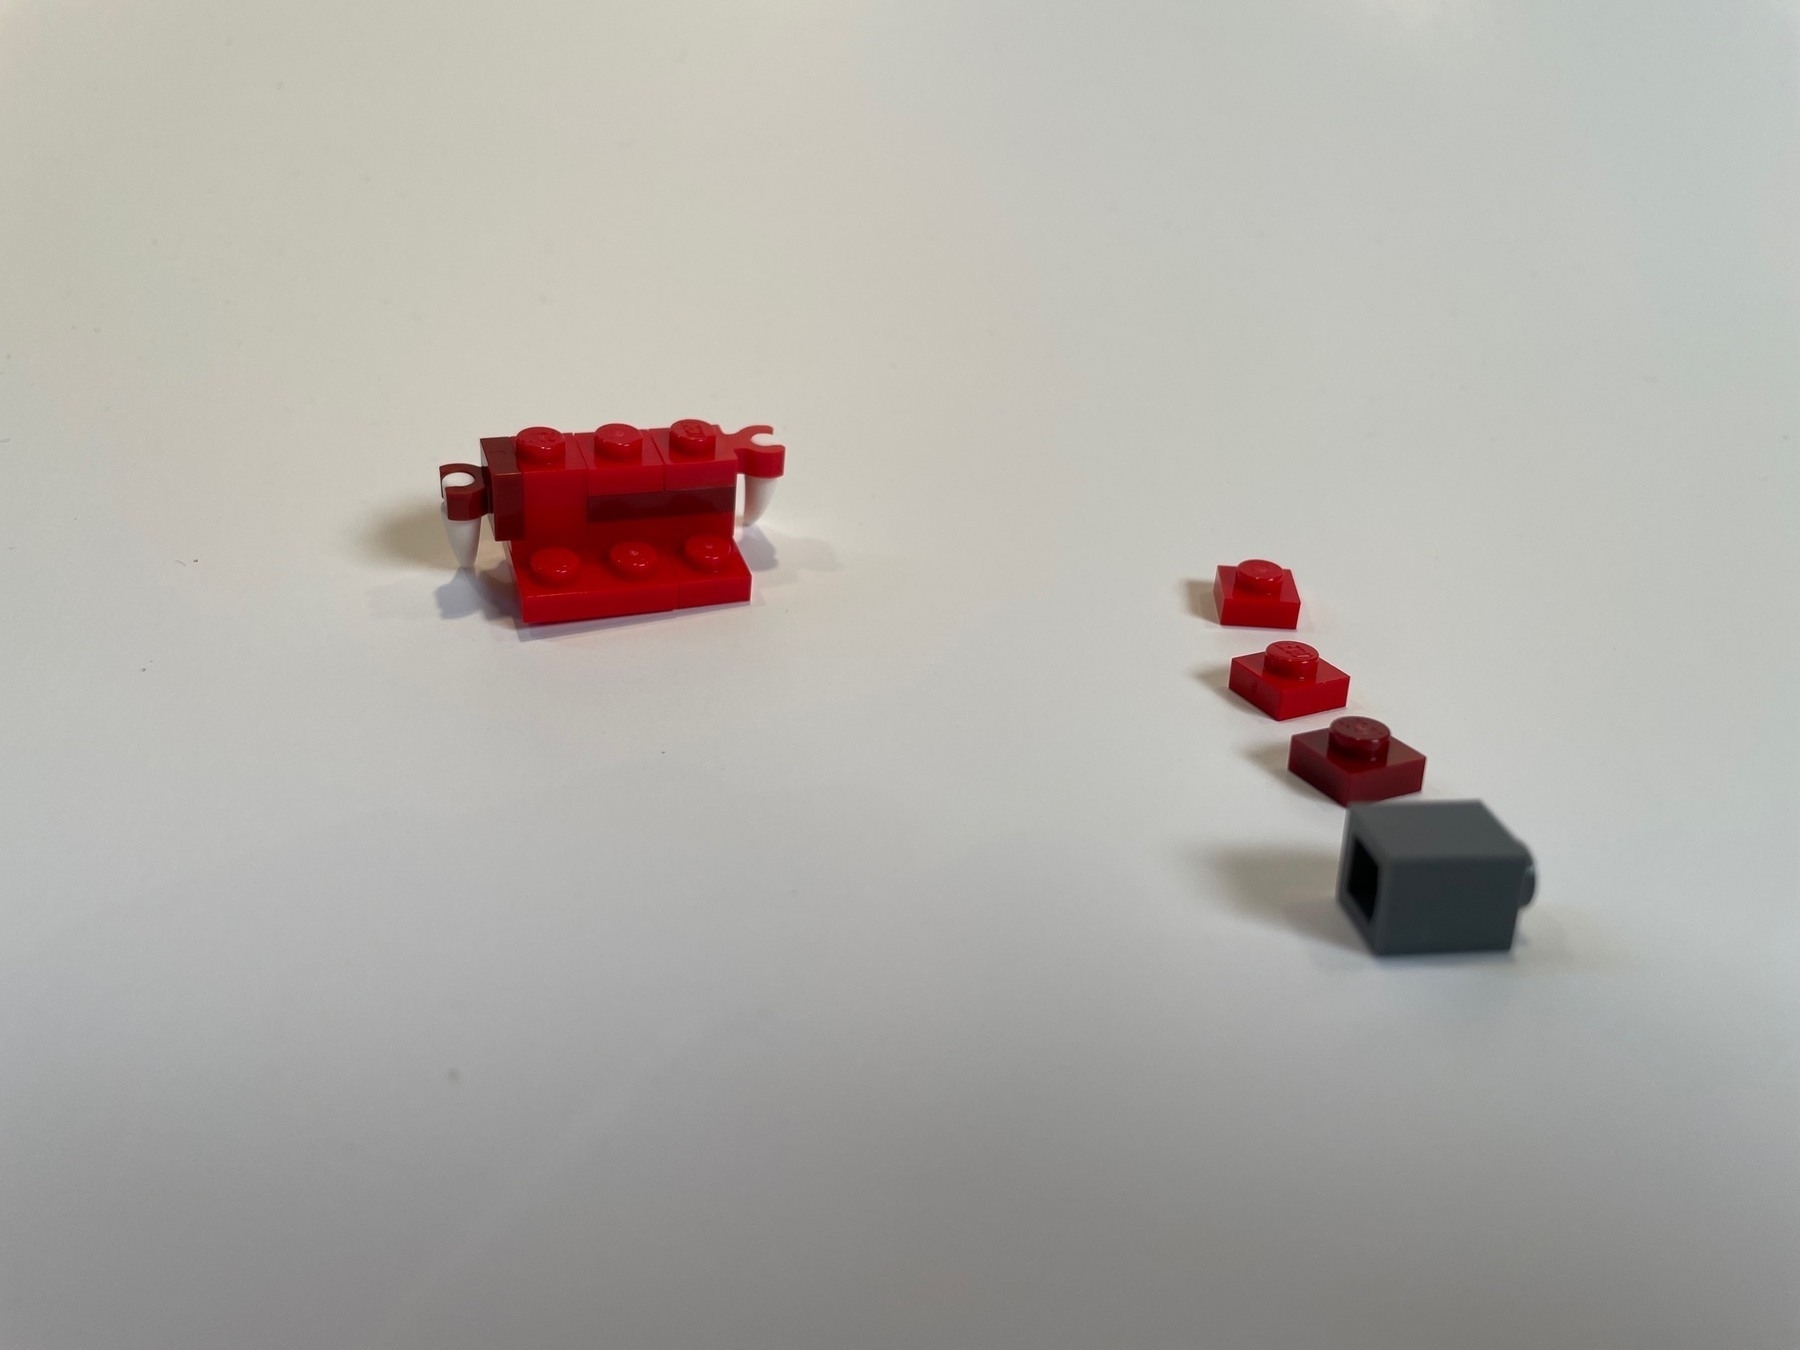
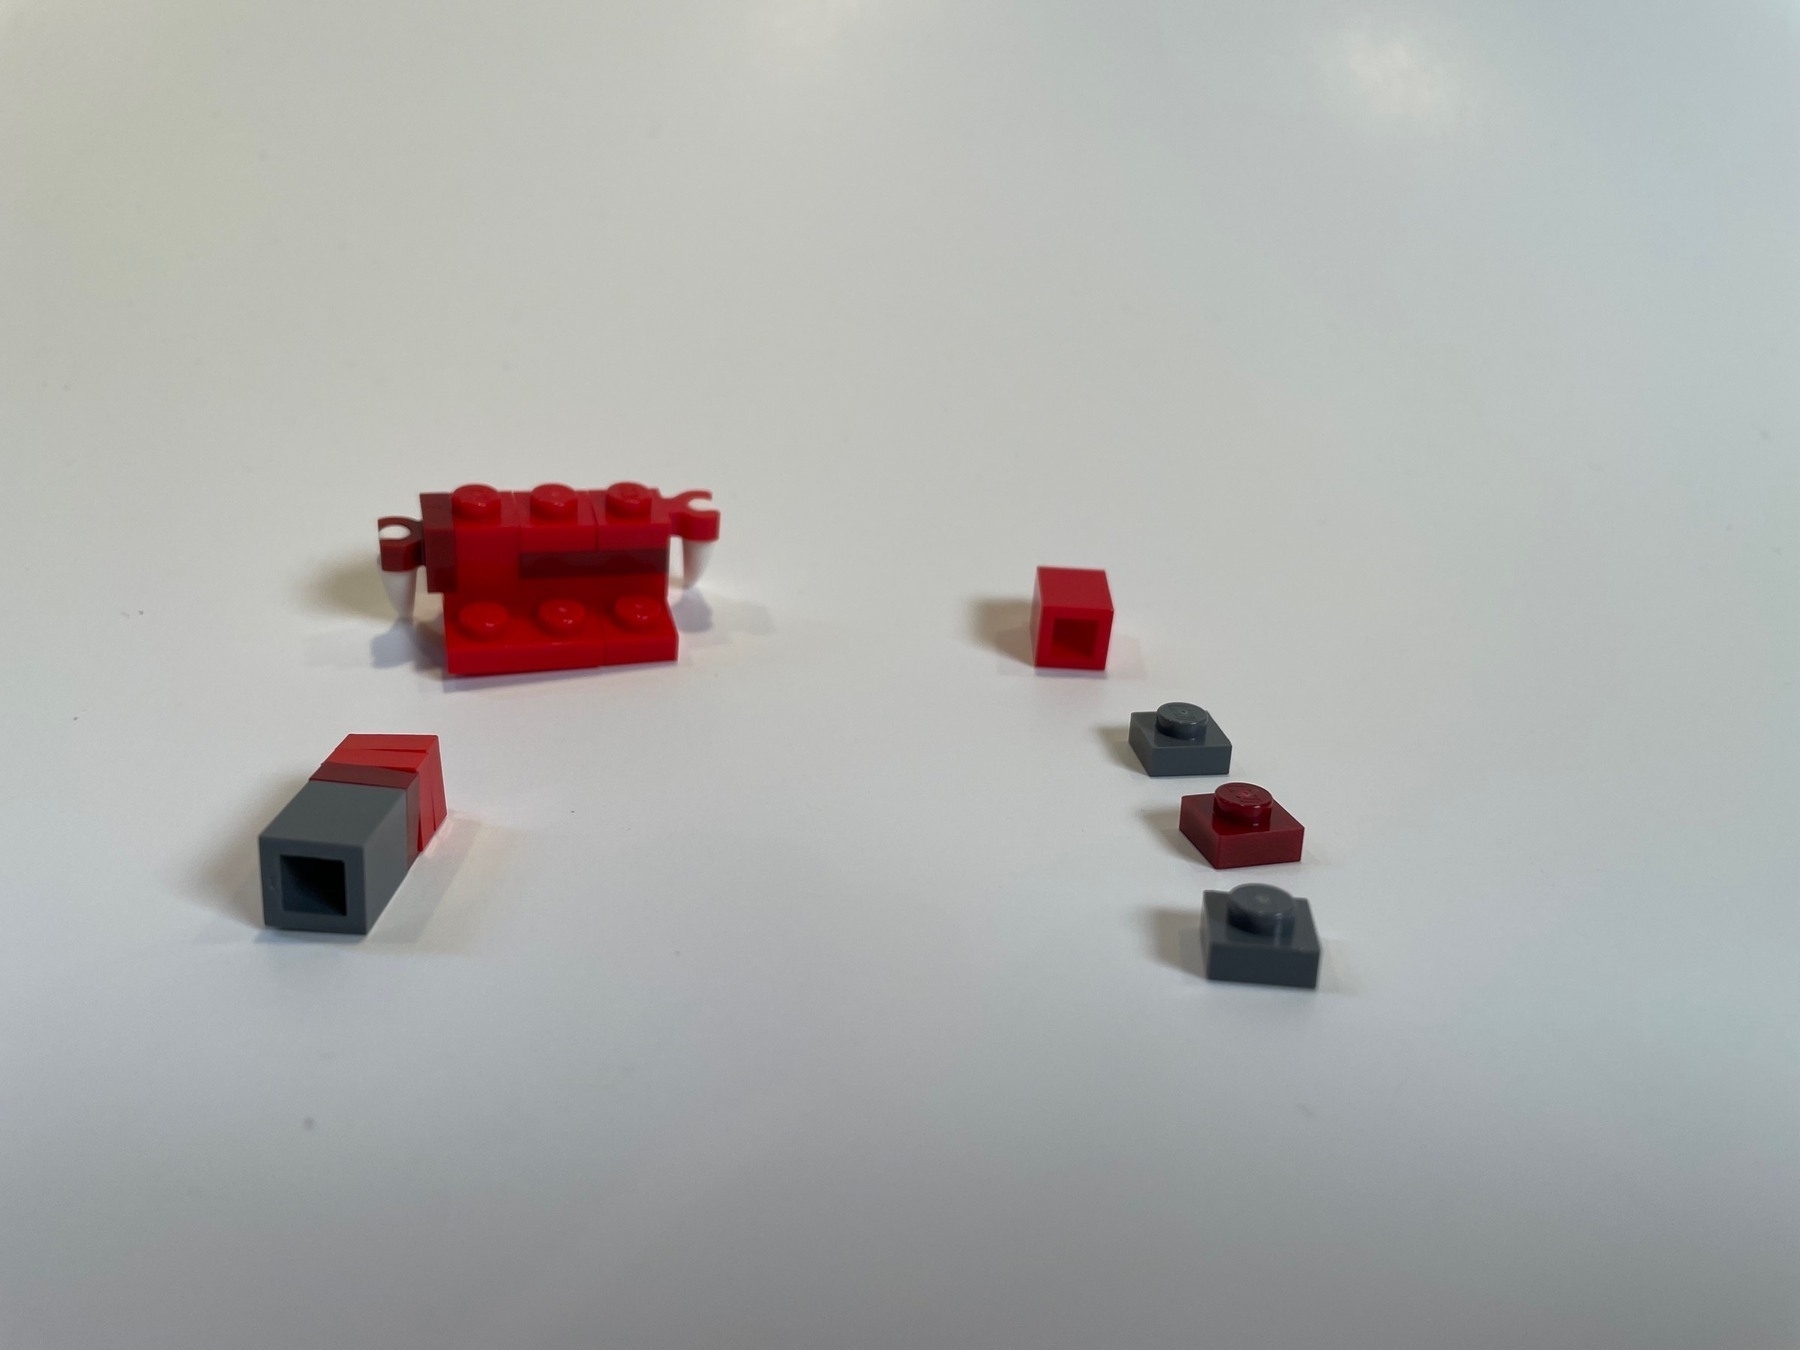
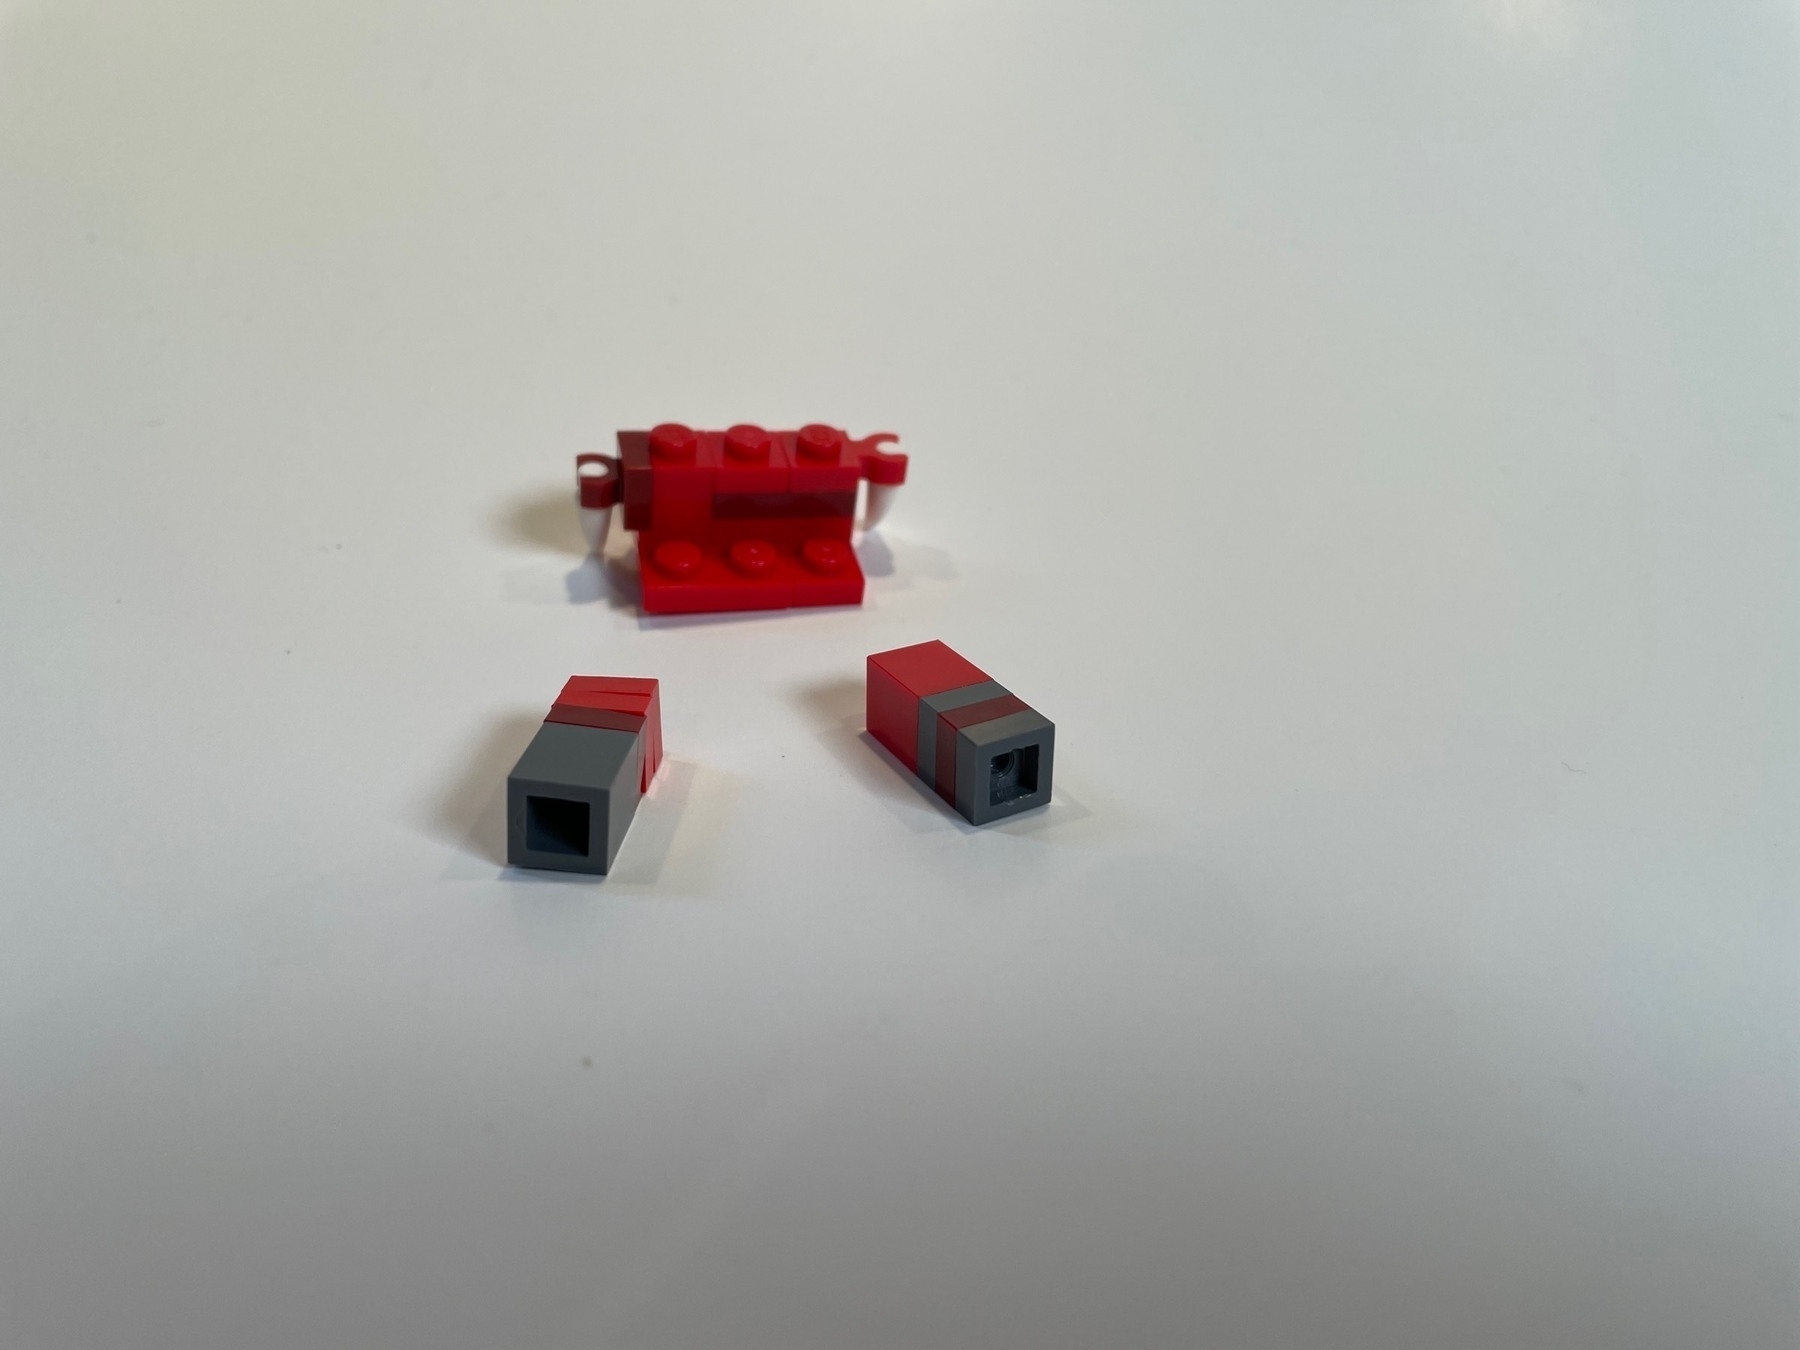
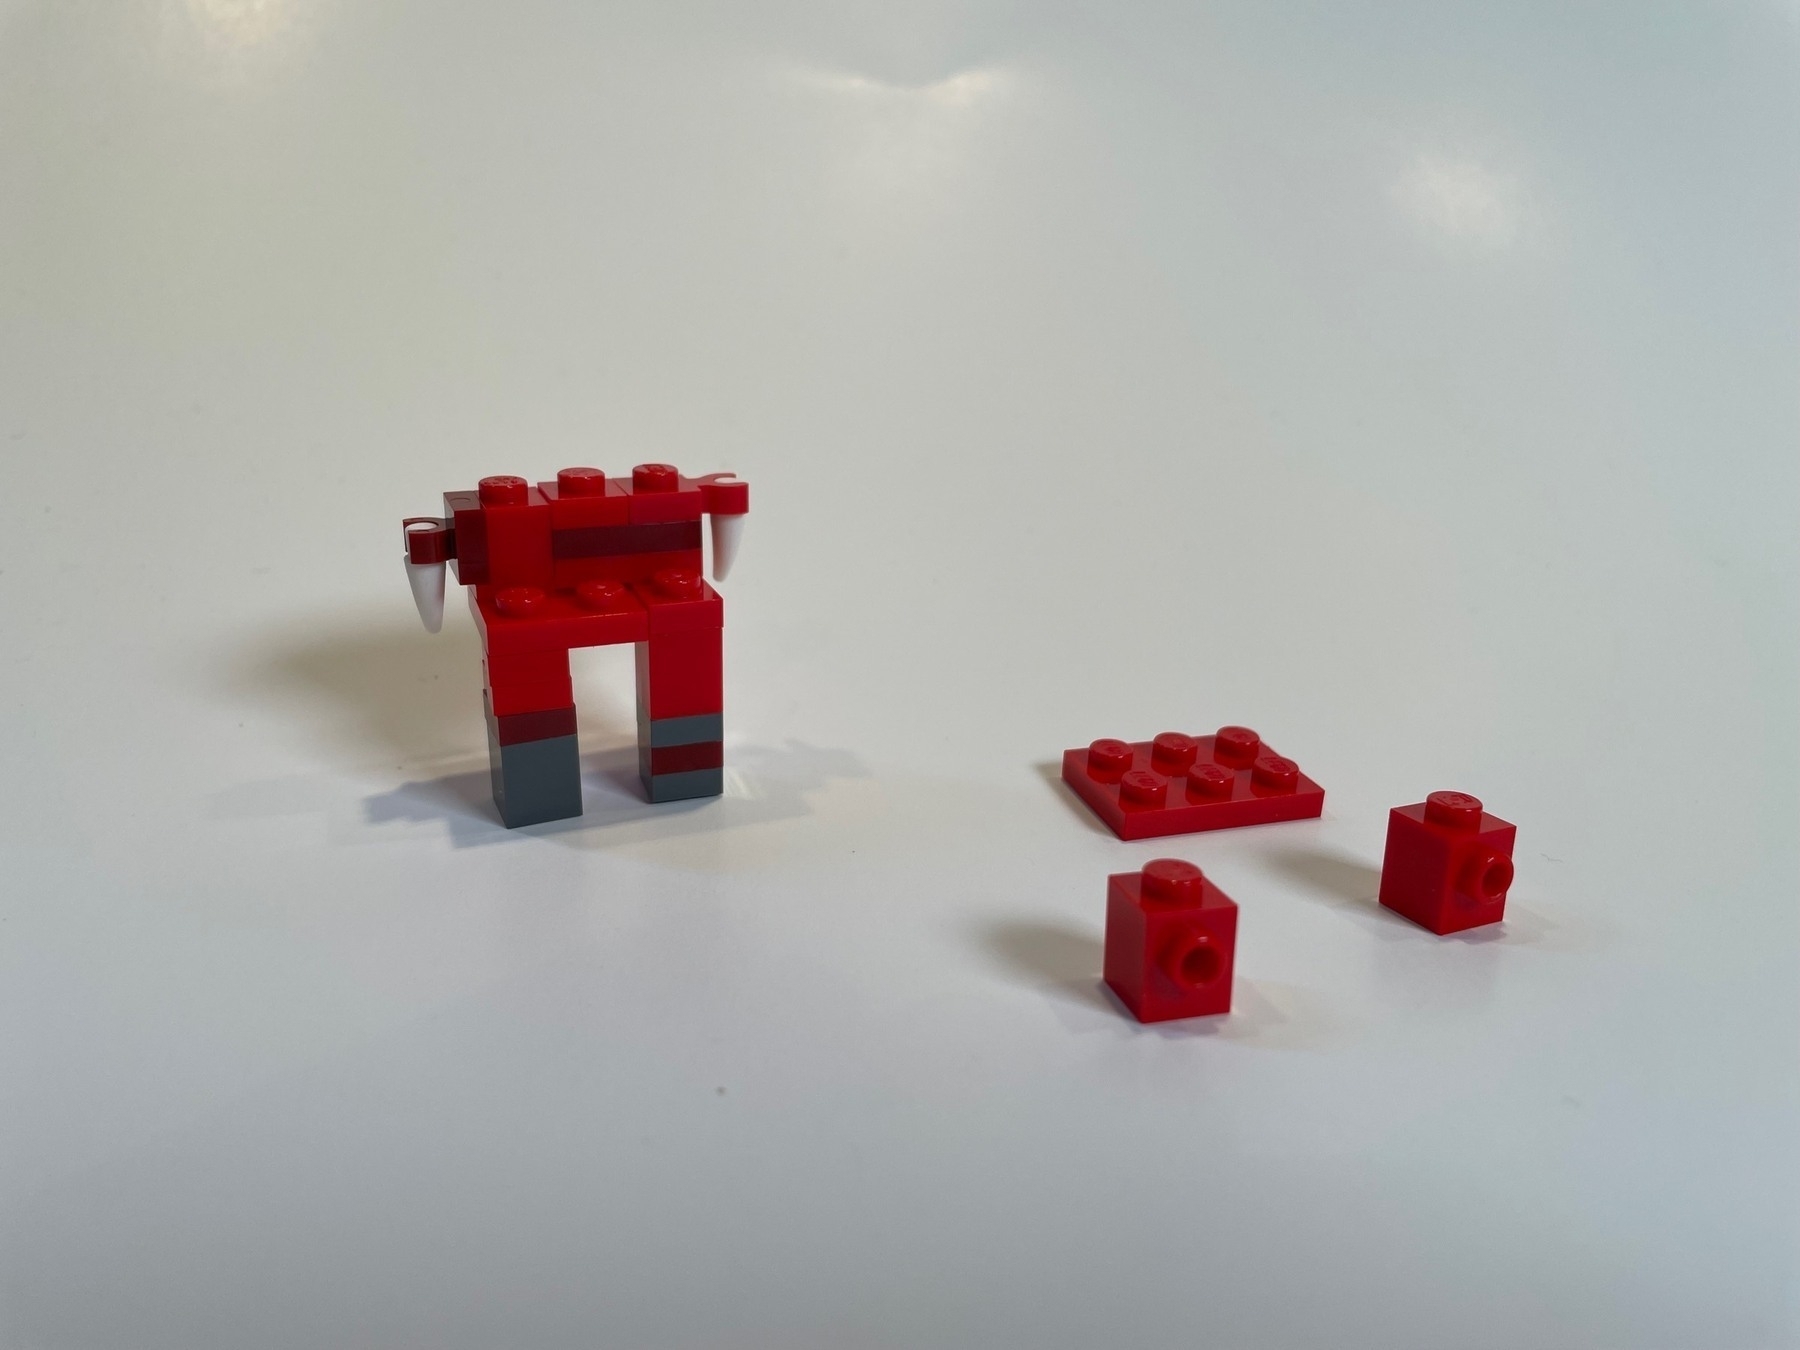
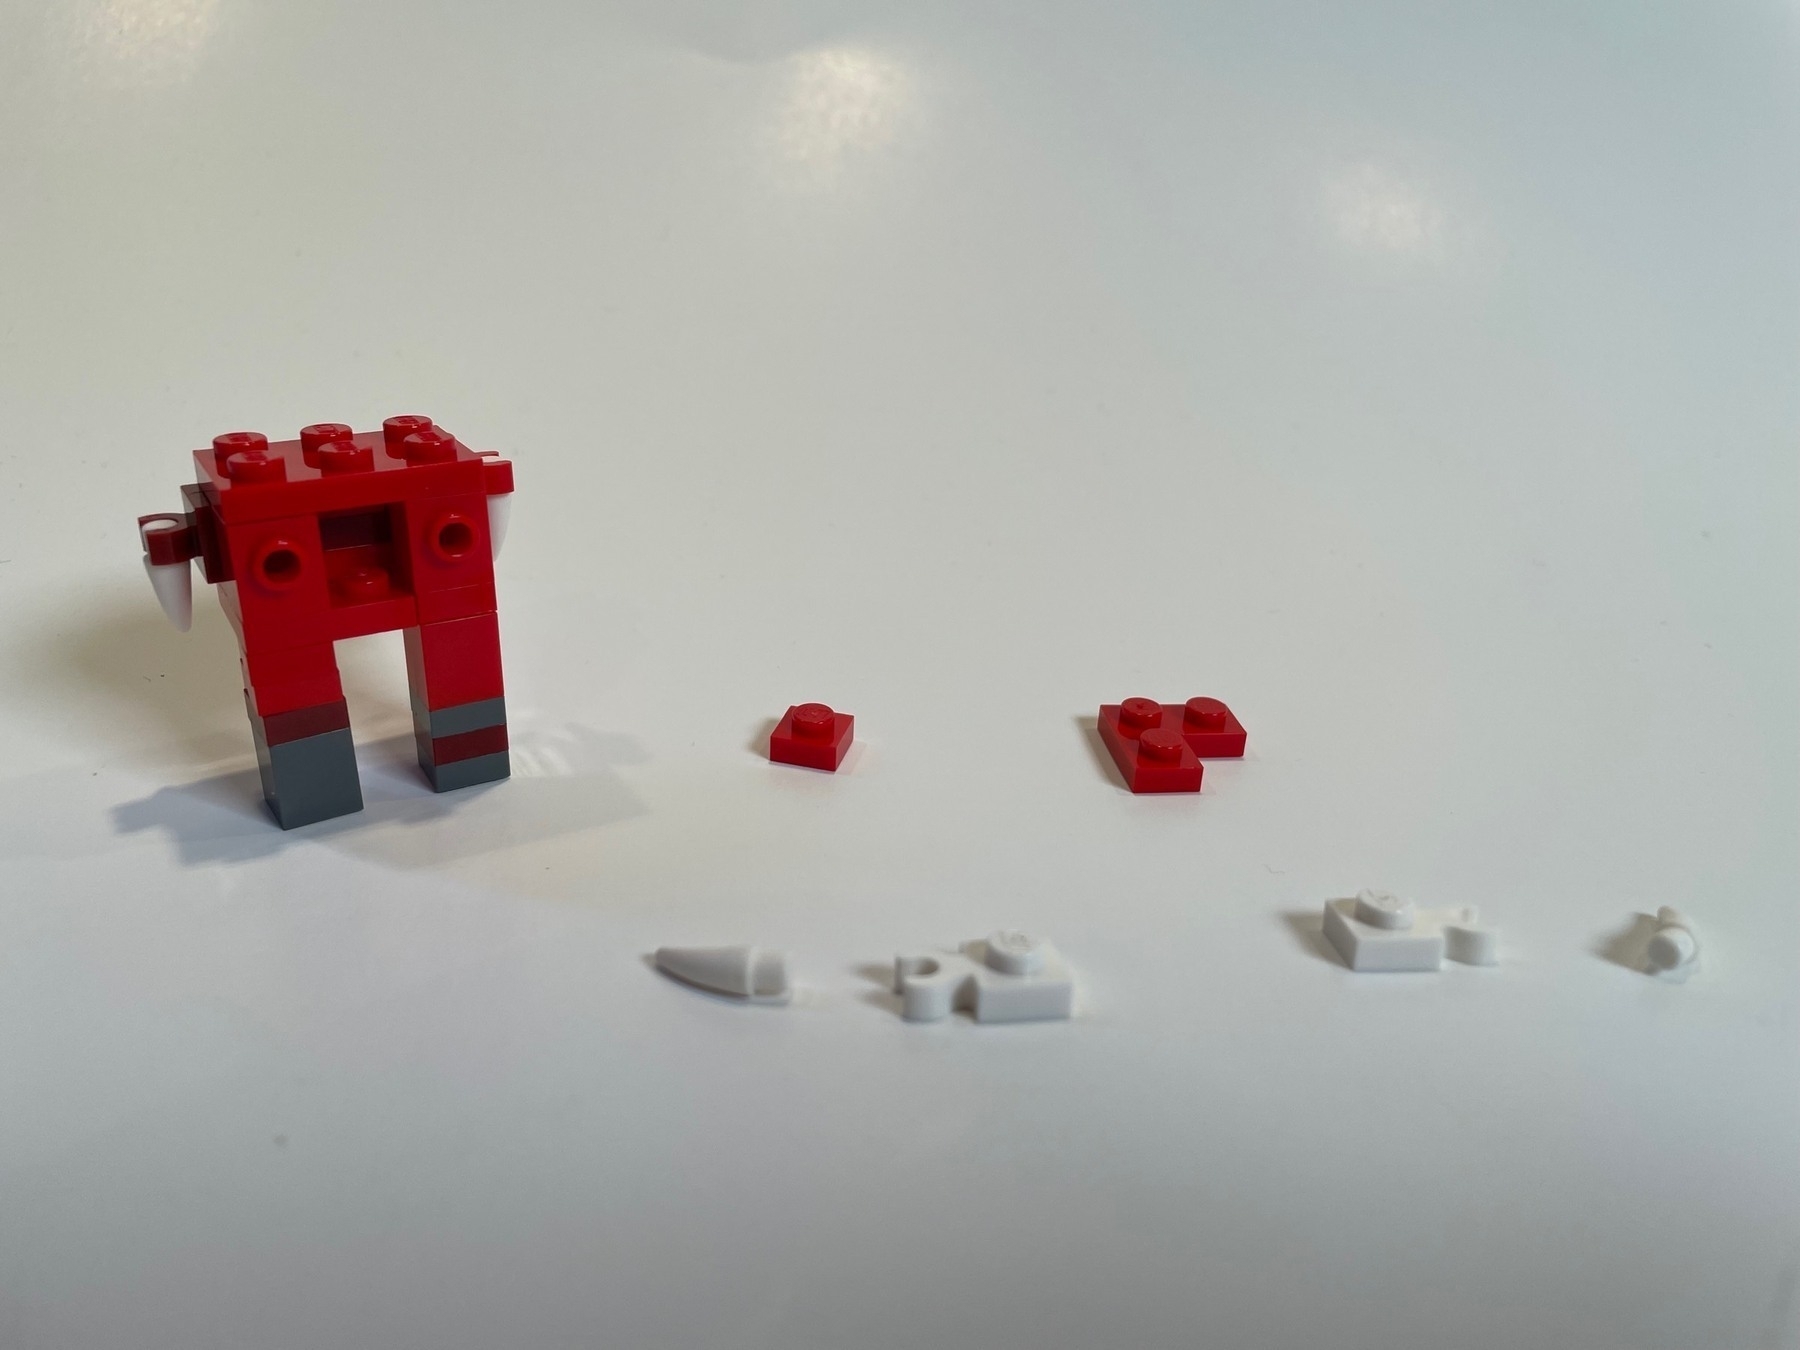
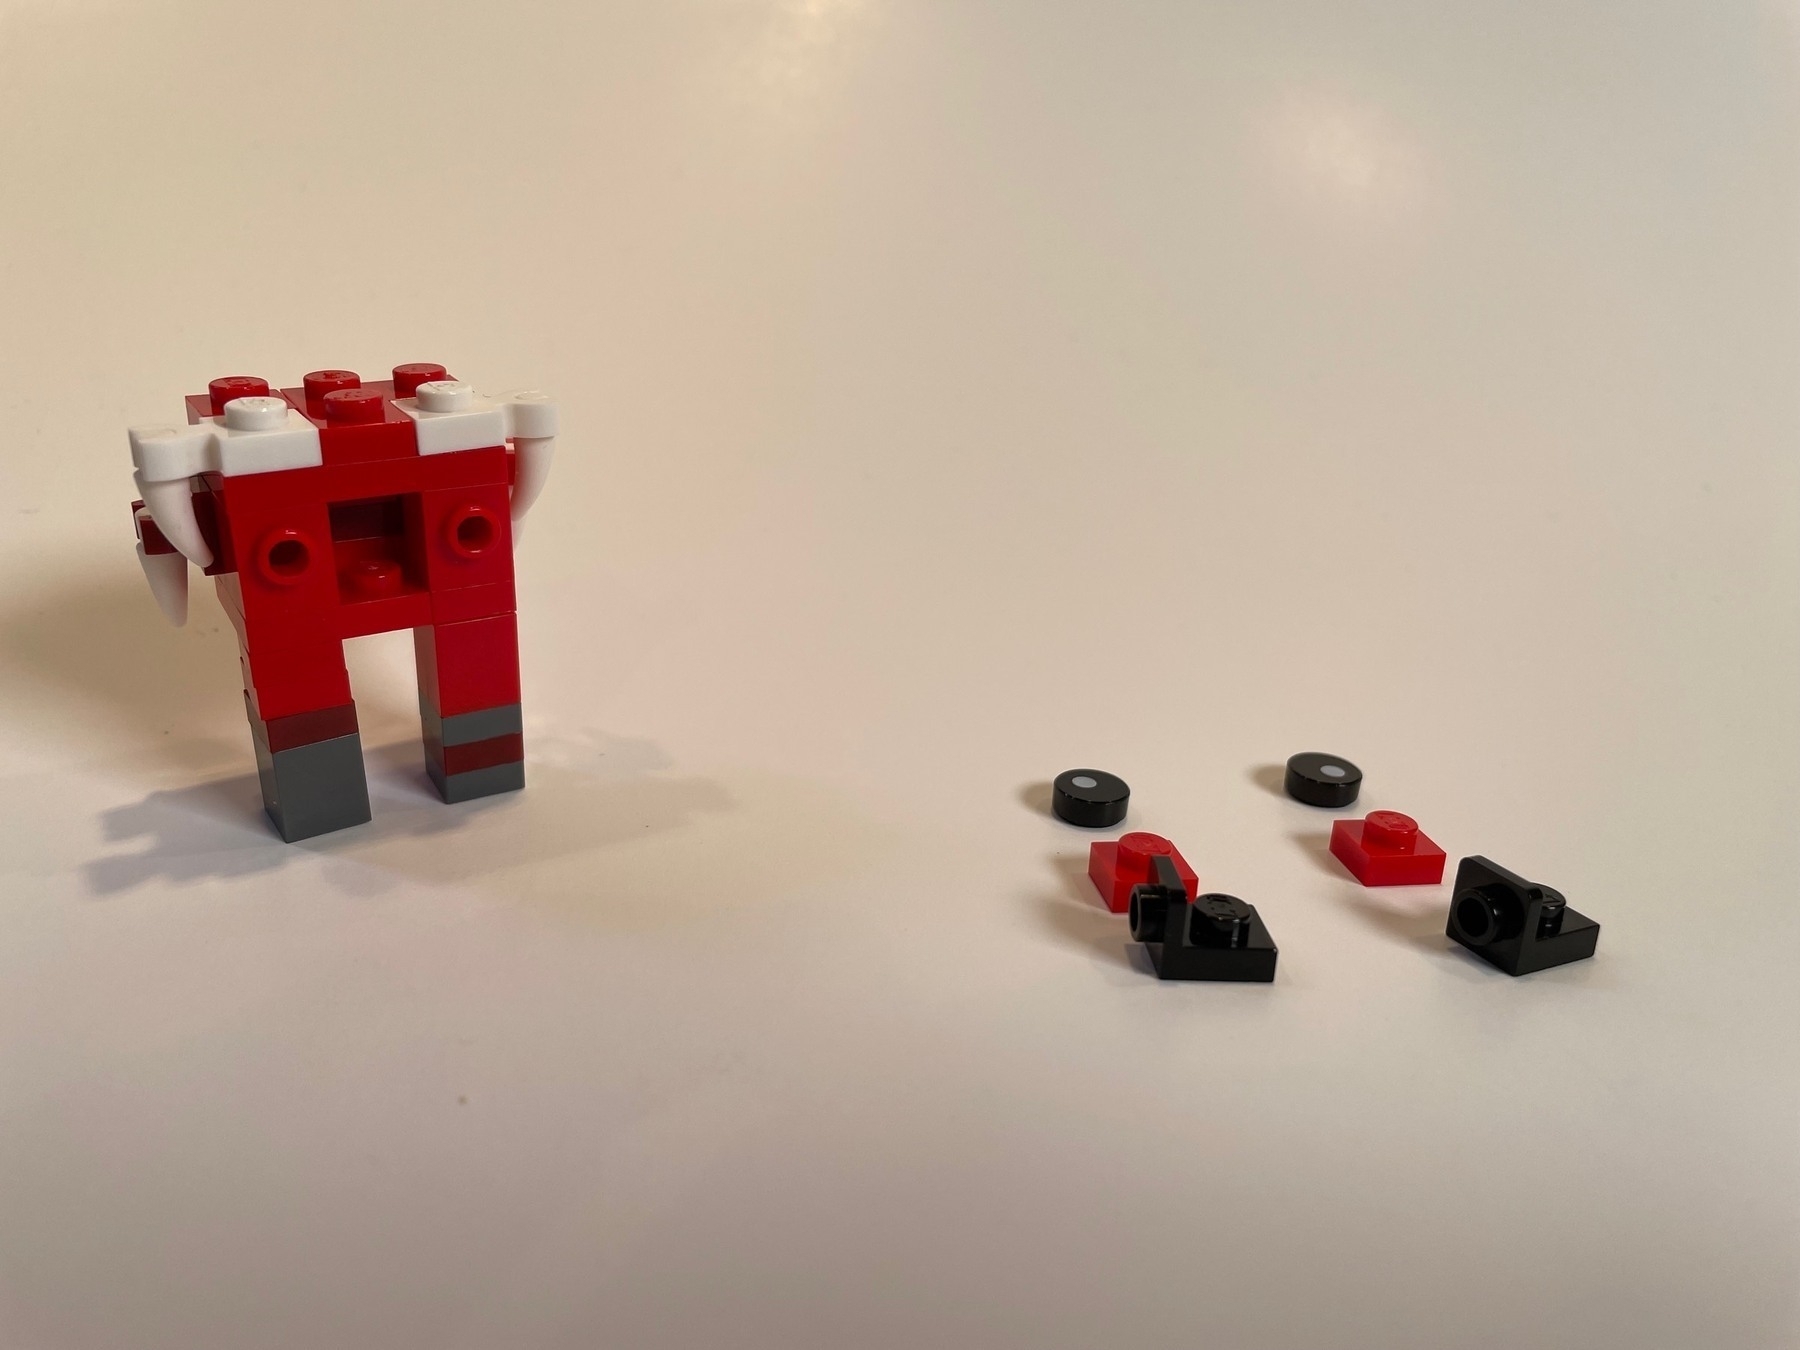
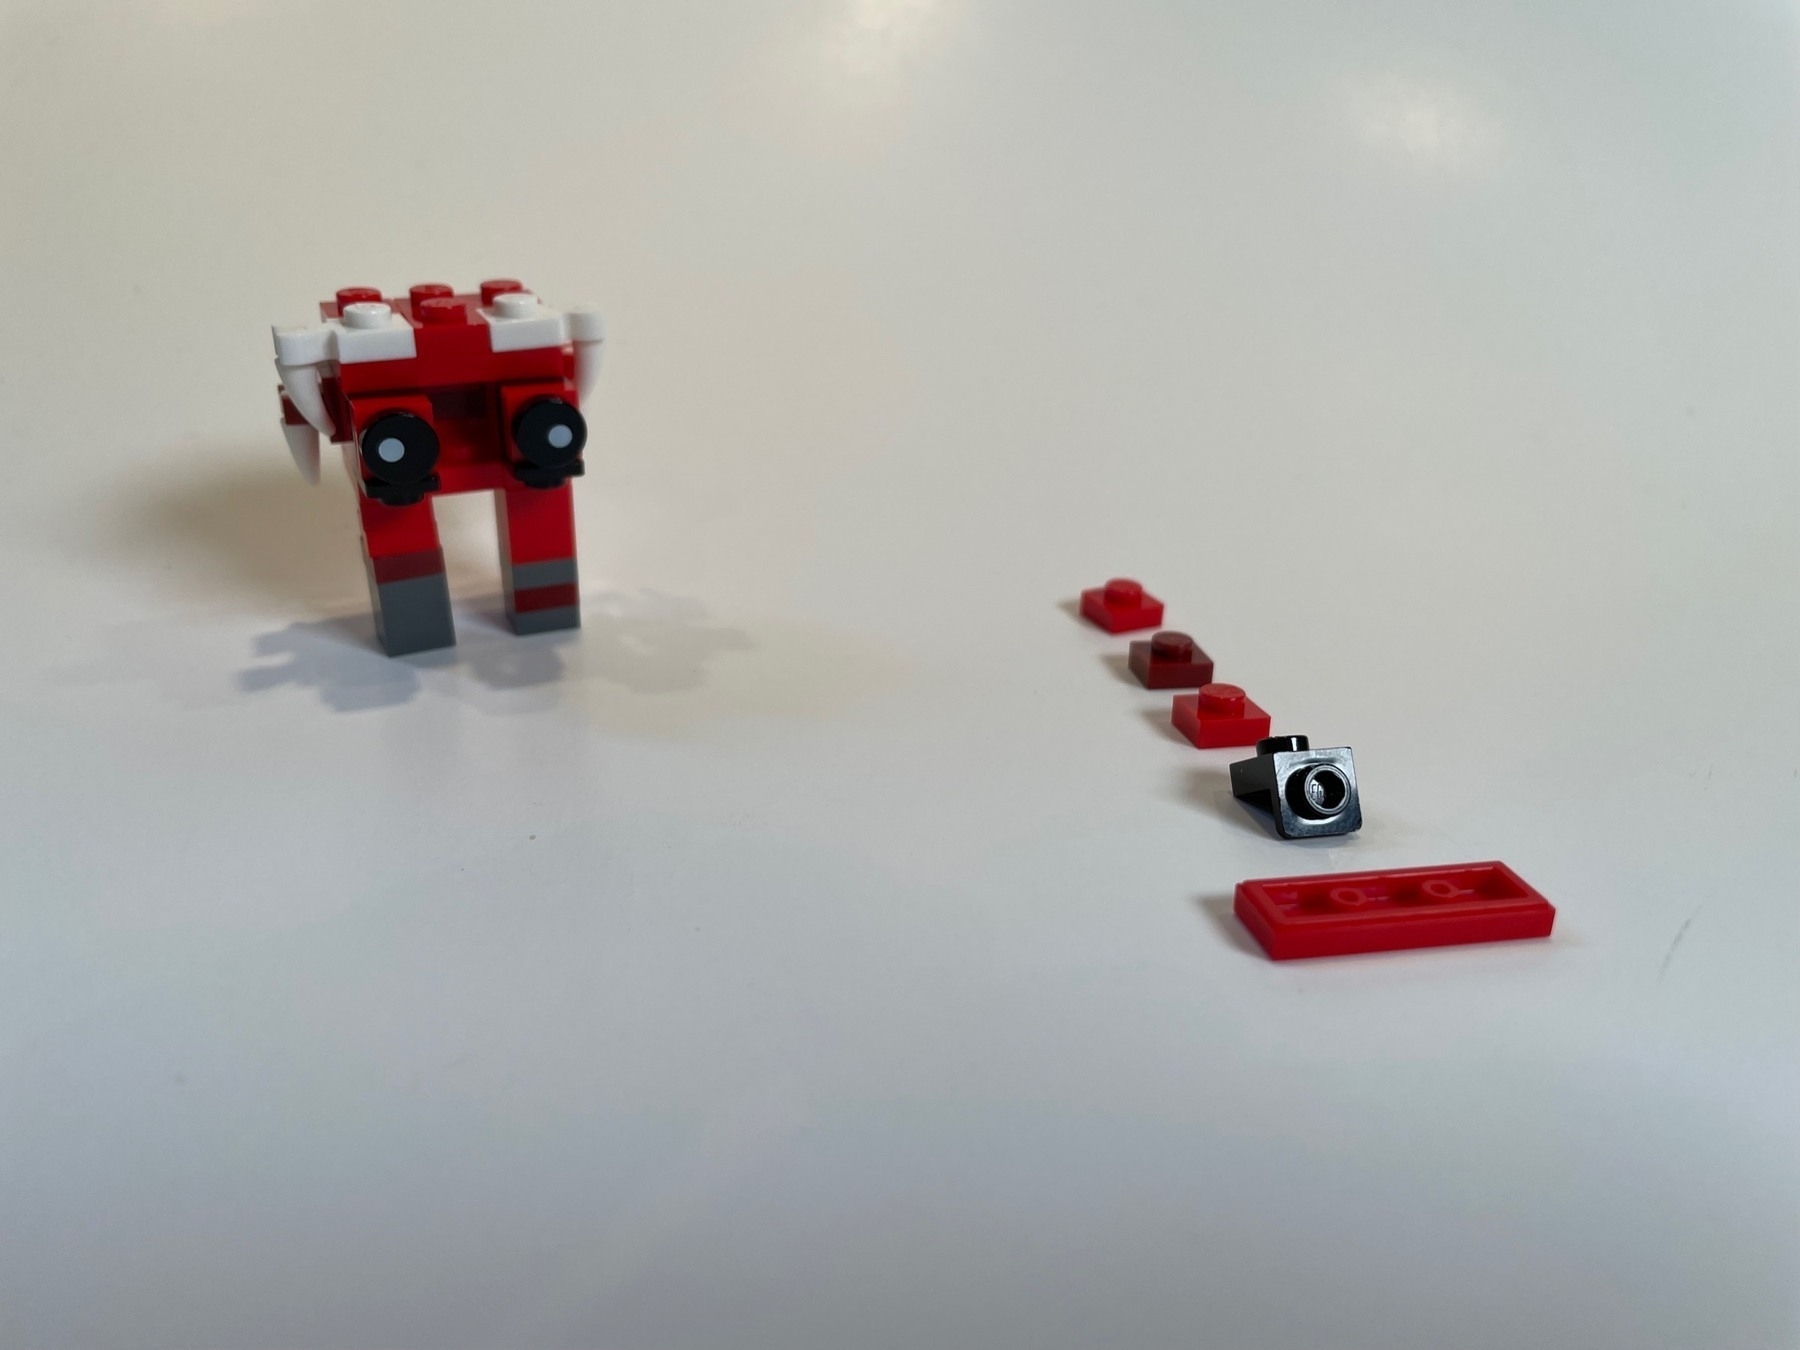
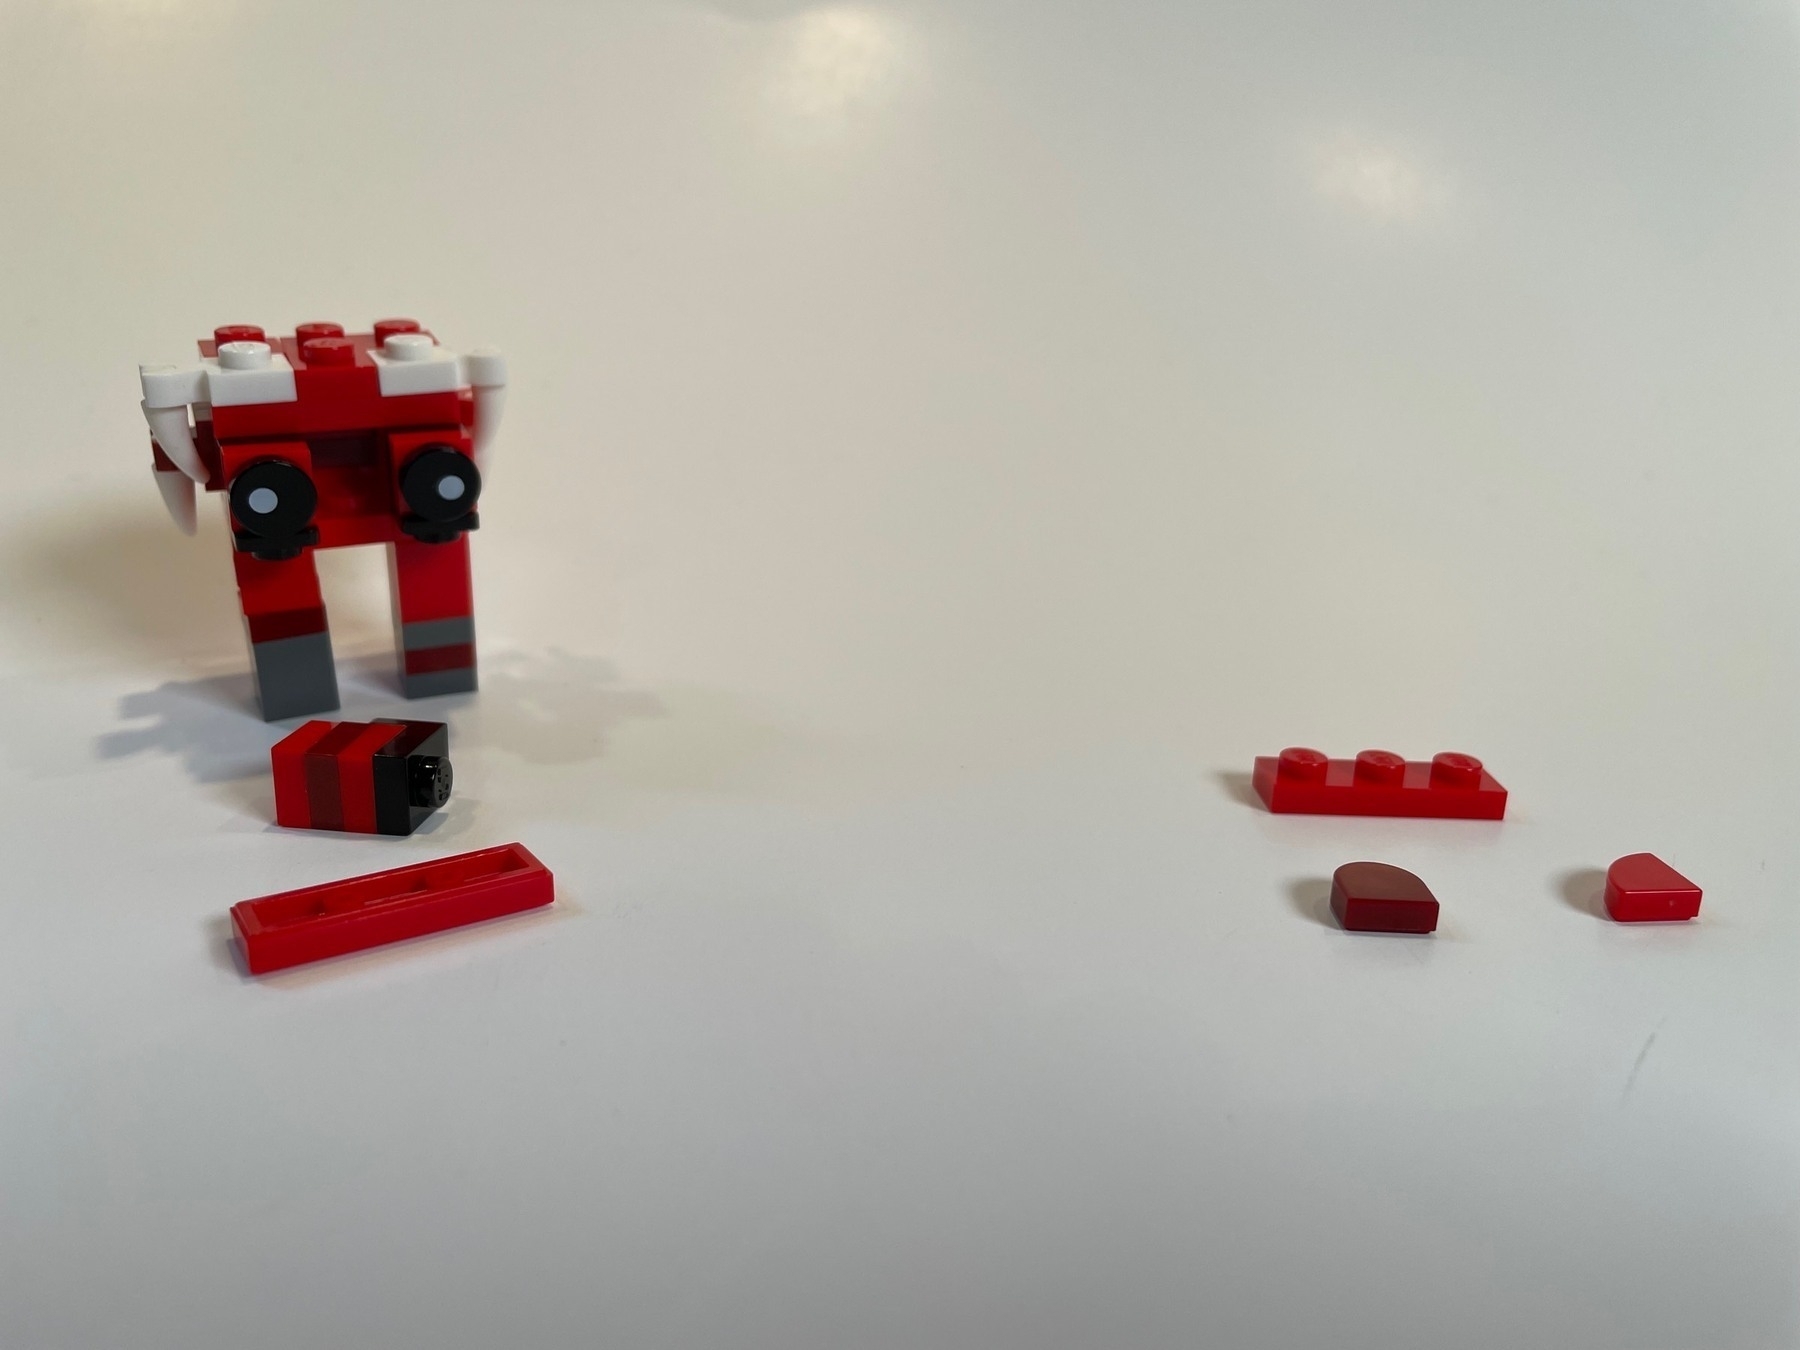
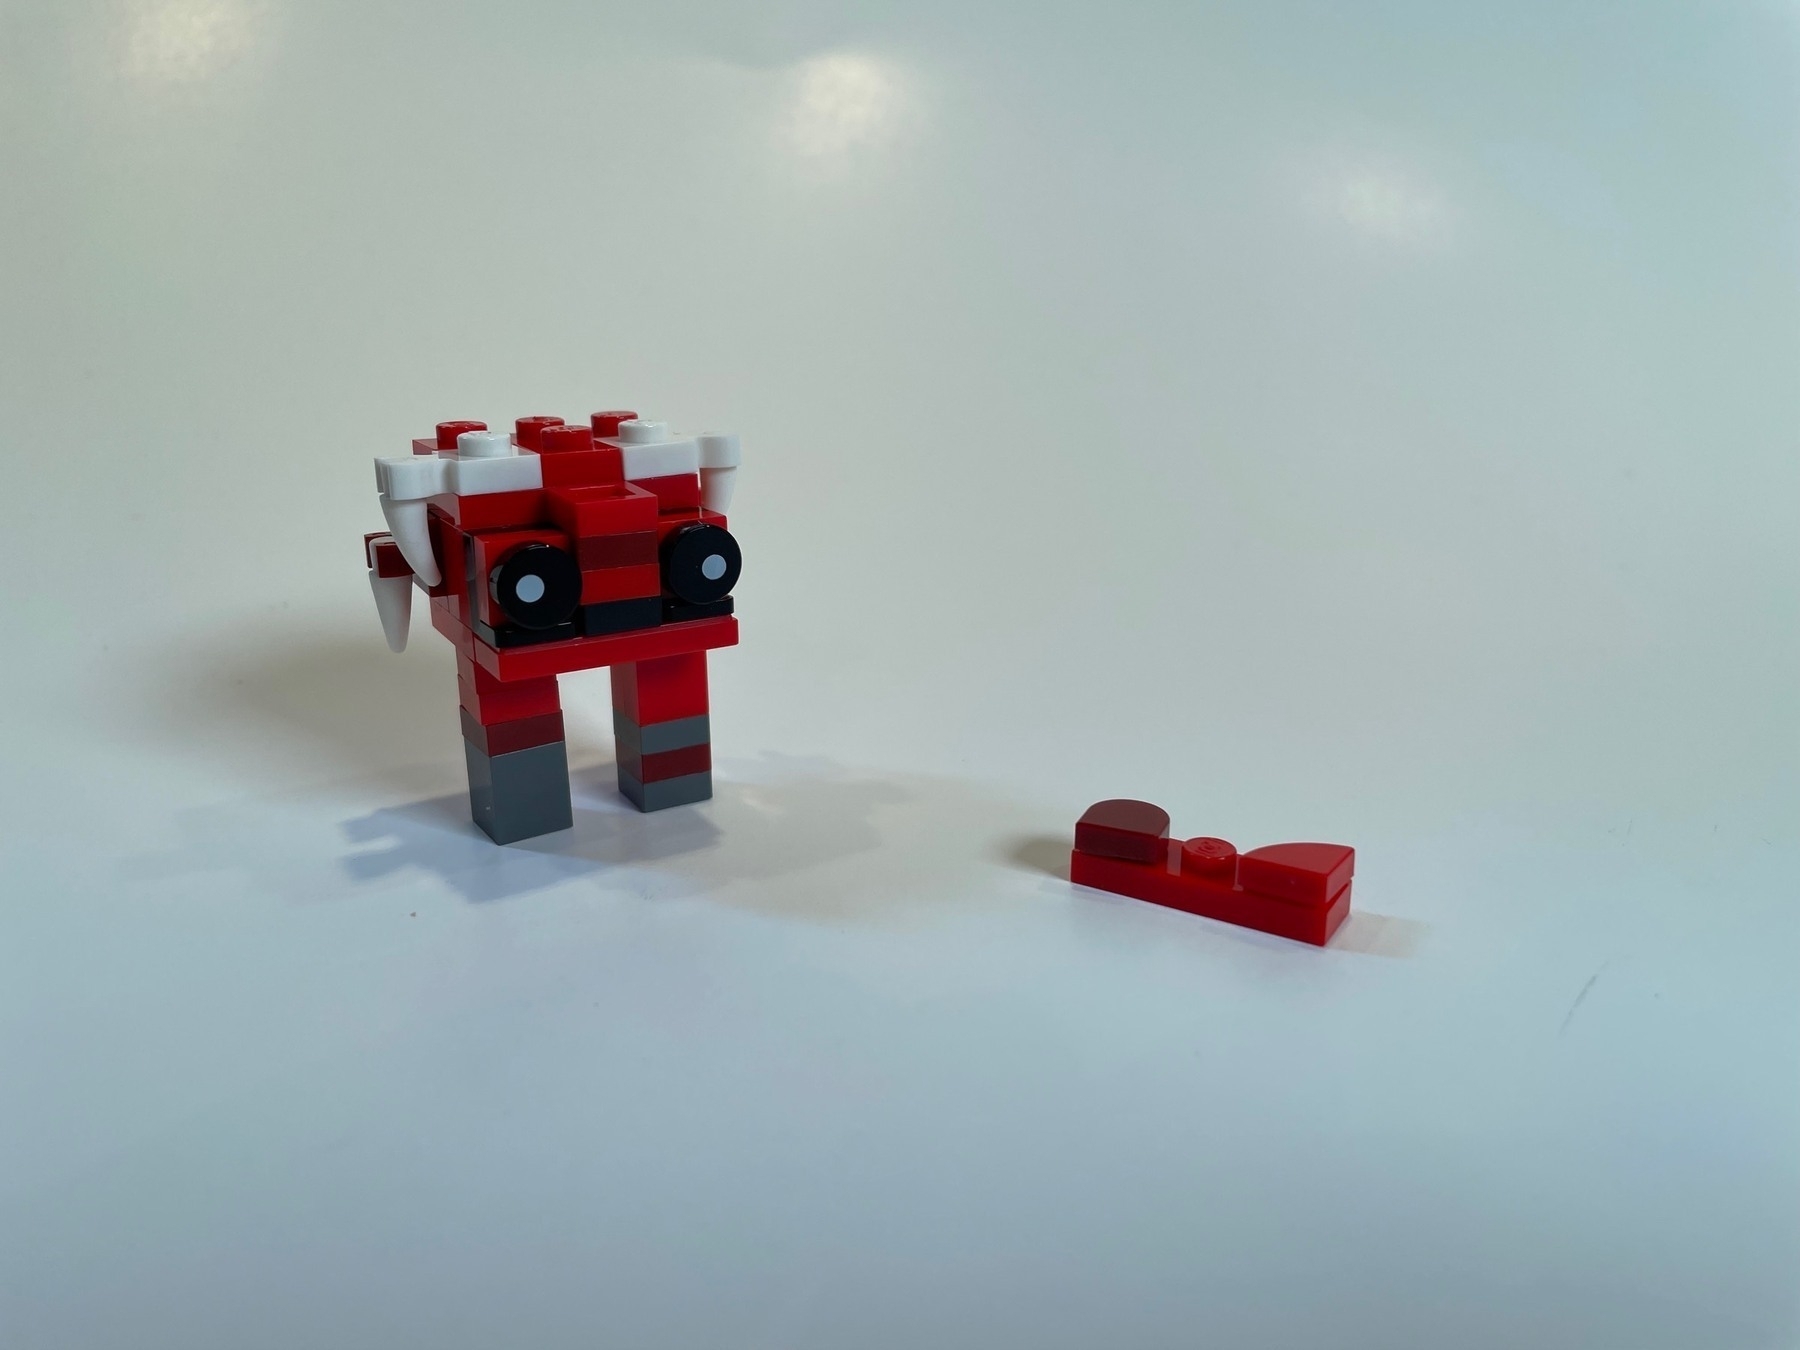
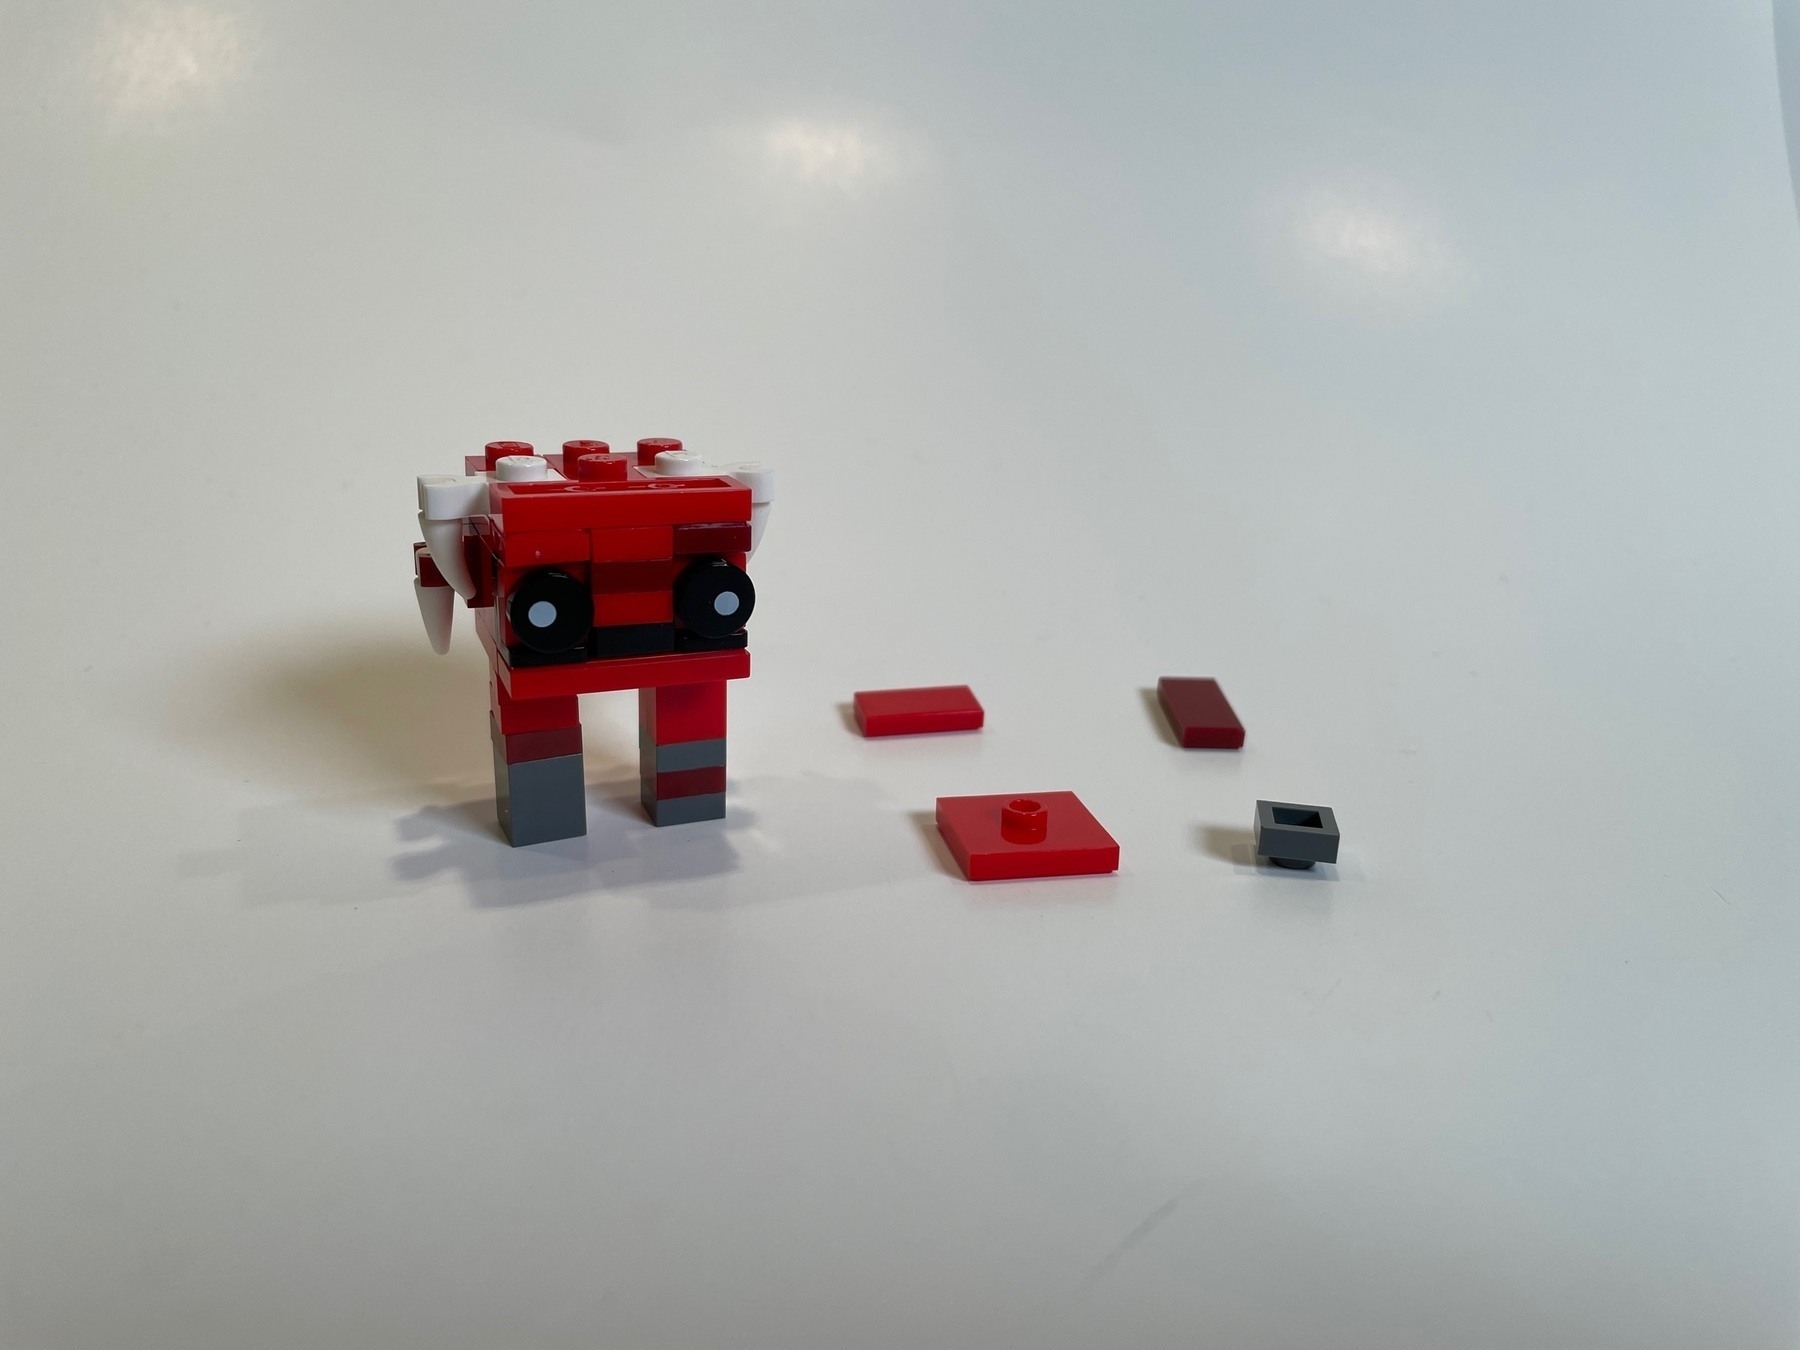
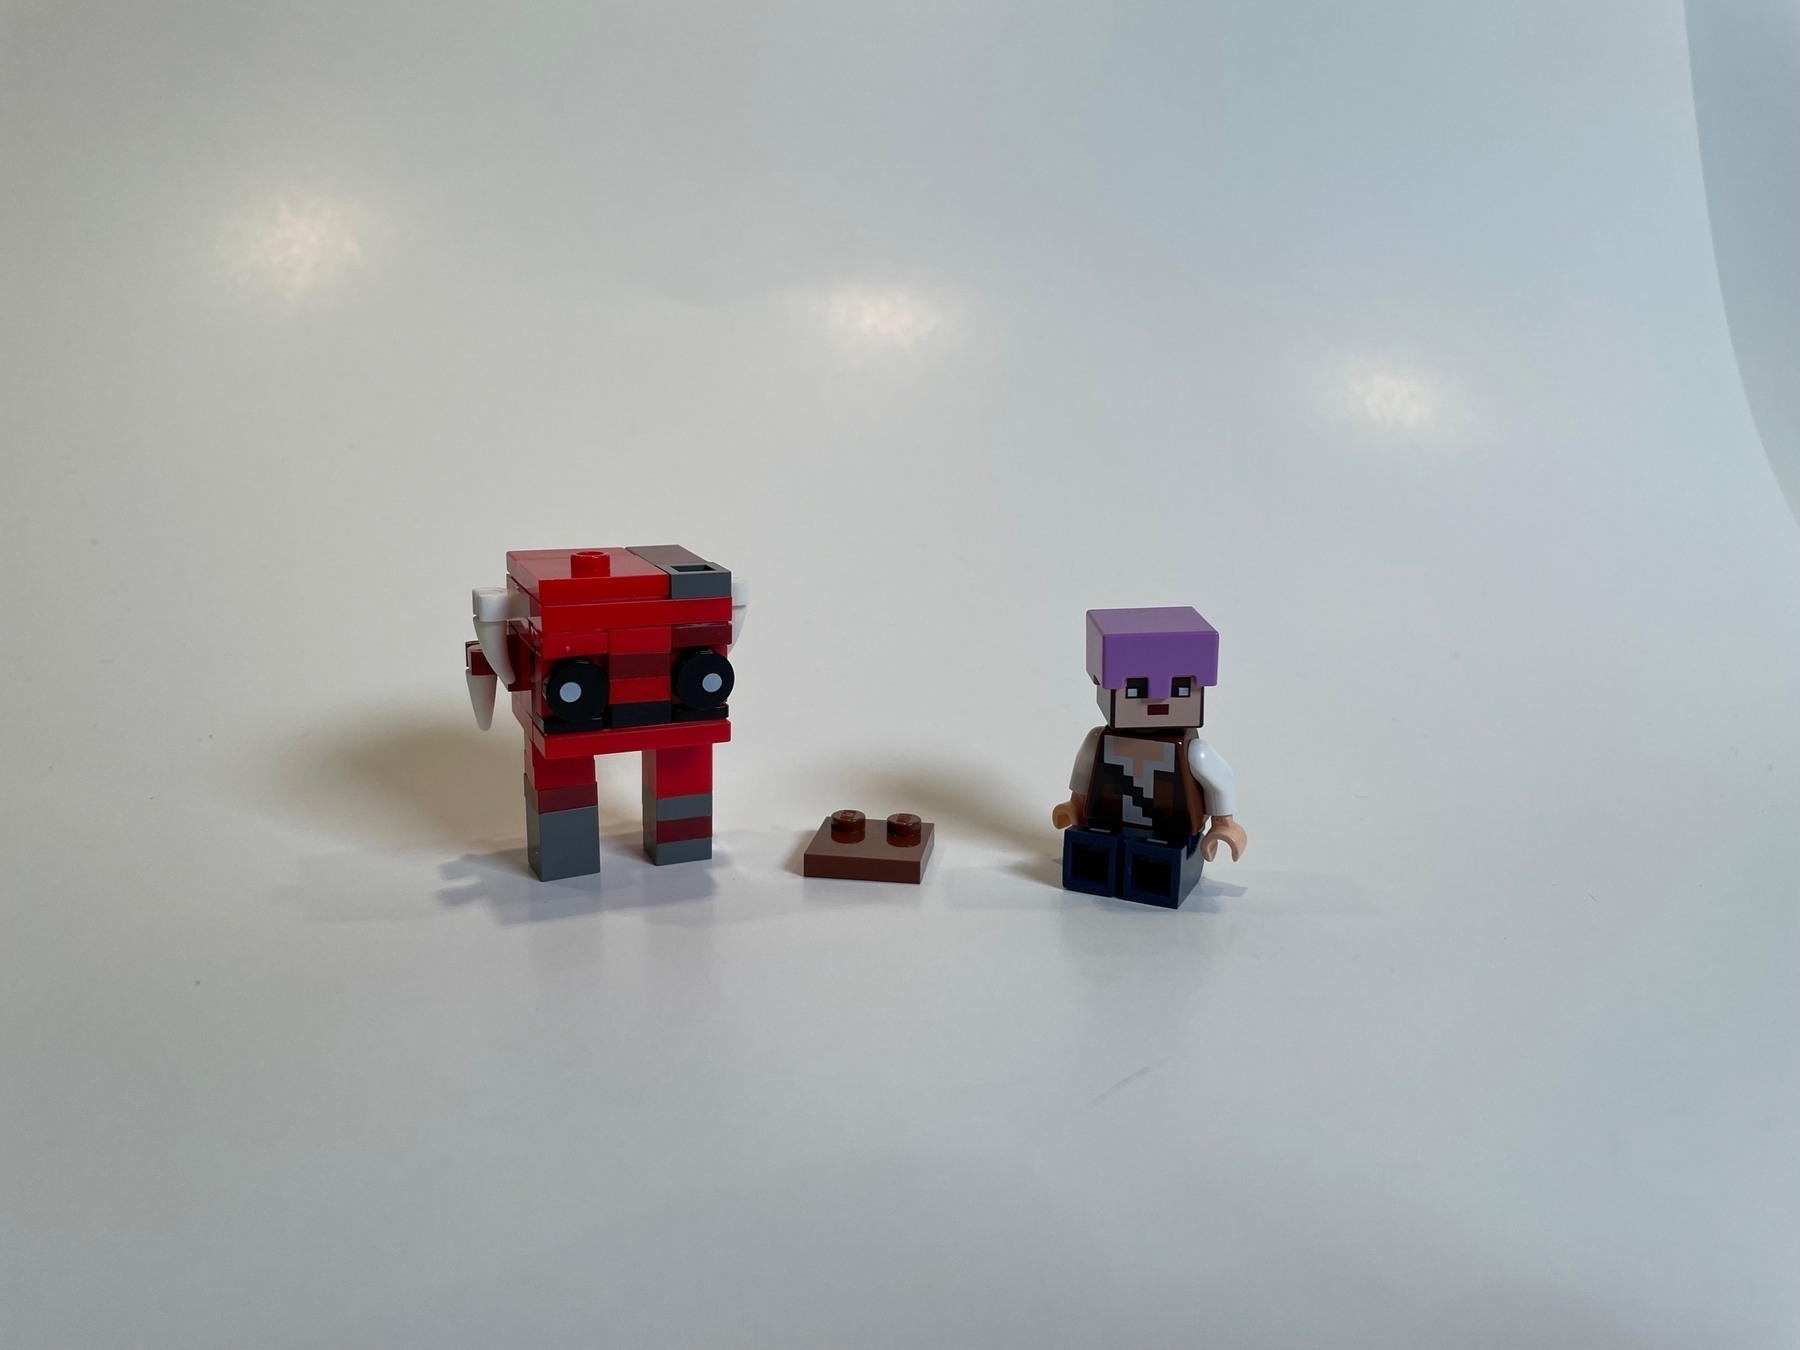
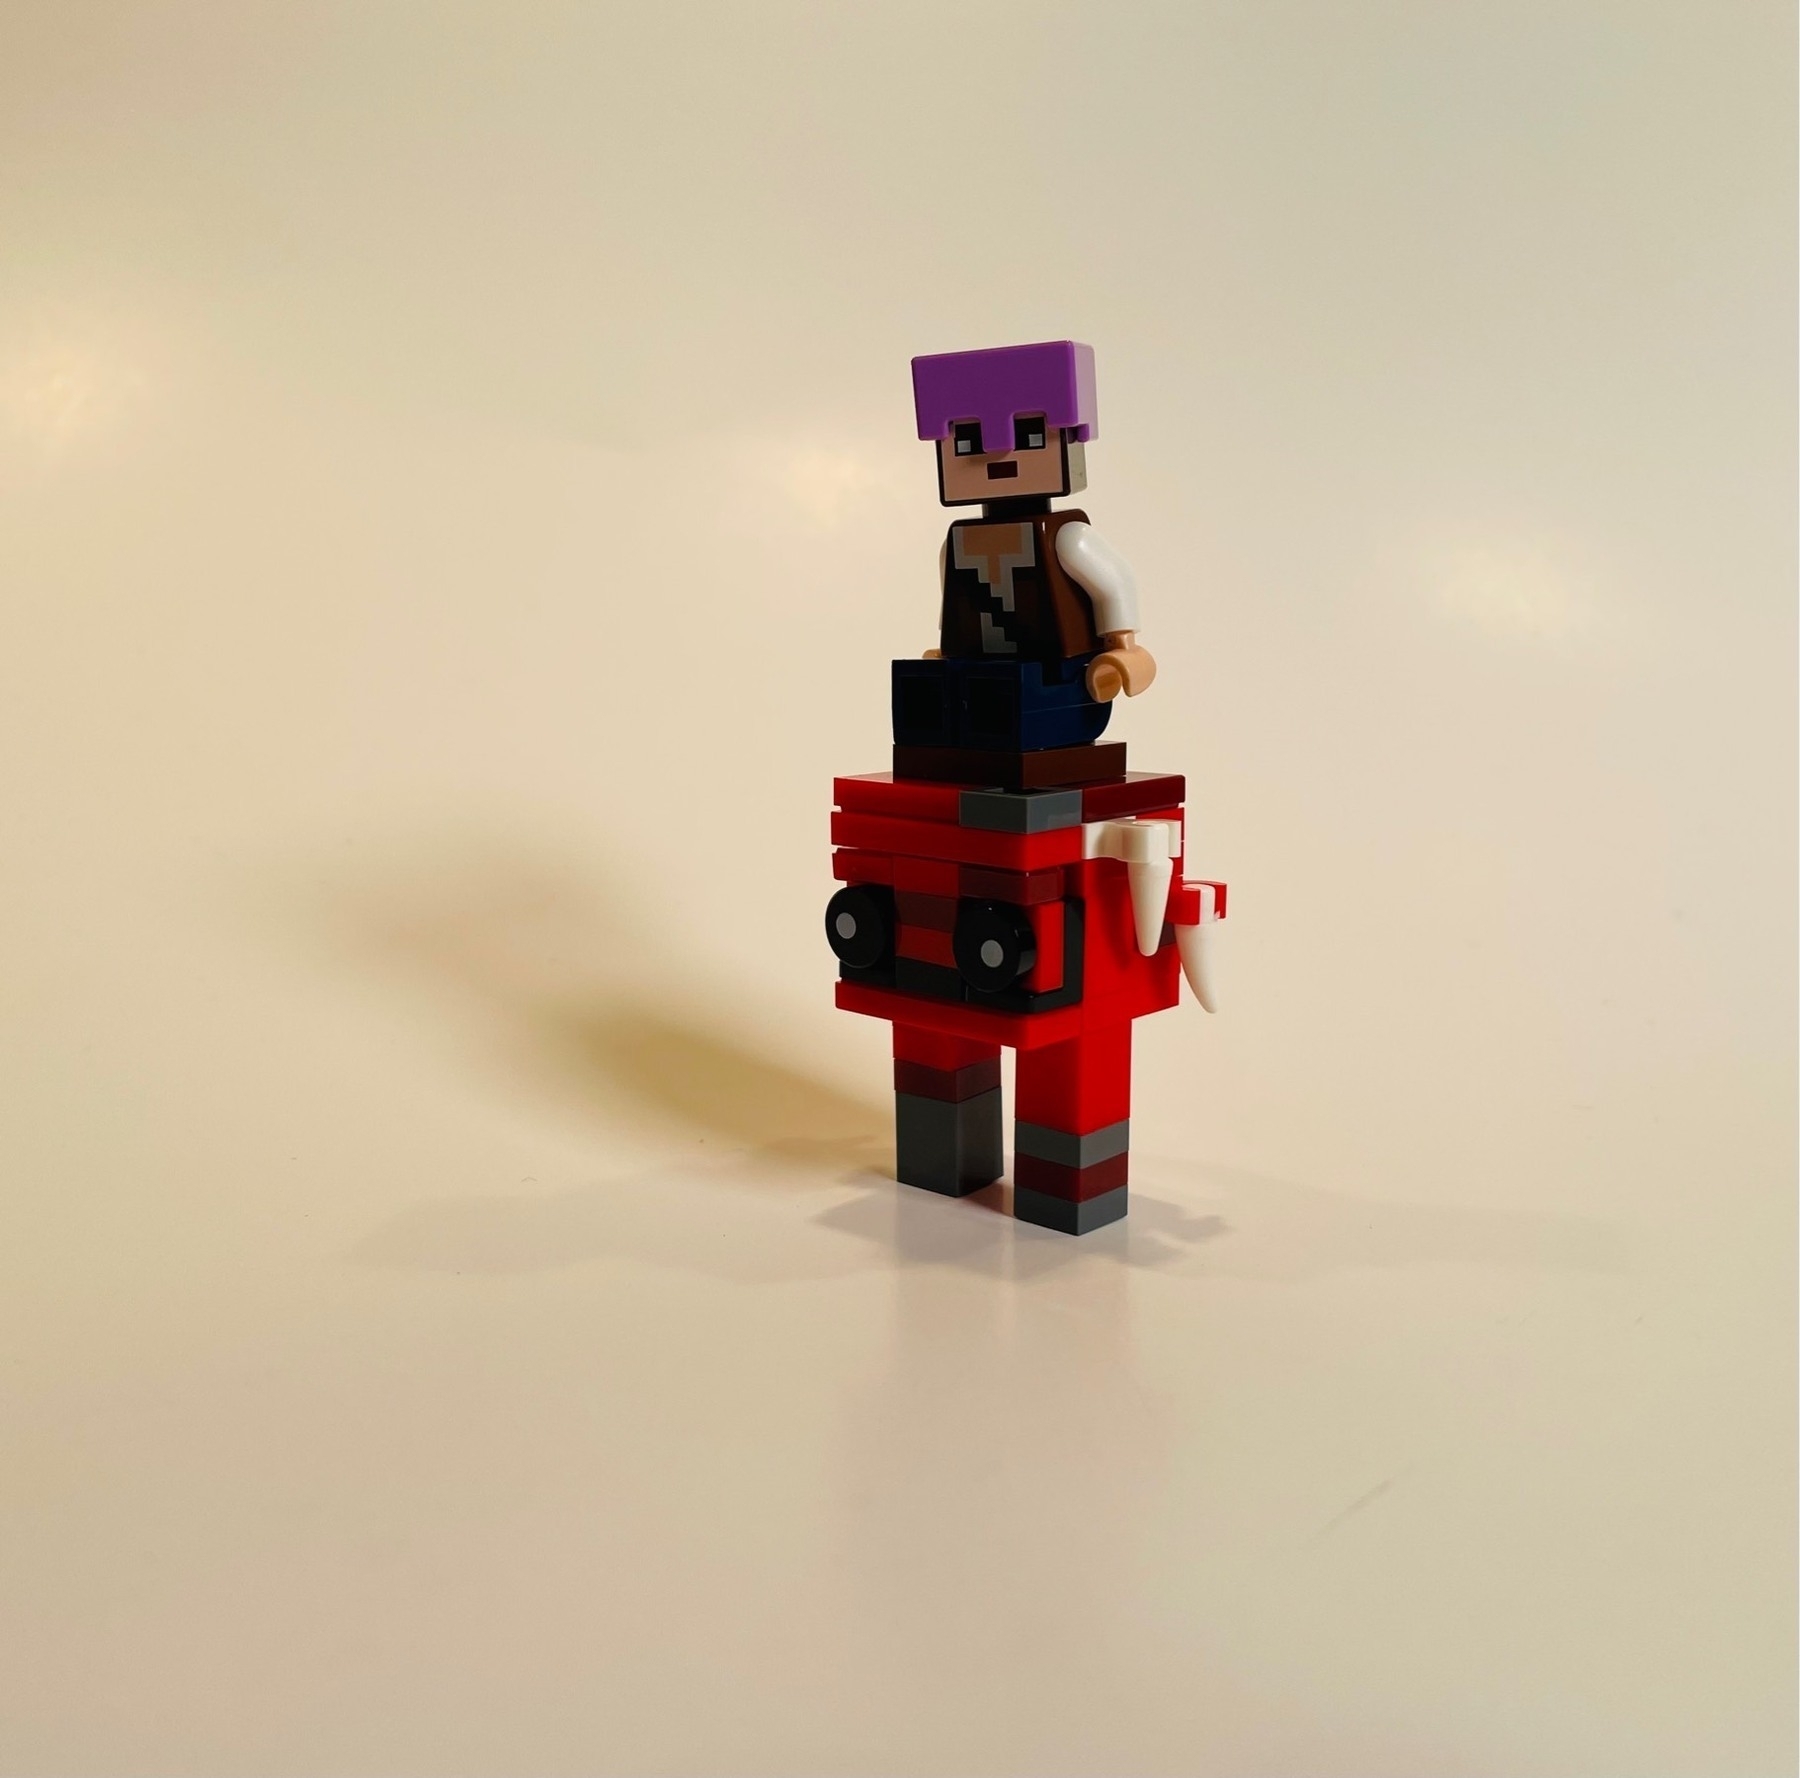
Tutorial for how to build a LEGO Minecraft strider. You may substitute the dark red pieces for regular red for a less mottled look. Hope you enjoy!
-
Hello world!
subscribe via RSS
